
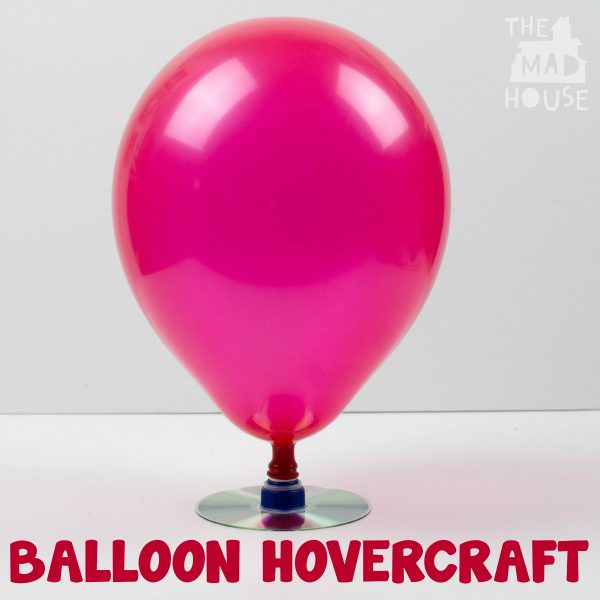
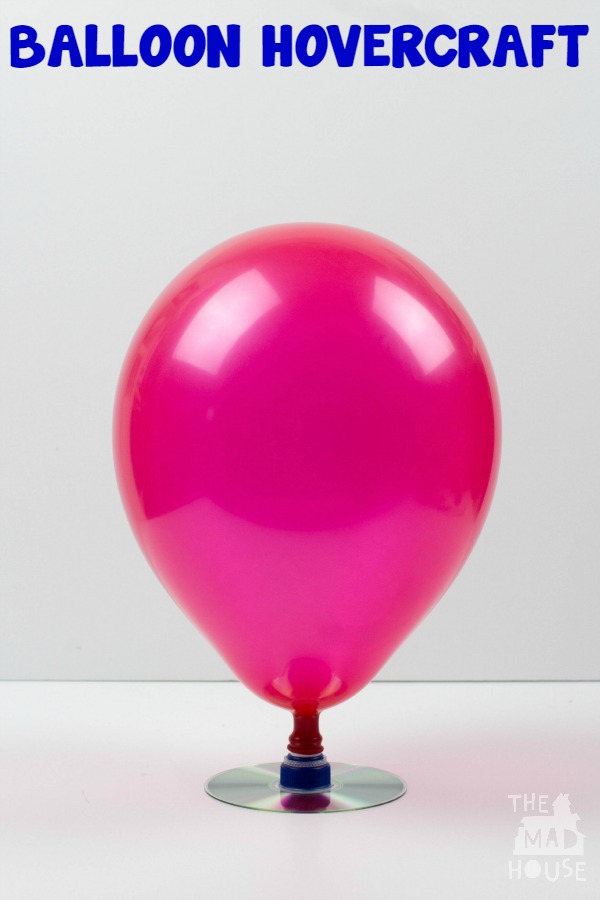
I love crafts and activities that really bring things to life and this super simple balloon hovercraft does just that. I love that you can transform a balloon and a CD in to a hovercraft.
My boys have a real love of science and I can not claim this to be all my own work. They actually made this first at Cubs!
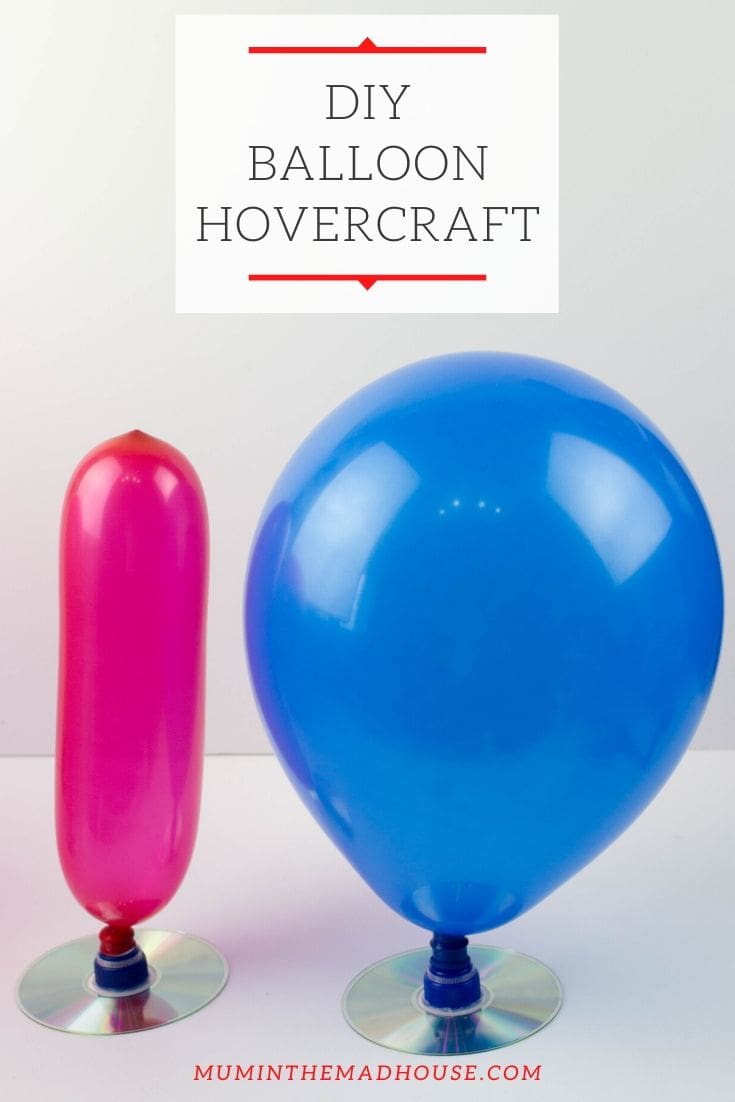
How to make a balloon hovercraft
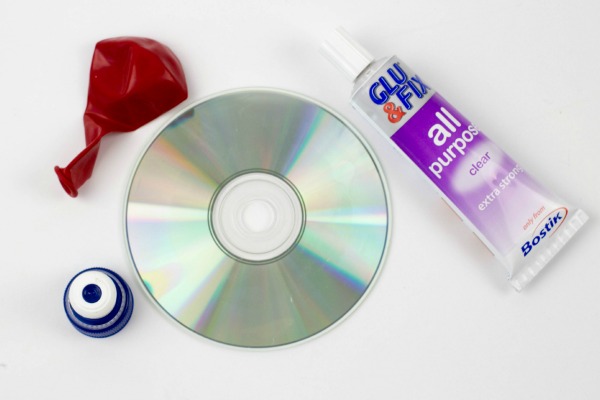
To make a balloon hovercraft you need:
- CD’s
- Glue
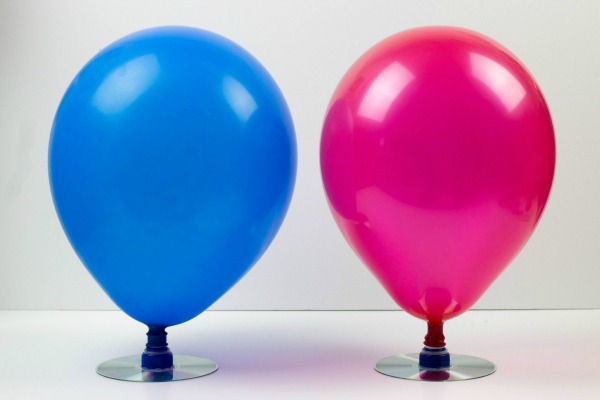
- balloons
- Drink bottle lid (we used water bottle lids)

To start with take your CD and the top of a bottle. We used water bottle caps, the sports style.
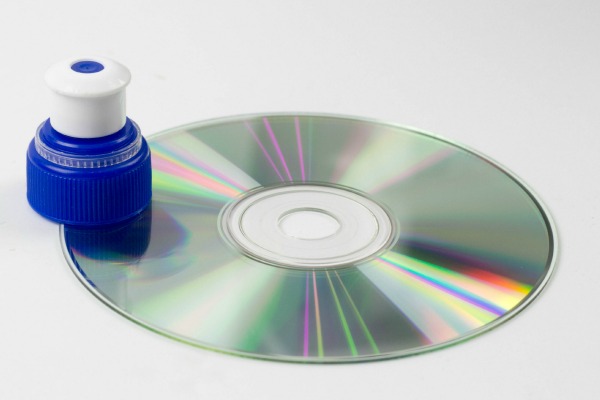
Glue the cap over the hole in the CD. You need to use a strong glue, such as Bostik all purpose or a hot glue gun.
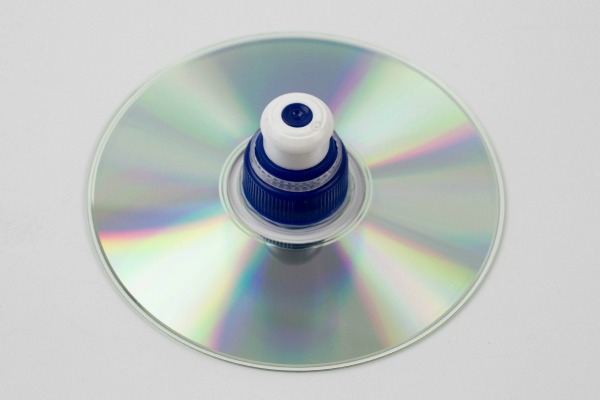
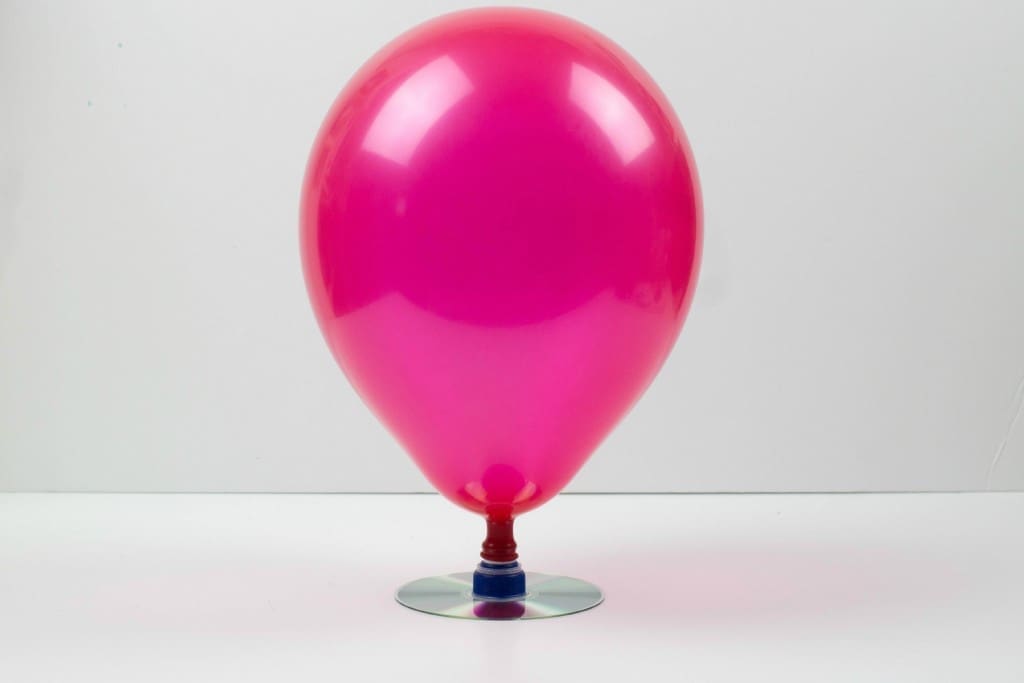
That is the basic hovercraft made, yes it is that simple!
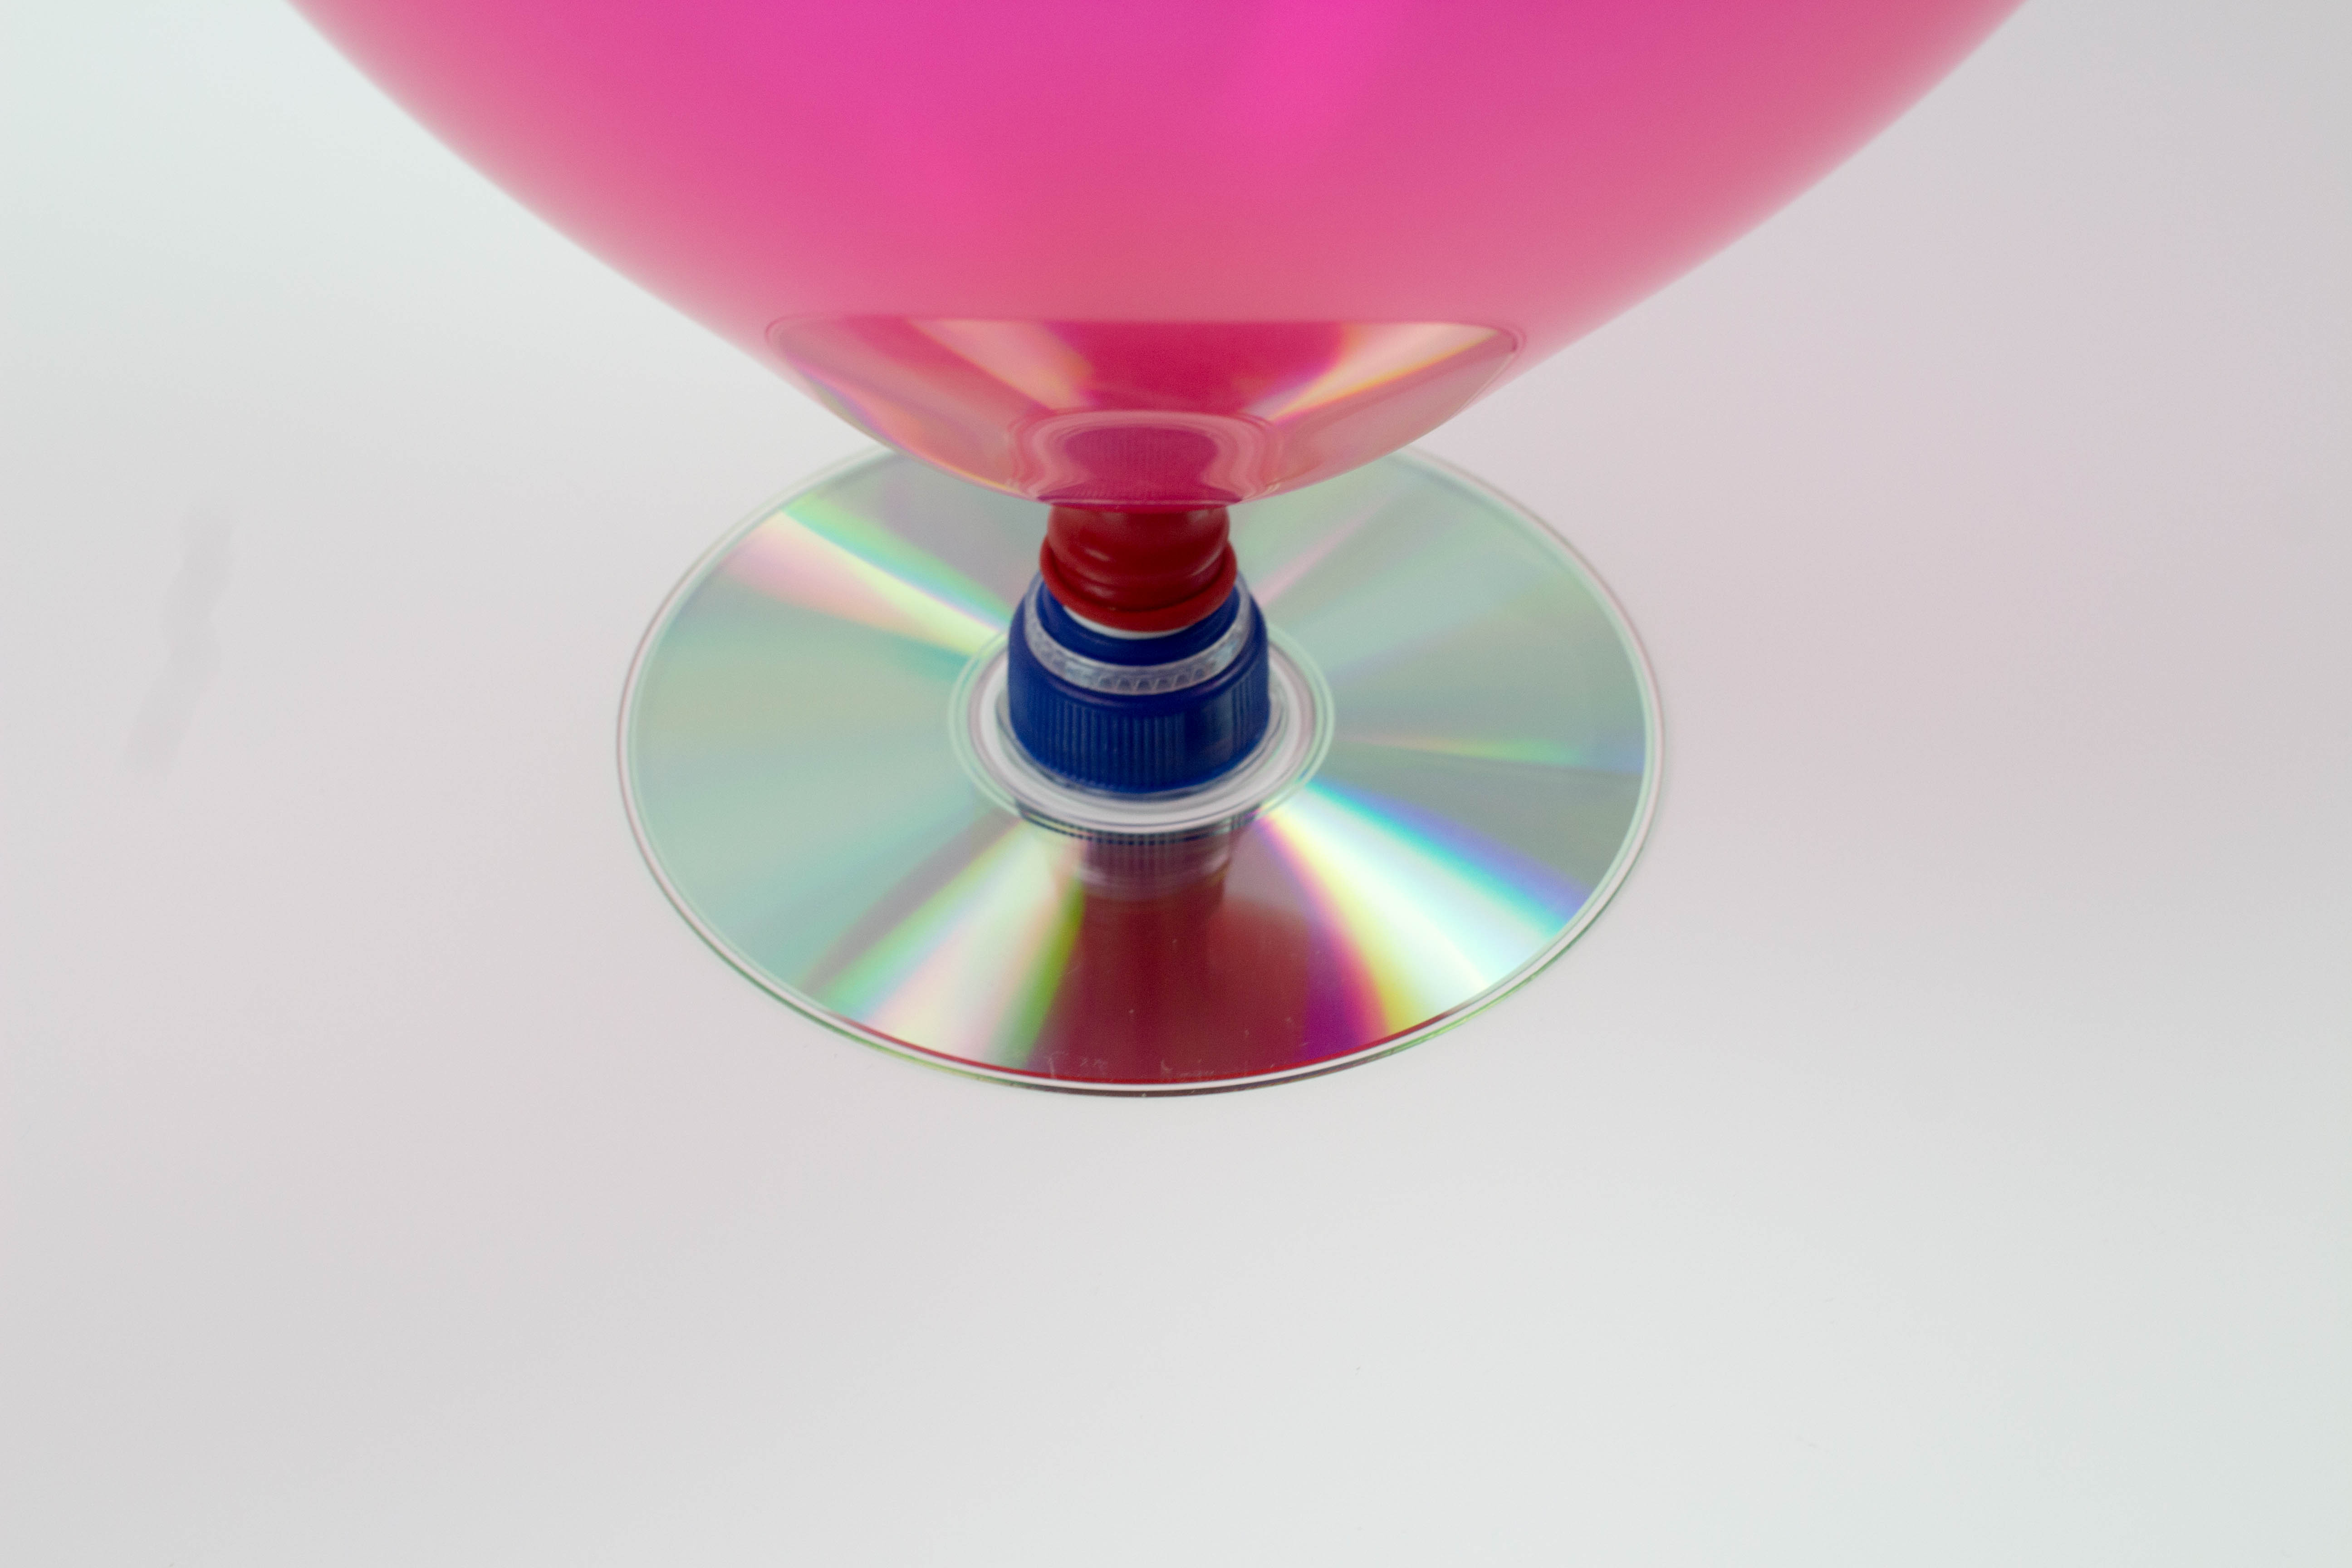
Blow up your balloon and then making sure the bottle top is pushed down place it over the cap.
Put your hovercraft on a smooth floor or a work surface, release the valve and gently push it around.
Now for the science bit!
How does a Balloon Hovercraft work?
A hovercraft works by forcing air out beneath it, creating a cushion of air to float on. Hovercrafts usually have a “skirt” that surrounds the base to contain the air; in this project the CD is light enough that it doesn’t need a large cushion, so no skirt is necessary.
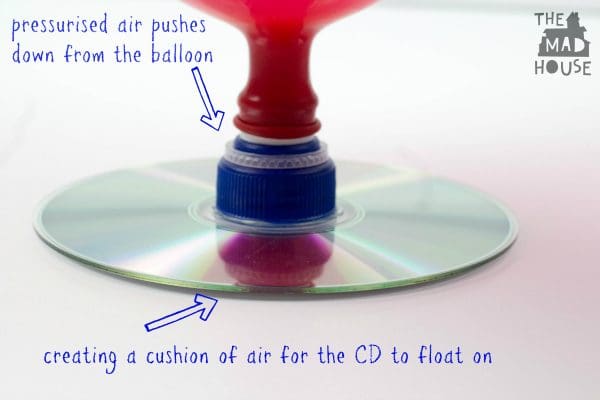
The balloon acts as a pressurised gas chamber. When you open the cap, the balloon forces air out through the cap, creating a thin cushion of air beneath the CD.
An air hockey board works using the same principles as the CD hovercraft. A fan under the air hockey table pushes air through tiny holes on the table’s surface. The flowing air decreases the friction between the hockey puck and the table, allowing the puck to move quickly and freely and allowing you to score!
Comments are closed.