
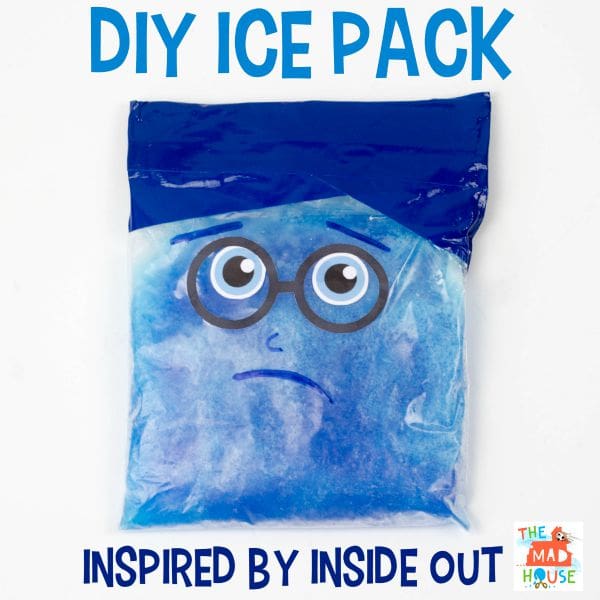
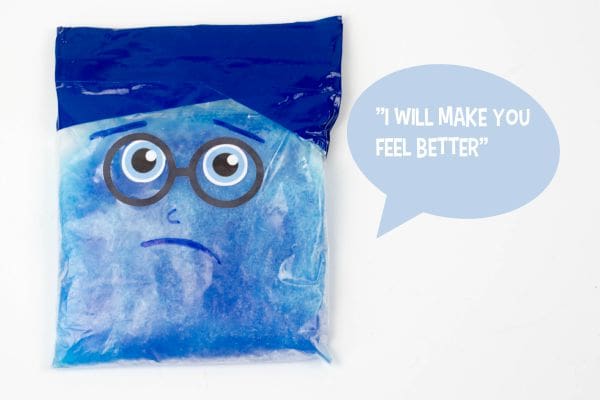
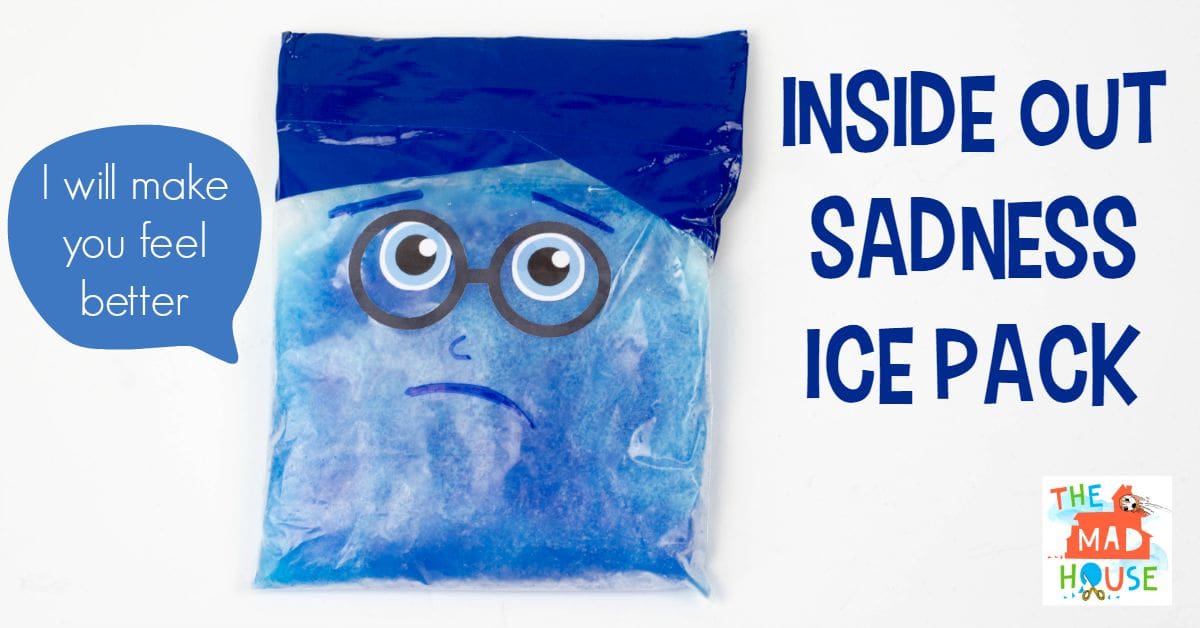
If your children are anything like mine, they are always getting into scrapes and have many a bump and bruise. So having an ice pack is essential. I was inspired by Inside out to create this DIY ice pack with a sadness design.
How to make a DIY Ice Pack
This post contains affiliate links. If you make any purchases after clicking one of these links, I will make a small commission (hopefully enough to keep me in tea all year) – at no extra cost to you! This allows me to keep creating and sharing free tutorials and content for you. Thank you!
Materials
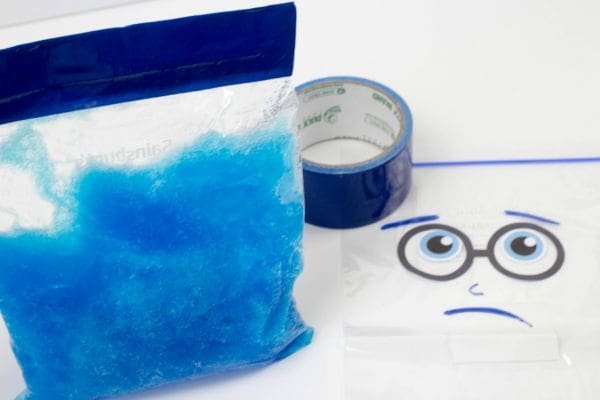
- 2 x ziplock bags
- Antibacterial hand gel
- Sharpies
- Duct Tape
- Water
- Food colouring (optional)
- Sticker paper


Instructions
Using the antibacterial gel means that your DIY ice pack will remain in a semi frozen state making it flexible and perfect for shaping round bumps.
Mix one part antibacterial hand gel with three parts water. We had clear gel, so added a couple of drops of food colouring to make out ice pack look like Sadness from Inside Out.
Place into a ziplock bag and try and remove any ice before sealing.
We double bagged and also sealed the top with blue duct tape, not only to secure it, but also to look a little like hair!
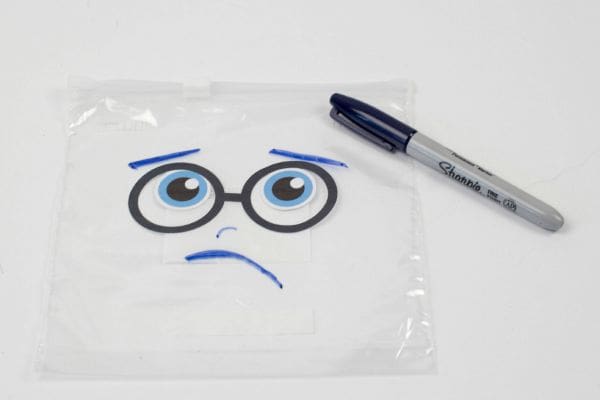
Decorate – We used sharpies and eyes that I printed and then cut on my Cricut Air.
Pop in the freezer.
NB, when using cover with a teatowel of muslin.

There are several other recipes across the web:
The husband even suggested using vodka, but I can think of better things to do with the vodka, especially as the kids are off school for the next six weeks!

I also have an amazing competition for you. I really want to win this myself! We have a hardcover art book, signed by all the cast and the director up for grabs – a really lovely collector’s item!
Inside Out Compeition
Comments are closed.