
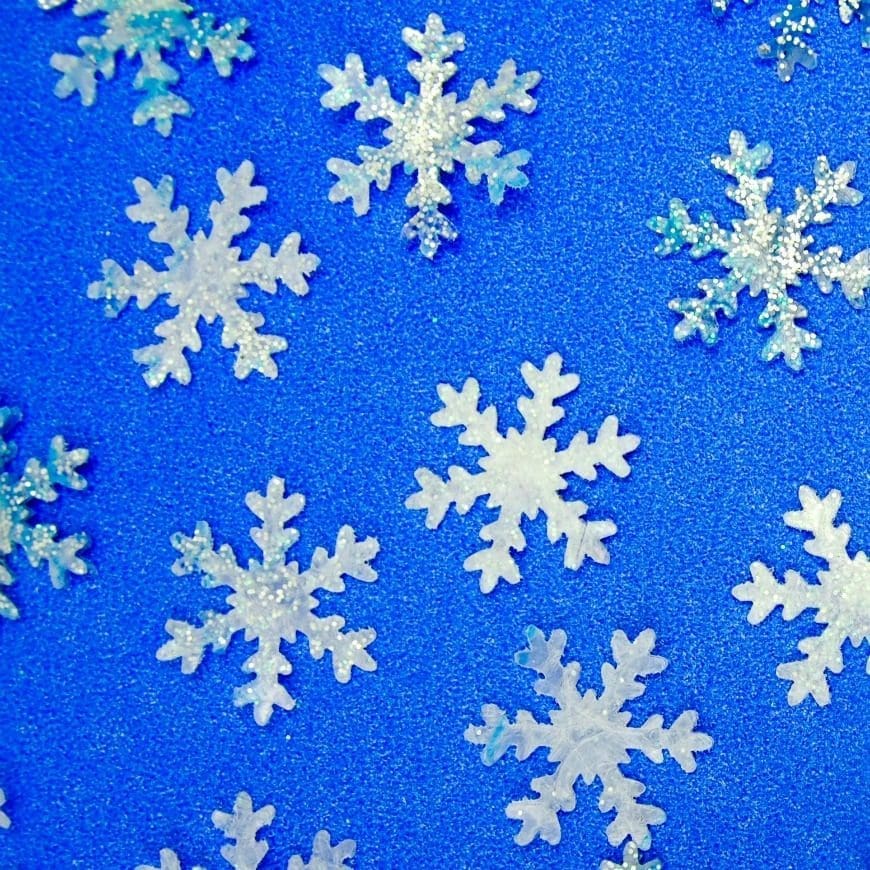
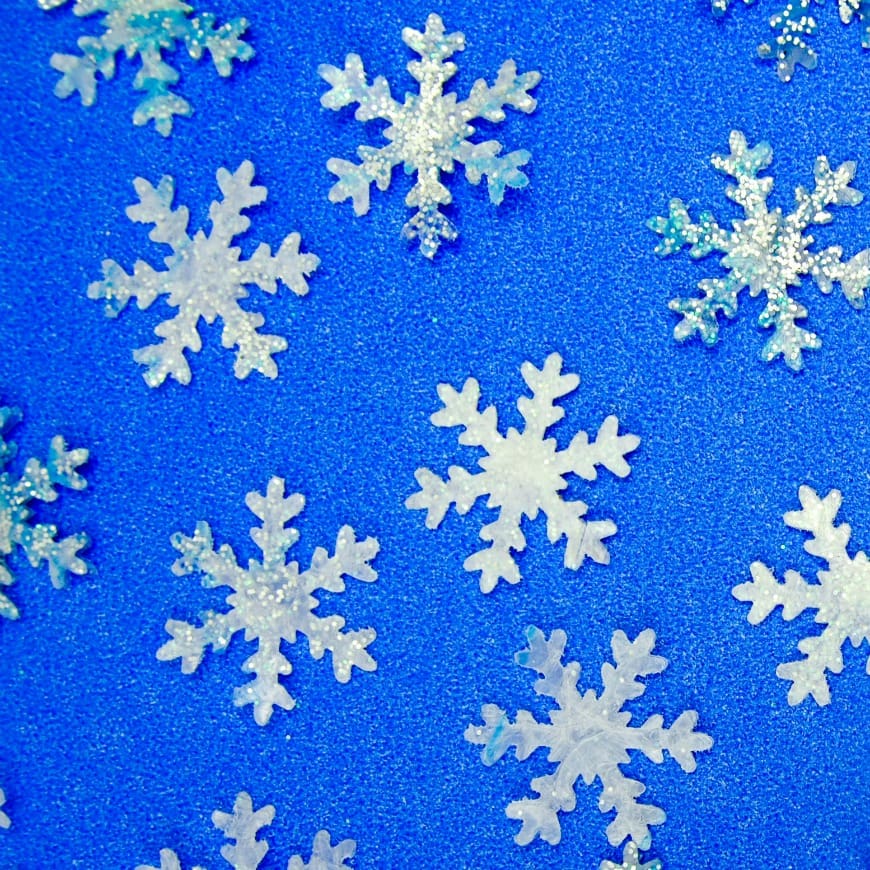
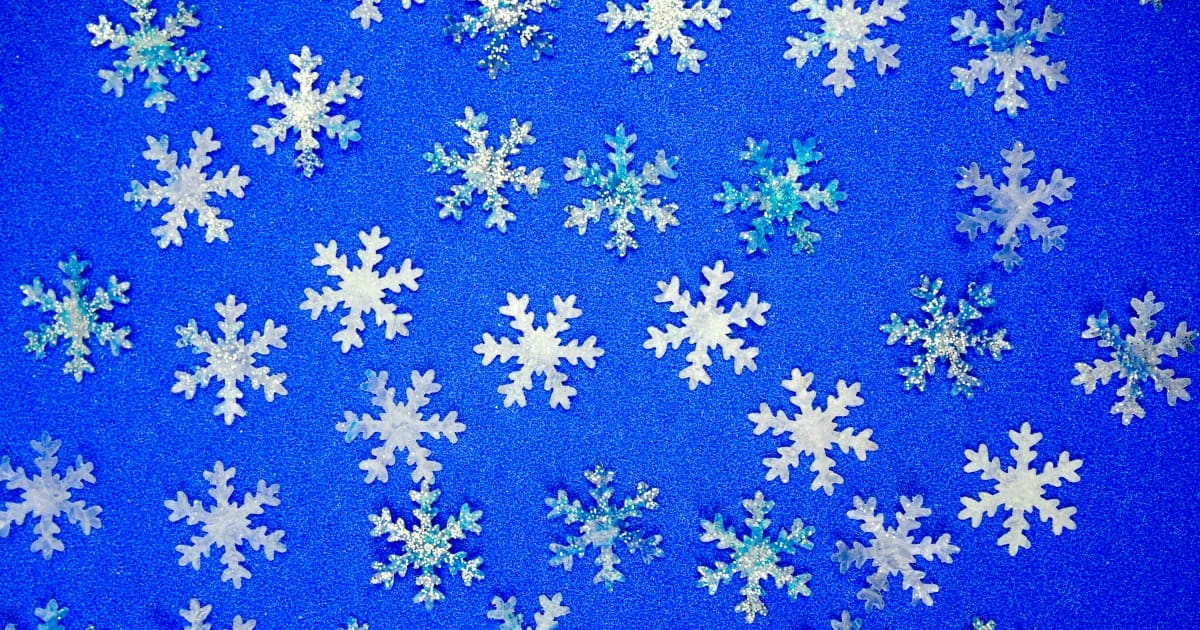
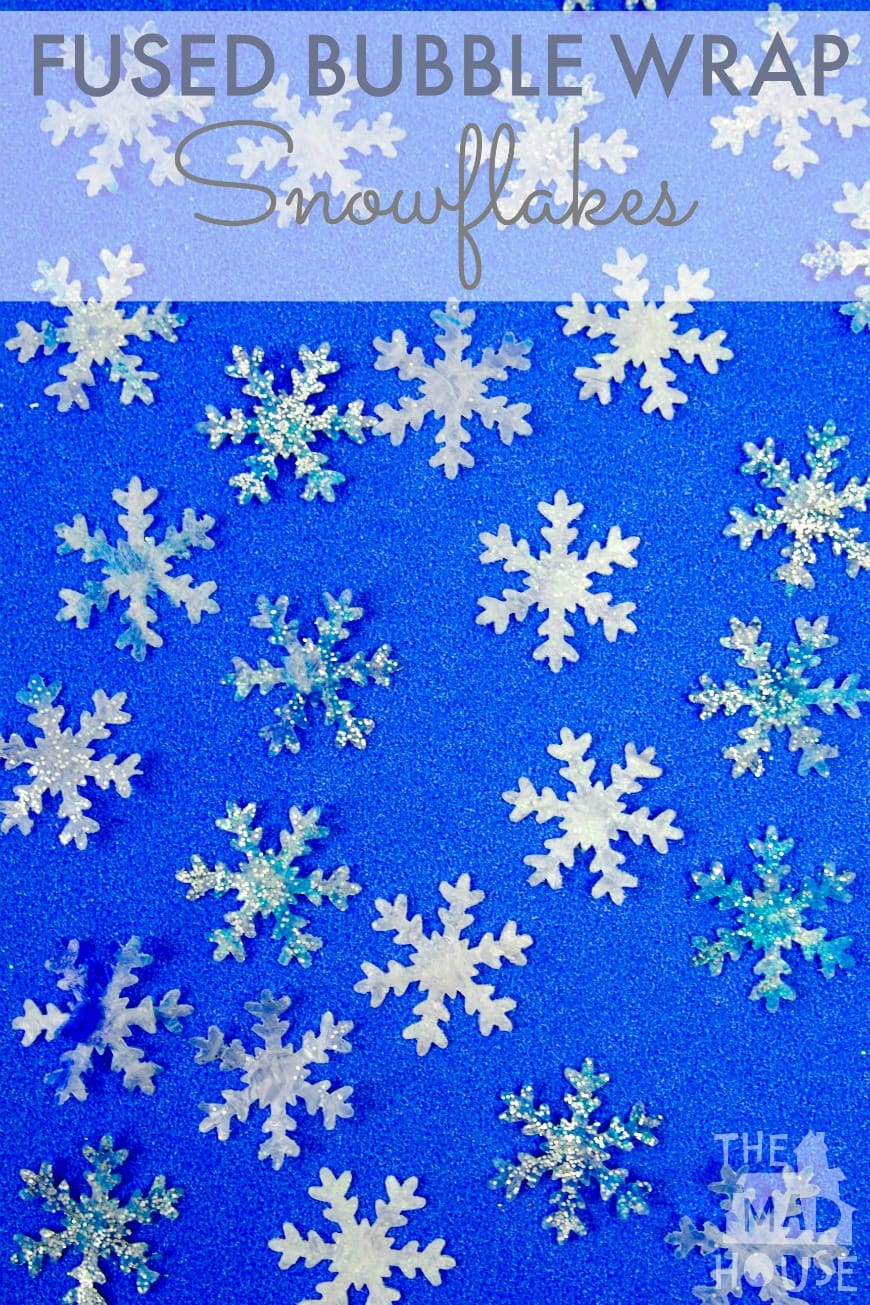
These fused bubble wrap snowflakes were great fun to make and are a great way of getting older children involved in process art. Maxi had lots of fun using our iron to fuse the bubble wrap together.
I love how one material can turn into something completely different though a simple creative process and it turns out that the process and science of fusing bubble wrap really captivated my eleven-year-old. I feel that art for arts sake is really important throughout childhood especially as children get older and often feel that they are not artistic. You can read more about why I think process art is essential here.
I am always looking for ways to engage my boys and using an iron was the key here. We decided to use the travel iron as it was a better size for Maxi, but he was never unsupervised.
Fused Bubble Wrap Snowflakes
This post contains affiliate links. If you make any purchases after clicking one of these links, I will make a small commission (hopefully enough to keep me in tea all year) – at no extra cost to you! This allows me to keep creating and sharing free tutorials and content for you. Thank you!
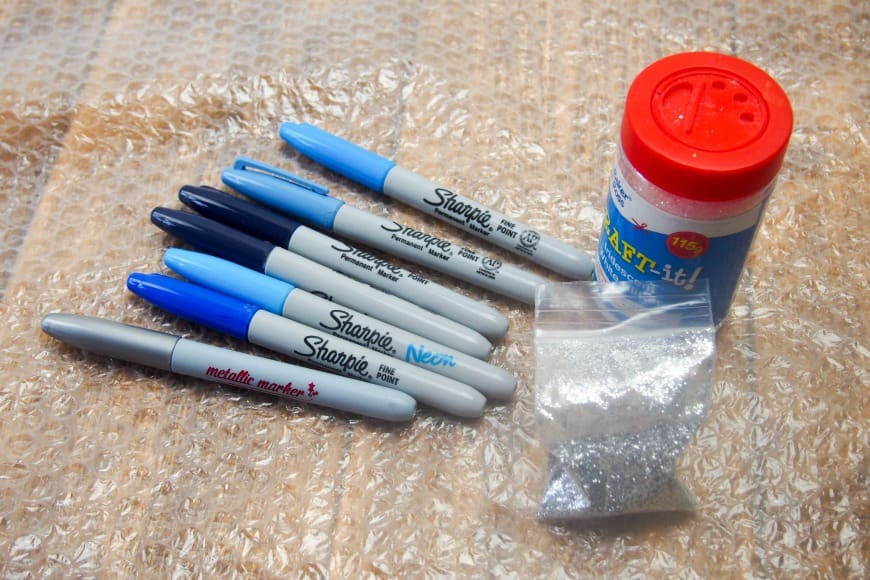
Materials:


How to make Fused Bubble Wrap Snowflakes
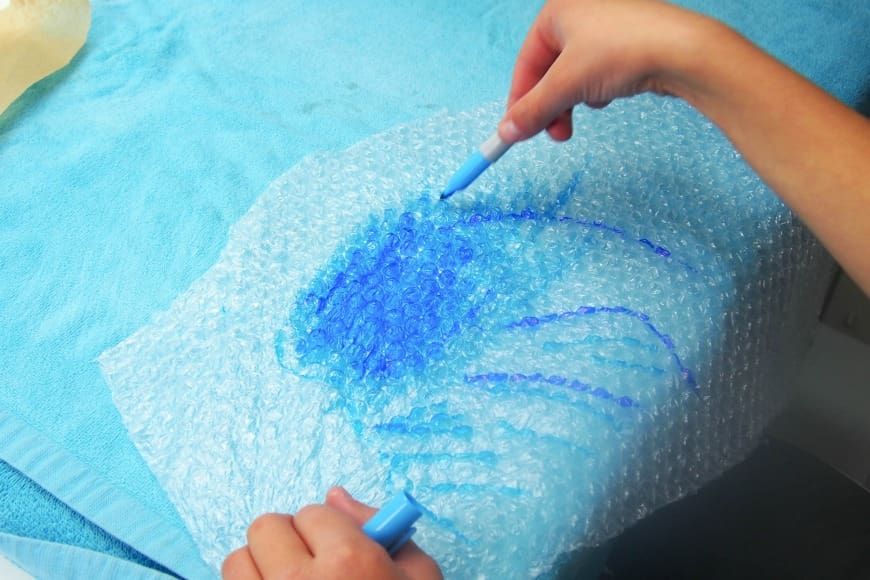
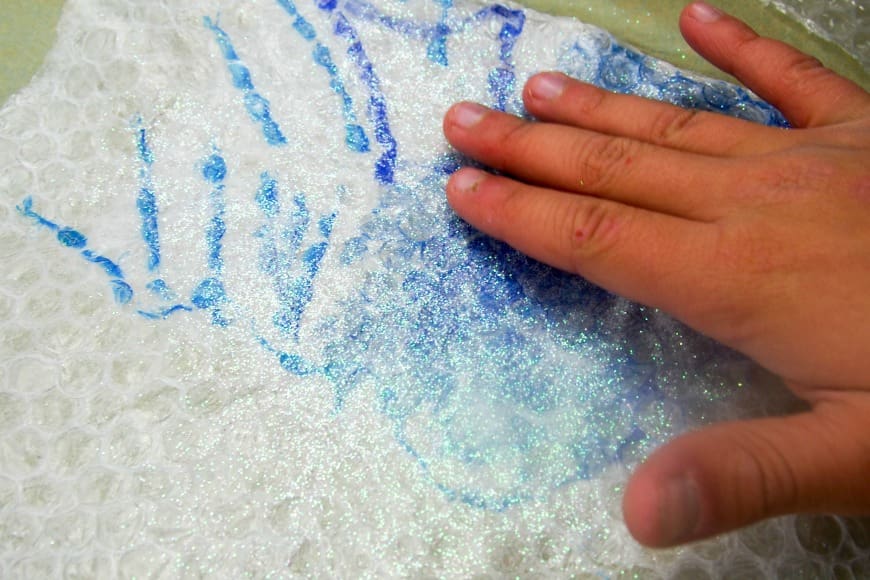
Use the scissors to cut the strips of bubble wrap. Turn on the iron to the wool with no steam setting. Maxi had lots of fun decorating his sheets of bubble wrap with the sharpies.
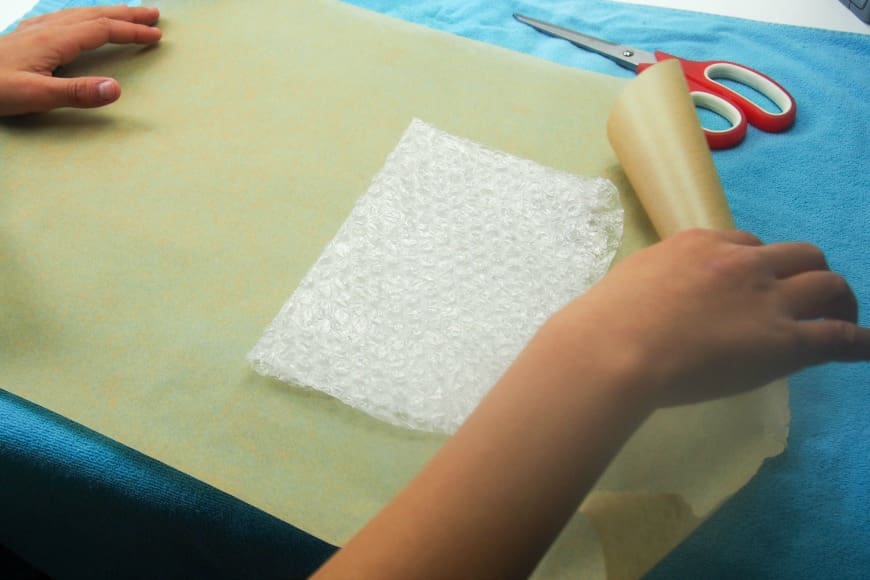
Place the two pieces of wrap inside a piece of parchment paper and fold to close.
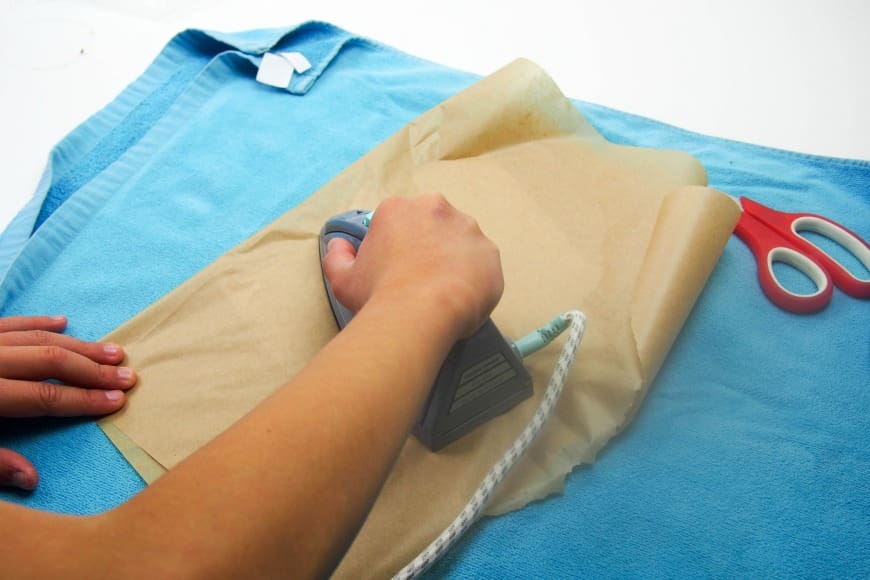
Iron the entire surface, front and back, for approximately 30 seconds.
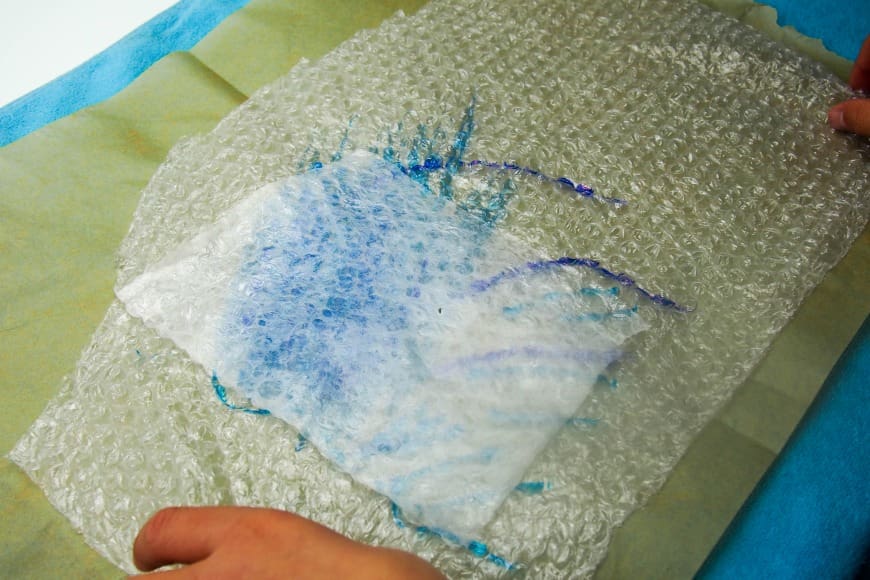
Allow to cool and then you can repeat the process. Maxi decided to decorate each of his layers.
On some layers he even chose to add glitter.
Continue until you reached the desired thickness, usually 5–7 pieces.
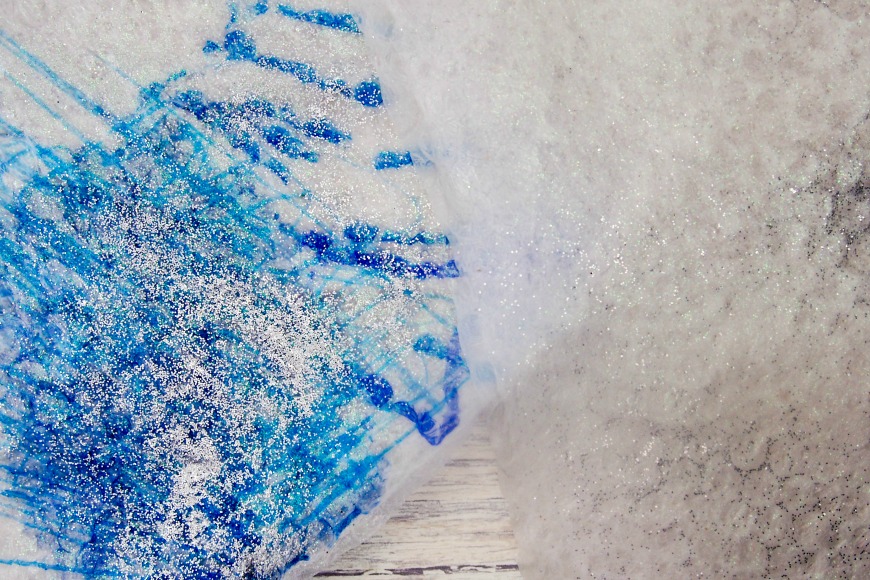
We talked about how applying heat to the bubble wrap changed it form and melted it. We also talked about how adding additional layers made it thicker, firmer and also made the layers under harder to see.
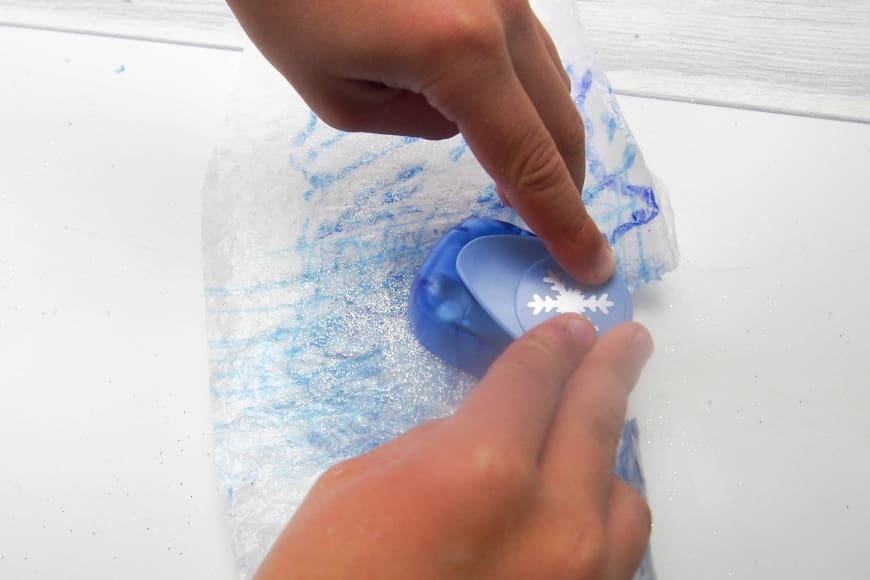
Once we had our beautiful sheets of fused bubble wrap, Maxi decided that they needed to be turned into snowflakes, thankfully I had a small snowflake stamp (I wish I had a larger one, but he couldn’t wait)! My tip for this is to use a sheet of fused bubble wrap that is only about 5 layers so it isn’t too thick for the punch.
More bubble wrap process art inspiration:
No-Mess Baby Bubble Wrap Painting from Arty Crafty Kids
Bubble Wrap Fish Thank You Cards from Play & Learn Every Day
Bubble wrap wall printing from Wee Warhols
Bubble wrap autumn tree craft by Messy Little Monster
Bubble Wrap Lichtenstein Art from Teach Beside Me
Fused Bubble Wrap Snowflakes by Mum in the Mad House
Sensory Stomp Painting with Bubble Wrap by Views From a Step Stool
Bubble Wrap Trees for Every Season by To Be a Kid Again

Comments are closed.