

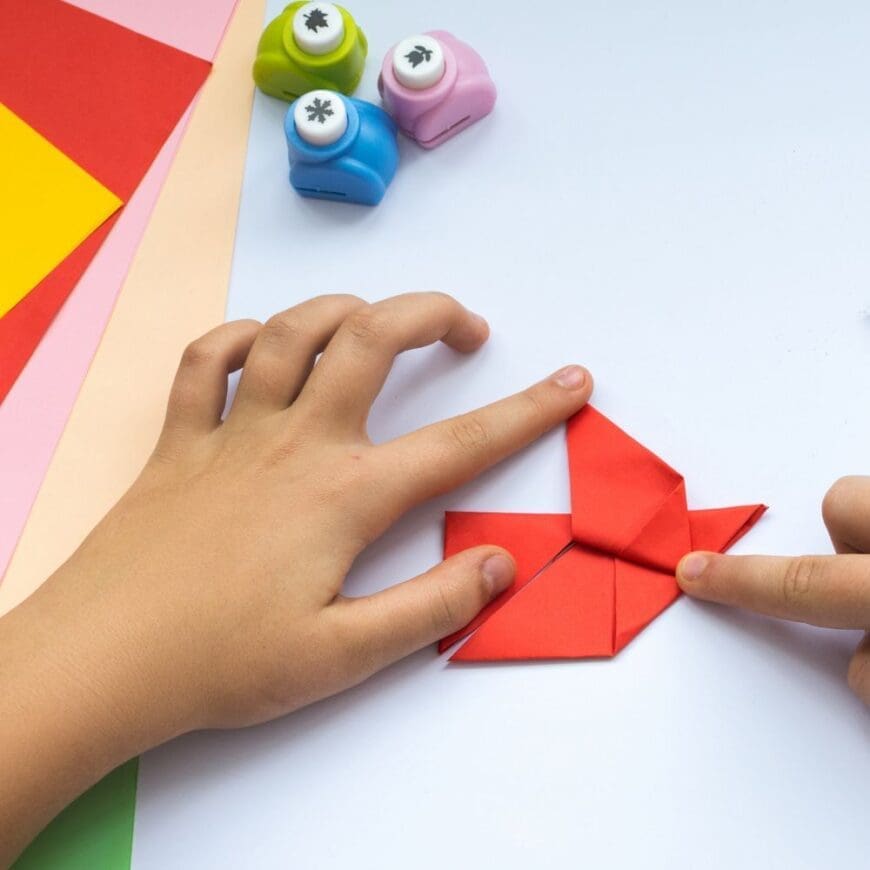
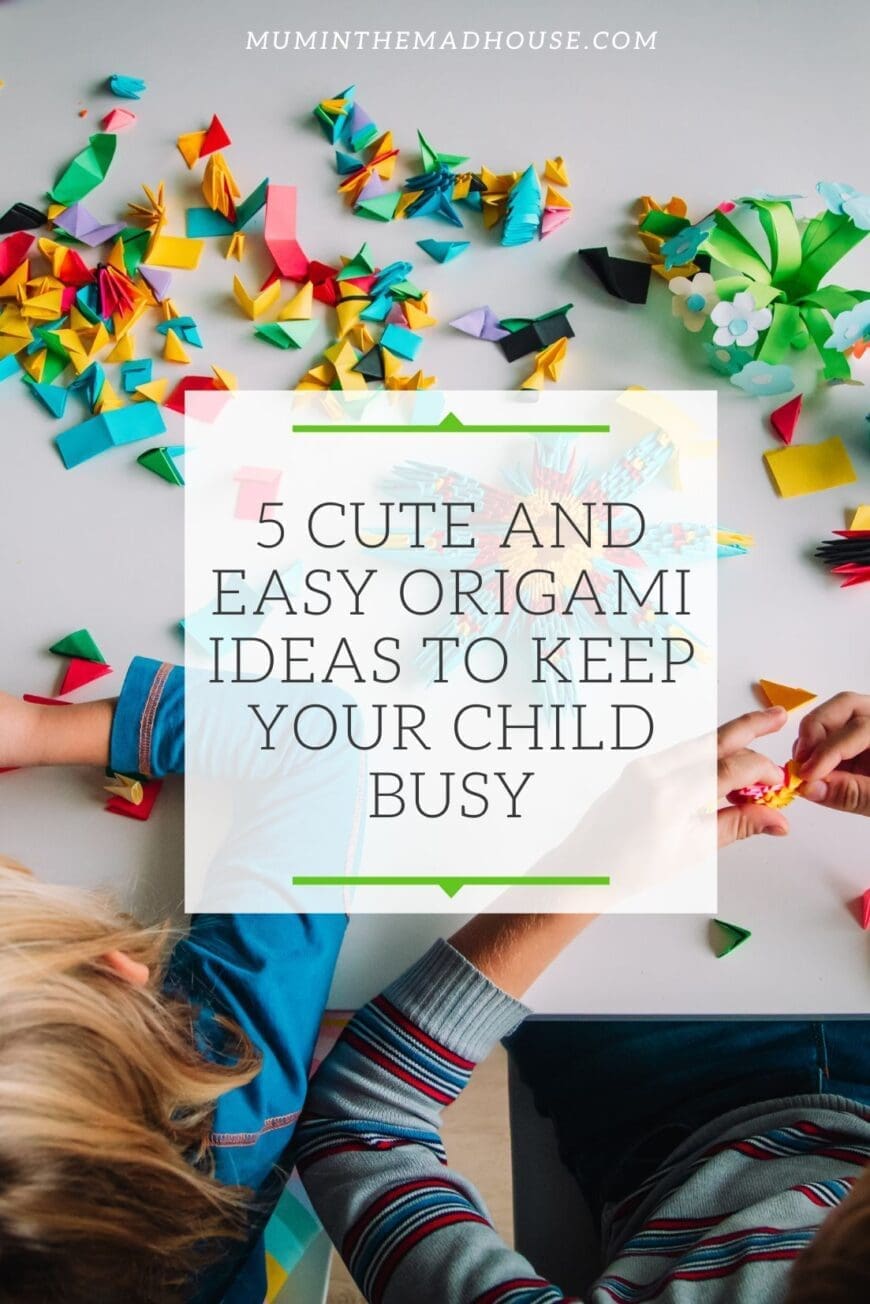
You should keep your children away from the screen during the weekends and holidays by inventing fun indoor and outdoor activities to keep them busy. Below are five easy and cute origami ideas to keep your kids busy. But let’s quickly understand what origami is.
Understanding Origami
Origami is the process of cutting up paper and folding and sticking it together with glue to create cute and unique items such as frogs or flowers. It’s a fun activity to keep your kids busy over the weekend or holidays. It helps with brain and motor development in kids, and the best part is you can find plenty of origami ideas on the craft-art.com website.
5 Easy and Cute Origami Ideas for Kids
Before we get into the ideas, let’s quickly look at some of the items you’ll need to have for these projects;
Items You’ll Need
This post contains affiliate links. If you make any purchases after clicking one of these links, I will make a small commission (hopefully enough to keep me in tea all year) – at no extra cost to you! This allows me to keep creating and sharing free tutorials and content for you. Thank you!
You will need these items to make different types of origami:
- Origami papers
- Scissors
- Glue
- Pencil
- Markers
No products found.

1. Fish Origami
Fish origami is pretty easy to make and can be done by kids from the age of 4 and above. It teaches kids all about shapes as they would be required to make square and triangular shapes.
Instructions
Step 1: Take a square of paper and fold it into two along the corners. Press down to create a crease and then unfold.
Step 2: Take the other corner, fold it into two, and press down to create a crease and unfold. Your paper will have four small square creases.
Step 3: Fold your paper along the length into two and press down to create a crease and unfold.
Step 4: Place your finger at the centre and press in gently so that the creases you made along the length will pop in.
Step 5: Then hold your paper’s left and right sides together to form a triangle and rotate it to create a right angle.
Step 6: Take the bottom corner of the top flap and bring it to the middle. And take the other flap and bring it to the centre while folding it over the initial flap to form the tail fin.
Step 7: Then turn over, draw the eye with the pencil, and draw some stripes and voila..!, you have a fish origami.
2. Sunflower Origami
Flower origami is a fun art and craft activity with your kids. You can make sunflower origami, so choose yellow origami paper. The type of flowers you can make with origami paper depends on your experience.
Instructions
Step 1: Take a square origami paper and fold it to form a triangle.
Step 2: Fold your triangle again to create a smaller triangle.
Step 3: Fold it again to form an even smaller triangle.
Step 4: Ensure that the triangle’s base is positioned vertically and that the corner of all the triangle flaps is at the bottom.
Step 5: Fold the shorter side of your triangle by bringing it towards the base or the longest side of your triangle.
Step 6: It will not cover the entire length, and the point where it meets the base cuts the part that is not covered at the top. The resulting triangle will be right-angled. Situated the same way on the table, take your pencil and draw an arc from the top right corner of your triangle. And let the arc end about ½ an inch from the bottom corner.
Step 7: Take your scissors and cut along the arc and then unfold the paper.
Step 8: Take another piece of plain origami paper, cut a small circle shape, and draw some dots on it, acting as the sunflower seeds.
Step 9: Then place glue on the paper at the bottom and stick it to the middle of your flower, and voila.! Your sunflower origami is done.

3. Paper Hearts Origami
This is probably the simplest origami with a literal meaning and can be made by kids from the age of three and above. If you want to create a surprise for your partner, you can ask your kids to help in making origami paper hearts and write a message in them. This will probably be the best gift ever as parents love receiving love and appreciation notes from their kids.
Instructions
Step 1: Take a square origami paper, preferably red in colour, or use their favourite colour.
Step 2: Fold the paper to form a square, and ensure that the longest length is at the top and sits horizontally on the table. Press down to ensure it forms a firm crease and then unfold.
Step 3: Fold it into a triangle from the other corner, press it down to form a crease, and then unfold.
Step 4: Take the top right corner and fold to ensure that the tip touches the midpoint of all the creases.
Step 5: Take the bottom corner and fold it to ensure that the corner touches the edge of the folded triangle.
Step 6: Then take your left and right corners, fold them towards the centre, and ensure they align perfectly. Since the tips will be sharp, you can fold the corners slightly to form a perfect origami heart.
Step 7: You can use glue to stick the parts together if you want them to be permanent. And there you have your perfect origami heart.
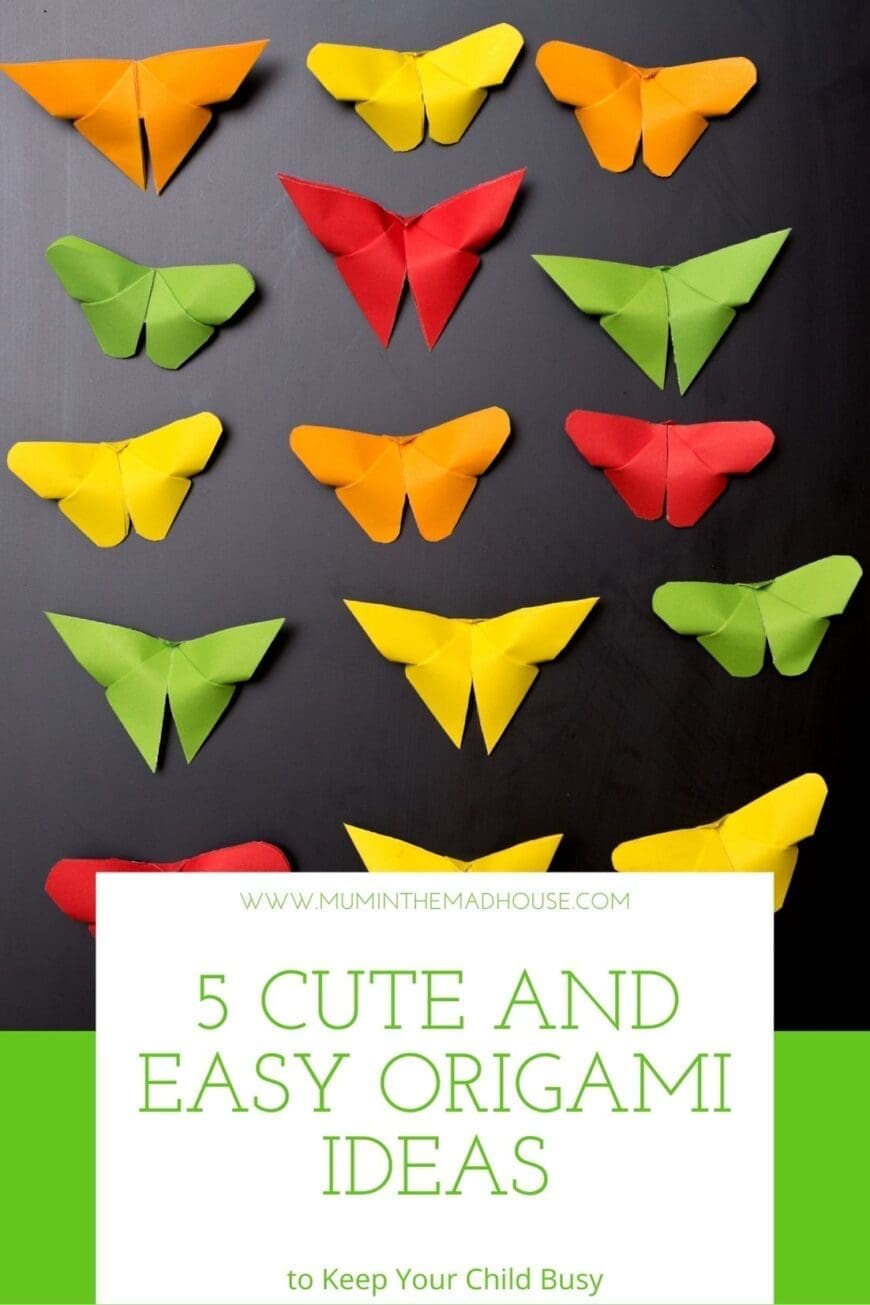
4. Butterfly Origami
Butterflies are beautiful, and your kids will enjoy creating this incredible origami. If you have a backyard party for your kids, you can use this as part of their fun activities, and after they are done, hang them as DIY decorations in your home. That will bring even more joy to your kids and make them feel proud.
Instructions
Step 1: Take a square origami paper in your favourite colour.
Step 2: Fold to form a triangle and then unfold.
Step 3: Take the other corner, fold it to form another triangle, and unfold it.
Step 4: Fold it along the length to form a rectangle and then unfold it. Then take the two edges and collapse them onto the waterbomb base to form two triangles.
Step 5: For the top flap of your triangle, take the two corners and fold them upwards along the centre to form two small triangles.
Step 6: Turn your origami, lift the bottom corner up, fold past the top edge, and ensure that the tip extends to the other side.
Step 7: Press down to flatten the centre but ensure that the edge does not crease.
Step 8: Then fold the tip of the triangle and don’t crease it. It would be best to apply glue to hold the flap down.
Step 9: Then fold your butterfly in half to give it its shape, and voila.! your origami butterfly is ready to be showcased. You can make several and hang them inside your kid’s room.
5. Boat Origami
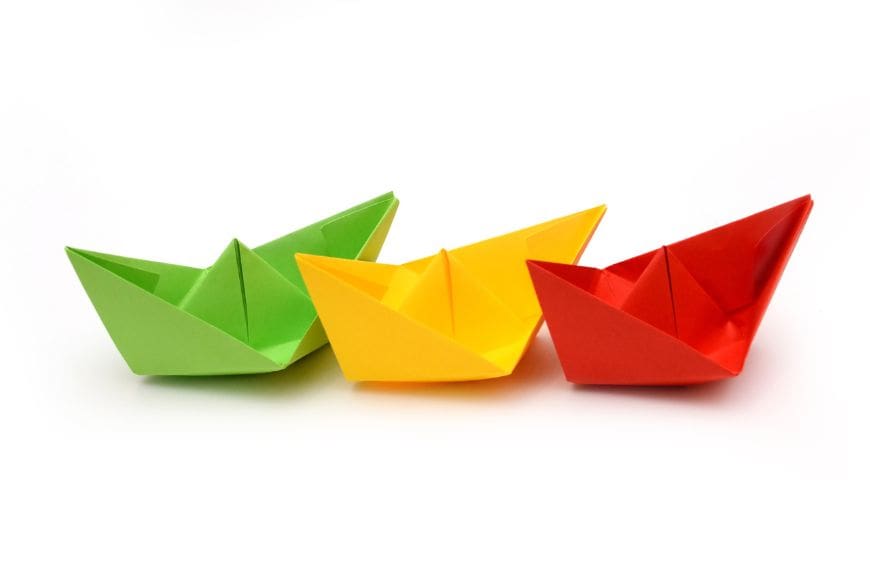
If bathtime is not your child’s favourite, have them make several boat origami and place them in the tub during bath time. The boat origami distracts them and keeps them busy, giving you an easy time bathing them. It’s even better if they create the origami themselves.
Instructions
Step 1: Take a rectangular piece of paper.
Step 2: Fold it in half along the width, press down to form a firm crease, and unfold.
Step 3: Fold it in half again along the length, and press down for a firm crease.
Step 4: Take the upper left and right corners and fold them towards the middle to form a triangle.
Step 5: At the bottom of the triangle is an allowance of paper; fold each side upwards.
Step 6: Then open it up and then collapse it to form a diamond shape.
Step 7: Take the bottom corner and fold it, ensuring it’s touching the top corner.
Step 8: Flip it over, and repeat; take the bottom corner and fold it, aligning it to the top corner.
Step 9: Open it up and collapse it into a diamond shape.
Step 10: Hold the two top corners and pull them apart gently. Then press down to flatten them.
Step 11: Then pull the sides open, and there you have an origami boat.
Step 12: If you want kids to play with them during their bath, ensure they use crayons to colour the bottom of the boat to prevent them from getting soaked up quickly.
How Does Origami Benefit Kids
Origami is one of the top activities kids can do at home. It will not only help your kids pass the time but also have sensory, physical, and sometimes emotional benefits for children of all ages. These benefits include:
● Brain Development
Children’s brains are still developing when they are young, and engaging in fun and creative activities helps stimulate their brains further. Thus enabling them to learn different shapes and colours.
● Motor Skills
Creating origami requires great hand coordination to cut and make the folds. So it also helps your child improve their motor skills.
● Focus and Concentration
Since they need to make precise cuts and folds, your child’s mind is attuned to the task at hand, which helps them enhance their focus and concentration. And this is helpful in their studies and other areas of their life.
● Following Instructions
For your child to create a particular origami model, they have to follow the instructions to a tee, and if they don’t, they may end up with botched origami. Thus, this helps them learn to listen and follow instructions.
● Embrace Their Failures and Try Again
There is a possibility that your child won’t get it the first or the second time. This teaches them not to give up; therefore, even if they don’t get it on the first try, they should try again and again till they get it right, which will be very fulfilling.
● Enhance Their Self-Esteem
The art of creating something and succeeding is a tremendous confidence boost. So folding a piece of paper and making a flower or a boat origami is quite an achievement for a child, which helps boost their self-esteem.
Final Thoughts
If you want to keep your child busy and at the same time help in their development, you should come up with unique and fun crafty activities for them to do. You can use the origami ideas above to stimulate their minds and ensure they are having fun by choosing fun origami paper colours and items to make.