


Every Halloween we splash out on capes, broomsticks and witches hats and every year 300,000 tonnes of clothes end up in the bin. Scary right? Well, I am working with Hubbub this Halloween to bring you 5 DIY Halloween Outfits from things you have at home. These kids DIY Halloween costumes are simple to make and I basically raided the airing cupboard and wardrobes.
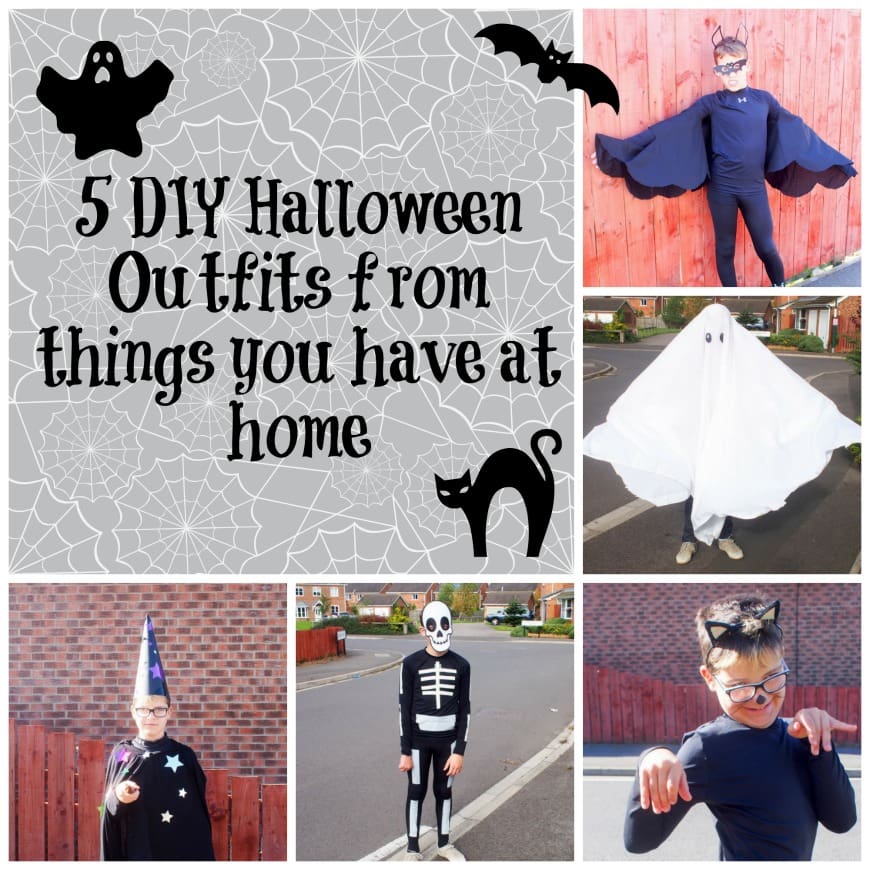
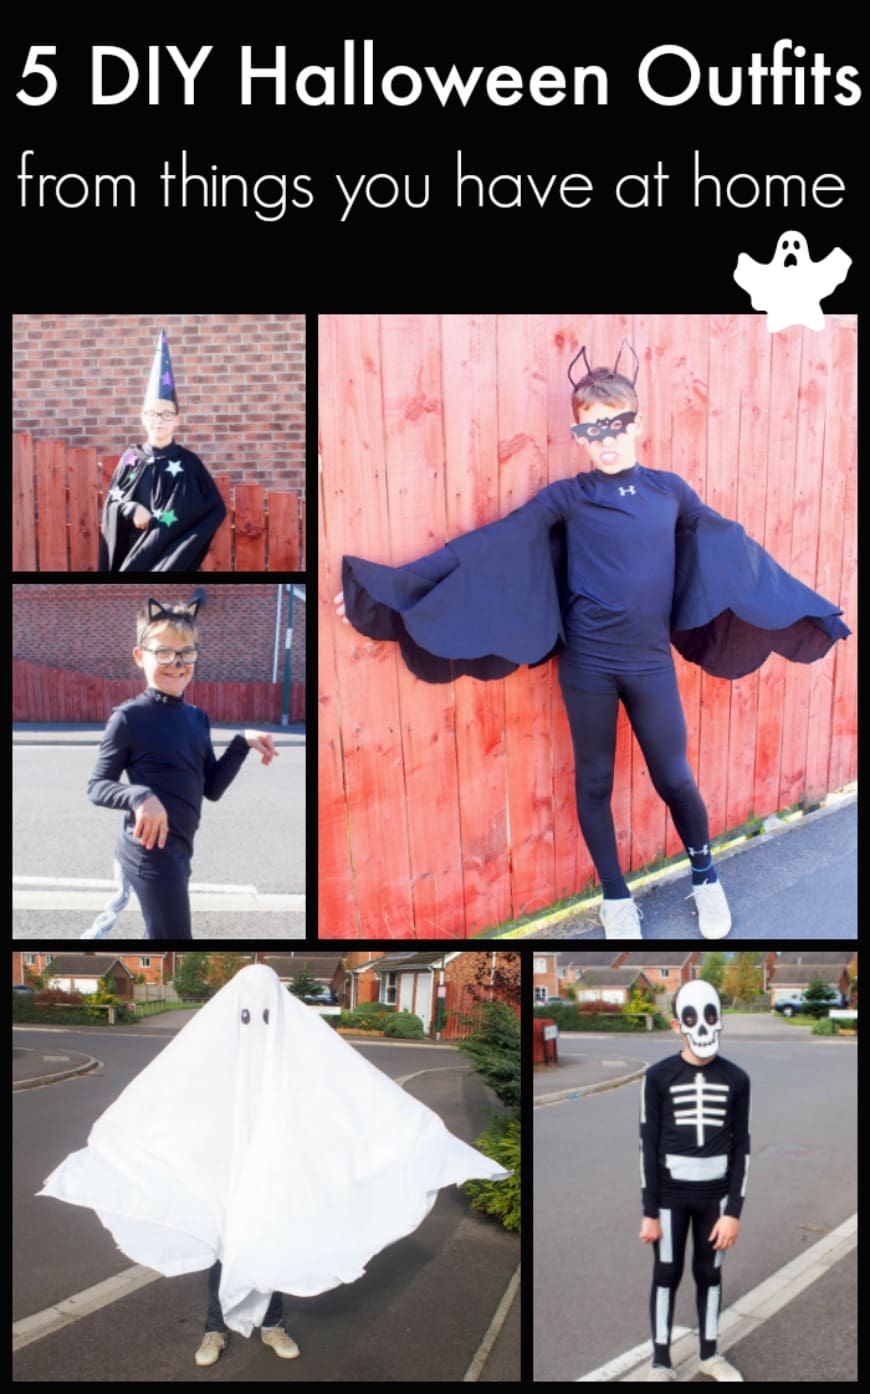
Here are some easy (no sew), DIY costume ideas you can create at home. With a little do-it-yourself magic, you can turn items you already own into fab fun Halloween outfits in less than 30 minutes an outfit. We took some of the most popular costumes and then DIY’s them. So we have a ghoulish ghost, vampire bat, cat, wizard and skeleton. All of them made from things that I had in my home or from items you can buy for less than £10. We used bedsheets for our ghost and bat and cut with pinking scissors so they didn’t fray, but you could use fleece blankets or if you have time then you could sew them.
If you are in North London then why not join the team at Sew Spooky and swap or make a DIY costume that won’t spook the planet this Halloween, instead of buying new.
5 DIY Halloween Outfits from things you have at home
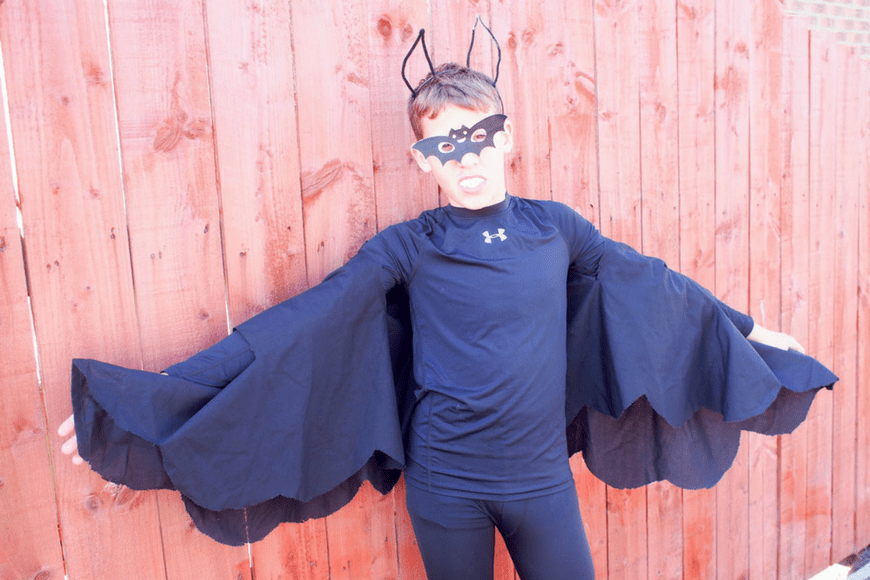
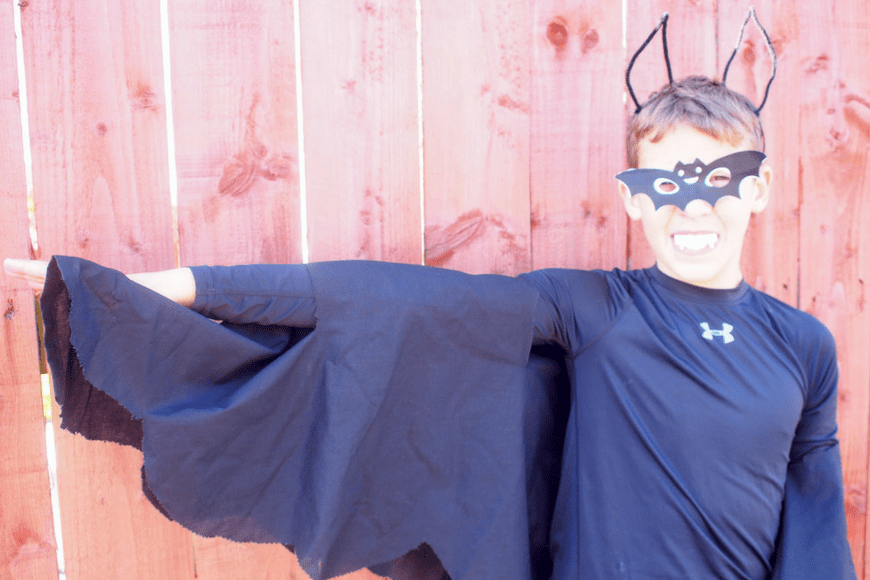
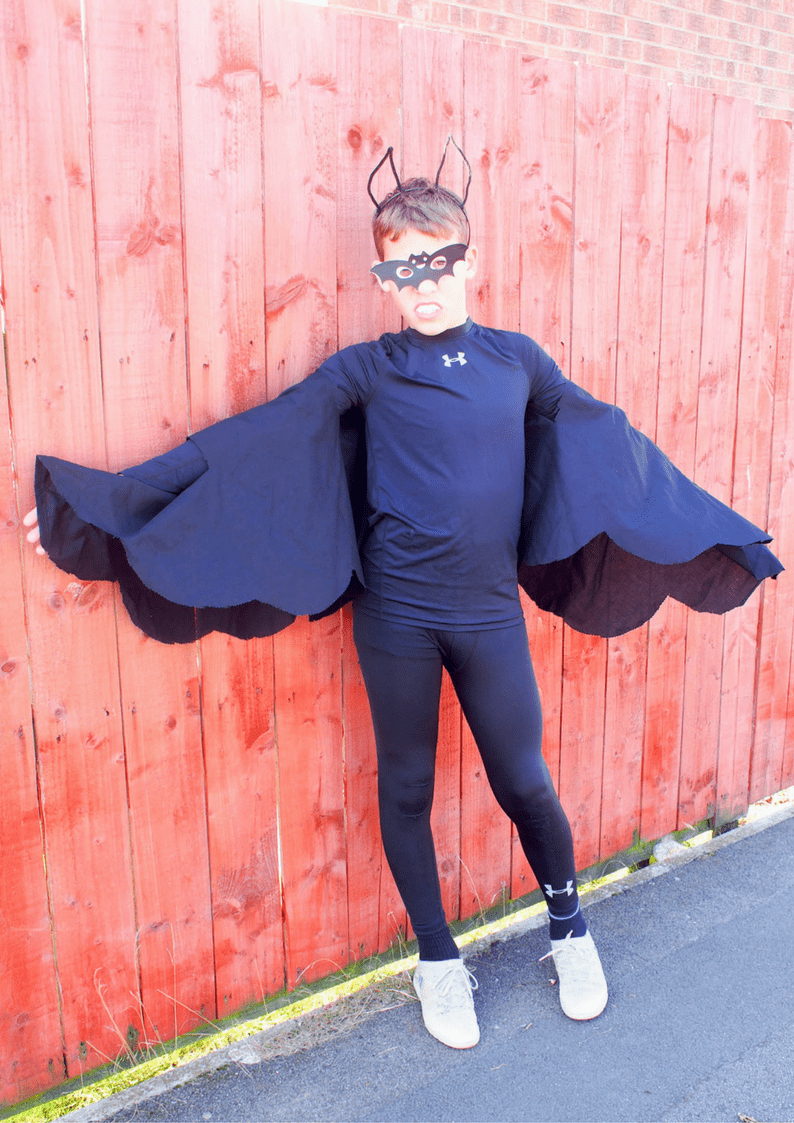
Vampire Bat Costume
Materials
- Black bed sheet or fleece blanket
- Headband
- Pipe cleaners
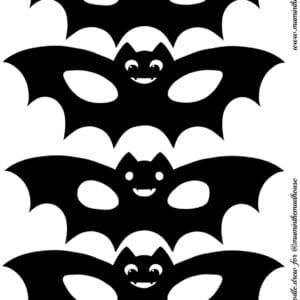
- Bat Mask printable
- Black clothes
- Vampire teeth
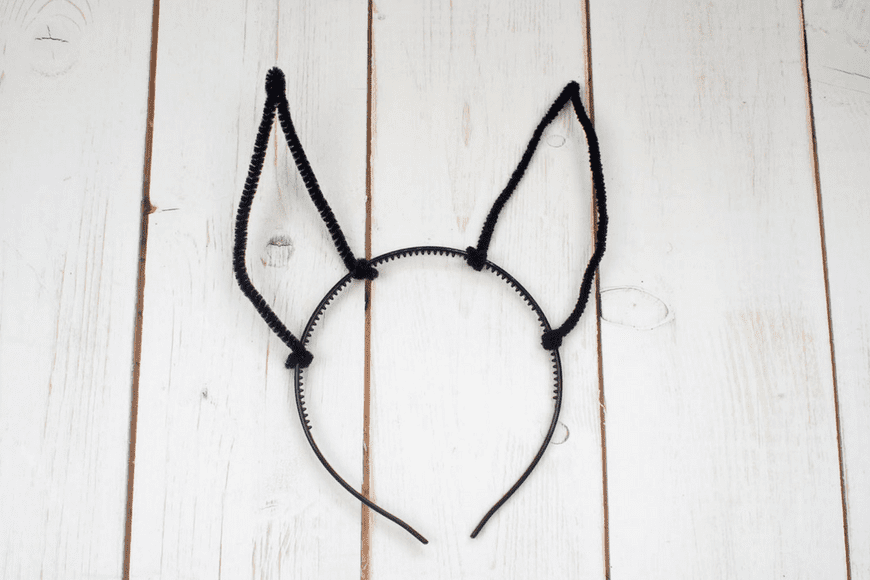
To make your bat ears, take an Alice headband and wrap a black pipe cleaner around for each ear.
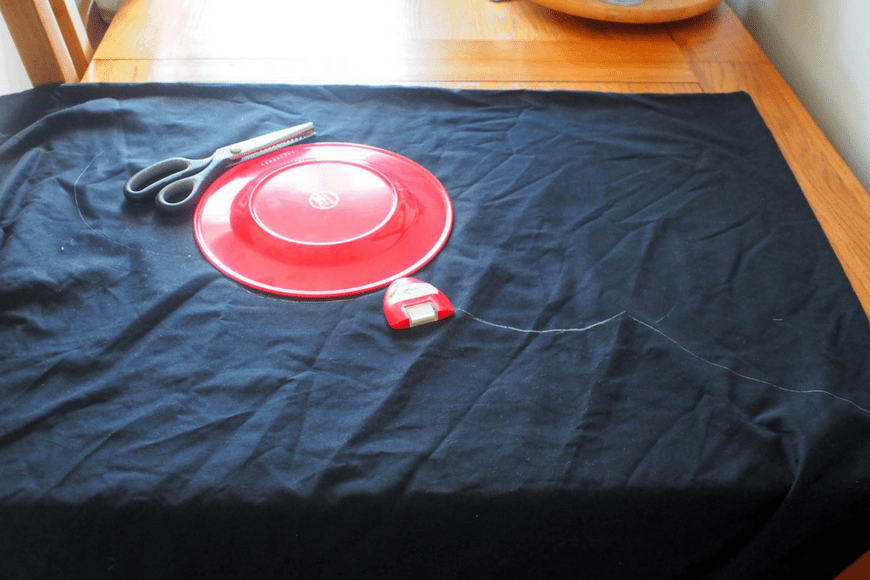
To make the bat wings, take your sheet or black fleece and some chalk to mark on it. I folded the sheet in half and measured it against the wearer to ensure that the bat’s wingspan was large enough.
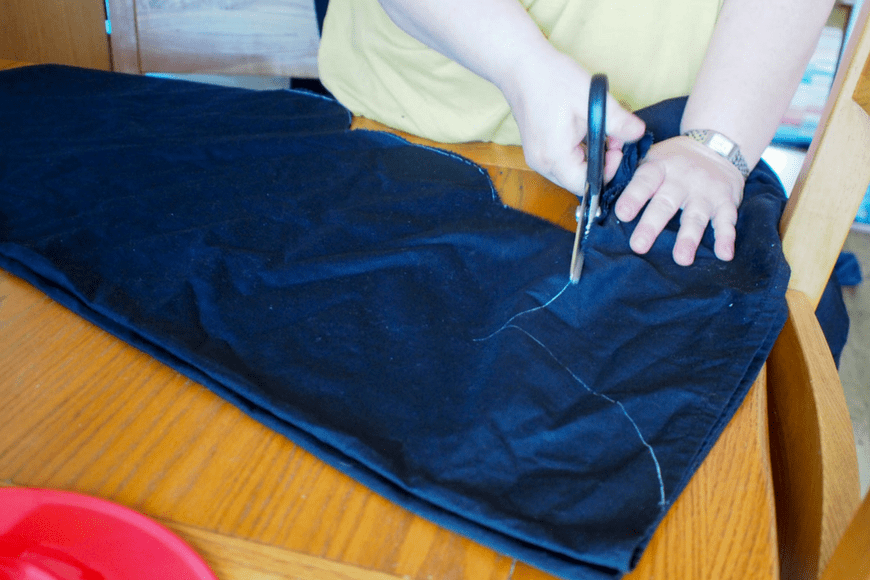
Using a plate as your guide, trace a batwing shape on your material. Cut out your wings, I used pinking scissors to stop fraying.
Mark two horizontal armholes approximately 8 and 12 inches from the centre of the batwing. These should be about 2 inches from the top of the wing. Mark a finger hole about 1 inch from the edge of the wingtip.
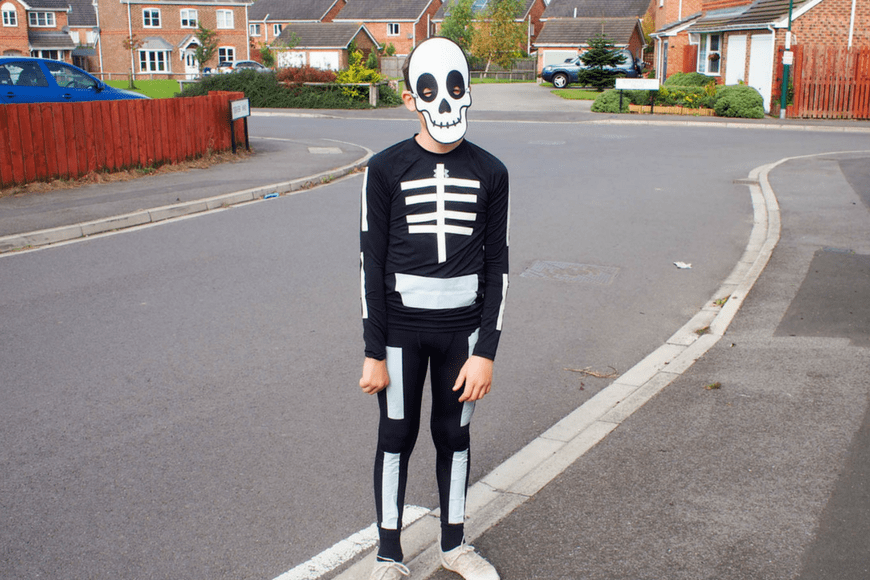
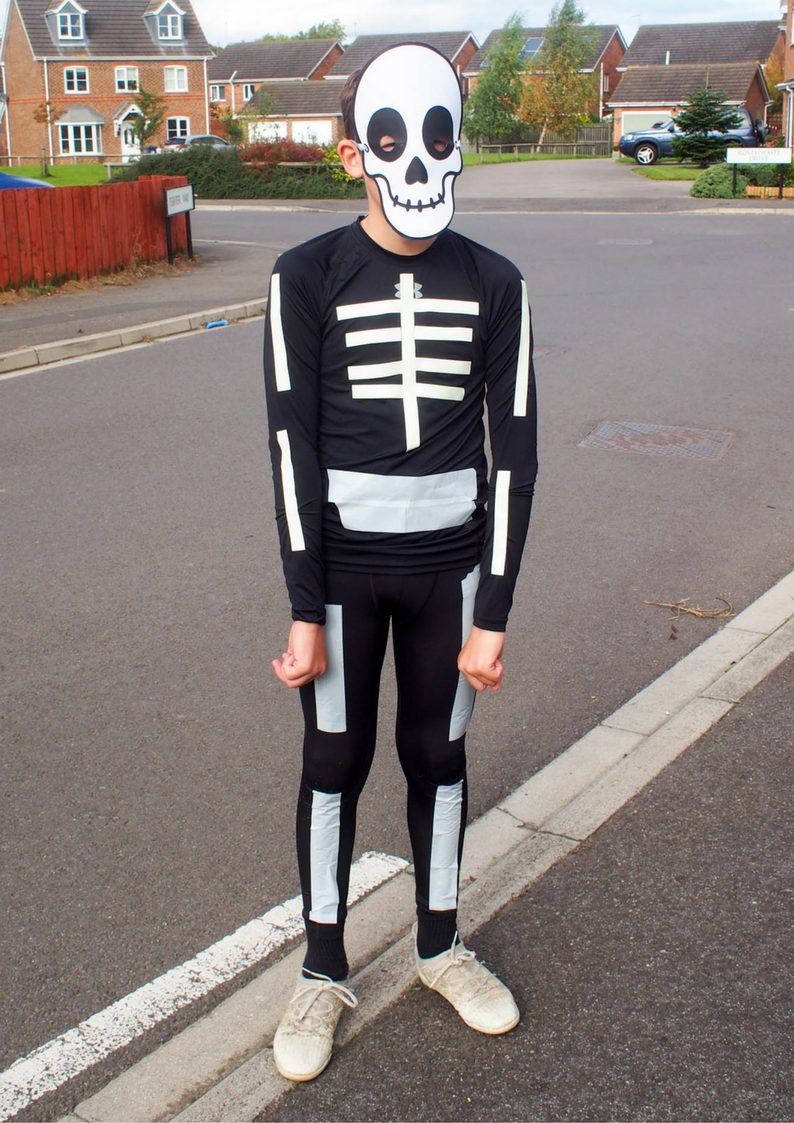
Skeleton Costume – Glow in the Dark
Materials
- Black clothes – The boys wore their underlayers from sport
- Glow in the dark tape or white tape
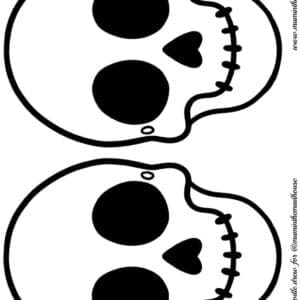
- Free printable Skeleton Mask
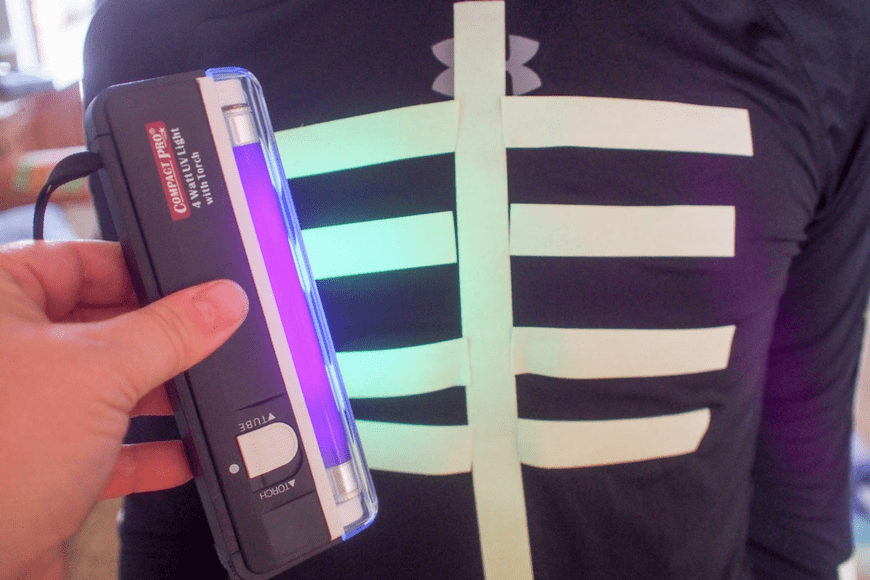
It really doesn’t get much simpler than this costume – we just put on our black clothes and then cut the tape and positioned it as a skeleton! The glow in the dark tape is really great fun, but you will need two rolls for a full skeleton. We used inexpensive white tape that we already had in the house for the leg bones. Tip – do not add the tape until the clothes are put on if they are stretchy as it will come off!
Sheet Ghost
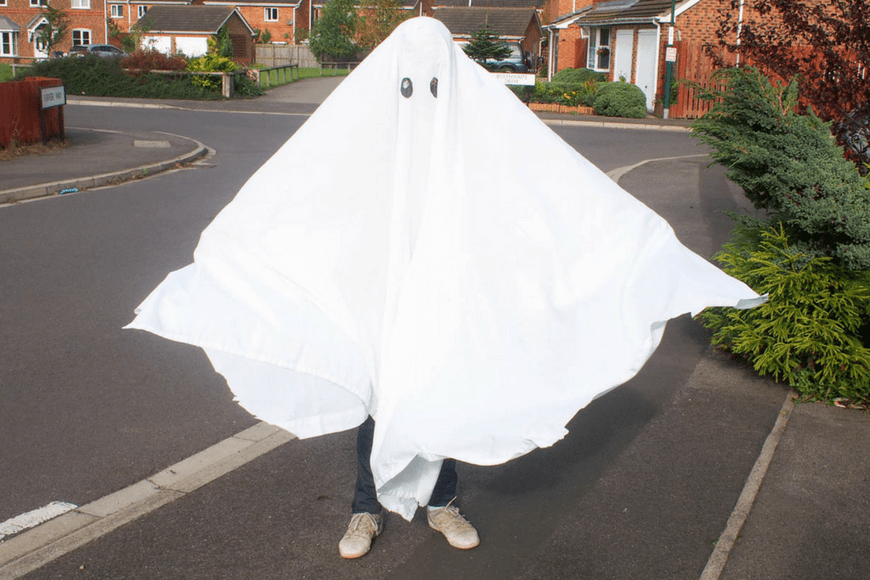
The secret with a sheet ghost is how to stop it falling off or moving and this sheet ghost has an ingenious way of doing this without having to tie it at the neck!
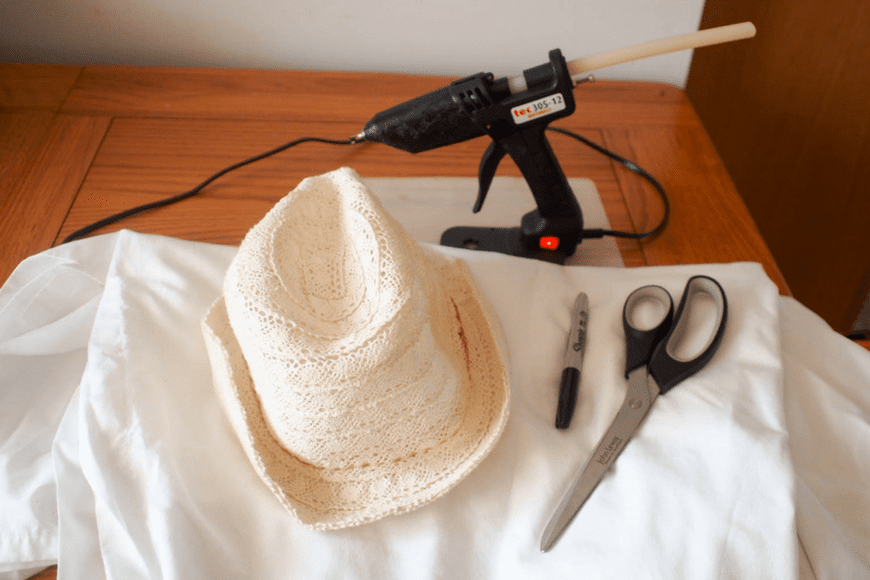
Materials
- Bed sheet – we used a double sheet as Maxi is 5 foot.
- Light coloured hat or cap
- Glue
- Black Sharpie
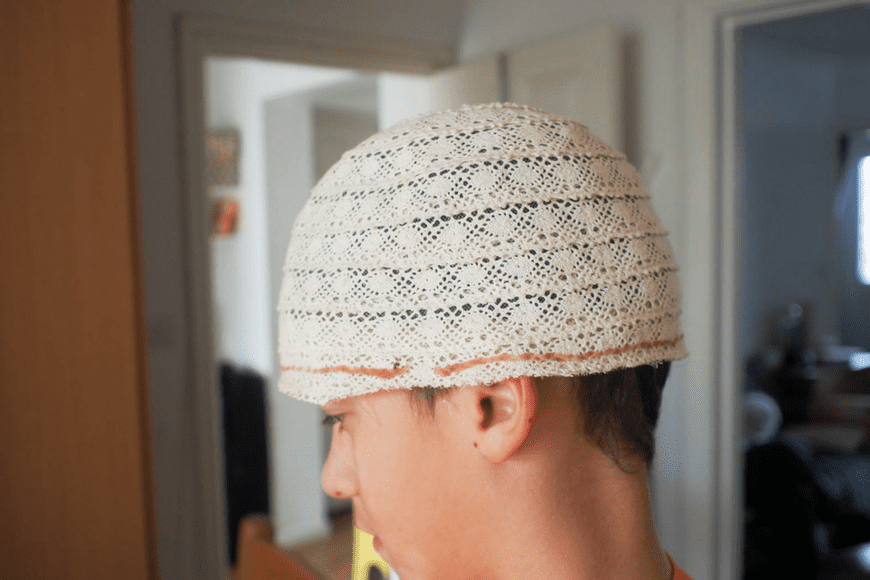
Cut the brim off a light-colored hat.
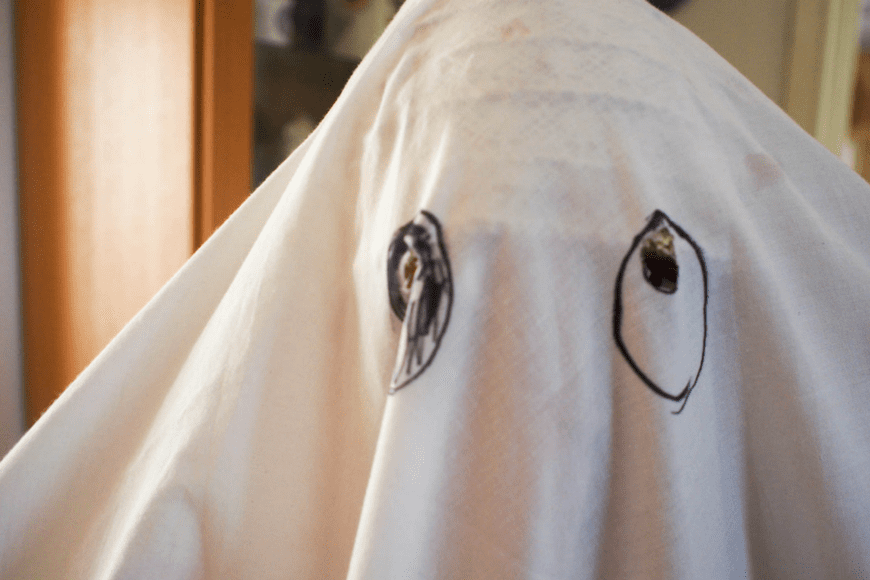
Put a hat on and drape a sheet over your head and pin in place. Mark where your eyes and then pull the sheet off. Cut holes for the eyes and then using a sharpie colour around to give your ghosts big spooky eyes. Glue the hat to the sheet.
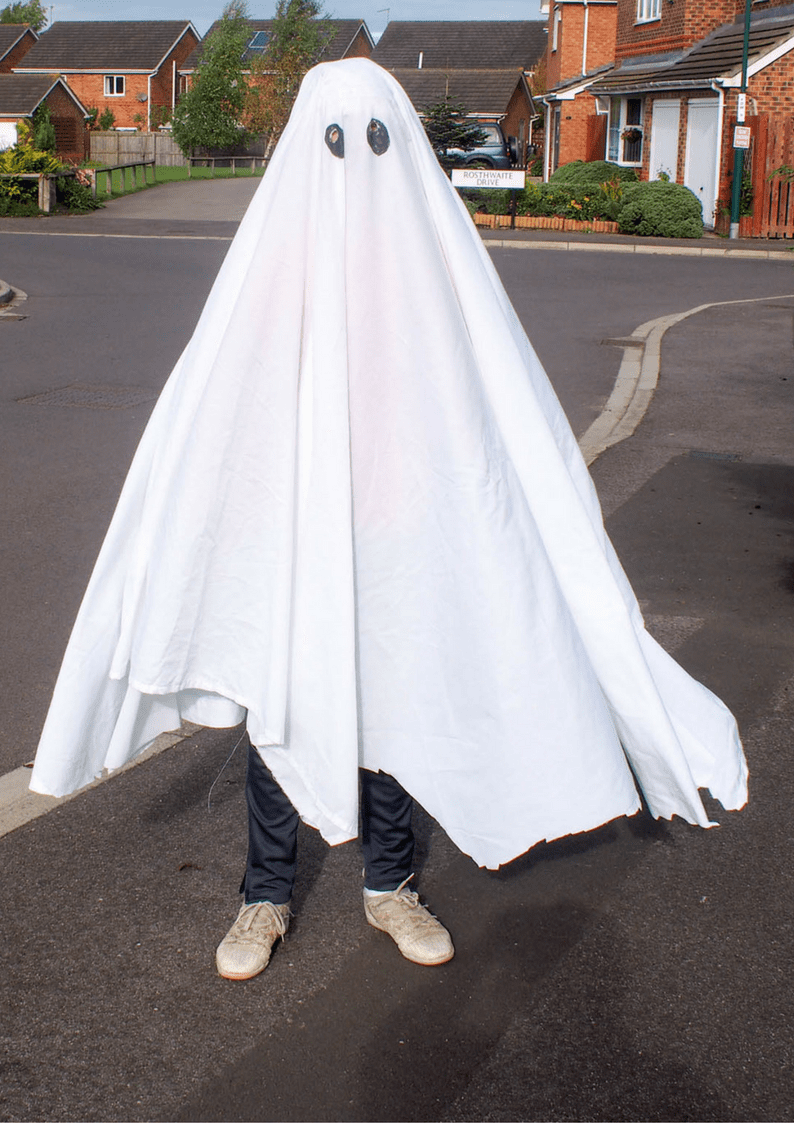
If the sheet is too long then trim the bottom. This doesn’t have to be neet as ghosts are quite ragged!
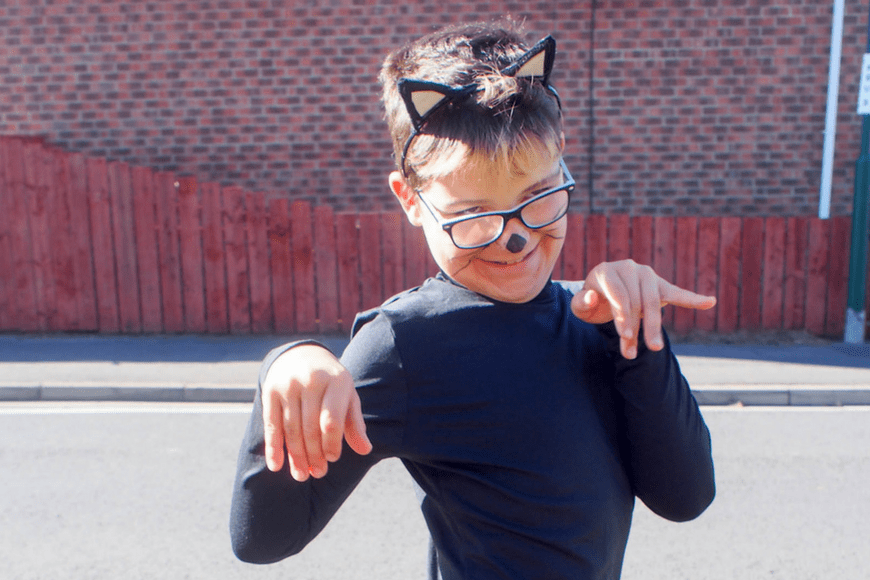
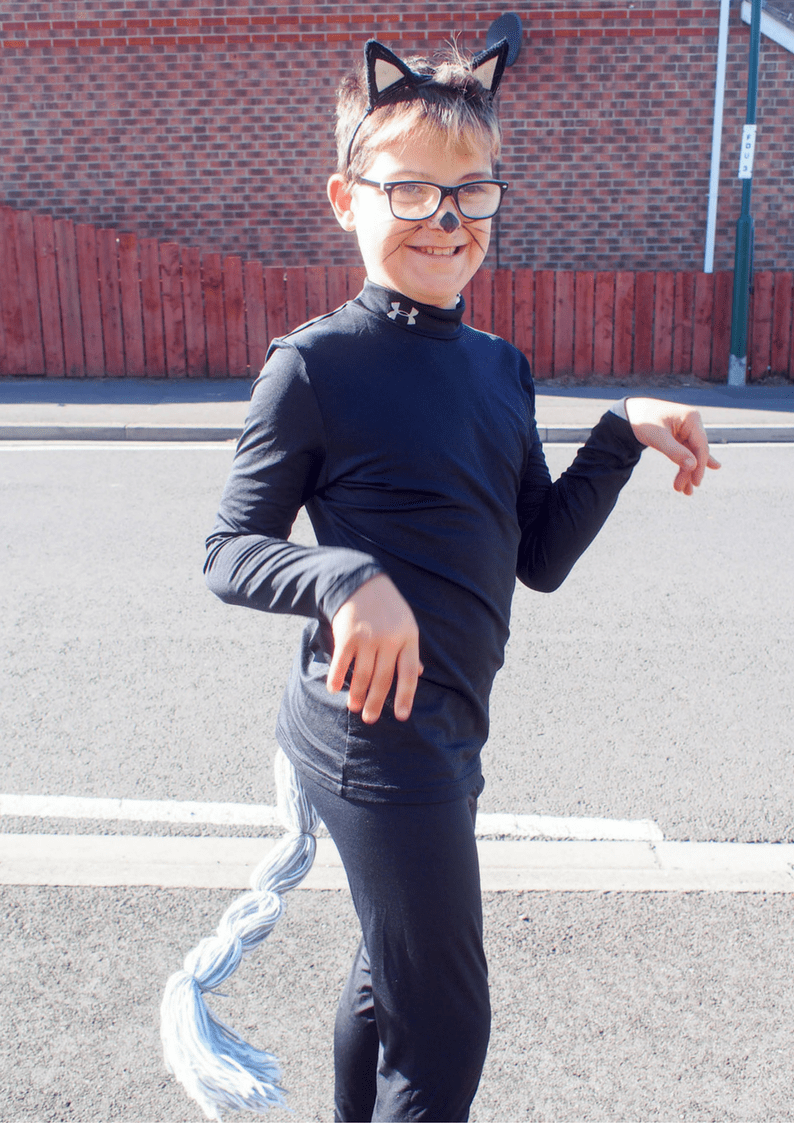
Cat Costume
Materials
- Headband
- 2 Pipe cleaners
- Glue
- Black felt
- White Felt
- Wool – we used great and whit as it was what we had
- Wire coat hanger
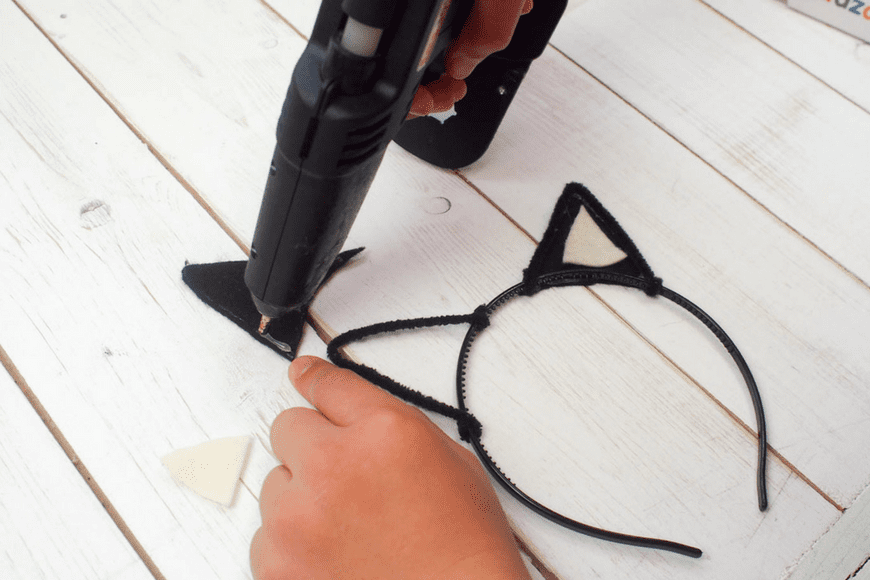
To make the ears use a pipe cleaner for each ear, shape and wrap onto the Alice band. Then trace around the ear shape onto a piece of felt and cut out. Using a lighter felt cut a smaller triangle for the inner ear.
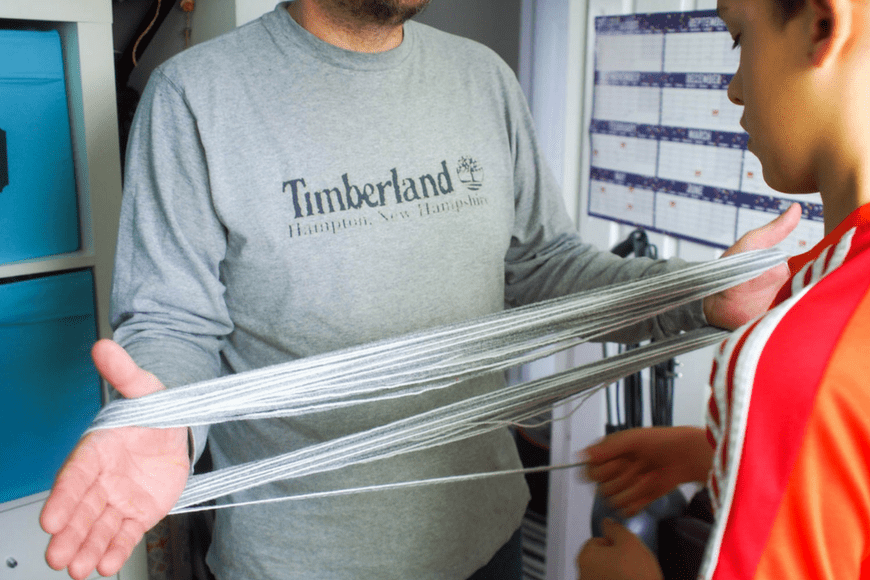
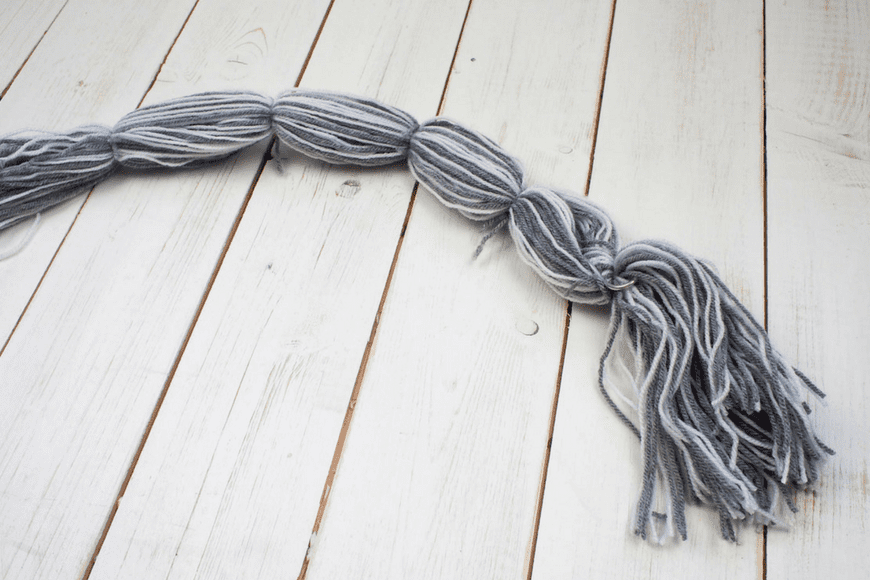
There are lots of ways to make a tail depending on what you have in the house – the leg of a pair of pare tights would also work (you could stuff it with newspaper and shape with a wire coat hanger), but all we had was some wool, so we decided to use that. Take the wool and wrap it around a persons hands at the length you want the tail to be. Then secure regularly along the tail with wool. Thread in an opened wire coat hanger and cut one end of the wool to create a fury tail end.
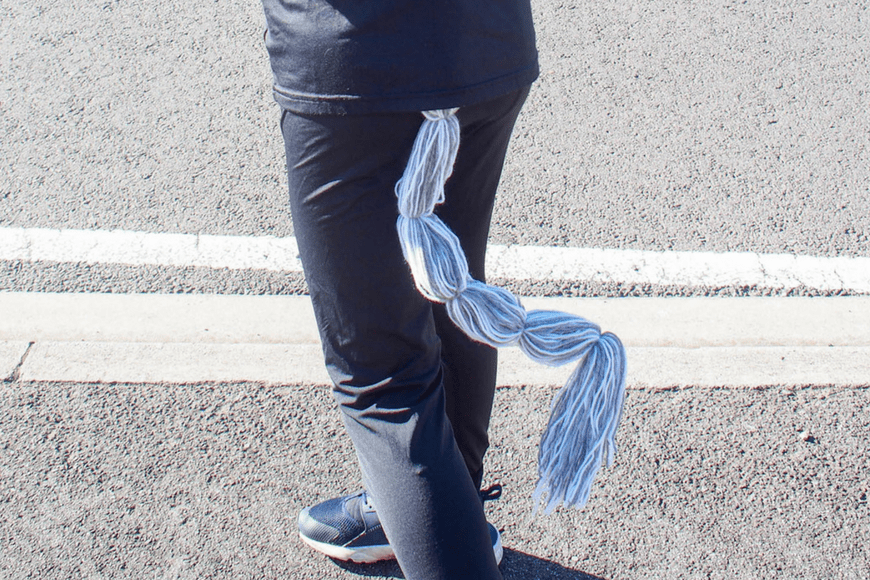
We pinned the tail to the back of the trousers with a large safety pin.
Then you can have lots of fun face painting on whiskers!
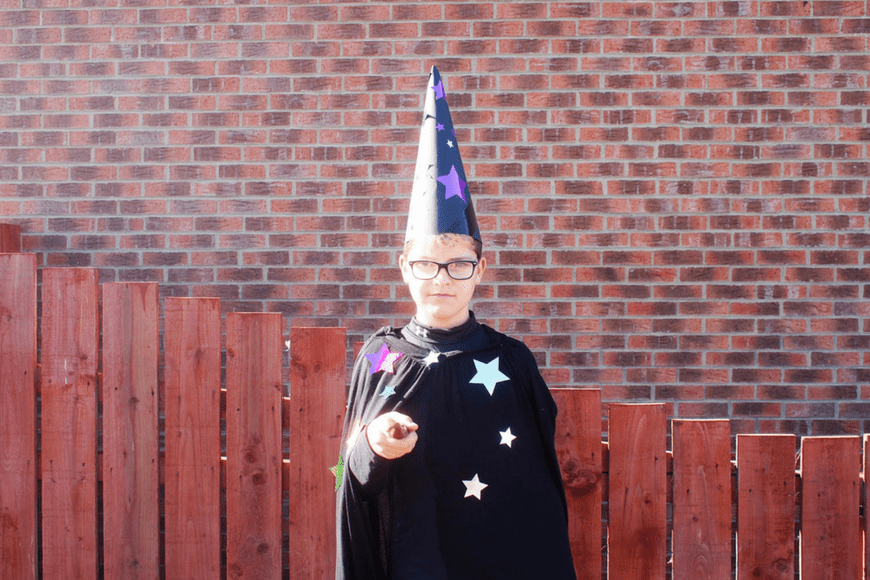
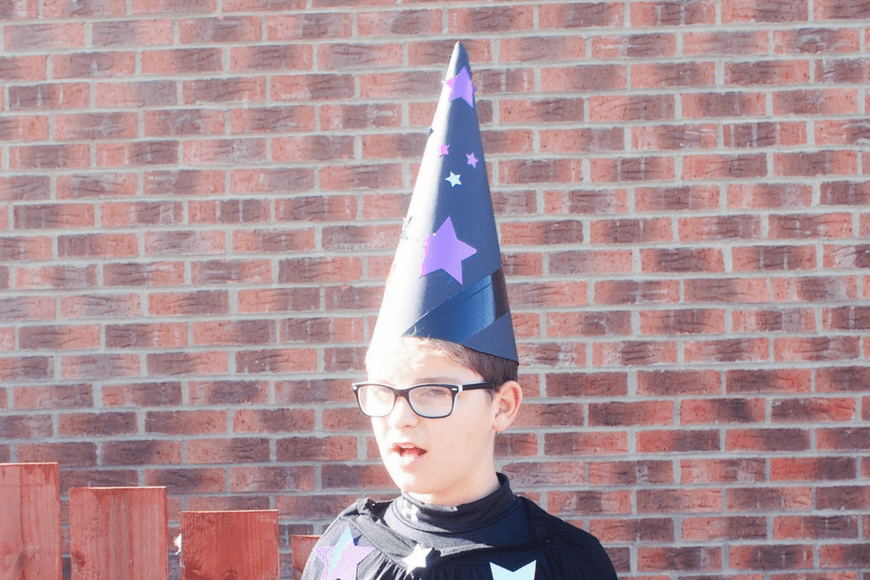
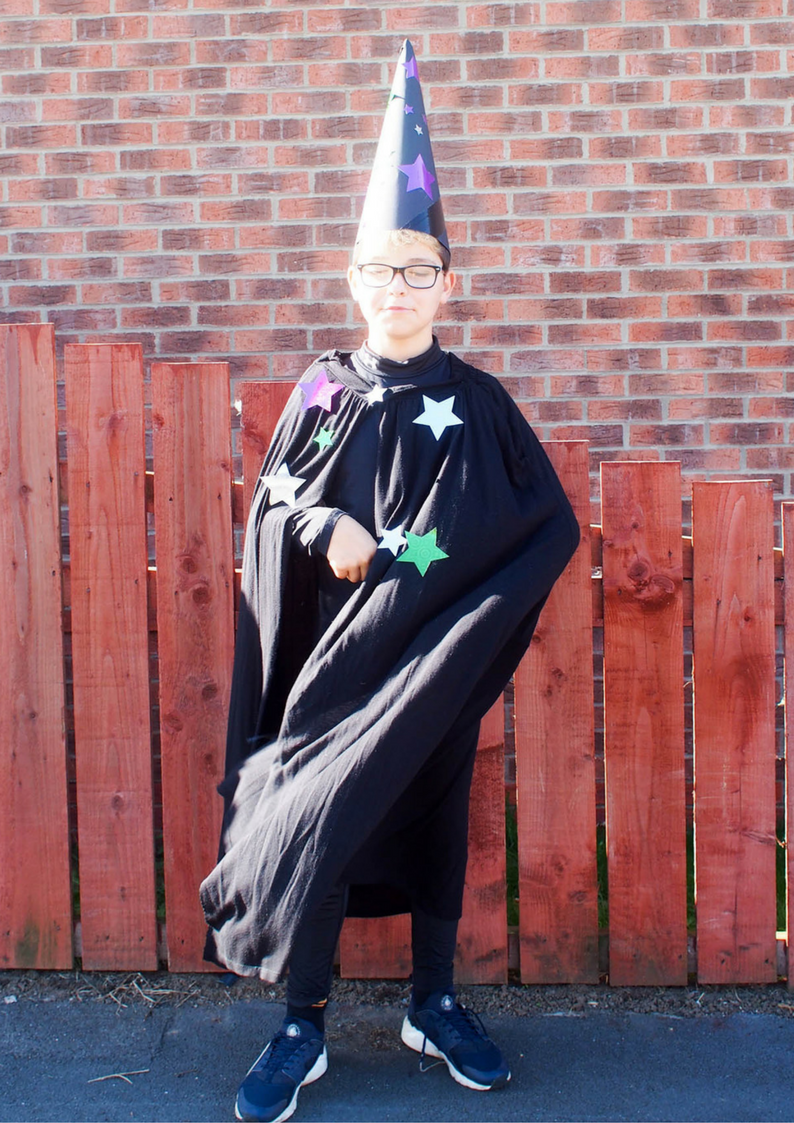
Wizard Costume
Materials
- Card
- Scossors
- Pencil
- String
- Long Black Skirt
- Safety Pins
- Sticker Paper or Star Stickers
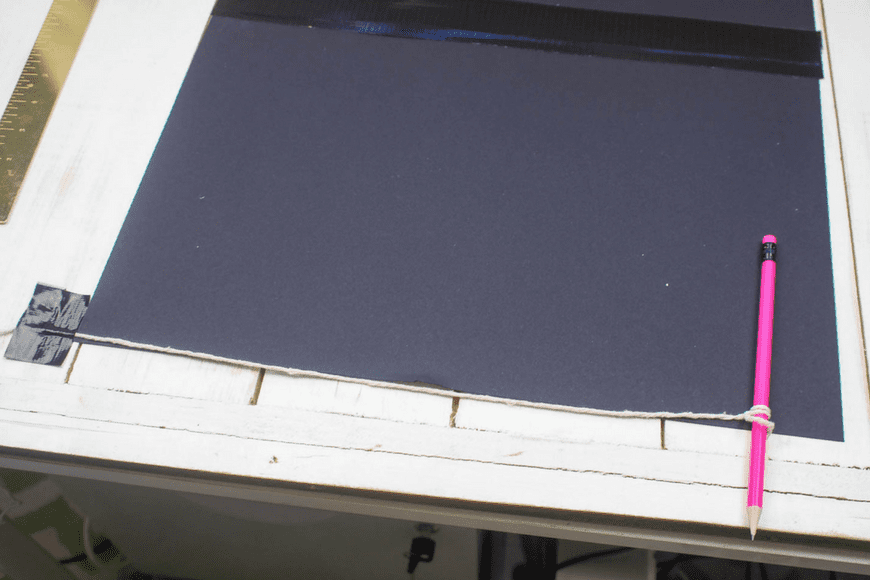
Draw a quarter circle with a radius of about 14 to 16 inches on card using a pencil tied to a string. It will be helpful to tape the string to the pivot point – we taped some sheets of card together to make it large enough. Cut out the quarter circle. Position it so that the pivot point is on top. Roll the quarter circle into a cone, making the base as broad as the paper will allow. Staple at the base. Try on the hat. If the hat is too big, remove the staple and re-adjust the cone’s base to fit on your head. Staple it when you get a comfortable fit. Tape along the seams (you can glue, but you have to hold it until it dries). Decorate your hat as desired.
To make the cape drape the skirt over the persons head and using safety pins (or you can can stitch) make the waist lay comfortably around the neck. If your skirt has a zip and button then you can keep the button and cut out the zip and have this as a fastening at the front.
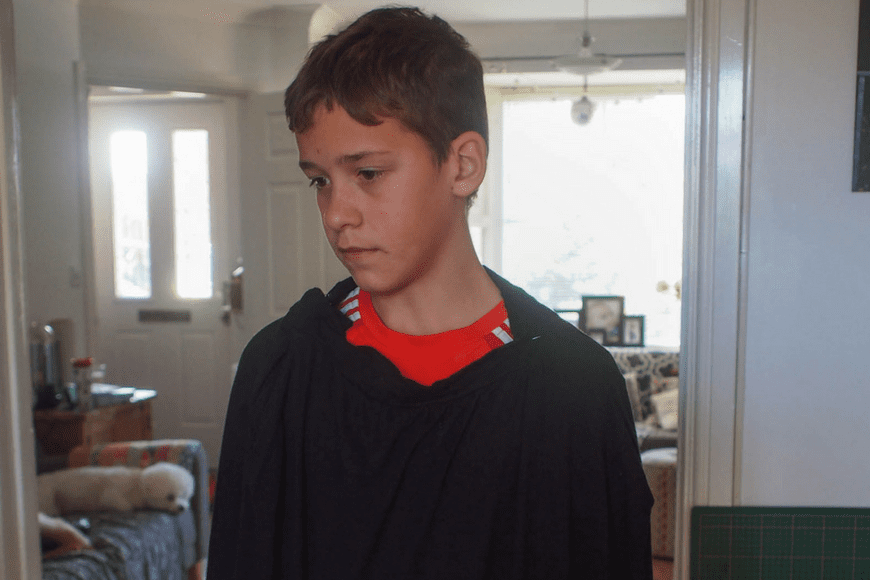
Then cut open the cape leaving the waist band intact. We used pinking scissors so that the fabric doesn’t fray, however, you could quite simply seam it. Decorate with stickers or glue on fabric stars.
Comments are closed.