
You need to engage your kids in activities that don’t involve screens or digital gadgets during weekends or holidays. Yes, you might not have much spare time to play or keep your kids occupied, but that doesn’t give you the green light to have them watch cartoons for hours. You can keep your children entertained by having them create cute and unique crafts using silicone moulds, thread & needles, or clay.
Then you can have them use their creations as toys or find a perfect place in the house in their room and create a display to showcase their work. This will help enhance their creativity and have fun in the process.
8 Fun DIY Crafts You Can Create With Kids
Spending time creating DIY crafts with your kids will improve your relationship with them and strengthen your bond. So even if you are busy, take a day or a few hours during the weekend and do DIY projects with your kids. And you can use the items made as gifts for the family members or display them in the house. Your child will be proud of their work, motivating them to create more.
However, ensure that you are present to supervise the projects if they involve knives, scissors, or hot glue guns, as you don’t want any accidents.
1. Papier-Mache Vases
These are great to make as they can be used in the house to hold flowers, fruits, or candies. You can soak the papers in a dye to make the vases in various colours to suit your décor. And your kids will be so happy seeing their creations in the house.
How to make papier-mache vases
Items needed
- 1 Balloon
- White glue
- Newspaper
- 1 toilet paper
- Paintbrush
- Acrylic paint
- Embellishments, such as beads and ribbons
Instructions
Step 1: Cover the areas you use as a working bench with a plastic tablecloth. And it would be best if you and your kids wear an apron to protect your garments.
Step 2: Tear the newspaper and tissue paper using your hands into different sizes: strips
Step 3: Fill your balloon with air, and ensure it’s the size you want for your vase. Then tie it to prevent deflations.
Step 4: Shape your balloon into the shape of your vase. If you want it to be thin in the middle, take a string and tie it to create a doughnut shape. But if you wish to have a circle-shaped vase, leave it as it is.
Step 5: Apply the glue to the balloon, then stick the newspaper on top of it and add more glue. Repeat this process until all the area you’ve mapped out is covered.
Step 6: Add another layer of newspaper on top and let it dry.
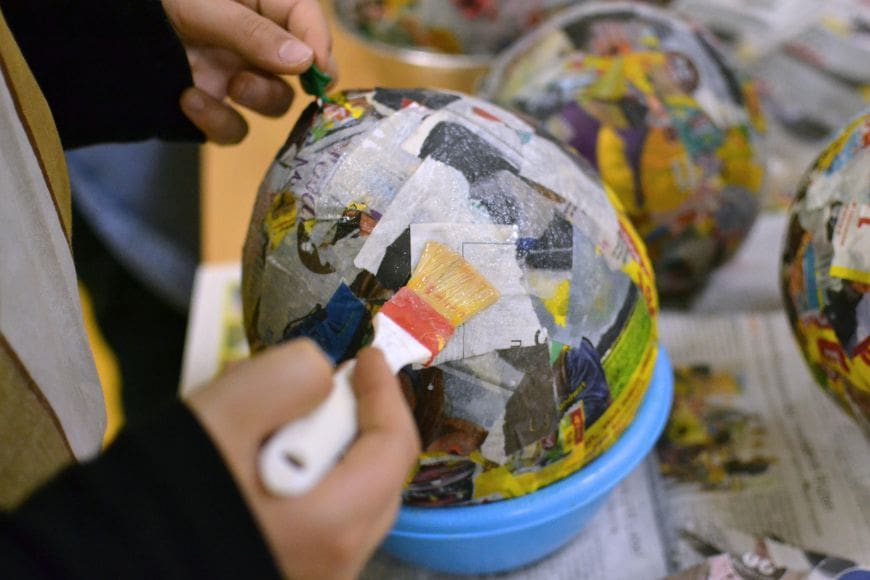
Step 7: Apply the glue on top, then stick a layer of tissue paper to make a uniform colour. Apply more glue on top of the tissue paper, add a second layer of tissue paper, and let it dry. The tissue paper makes it possible for you to paint your vase.
Step 8: After your vase has dried, apply another layer of glue to fortify your creation. Then after it dries, you can pop the balloon.
Step 9: Then use the acrylic painting colour of your choice. You can paint flowers or add embellishments, and voila..! You have a vase.
2. Painting
Kids love painting, and this can be a great way to spend time during the weekend. You can use this tutorial for alcohol ink art to help your kids create their first picture. The best thing about using alcohol ink is that it evaporates quickly; thus, the painting dries quickly.
Unlike acrylic paint, you can revive alcohol ink. What does this mean? When alcohol ink dries in the containers, it can be restored by pouring pure alcohol and fresh ink.
Items needed
- Alcohol ink
- Yupo paper
- Blending solution
Instructions
Step 1: Spread your Yupo paper on a workbench.
Step 2: Then pour a drop of your alcohol ink and observe how it spreads.
Step 3: Pour another drop of a different colour onto the first and watch how it spreads and displaces the first colour. Continue dripping different colours on each other and see how they contrast.
Step 4: Alternatively, you can pour alcohol on your painting paper, then pour different colours and mix them up using a straw. You can also use a hairdryer set to the coldest level and under low airflow to prevent splashes. Using a warm setting risks setting your painting on fire as alcohol is flammable.
Step 5: Let it dry, and you have your first pictures. These alcohol ink art are unique, and you can hang them in the house.
3. Slime
Kids are currently obsessed with making and playing with slime. As art is extremely beneficial for the development of children, you can take advantage of this obsession and make slime with your kids at home. And experiments with different colours and decorations, and ingredients. If you don’t want to use borax then we have an amazing post for two-ingredient silly putty slime
How to make slime
Ingredients
- Borax
- Water
- 2 bowls
- Clear glue
- Food colouring
Instructions
Step 1: Pour 1 oz. of glue into a bowl and mix with ¼ cup of water and some food colouring of choice.
Step 2: Add ¼ cup of borax to the mixture and stir slowly. And you’ll notice slime begin to form. Check the consistency by lifting the mix with the stir stick.
Step 3: Continue stirring; at this point, you can use your hand to knead your mixture until it stops sticking to your hands. If you have any leftover water in your bowl, pour it out.
Step 4: After it comes out as expected, please place it in a plastic bag and store it in the fridge to prevent mould formation.
4. Mini volcanoes
This is a fun science experiment you can do with your kids during the holidays, best done outdoors to prevent making a mess inside the house.
Items needed
- Baking soda
- Vinegar
- 4 different sized mugs
Instructions
Step 1: Pour vinegar into the four mugs; you can pour a bit of food colour to differentiate them.
Step 2: Place the mugs in a huge basin to prevent the volcanos from pouring out and making a mess.
Step 3: Take a scoop of baking soda and pour it into the mug. And it will form bubbles that resemble a mini volcano.
Step 4: It will be so fun that your kids will be enthralled to do it repeatedly. So make sure you have plenty of vinegar and baking soda.
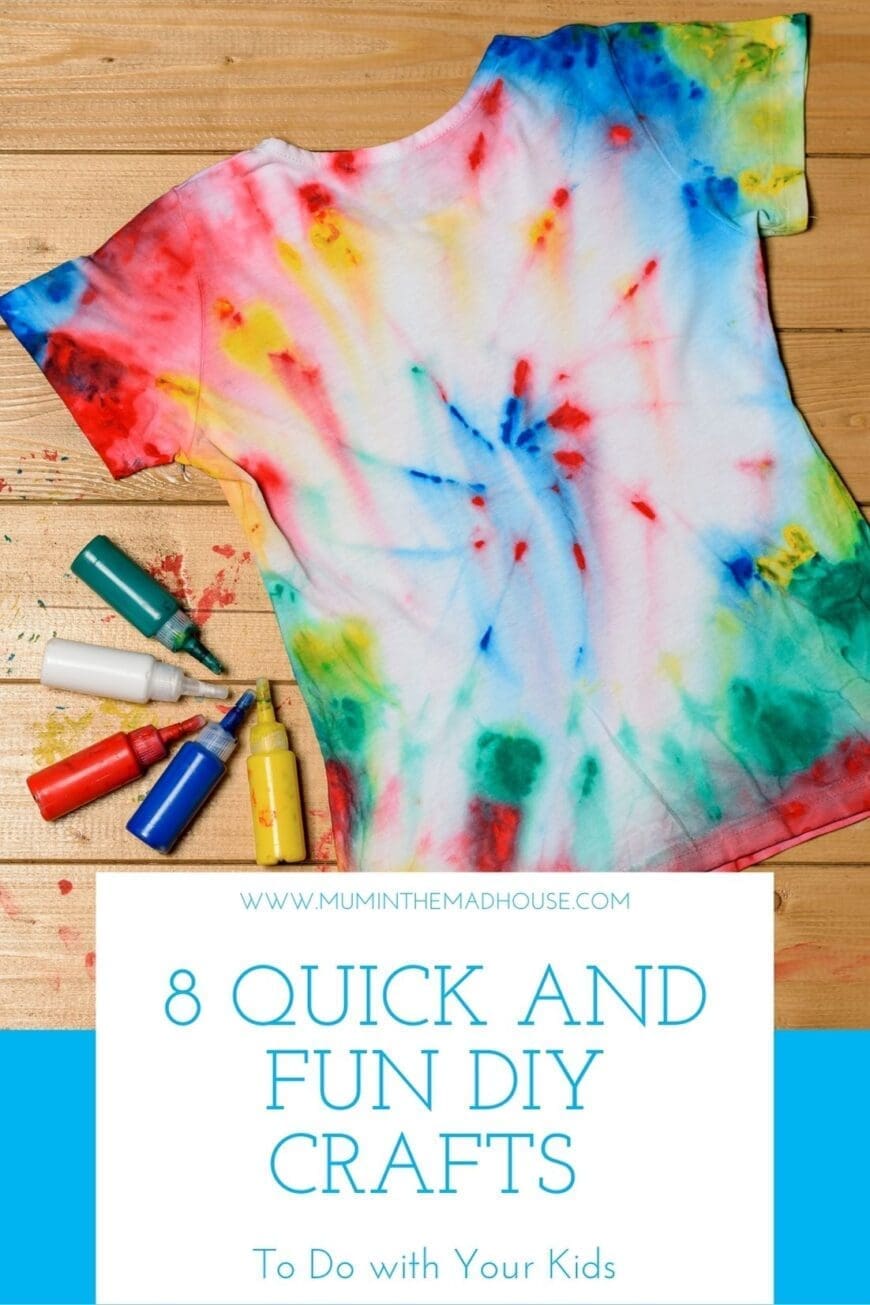
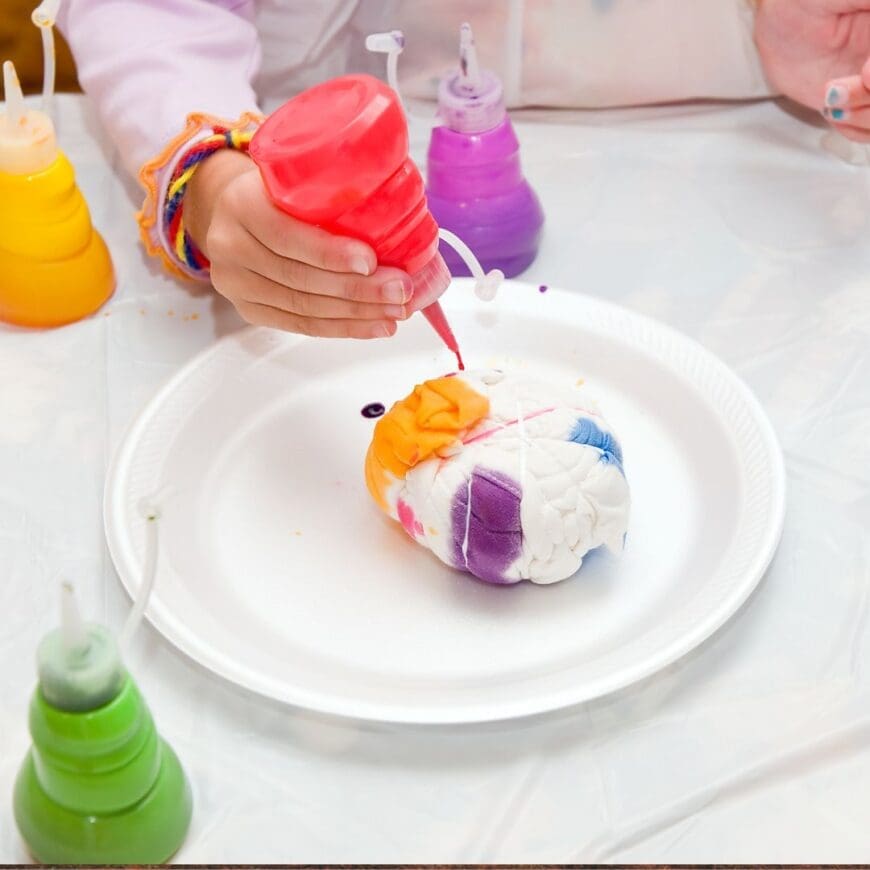
5. Tie & Dye T-Shirts
You can buy new white t-shirts for your kids to create ties & dye shirts. You will need a basin, different coloured dyes, and white t-shirts.
Have your kids place the t-shirts in the basin, then squeeze the coloured dye using shampoo bottles. Cover the basin and let the dye spread over. Then hang it with a clothespin to dry. Then later, wash and see your creations.
This is a great DIY project, as the kids can later wear these t-shirts as they go back to school or at home. Ensure they are using their favourite colours. You can also try this with other clothes such as dresses and pants.
6. DIY flower crown
They are easy to make, and you will have lots of fun creating them with your kids. You can later take pictures.
Items needed
- Different types of flowers
- A wire
- Floral tape or ribbon
- Scissors
Instructions
Step 1: Bend your wire to form a circle and ensure it can stay on top of your head without falling. You can do this by measuring the wire around your head before forming a circle, and make sure to leave a little room as it will get smaller when you wrap the flowers.
Step 2: Ensure your flowers have around 3 inches of stems to allow you to wrap them around the wire. Do this to all your flowers to have an easy time when you start creating your floral design.
Step 3: You can use floral tape to secure the stems to prevent your flowers from unwarping. Ensure the flowers are close to each other to prevent people from seeing the wires or branches. And make sure to mix up the flowers to create a beautiful crown.
Step 4: After taking pictures wearing the crown, you can refrigerate it to preserve your work and keep it fresh. However, ensure it’s far from your fruits as flowers emit ethylene, a natural gas that speeds up the ripening of fruits.
7. Friendship Bracelets
Make a friendship bracelet with your kids. This DIY craft is usually taught in summer camps, and kids love creating bracelets for each other during sleepovers.
In this case, call the family bracelets, make one for each other, and make it a rule that no one is allowed to remove theirs. You can customize it and include the name of the person. The bracelets can also be used as gifts for their friends.
8. Thumbprint Family Tree
Genealogy activities can make for some of the most fun, creative, and educational activities for kids. You can teach your kids about their family origin using a family thumbprint tree. You can take a painting canvas, draw a tree with your kids and branches, and assign a family member using different colours for each branch from the lowest. You can also include their name and date of birth. Don’t forget to include your pet as they are also part of your family.
Final Thoughts
Kids are easy to please, and you can make their weekends and holidays fun by doing DIY crafts with them. Not only will they have fun, but you will help unlock their creativity. So, don’t let your kids watch TV all day long; use these DIY crafts to keep them busy.