
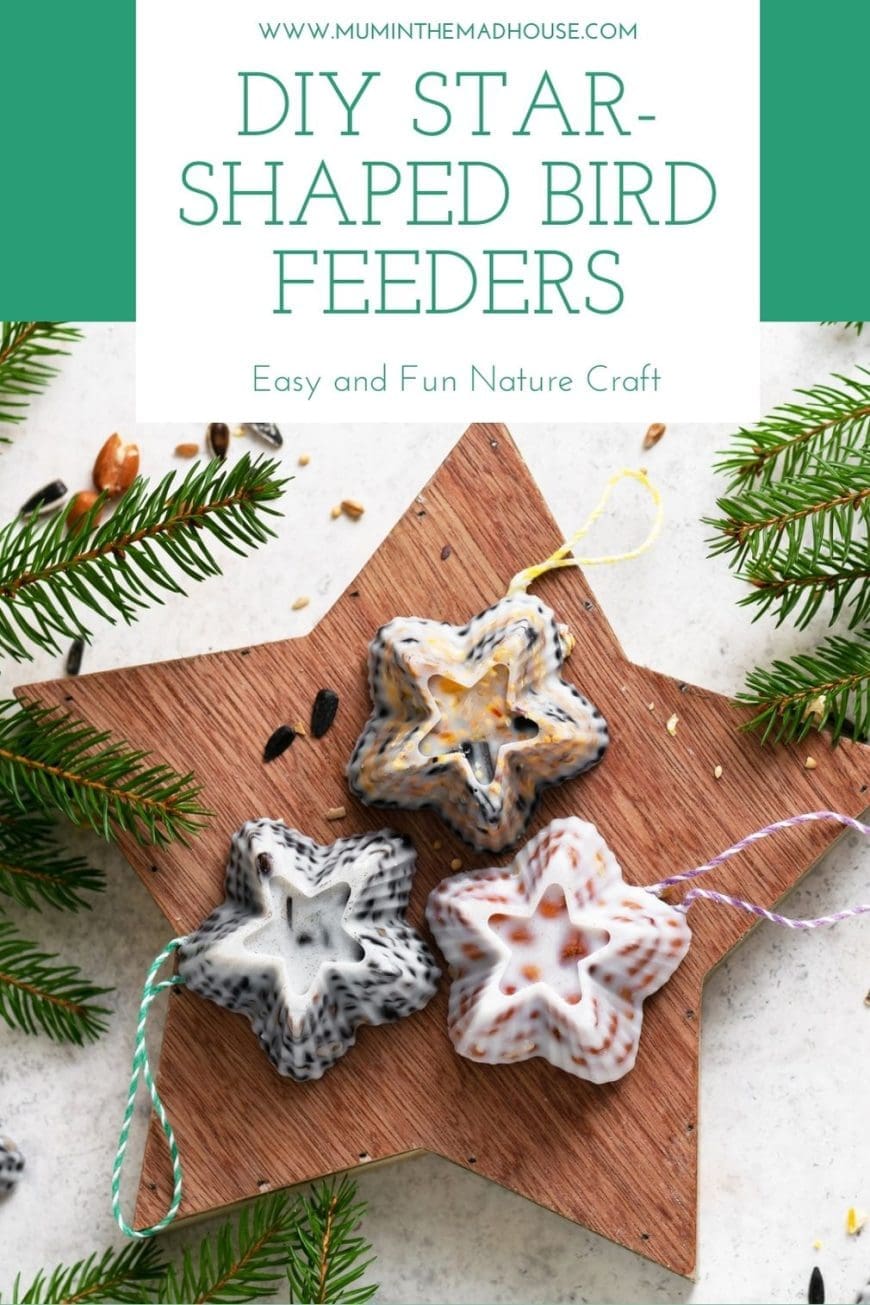
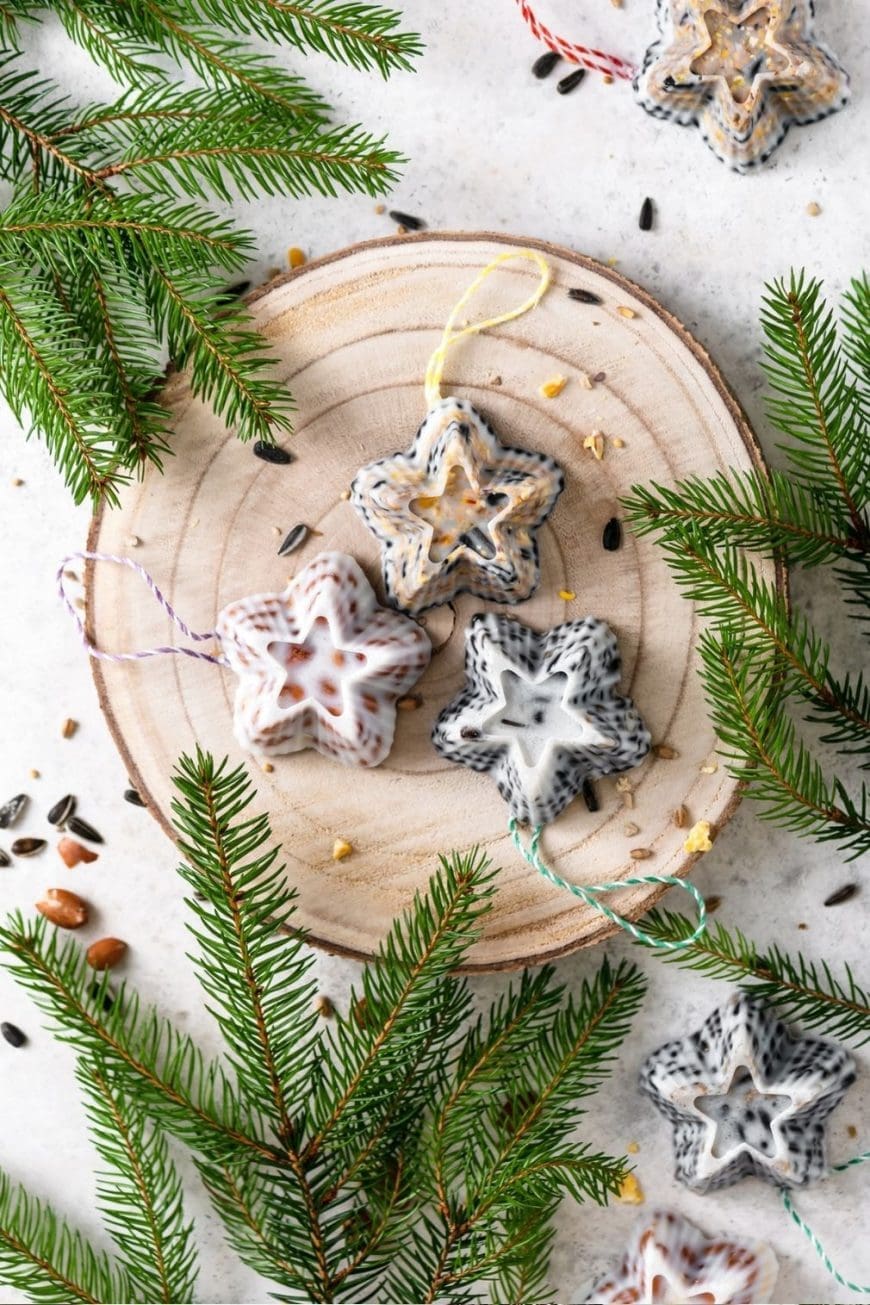
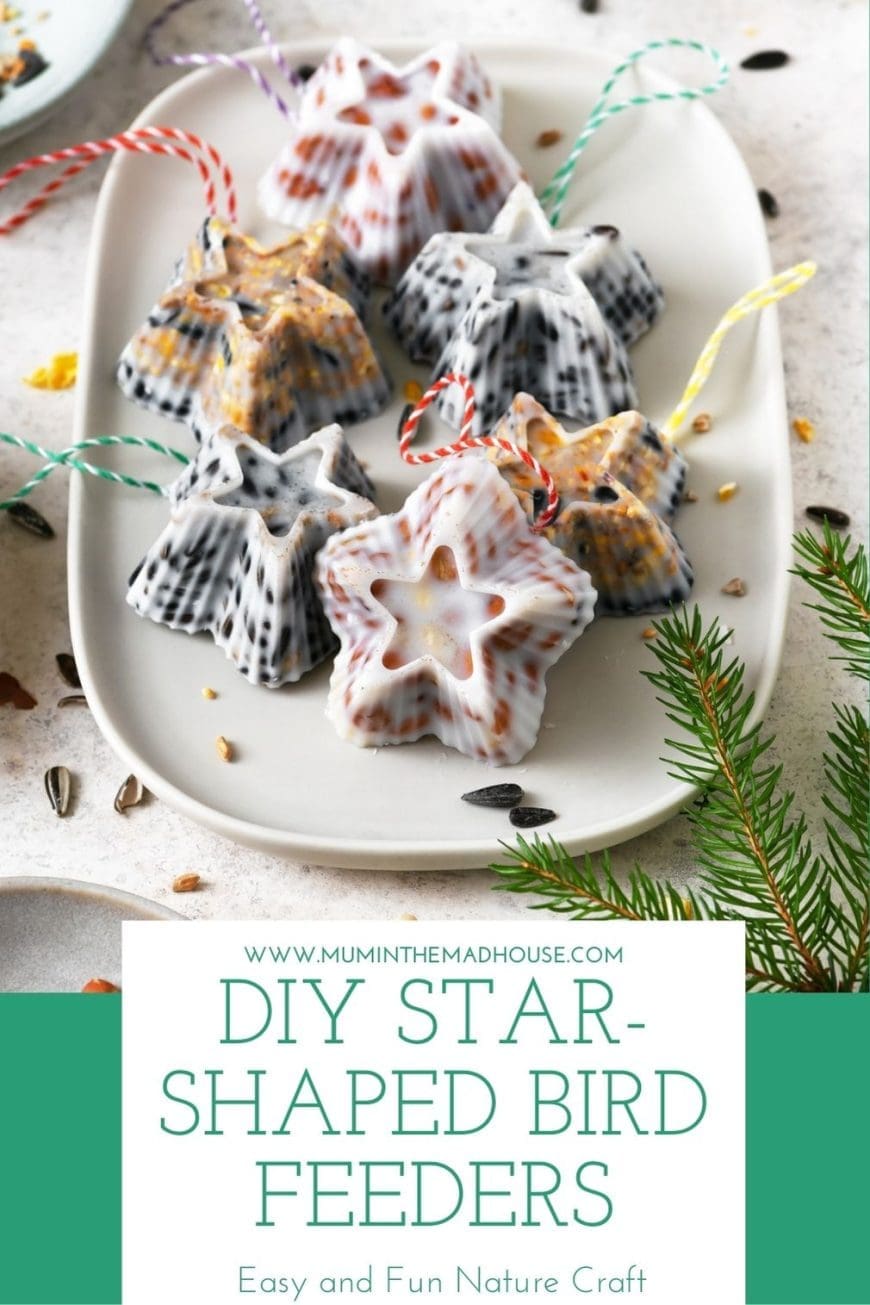
Create a simple and fun DIY bird feeder craft with kids using star-shaped silicone cupcake molds, lard or coconut oil, seeds, and twine! These adorable homemade bird feeders are perfect for hanging outside in the backyard and attracting feathered friends to your garden. The best part? Using lard or coconut oil means this project can be done safely with little ones, as these ingredients melt at low temperatures.

Why These Birdfeeders Are Perfect for Kids
Making easy bird feeders is a fantastic way to introduce kids to nature and the importance of caring for wildlife. This craft is also ideal for children because both lard and coconut oil melt at relatively low temperatures, making it safer for them to help with the mixing and pouring process without the risk of burns.
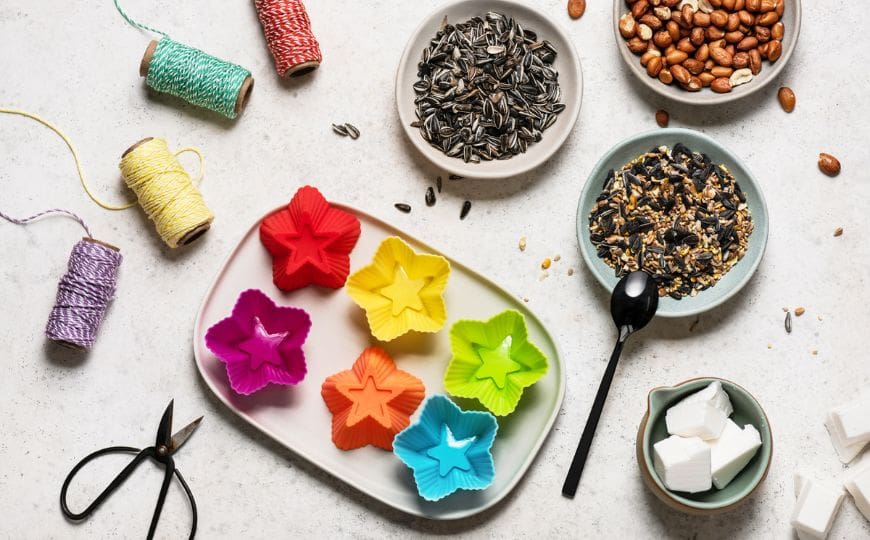
What You’ll Need:
- Star-shaped silicone cupcake molds
- Lard or coconut oil (coconut oil is a plant-based alternative)
- Birdseed mix (sunflower seeds, peanuts, and millet work well)
- Twine or string for hanging
- Scissors
- Small saucepan and wooden spoon for mixing
- Jug
This post contains affiliate links. If you make any purchases after clicking one of these links, I will make a small commission (hopefully enough to keep me in tea all year) – at no extra cost to you! This allows me to keep creating and sharing free tutorials and content for you. Thank you!
No products found.
How to Make Star-Shaped Birdfeeders:
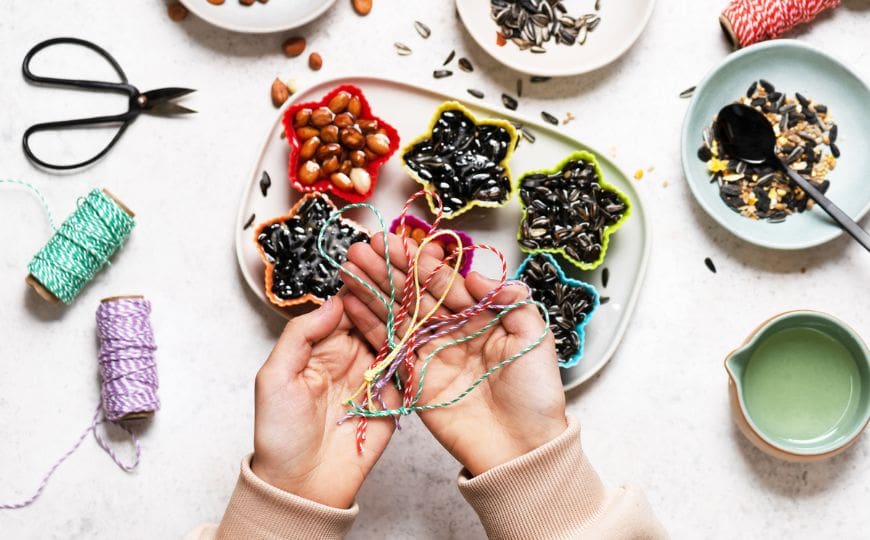
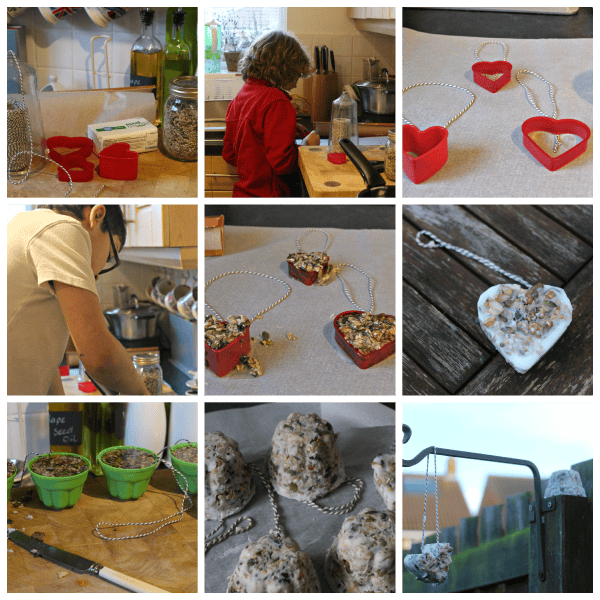
1. Prepare the Twine: Cut pieces of twine about 6-8 inches long. Tie a knot at one end and place it in the center of each mold, ensuring a loop is left outside for hanging.
2. Melt the Lard or Coconut Oil: In a small saucepan, melt lard or coconut oil over low heat. It only needs to be warm enough to become liquid, which makes it safe for children to help with, under supervision.
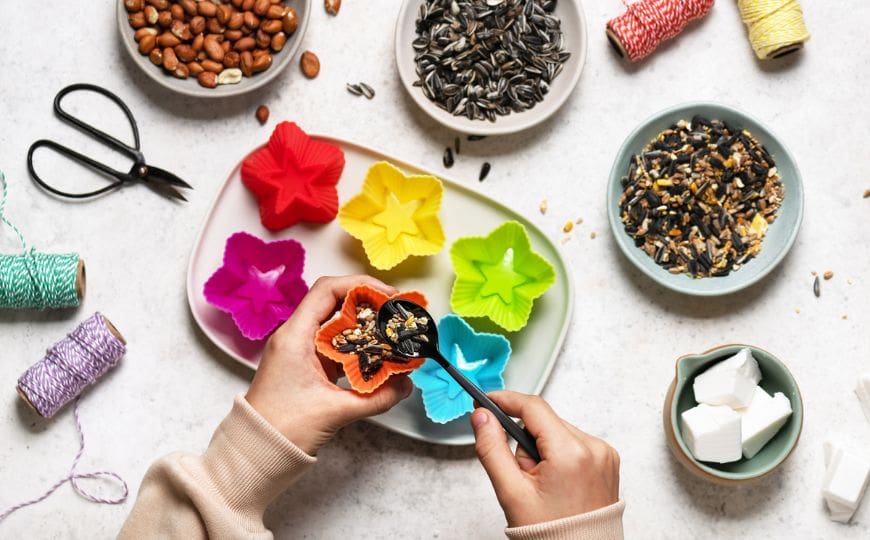
3. Add in the Birdseed: Remove the melted lard or coconut oil from heat and add to a jug. add the bird seed to the silicon molds you can either use a premix or a variety of seeds to attract different birds.
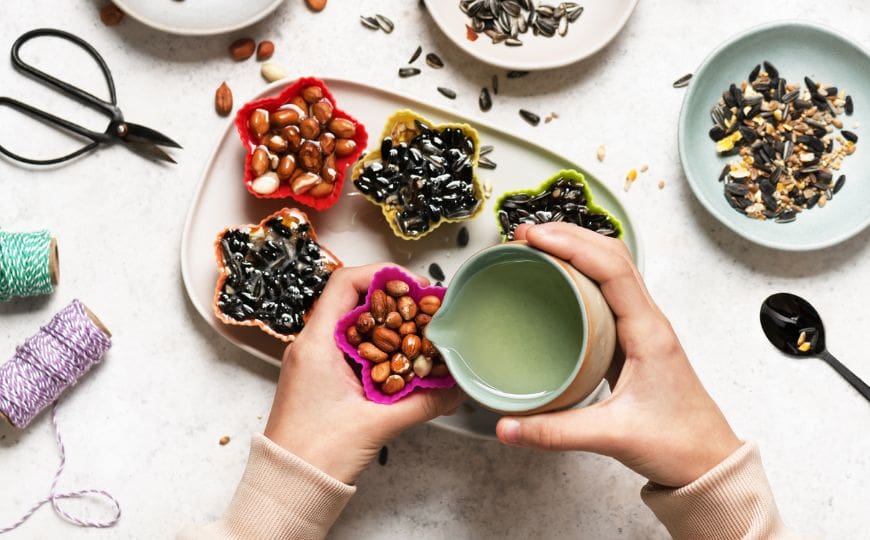
4. Fill the Molds: Carefully pour the liquid into each silicone mold. Make sure the knotted end of the twine is submerged in the mixture.
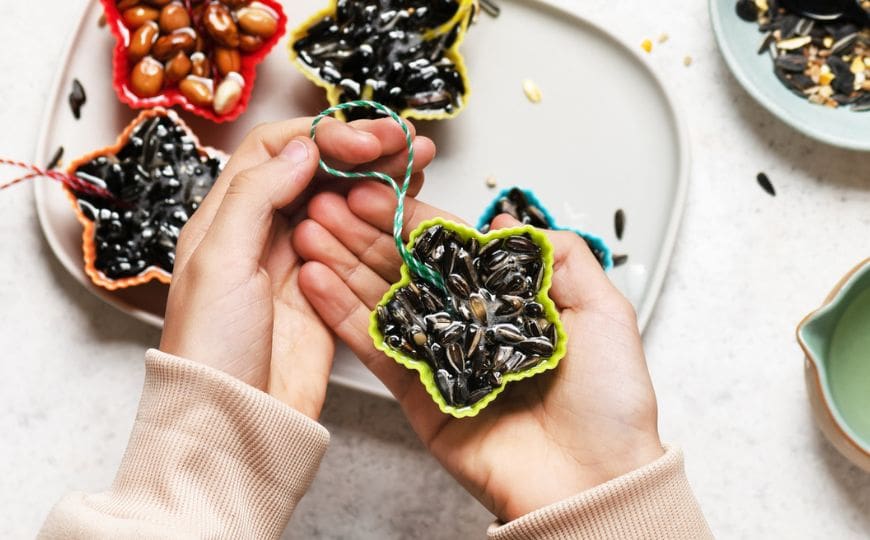
5. Chill the Birdfeeders: Place the filled molds in the fridge or freezer to harden for at least 1-2 hours.
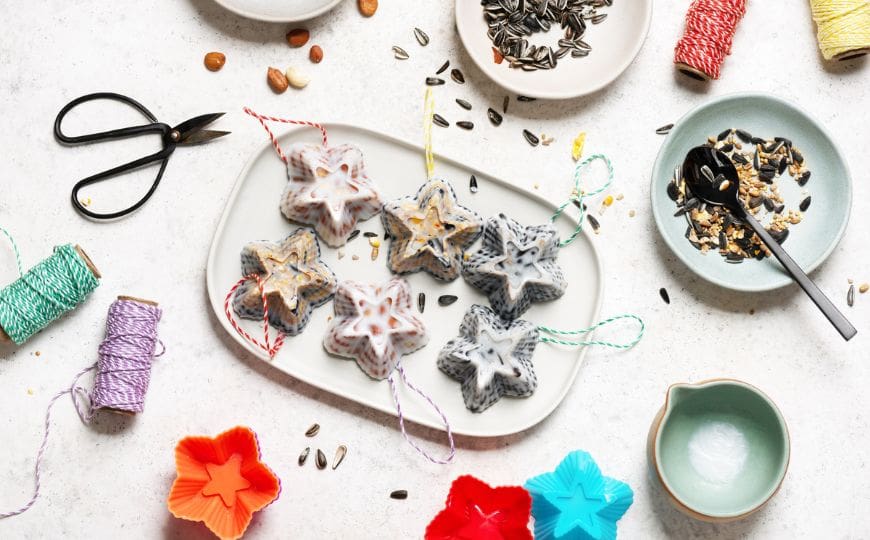
6. Remove and Hang: Once the birdfeeders are fully hardened, gently pop them out of the molds. They’re now ready to hang on tree branches, fences, or bird feeder stands in your garden!
Why Kids Will Love This Craft
This bird feeder project not only lets kids get hands-on with mixing and pouring but also provides a creative way to help wildlife. Watching birds come to feed from their handmade creations is a rewarding experience, teaching kids about the natural world in a fun, interactive way.
Tips and Variations:
• Experiment with different mold shapes to create a variety of fun feeders.
• Add a sprinkle of dried berries (such as cranberries) for color and extra nutrients.
• Encourage kids to keep a bird-watching journal, noting which types of birds visit their feeders. My friend has a full Backyard Birds Study Unit perfect for expanding this activity.
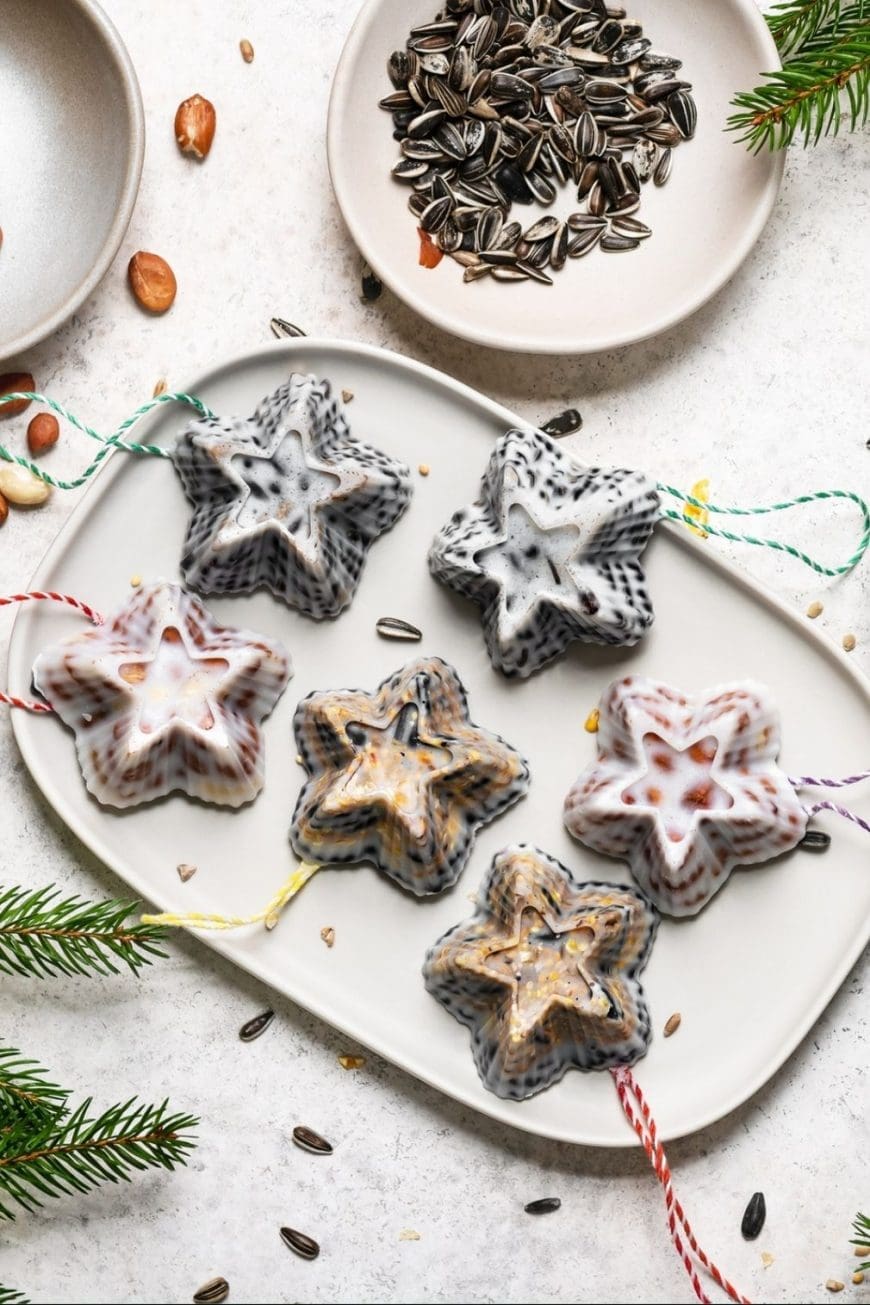
These star-shaped birdfeeders are a fantastic craft for kids, combining creativity with a love for nature. Easy to make and fun to hang, they’ll bring a touch of magic to your garden and support your local wildlife. Gather your materials, get crafting, and enjoy the bird-watching that follows!
Other DIY Bird Feeder Ideas
When my children were preschoolers and toddlers, we made pinecone bird feeders, which is the simplest as you just mix peanut butter or lard and mush it into the pine cone. You can also do the same around a toilet roll or cardboard tube and trust me kids love this and getting their hands covered.
Teacup Bird Feeder – I always keep an eye out for single teacups and saucers in the charity shops to make more teacup bird feeders. I adore them and they make great gifts.
We Love to See Your Creations!
We love to see how you use our printables and crafts, so please share any with us using the hashtag #InspiredbyTMH and tag @MumInTheMadHouse on social media.