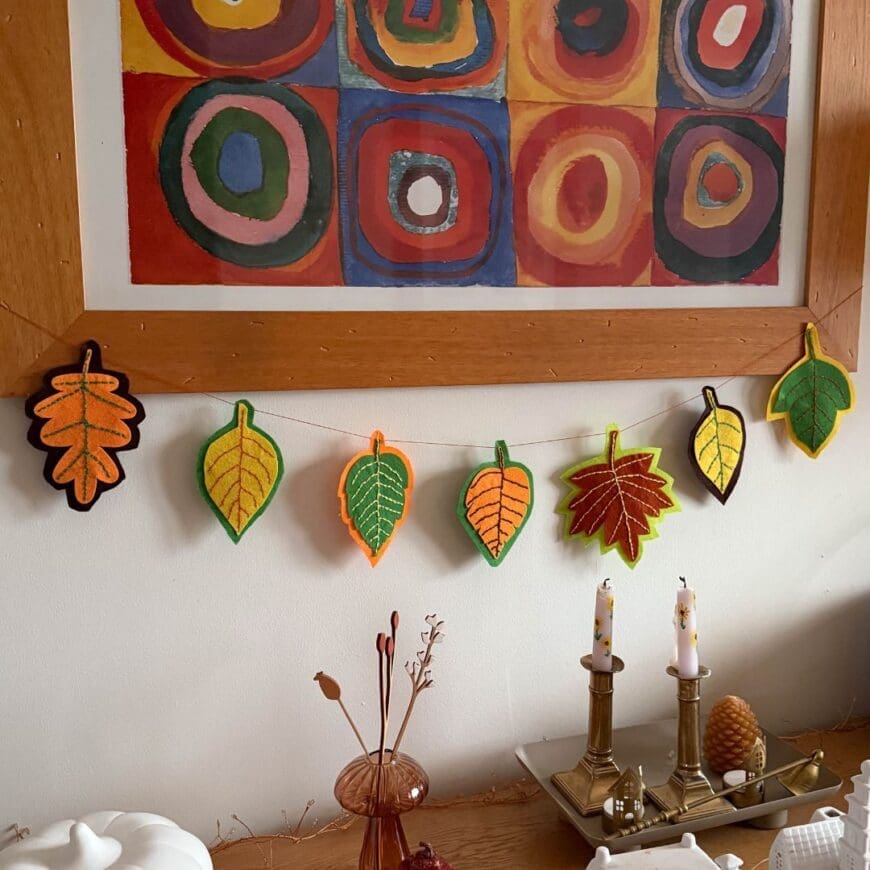
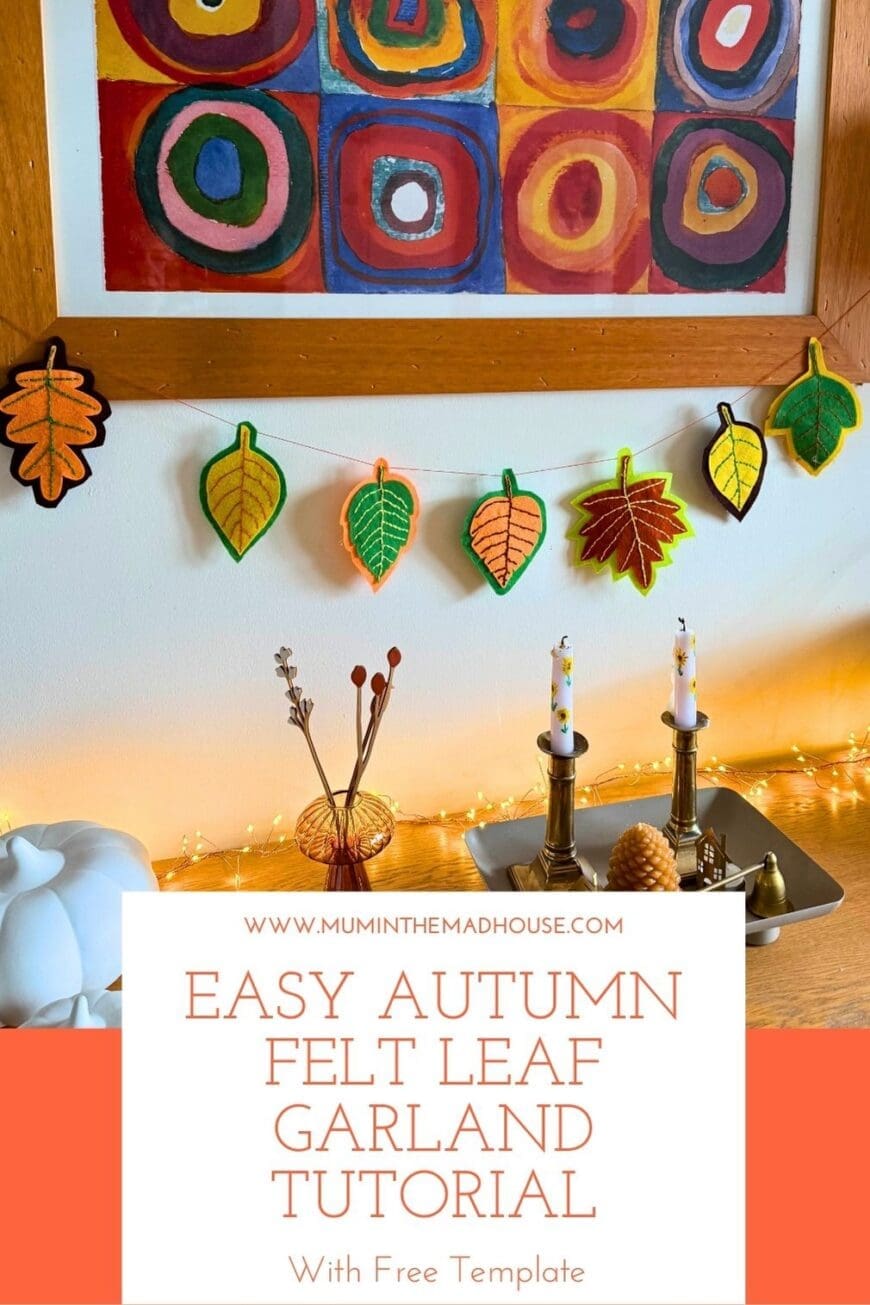
Autumn is the season of cosy colours and handmade decorations. A felt leaf garland, stitched by hand, brings the warmth of fall indoors and can be customised for any season. The garland can be made with layers of felt in greens, oranges and yellows, with veins picked out in bright embroidery floss.
Materials You Will Need
- Wool blend felt in autumn colours (orange, yellow, green, red, brown)
- Embroidery floss in contrasting colours
- Embroidery needle and pins
- Scissors
- Leaf template (See Below)
- Ribbon, string, or baker’s twine
- Optional: Glue to hold layers before stitching
This post contains affiliate links. If you make any purchases after clicking one of these links, I will make a small commission (hopefully enough to keep me in tea all year) – at no extra cost to you! This allows me to keep creating and sharing free tutorials and content for you. Thank you!
No products found.
Step‑by‑Step Instructions
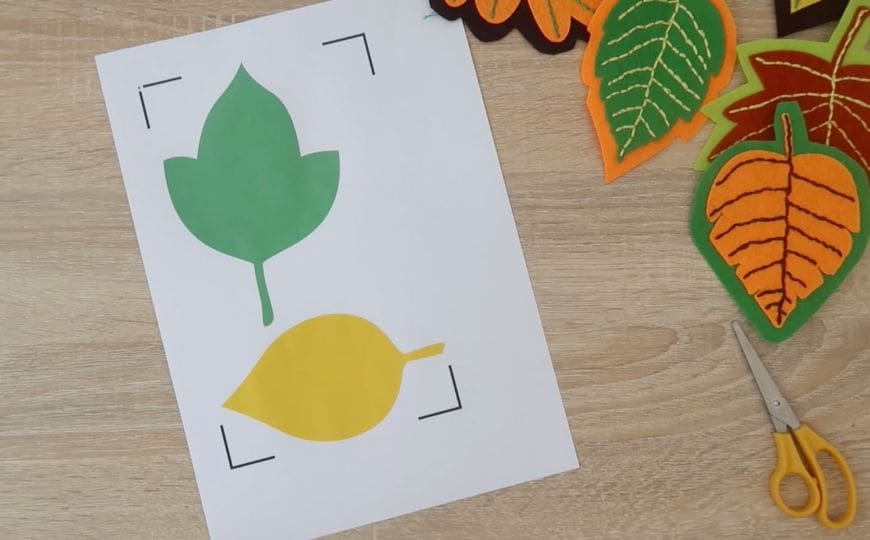
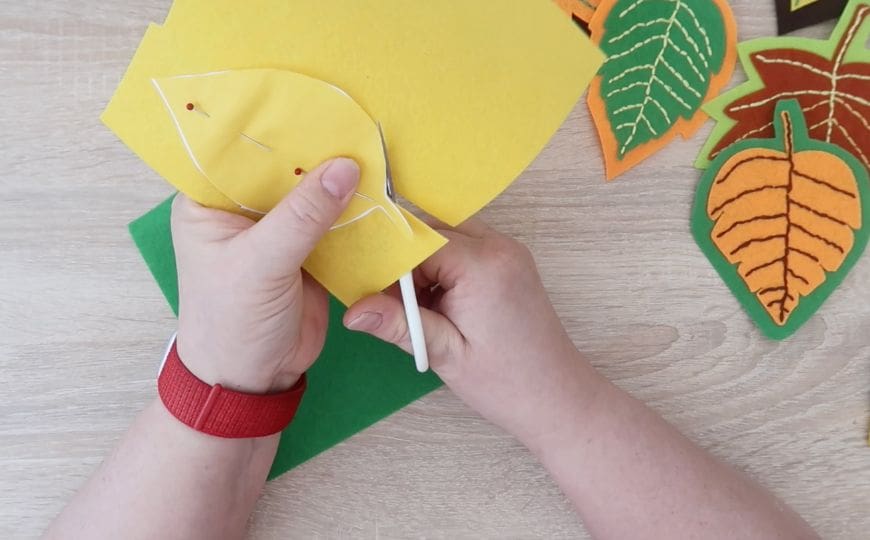
1. Download and print the leaf template. Cut out your chosen leaf shapes.

2. Pin the paper template to your felt and cut it out.
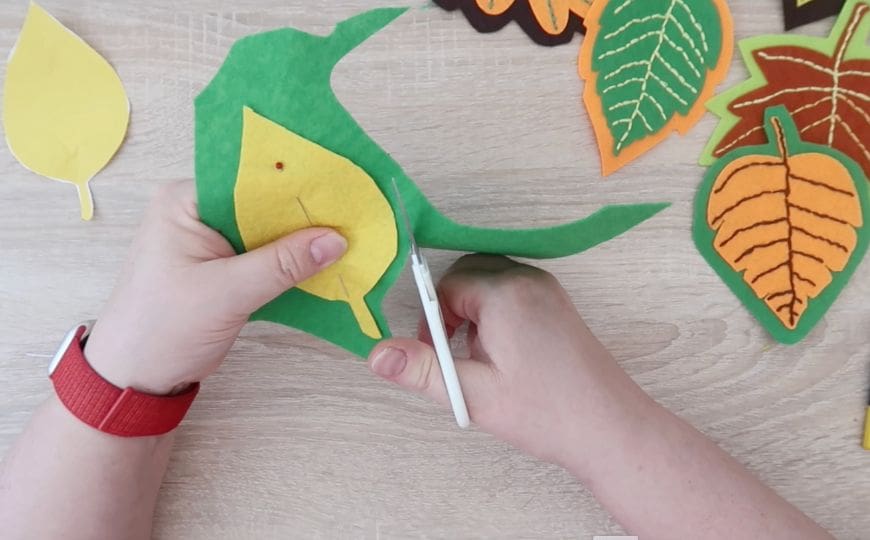
3. Pin the cut-out felt leaf onto a contrasting piece of felt and cut out around the leaf approximately 5mm wider than the original leaf.
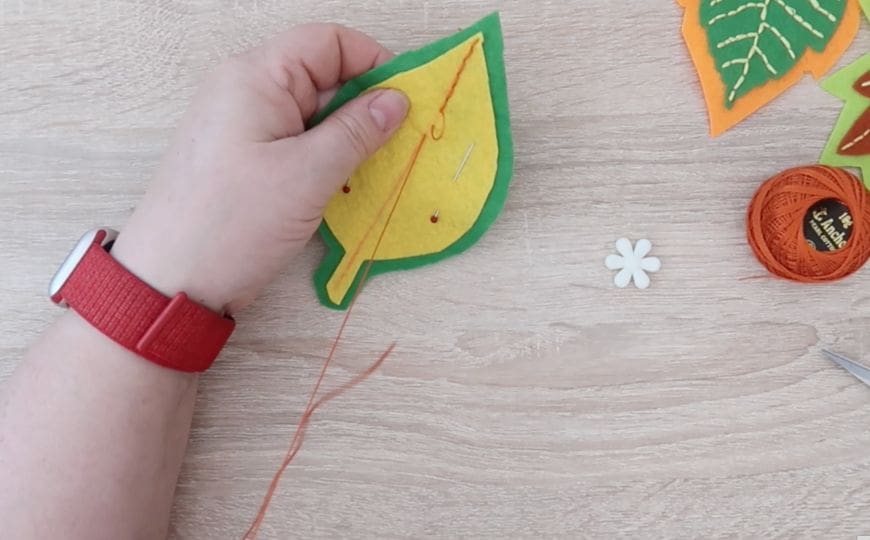
4. Thread your embroidery needle with a length of floss and knot the end. You can use a gue stick to gently attach both of the felt leaves together or just leave them pinned together.
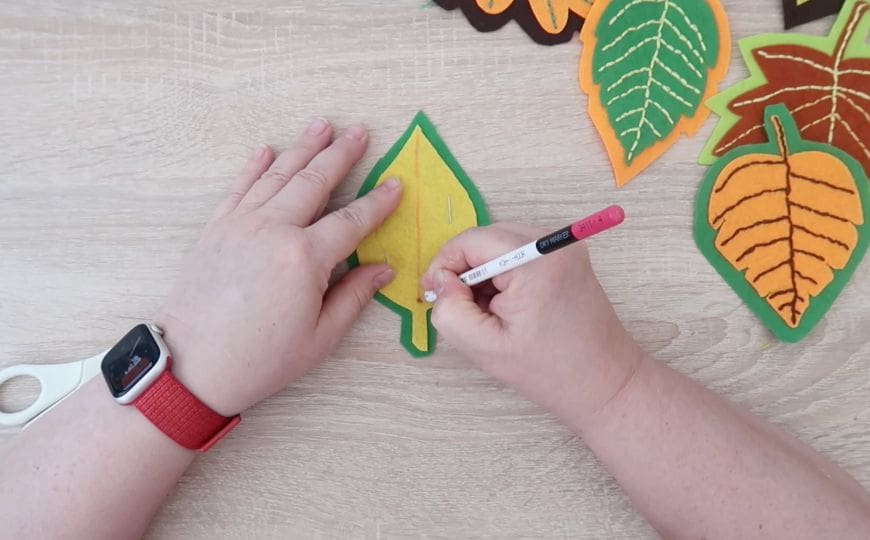
5. Using a backstitch, sew the central vein first from the base to the tip. You can use a coloured pencil to draw on the lines of the veins to make it easier.
6. Add diagonal veins branching outwards to create a natural look.
7. Once stitched, trim threads neatly at the back.
8. Repeat for all your leaf shapes in a variety of colours.

9. Attach each leaf to your string or ribbon by sewing at the stem end.
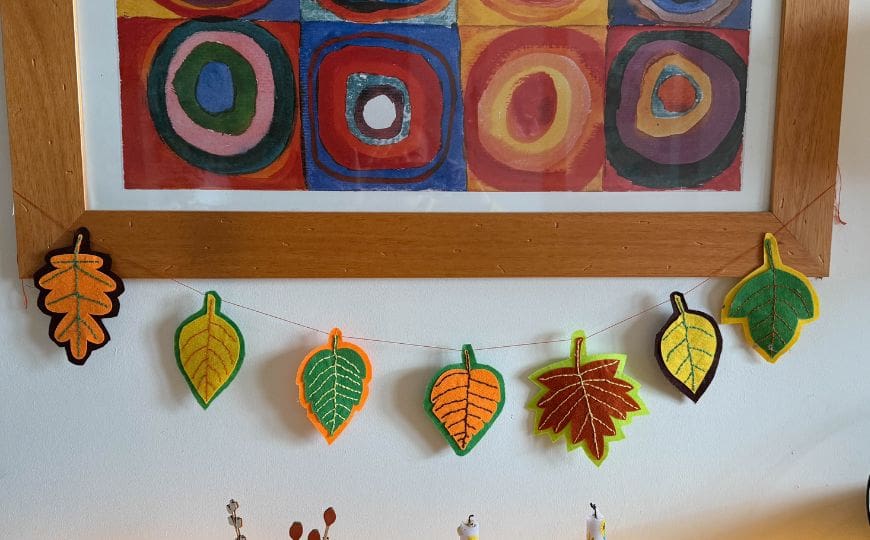
10. Hang your garland across a mantle, doorway, or picture frame and enjoy!
Tips and Variations
– Use two shades of felt per leaf for a layered effect.
– Mix in glitter felt or metallic threads for festive sparkle.
– Make mini‑leaves and string them as a necklace for kids.
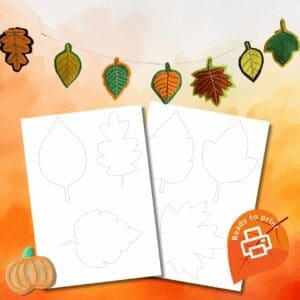
Download the Free Leaf Template
Use the provided template to cut out leaf shapes. Print at 100% scale for accurate sizes. You can also resize to make smaller or larger leaves.
These printables are offered for your non-commercial personal use only. Mass-production of this printable is not permitted, even for non-profit purposes. Please do not upload the Free Autumn Leaf Prinatbles to other sites – instead, if you want to let people know about these freebies, post a link to this page. Pinning is okay as long as the pin links back to this page. Thanks!
All you need to do is add click on add to cart and the free printable Autumn leaves template will be added to your shopping cart. When you are finished, click on the orange cart menu at the top right of your page and follow the instructions on the screen. You will not be charged and the free pdf file will be available for you to download immediately and will also be emailed to your inbox.