

Throwing a unicorn birthday party or a themed celebration? These DIY unicorn gift bags make the perfect party favour bags for guests to take home. They’re fun to make, budget-friendly, and add a touch of magic to your celebration.

Unicorn Gift Bags

Materials You’ll Need
- White or off-white craft paper
- Coloured craft papers – 4-5 different colours
- Cardstock paper – any colour
- Pencil – to trace template
- Scissors
- All purpose adhesive glue
- Glitter Powder – gold
- Ribbon – half an inch thick
- Black Sharpie
No products found.


How to make DIY Unicorn Gift Bags
Firstly if you do not have a bag, then you need to make one, but do not worry it is super simple. Just follow our step by step instructions.
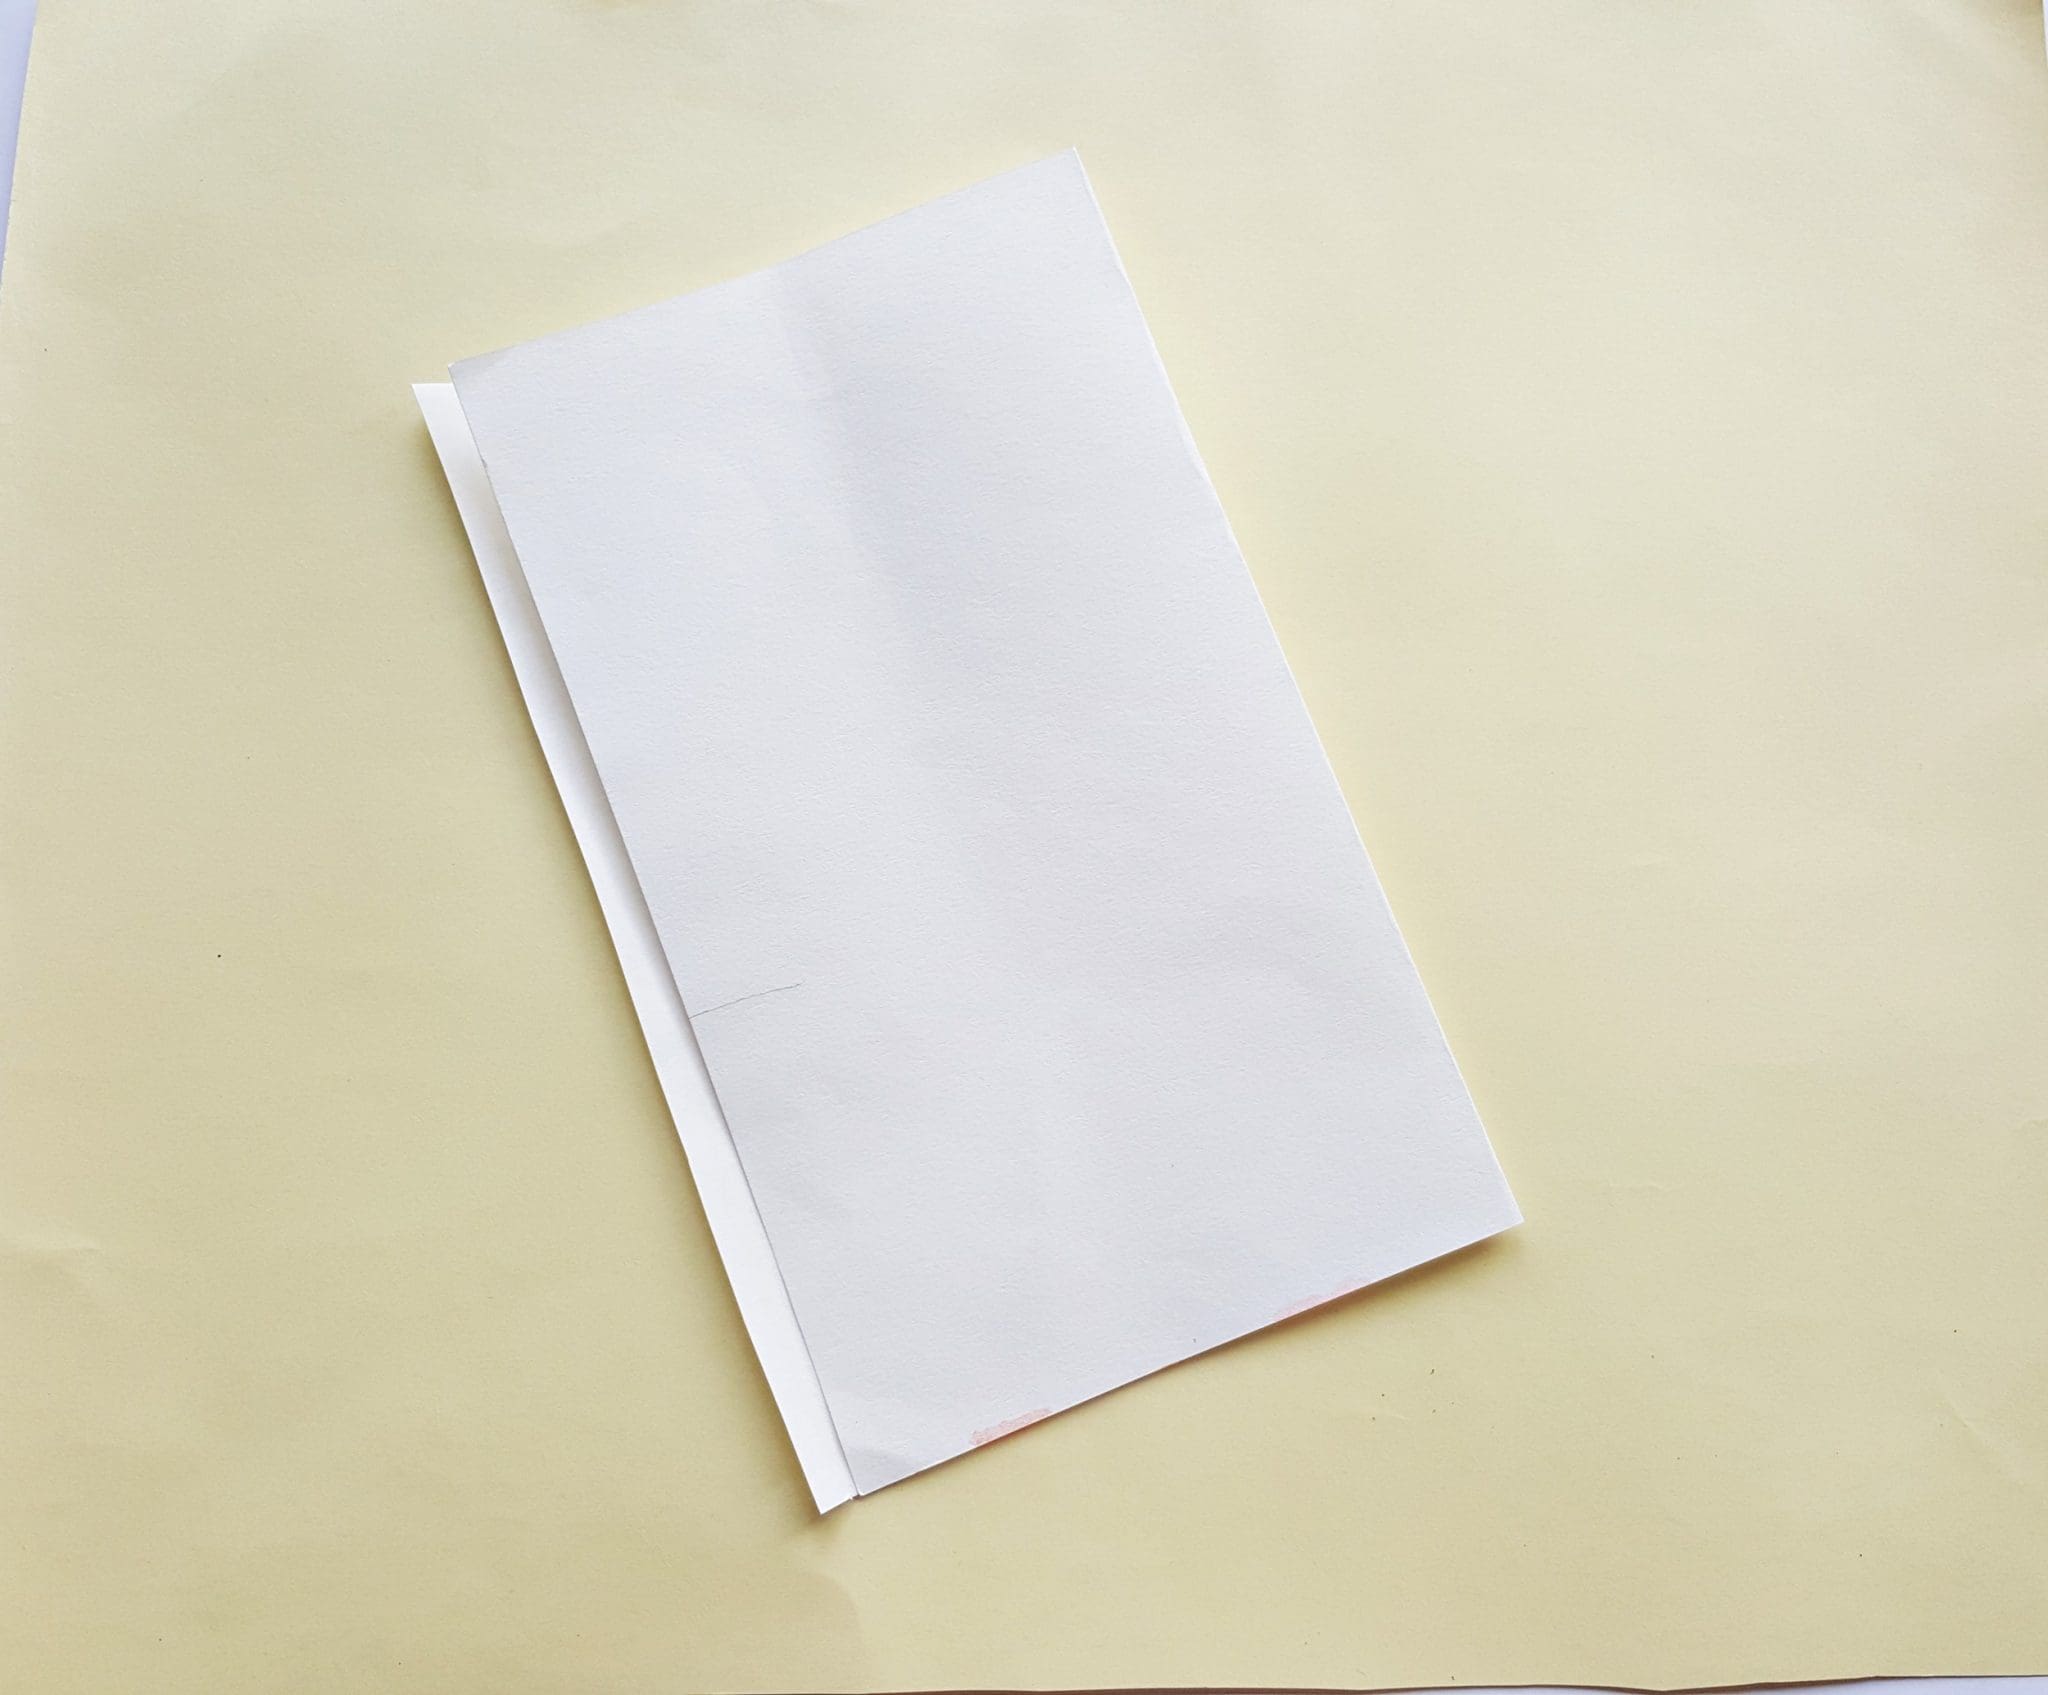
Prepare a white or off white coloured craft paper into 10 inches x 6 inches for the bag.
Create a thin fold (about half an inch) along with any one side of the 6 inches. Now fold the rest of the paper into half (folding the remaining 9.5 inches into half).
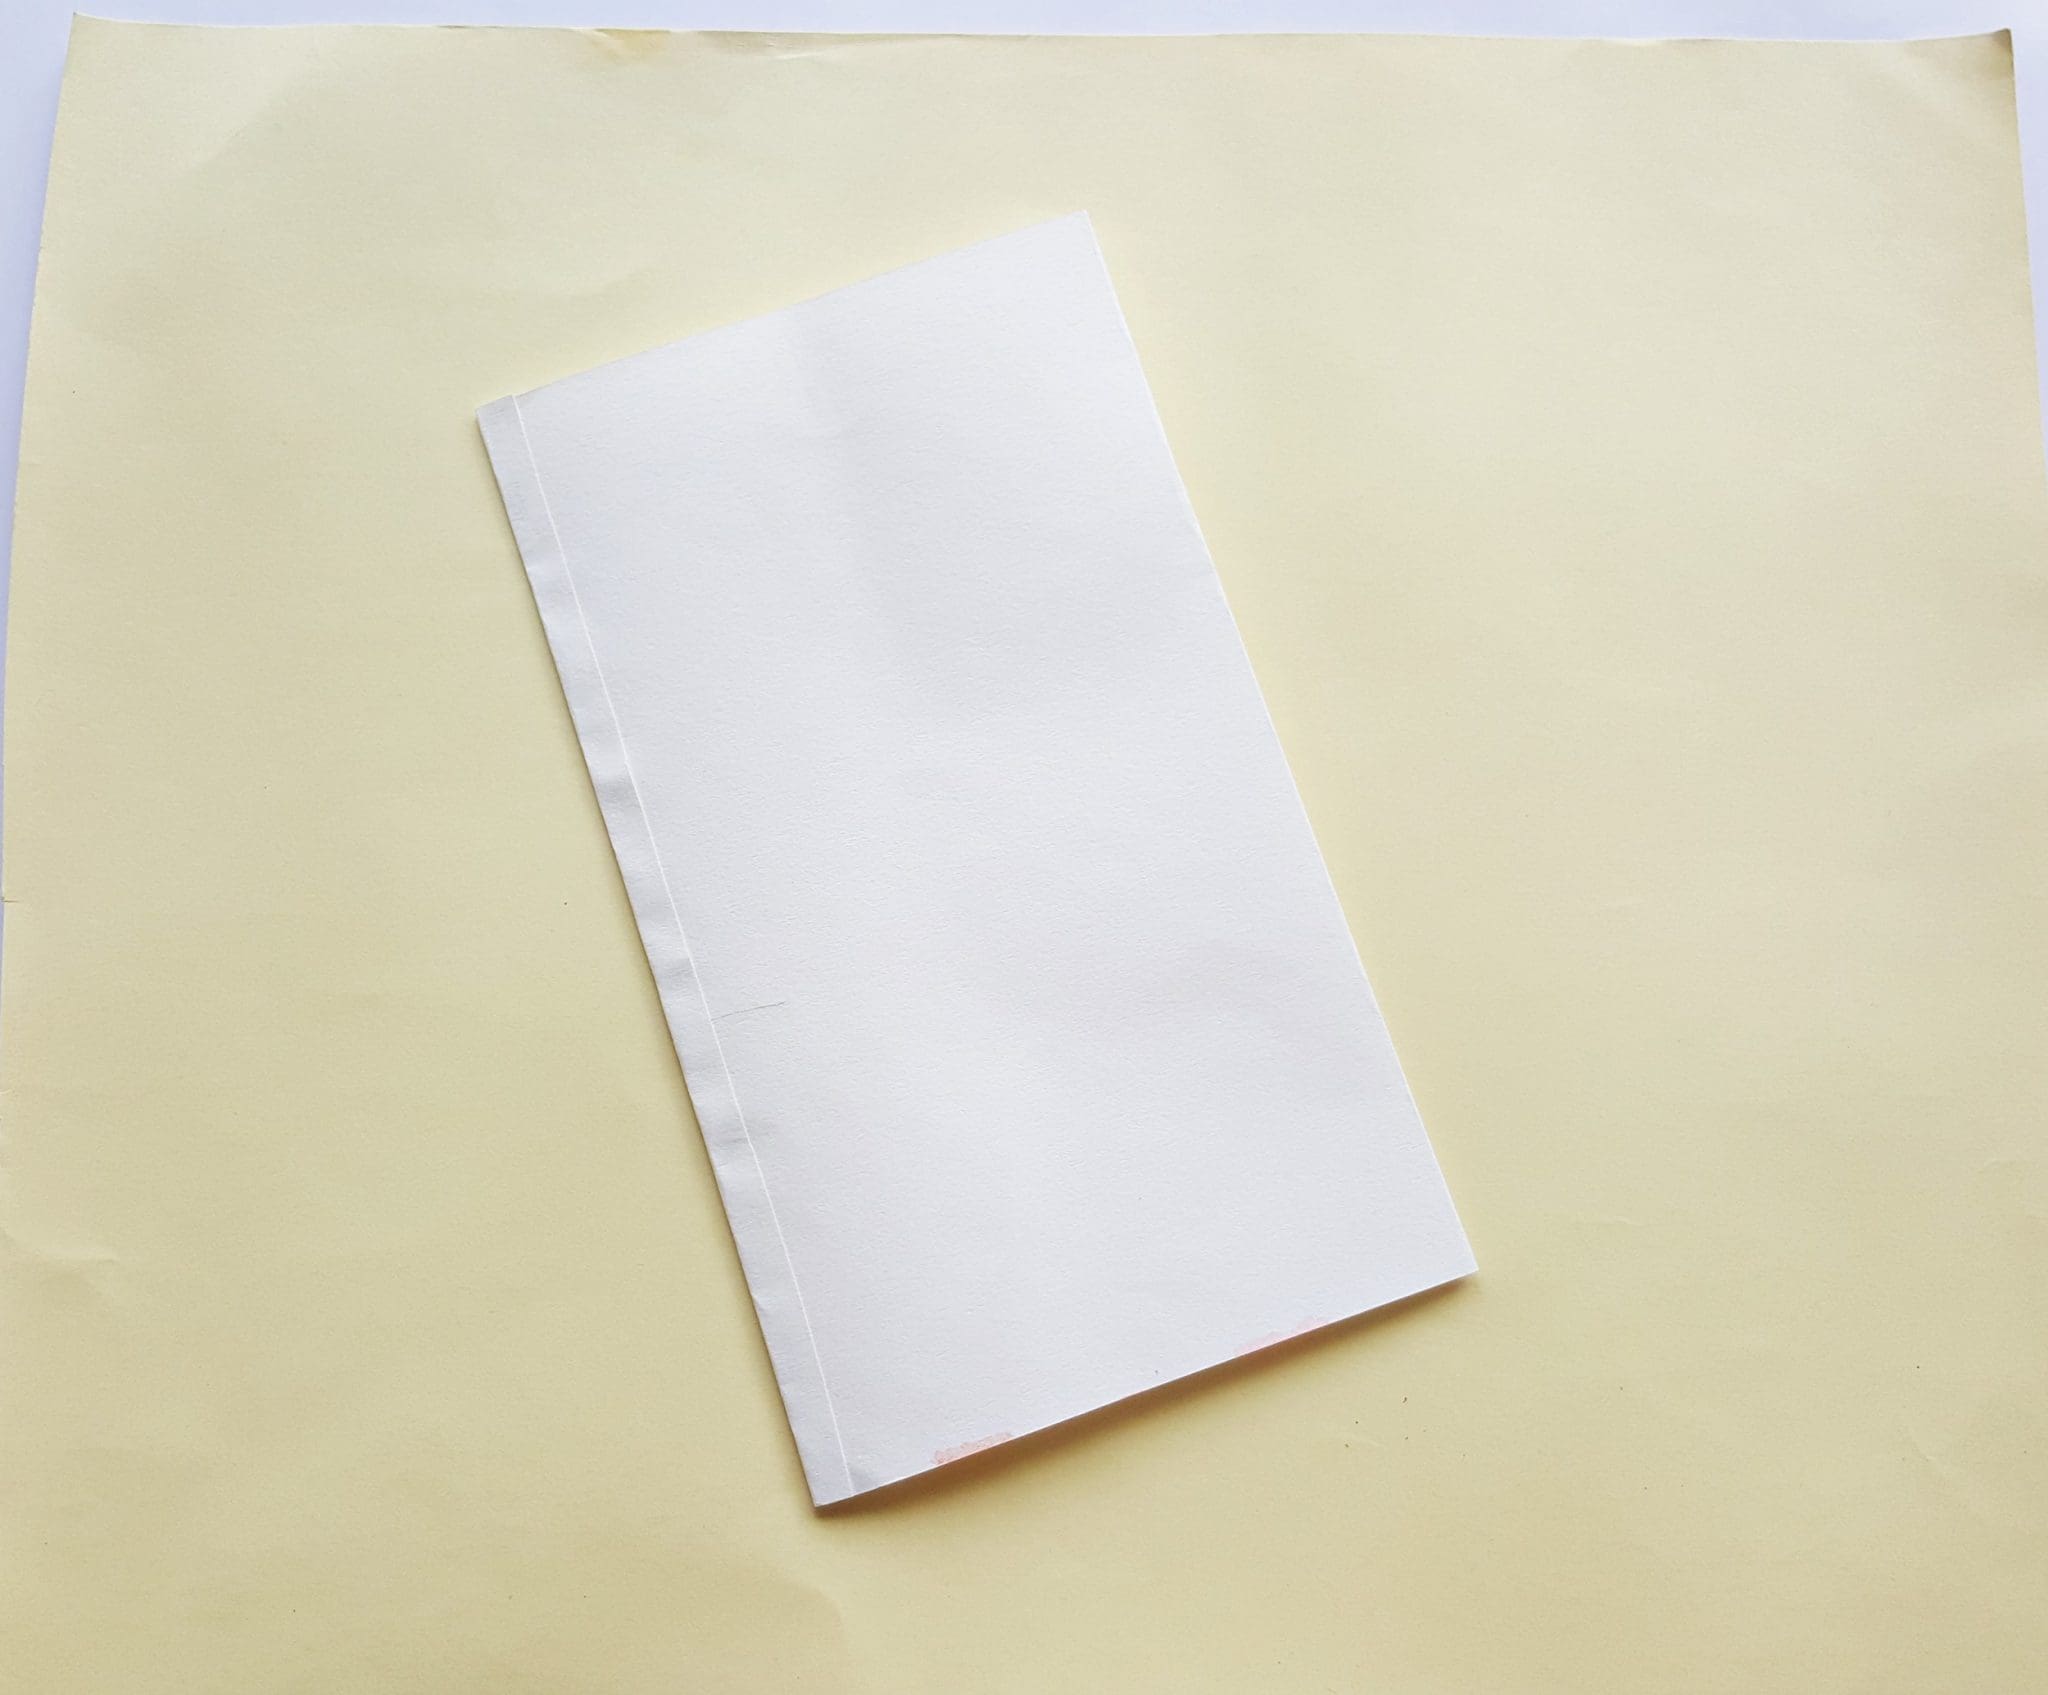
Apply glue along the extra half an inch part and attach it to the other open end.
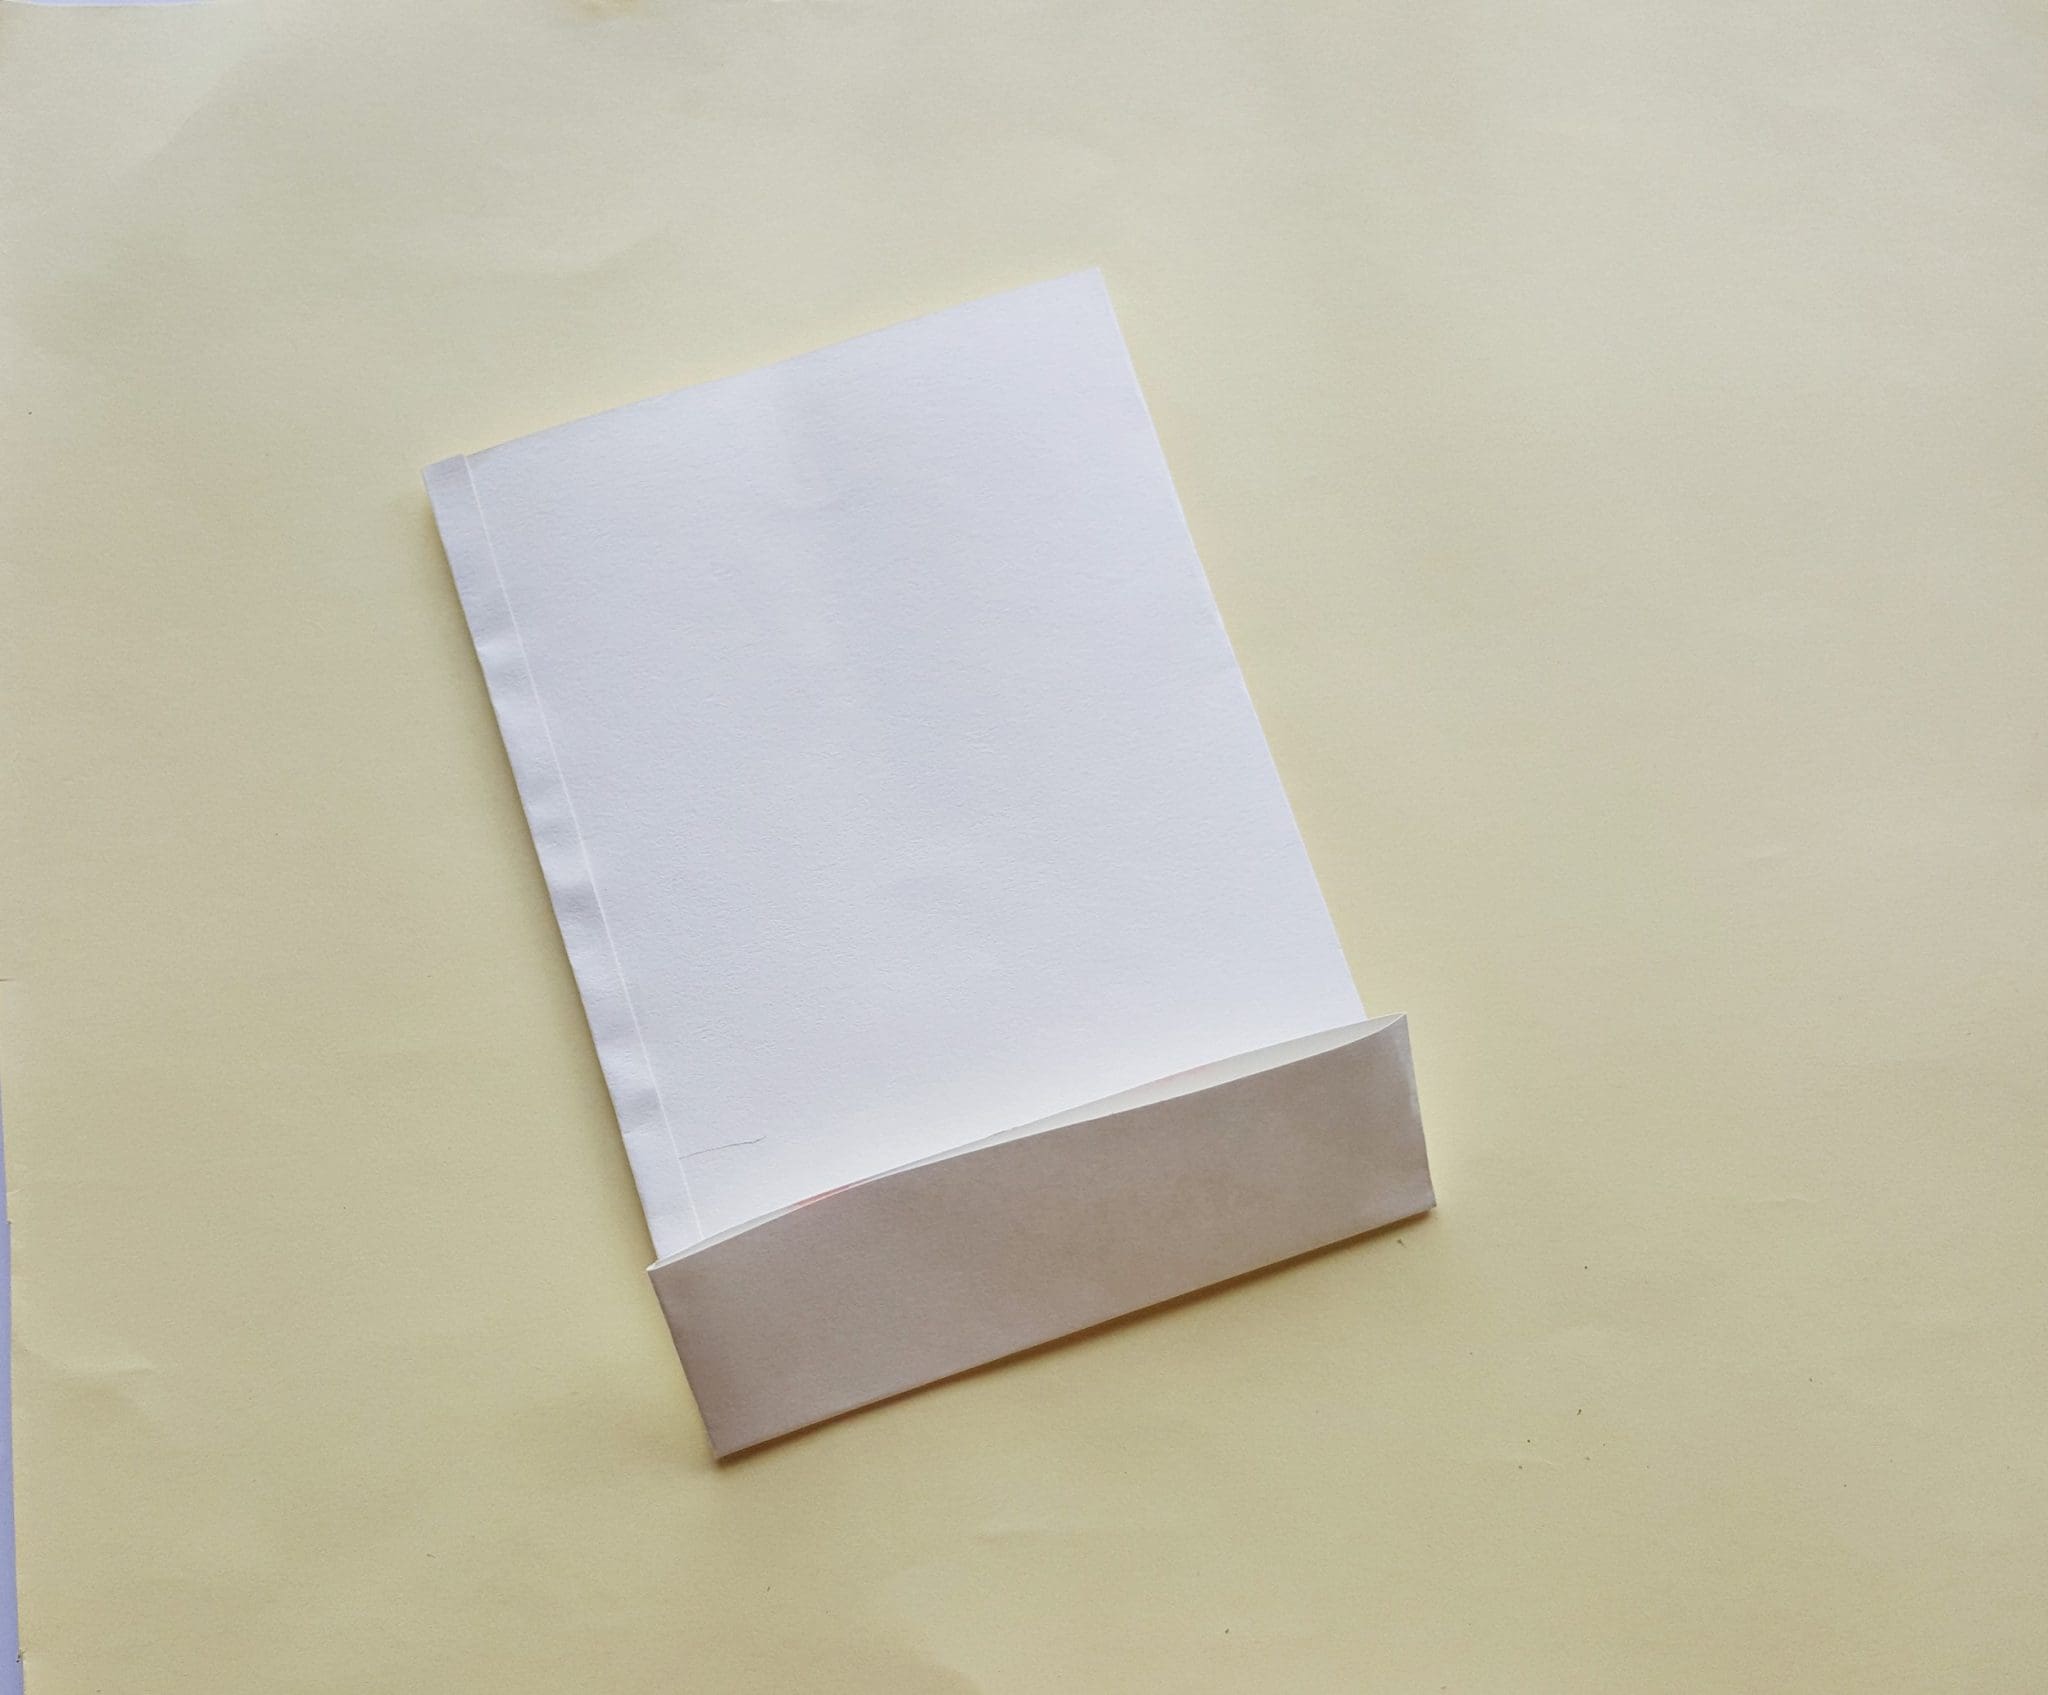
Fold the current paper 3 inches up from the bottom and create a crease along the folding line. The bag is almost ready.
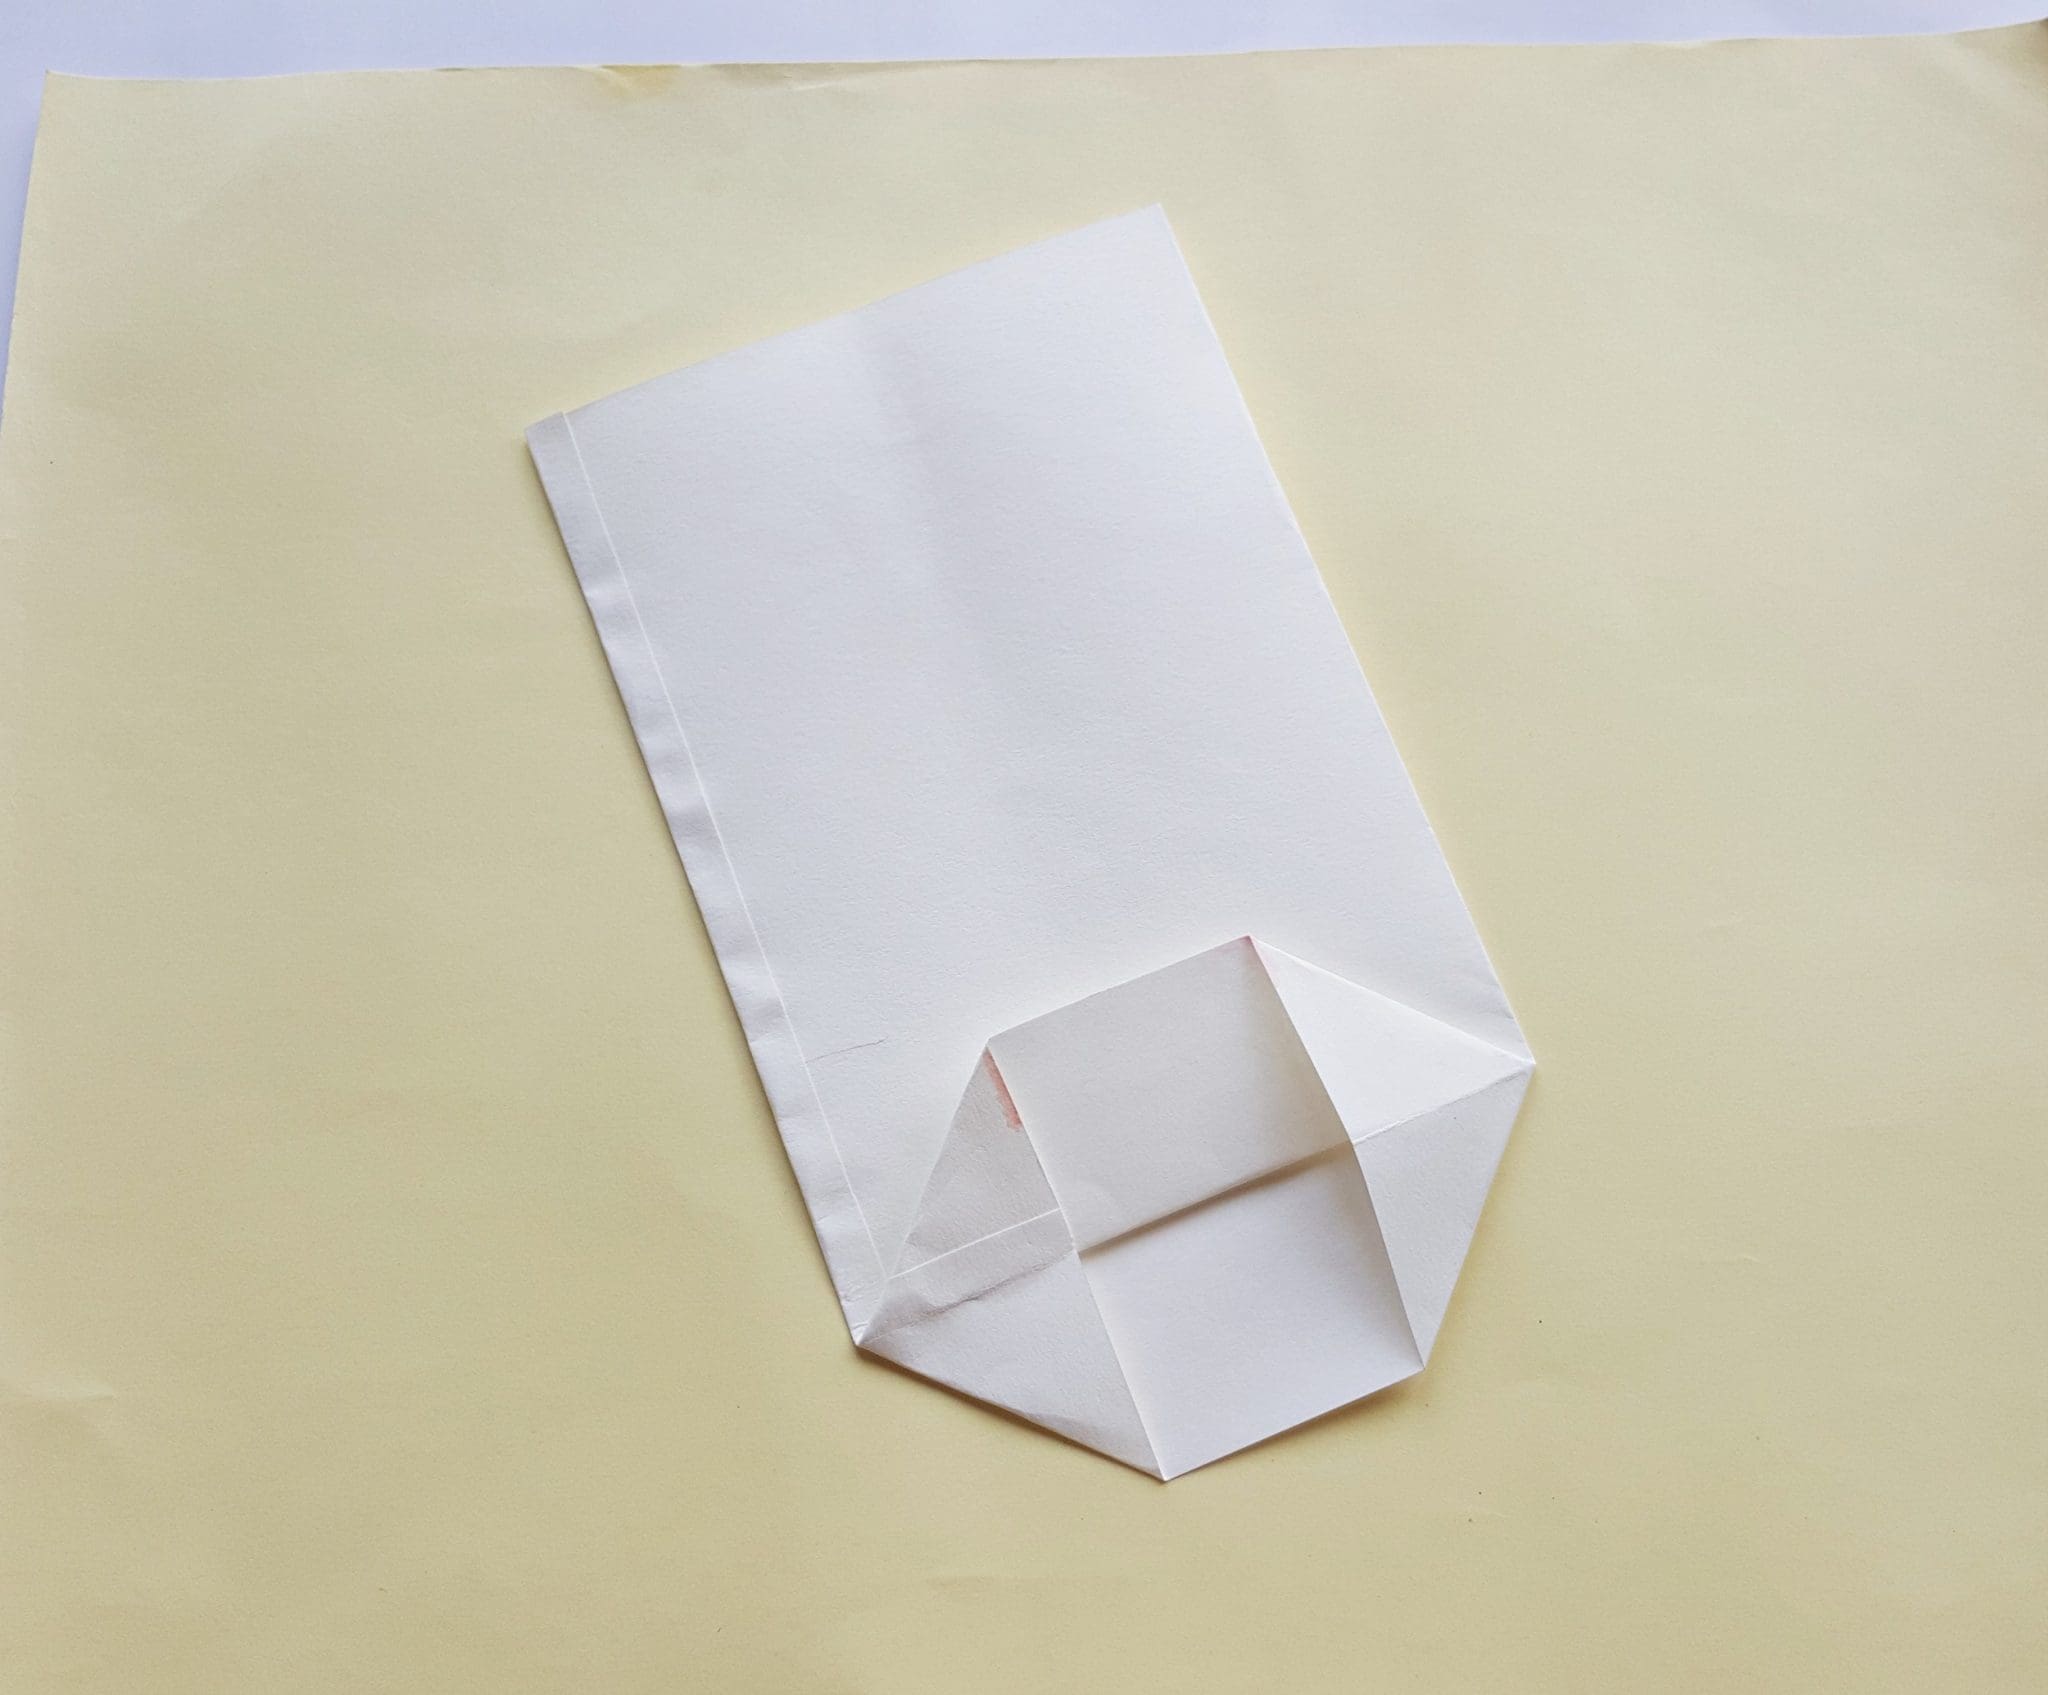
Keep the bag on a flat surface and open the bottom by creating corner folds on both sides of the bottom. This will create triangle corners at the bottom.
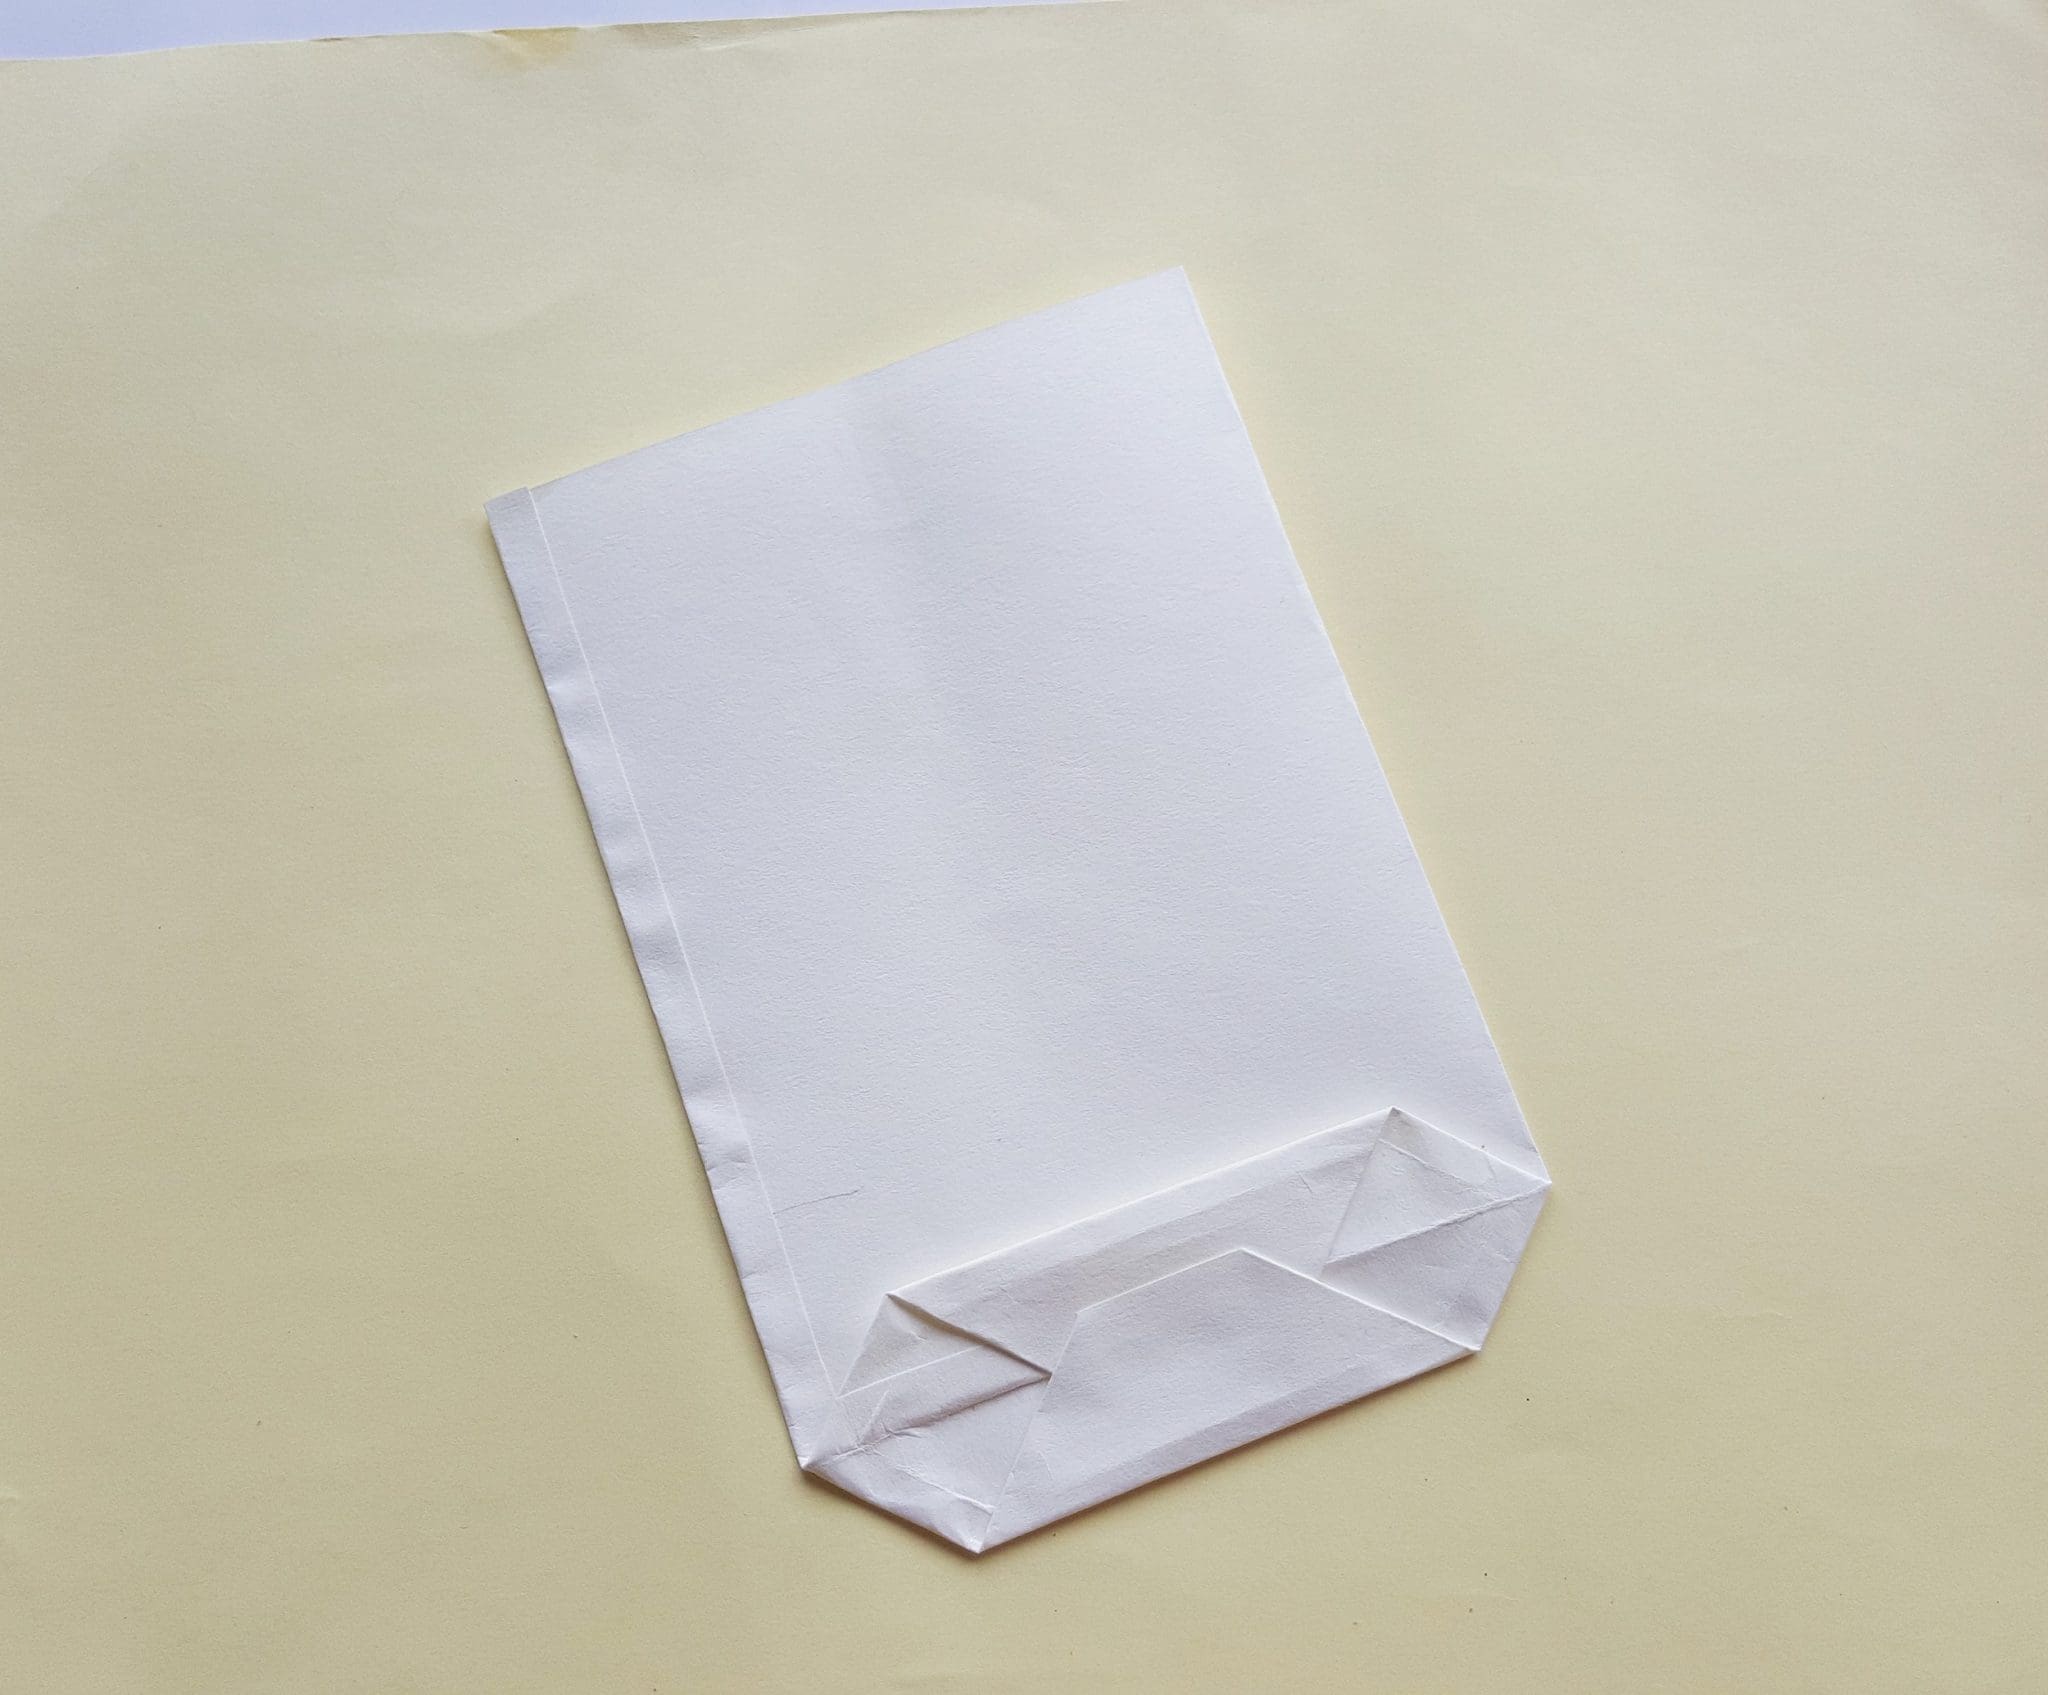
Now fold and bring the open sides towards the middle of the bottom. Glue the overlapping parts of the folded open sides to close the bottom of the bag. Notice the yellow lines marked on the bag. Create folds along the marked lines.
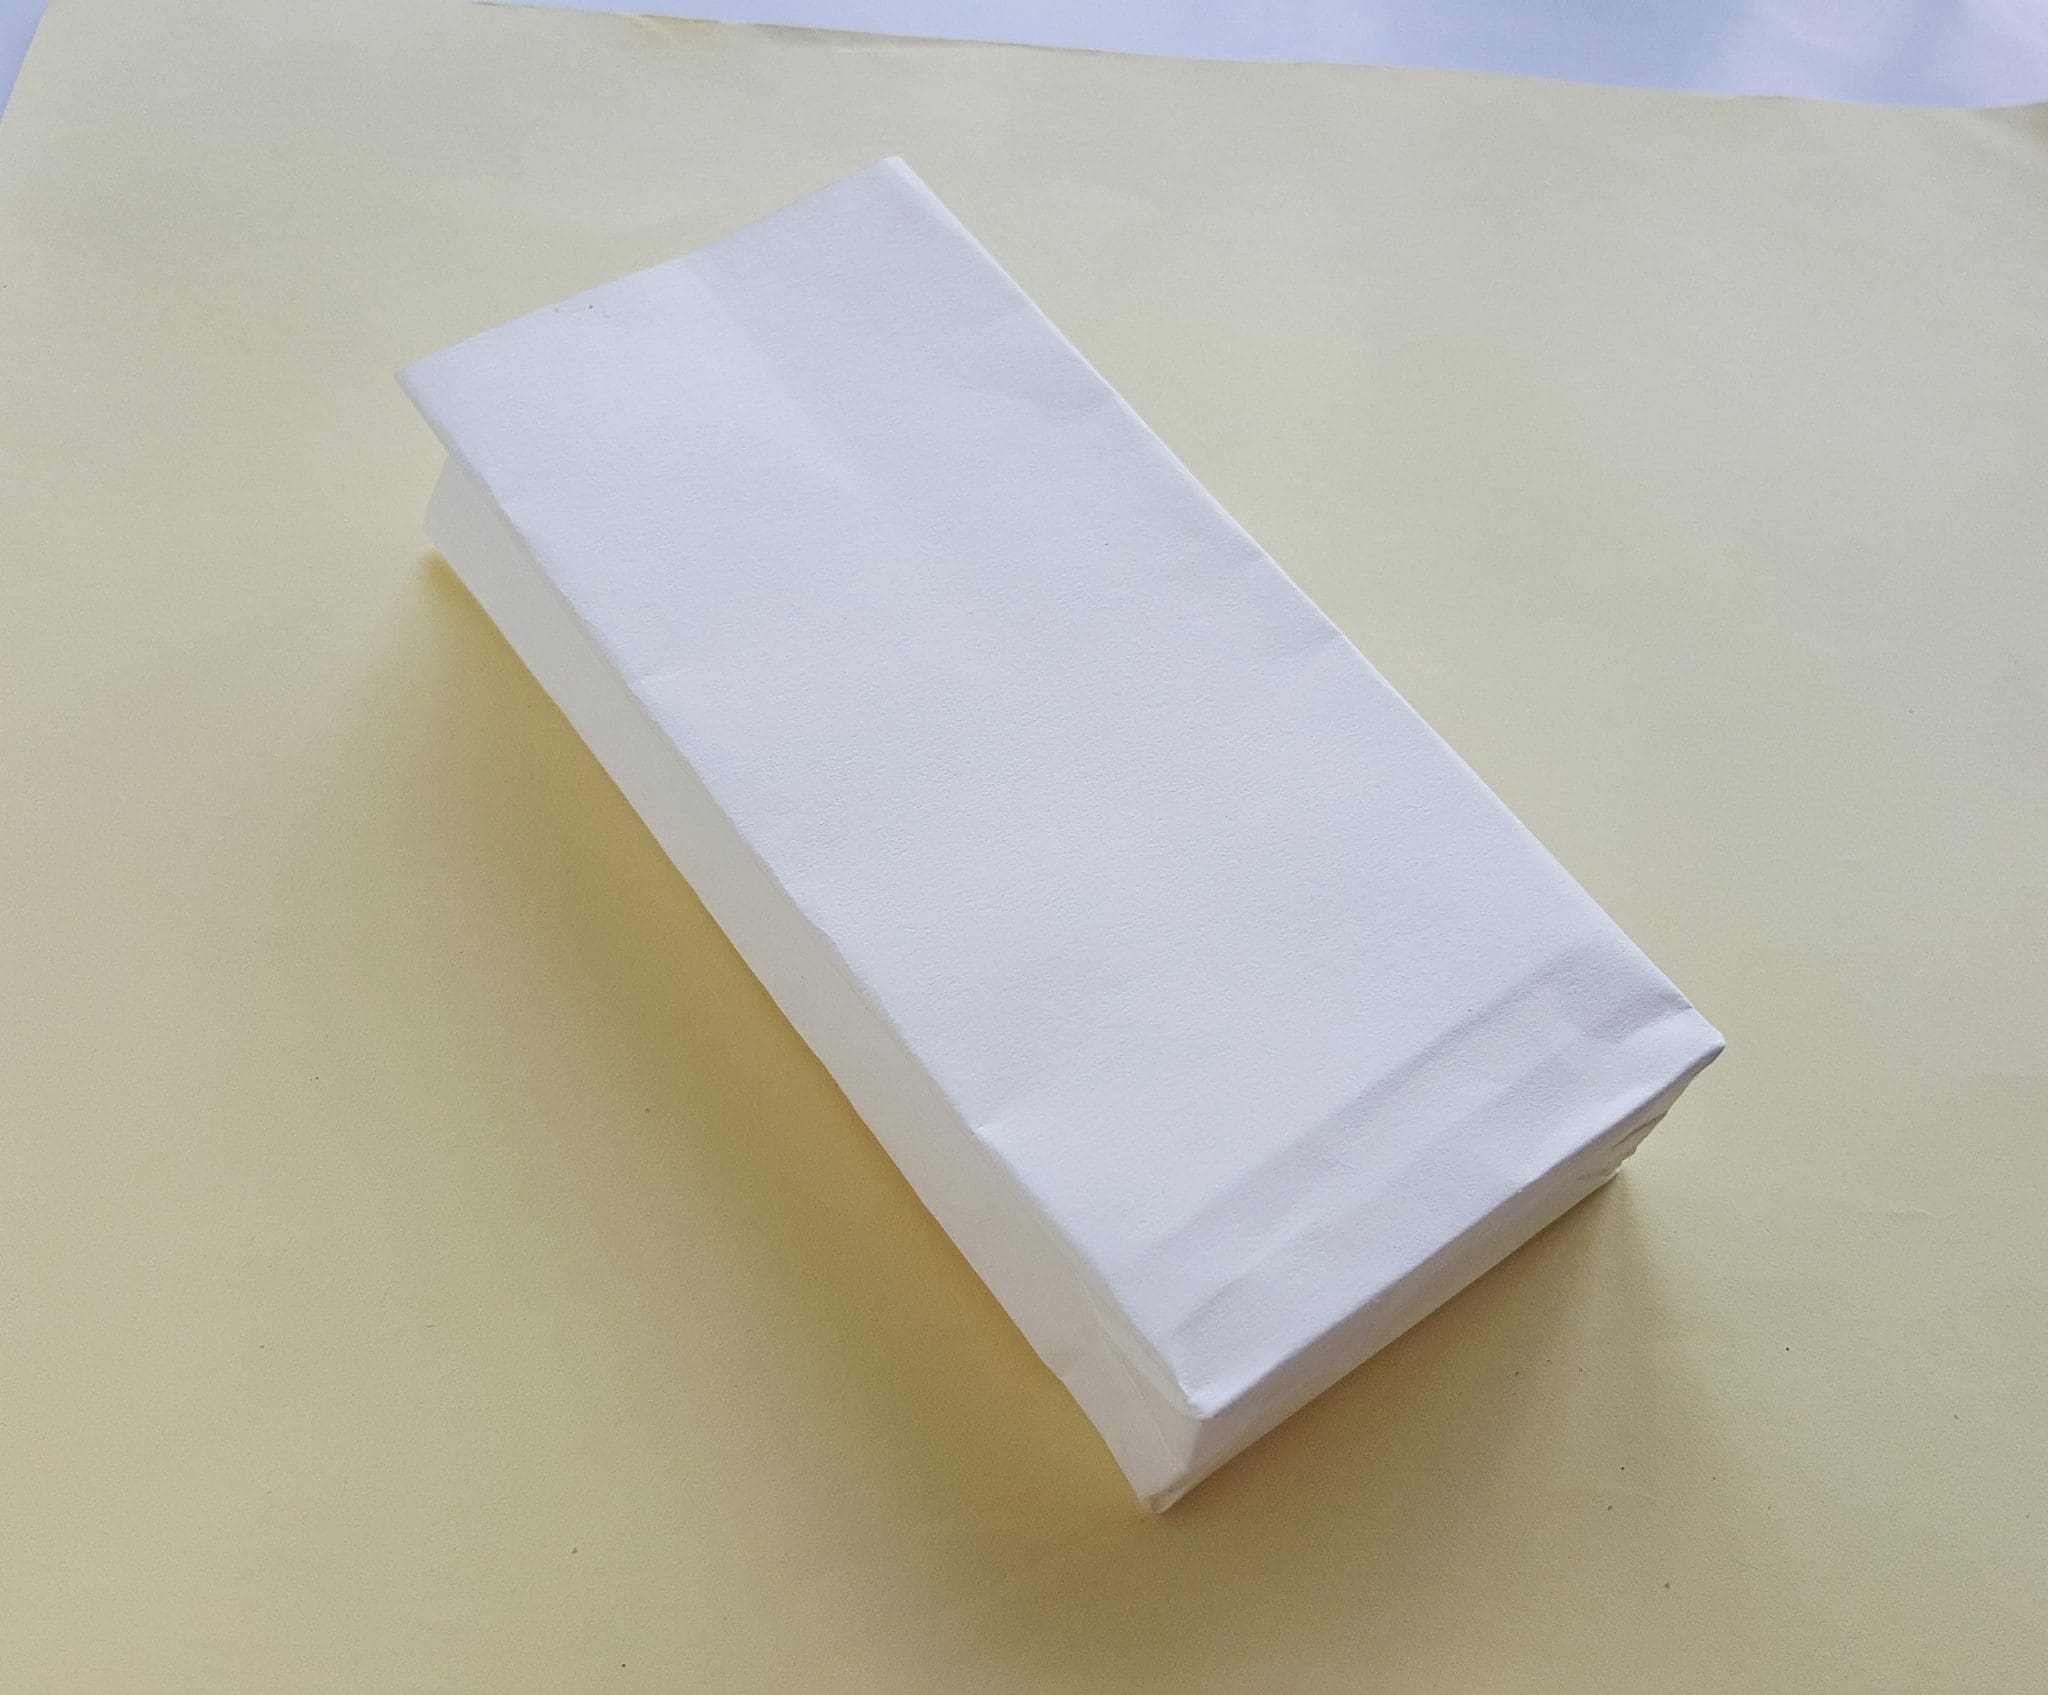
Now unfold all folds and pop open the bag.
Now, to turn the bag into a Unicorn Gift Bag

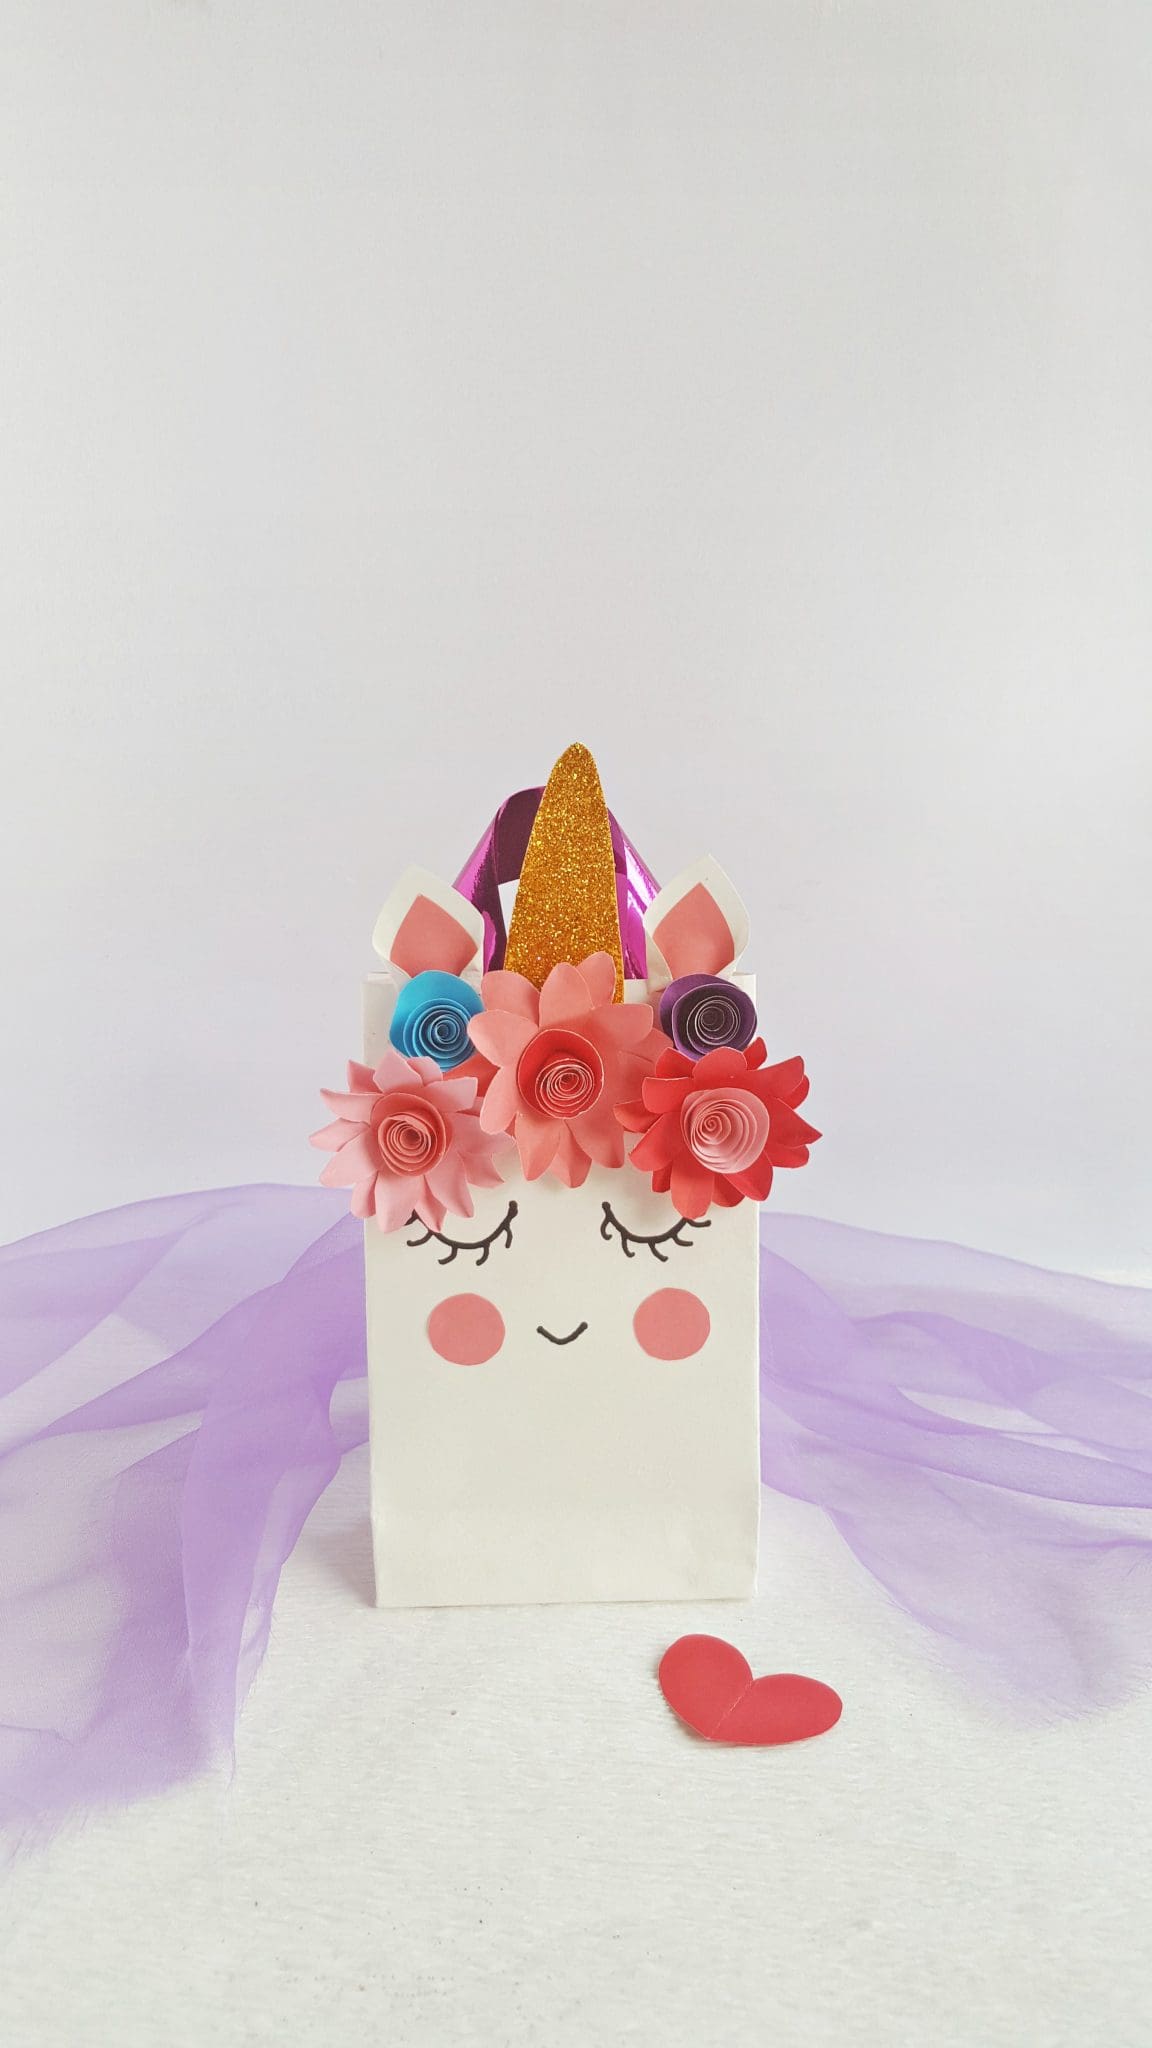
Choose different coloured craft papers and trace the patterns from the template on the papers. The template includes – 2 petaled and 1 spiral patterns for each flower, 2 outer ear and 2 inner ear patterns for the ear, 1 horn pattern and 2 circles for the cheek blushes.

Create rolled flower with the spiral pattern and glue the open ends of the petaled patterns. Glue the inner ear patterns on the outer ear patterns and apply glitter on the horn pattern.

Attach the 2 petaled patterns together and glue the rolled flower on the centre of them. Similarly, create 2 more flowers and 2 more rolled flowers.

Fold inwards and glue the fold from both bottom sides of the ears.

All items ready? Now use a black sharpie to draw the unicorn face on the bag.

Attach all crafted items on the bag one by one. Arrange them nicely and neatly as you can.

The easier thing is to attatch the ears and horns first; then the flowers.

Use ribbons for handles. Cut 2 pieces of ribbons into the same size and simply glue the open ends of the ribbons with the top open end of the bag on the inside and done!

Variations & Ideas
- Any Celebration – these DIY gift bags work for birthdays, classroom parties, or just as fun goodie bags.
- Rainbow Party – swap unicorn horns for rainbow strips of card.
- Mermaid Party – use seashell shapes and pastel blues.
- Christmas Favors – turn bags into reindeer with antlers and red noses.
Why Families Love This Craft
- Easy for kids to help decorate.
- Budget-friendly and adaptable for different party themes.
- Eco-friendly if you use recyclable paper bags.
- Leaves guests with a magical memory of the celebration.
If you like these DIY Unicorn Gift Bags why not take a look at our DIY Unicorn Easter Eggs.