

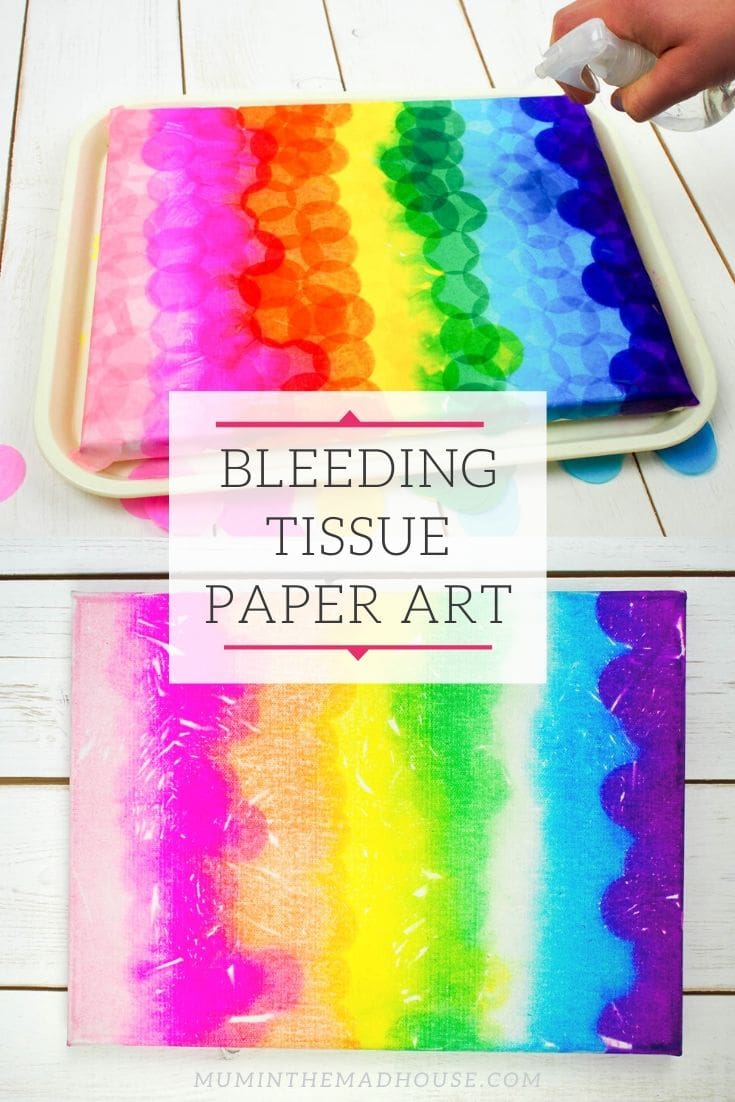
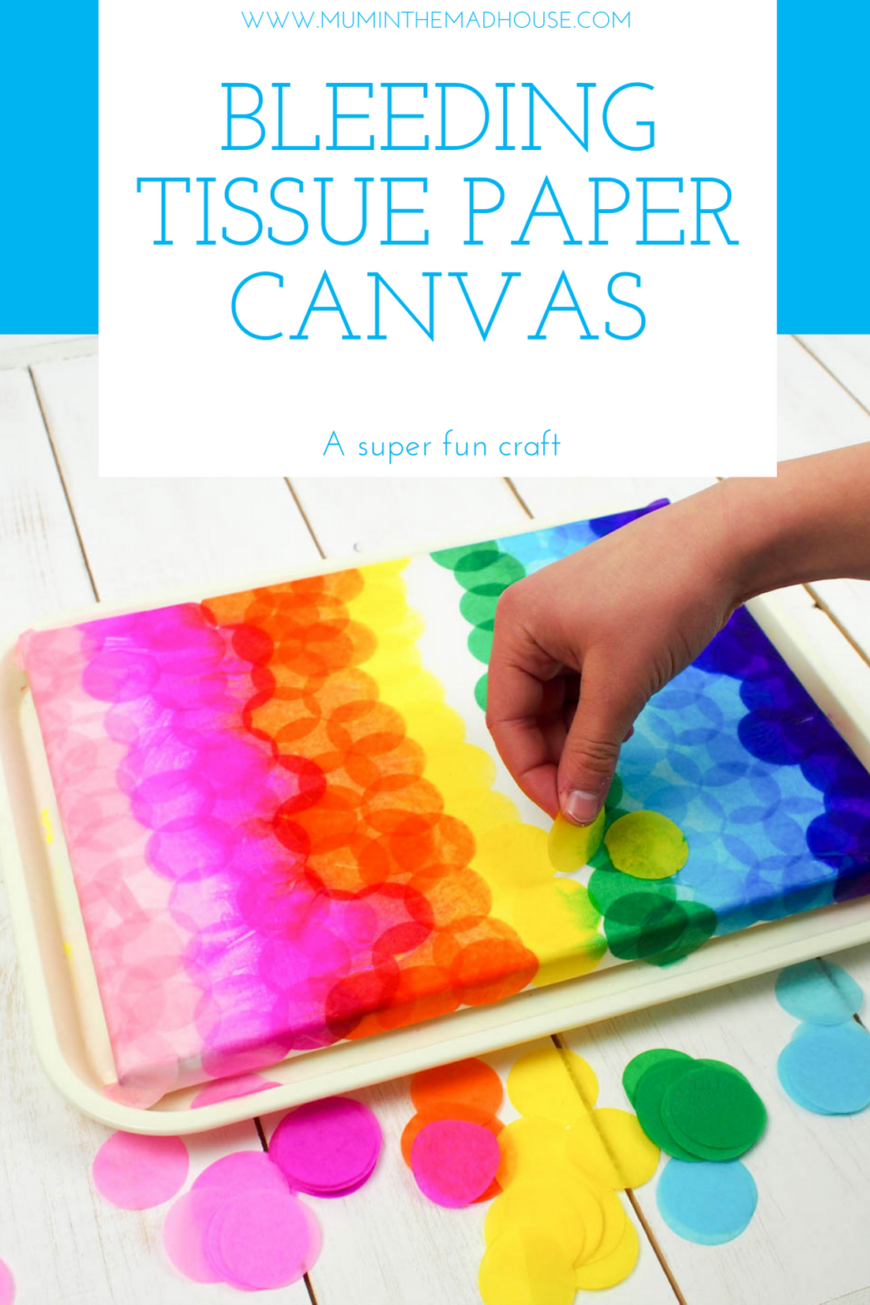
We are big fans of bleeding tissue paper art here. We have even done it in the past and let rain create the art, which was great fun. This beautiful bleeding tissue paper canvas art was created with confetti circles and is fun process art activity for kids of all ages. Plus you are left with a fab piece of art to display.
You can buy specific art tissue paper for bleeding, but we have found that some cheap tissue paper works just as well, so just do a small test. We had a packet of balloon confetti and discovered that it bled when we placed a cup on top of it.
Bleeding Tissue Paper Canvas Art
Materials:
This post contains affiliate links. If you make a purchase after clicking one of these links, I will make a small commission (hopefully enough to keep me in tea all year) – at no extra cost to you! This allows me to keep creating and sharing free tutorials and content for you. Thank you!
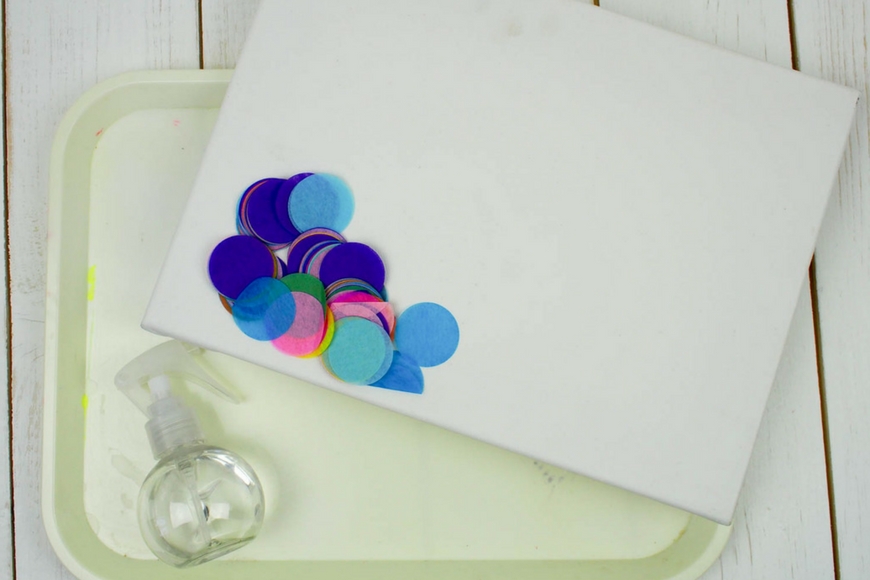
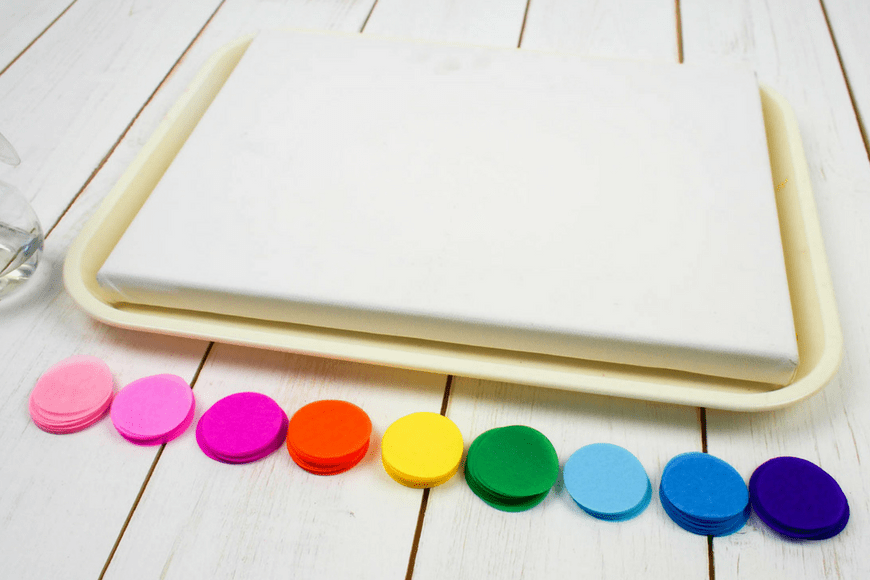
- Canvas (UK Link/US Link)
- Tissue Confetti (UK Link/US Link)
- Spray bottle filled with water (UK Link/US Link)
No products found.
How to make Bleeding Tissue Paper Canvas Art
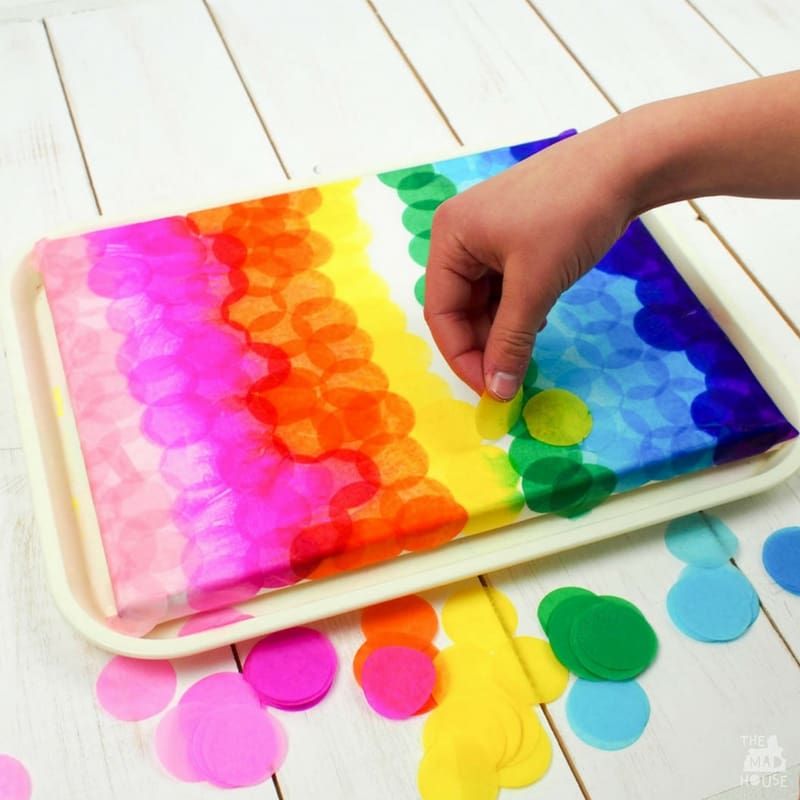
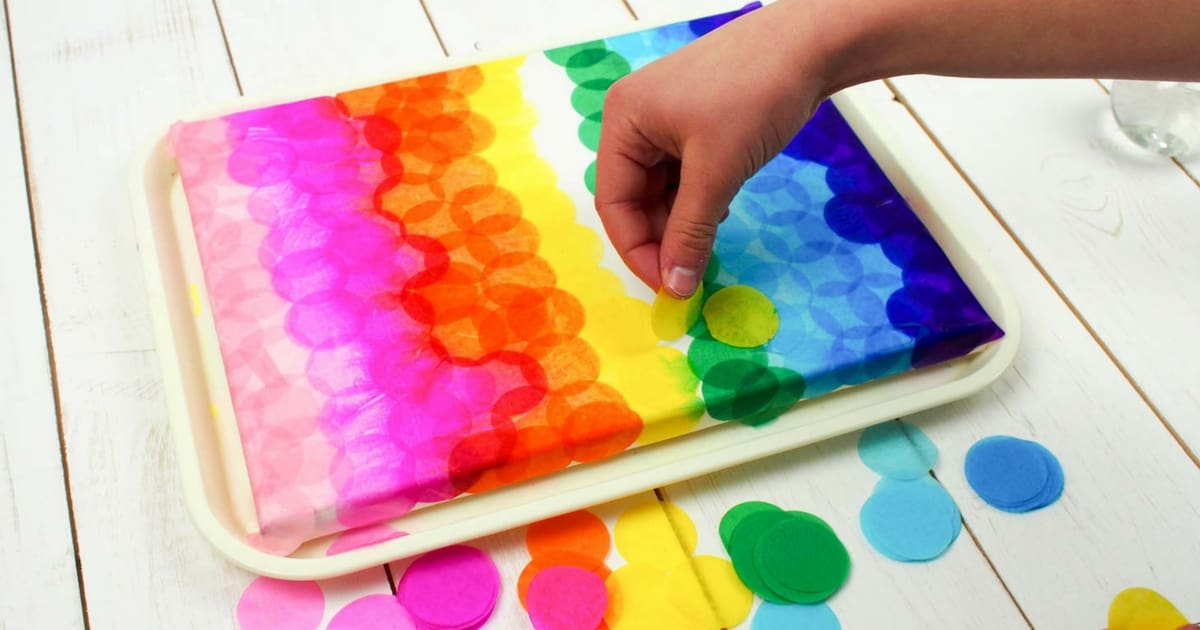
My boys are going through a sorting stage, so they started by sorting the confetti into colours, however, this would love beautiful if you just added the tissue paper confetti in random order too.
Start by spraying your canvas so that the tissue paper sticks to it.
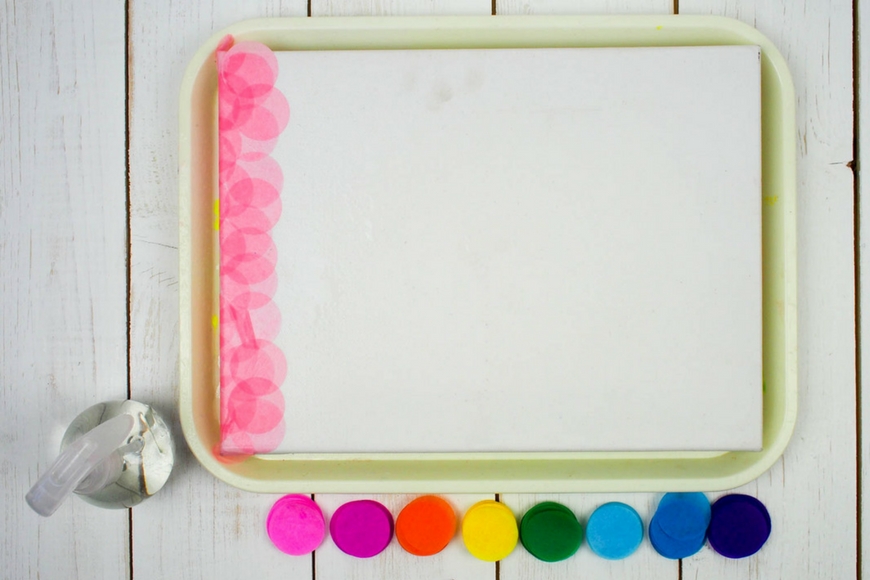
Maxi added a colour at a time, spraying more water as needed.
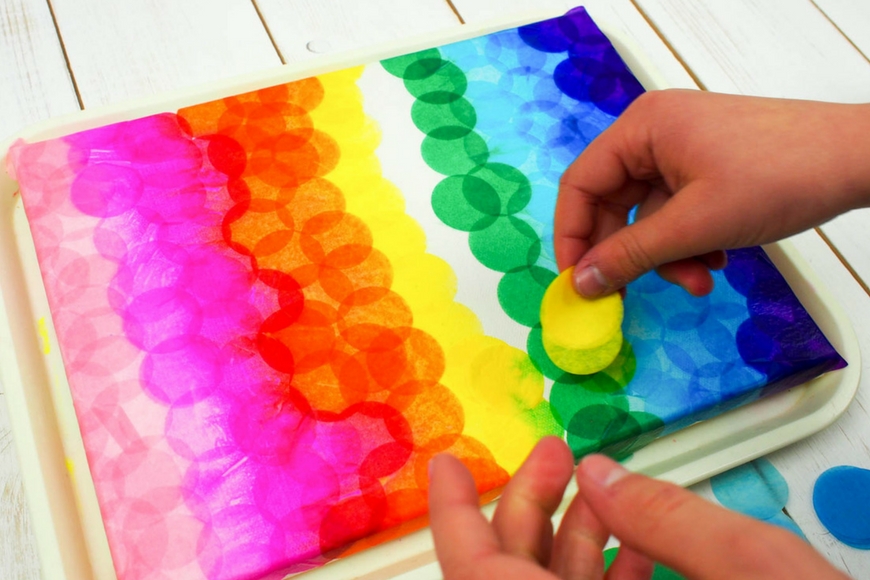
He then moved on to another colour.
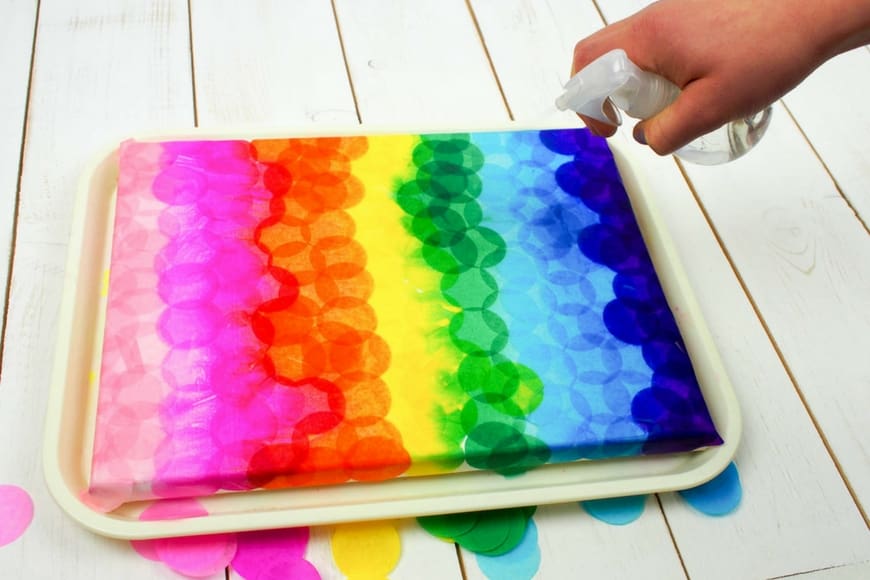
Once the canvas was covered as he wanted, he applied more water and let it dry.
Before he removed the tissue paper once it was dry. It came away really simply as soon as it was dry.
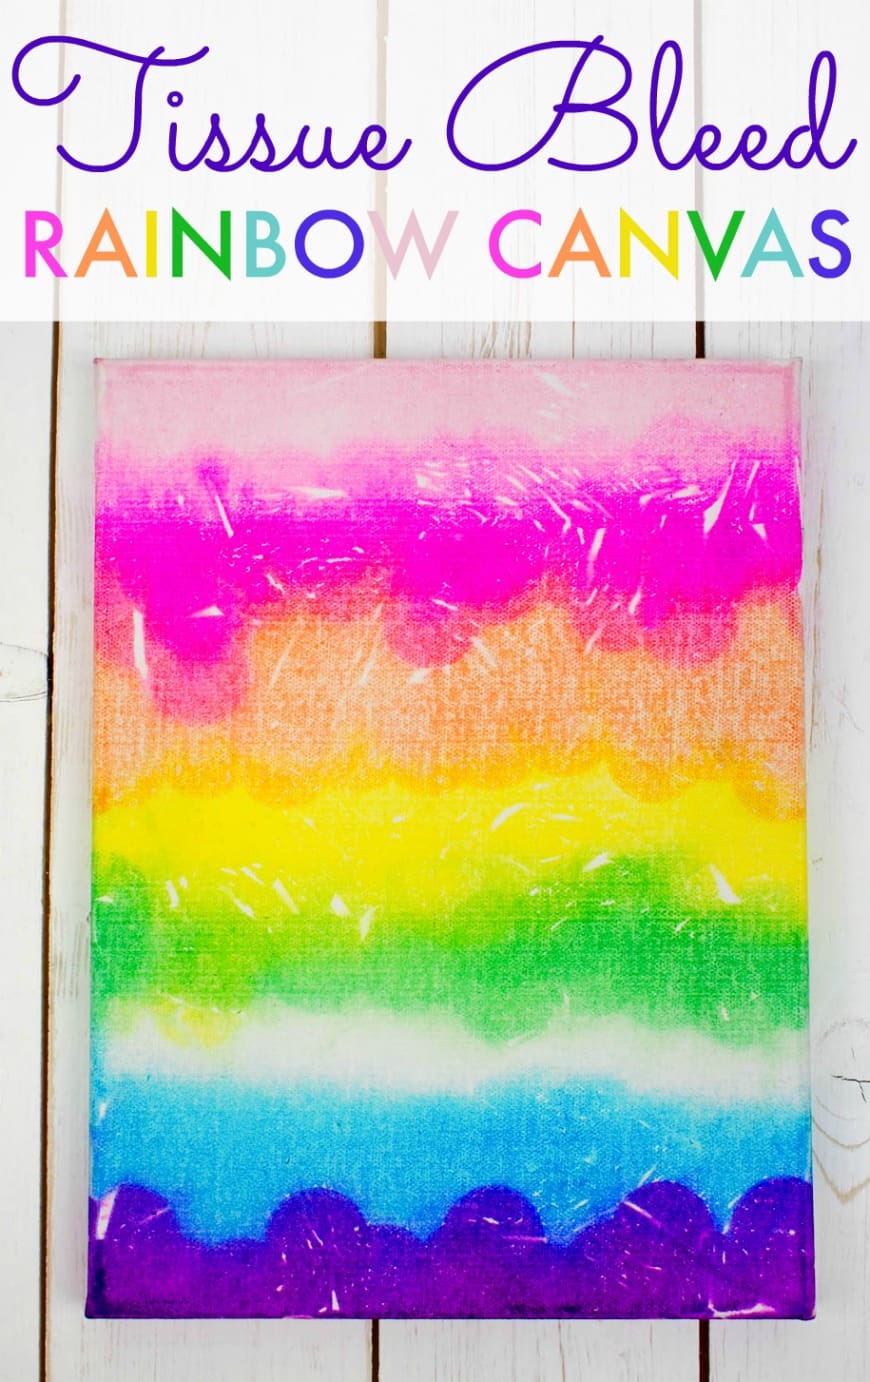
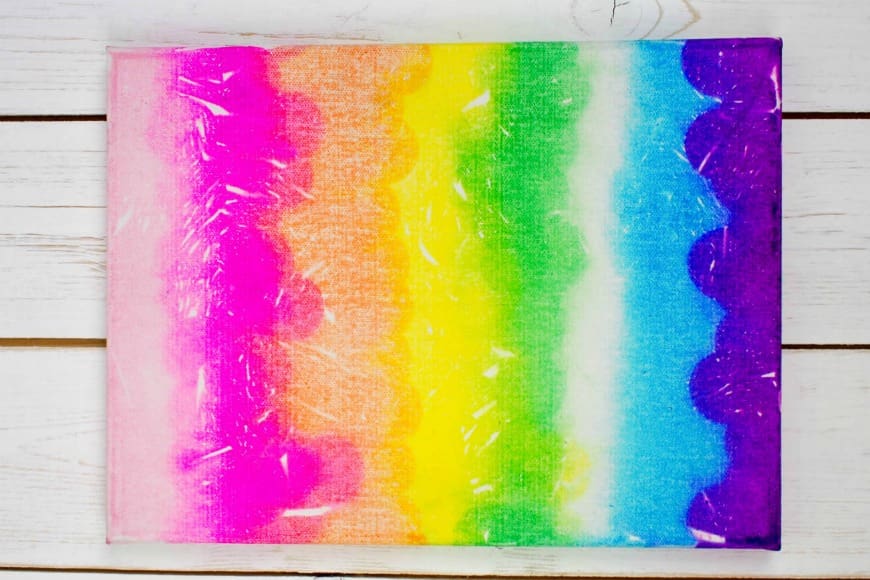
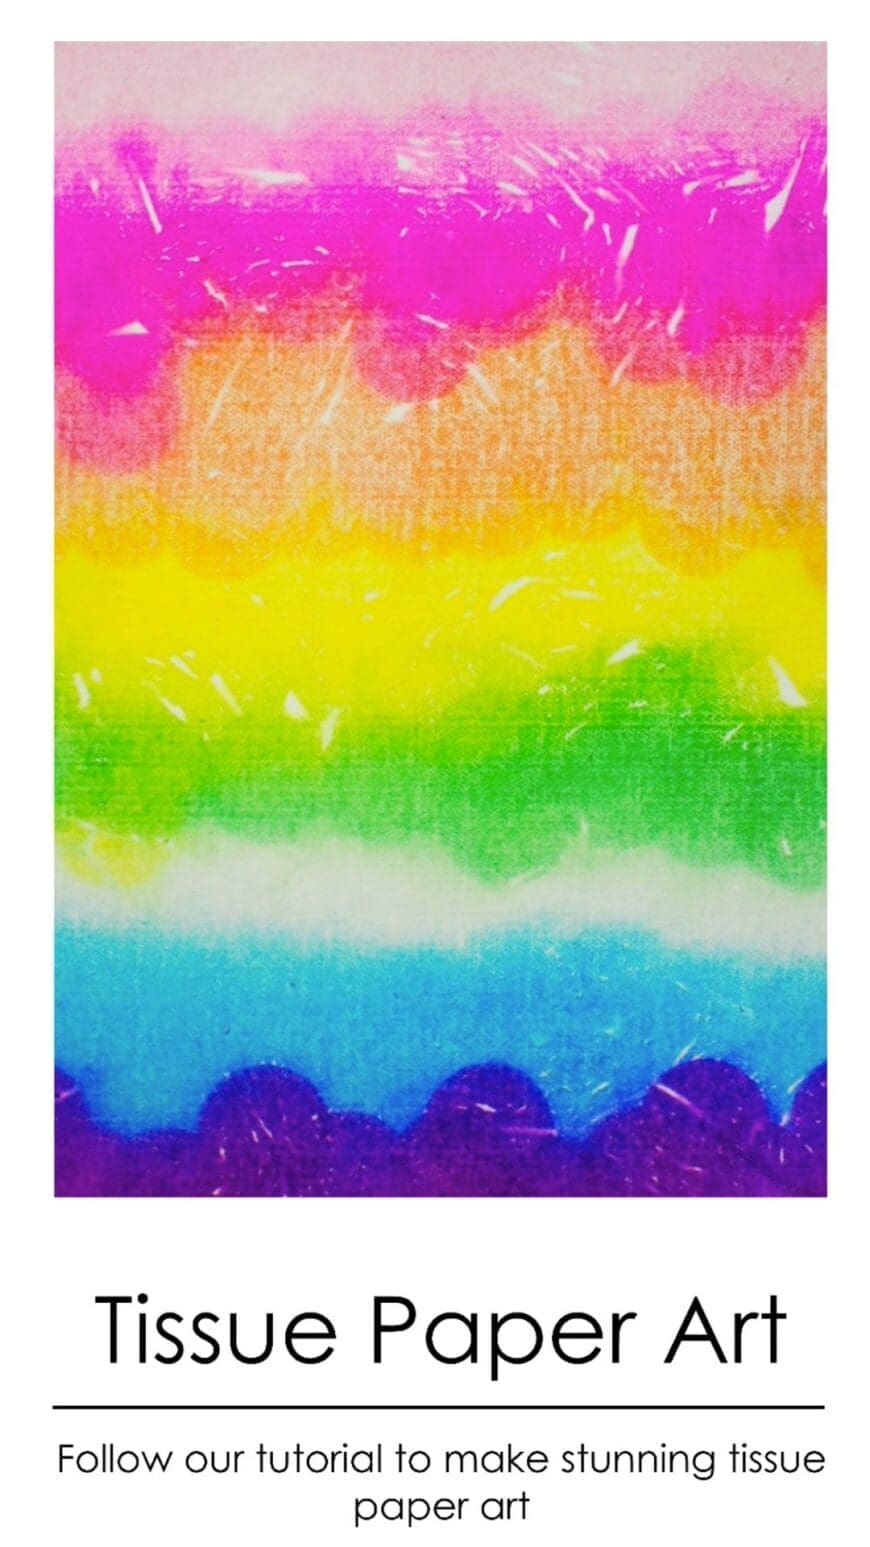
It turned out even better than we could have imagined. We love the rainbow effect and also just how vivid all the colours (except the pale blue) were when they transferred to the canvas. I can see us doing this a lot more and experimenting with different patterns and shapes too.

We used a really inexpensive canvas picked up from the Pound shop, but you could also use watercolour paper too. Rather than a hard canvas, I would use a stretched canvas as the water will not over saturate it and it dries really well without warping.
Comments are closed.