

Now is the perfect moment to start crafting handmade décor for the festive season. One of the most magical projects to dive into is a DIY cardboard Christmas village—a cosy collection of tiny illuminated houses that looks beautiful on a mantel, windowsill or shelf. This eco-friendly craft is a wonderful way to reuse cardboard packaging while creating a whimsical winter scene that’s uniquely yours.
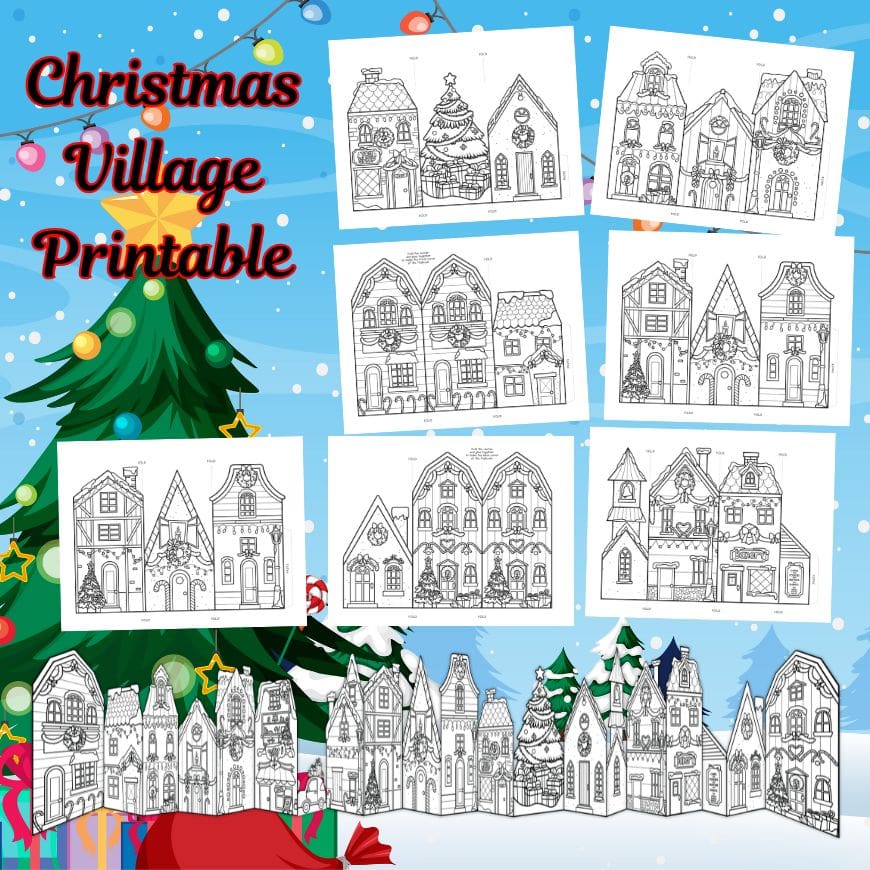
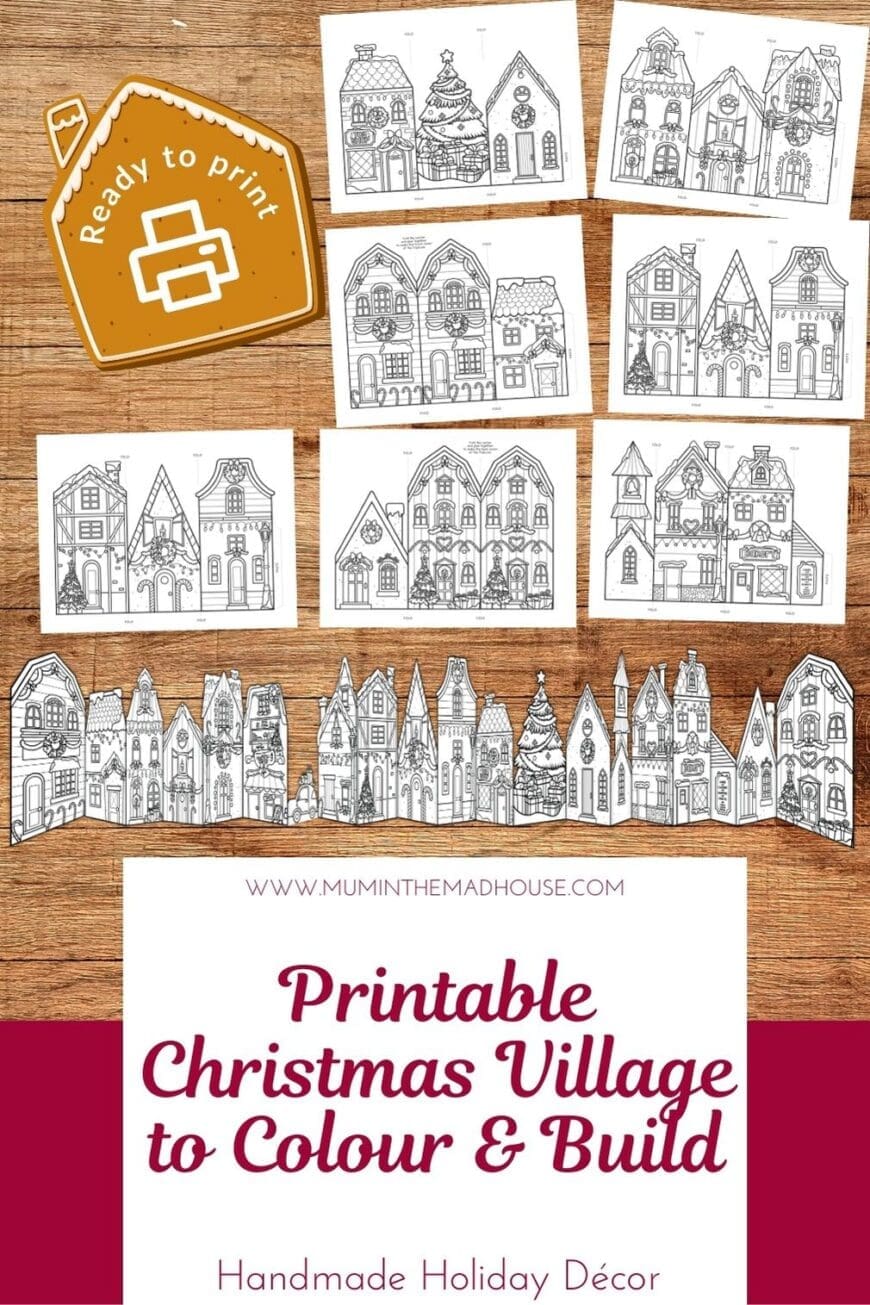
To make things even easier, we’ve added a FREE 7-page Houses Printable featuring beautifully illustrated fold-out buildings you can colour, cut, and assemble into your own village. These pages include a mix of cosy homes, shops, a bakery, and charming festive details—each with clear fold and paste guides (see pages 1–7 of the printable).

Materials You’ll Need
- Cardboard – Recycled corrugated boxes for the structure; cereal boxes for smaller decorative elements.
- Craft knife & cutting mat – A sharp blade and metal ruler keep edges crisp.
- Adhesives – Tacky glue or a low-temperature glue gun.
- Paint or markers – Matte acrylics, colouring pencils, markers or paints for custom designs. Add glitter or faux snow for sparkle.
- LED tea lights – Safe, battery-powered lights to make your village glow.
- Other useful supplies – Pencil, ruler, cutting board, tissue or vellum for windows, cotton “snow,” and festive mini décor.
- Your FREE Houses Printable (7 Pages) – Colour, fold, and glue the illustrated houses to build a ready-to-go village base.
This post contains affiliate links. If you make any purchases after clicking one of these links, I will make a small commission (hopefully enough to keep me in tea all year) – at no extra cost to you! This allows me to keep creating and sharing free tutorials and content for you. Thank you!
No products found.
Plan Your Village
Start by measuring your mantel or shelf so you know how much space you have. Decide how many buildings you want and whether your village will be:
- A row of houses
- A tiered display using risers
- A mini town arranged on a tray or console table
Use inspiration from historic towns, gingerbread houses, or your own neighbourhood.
Tip: Mix hand-built cardboard houses with our pre-designed printable houses for a varied, charming look.
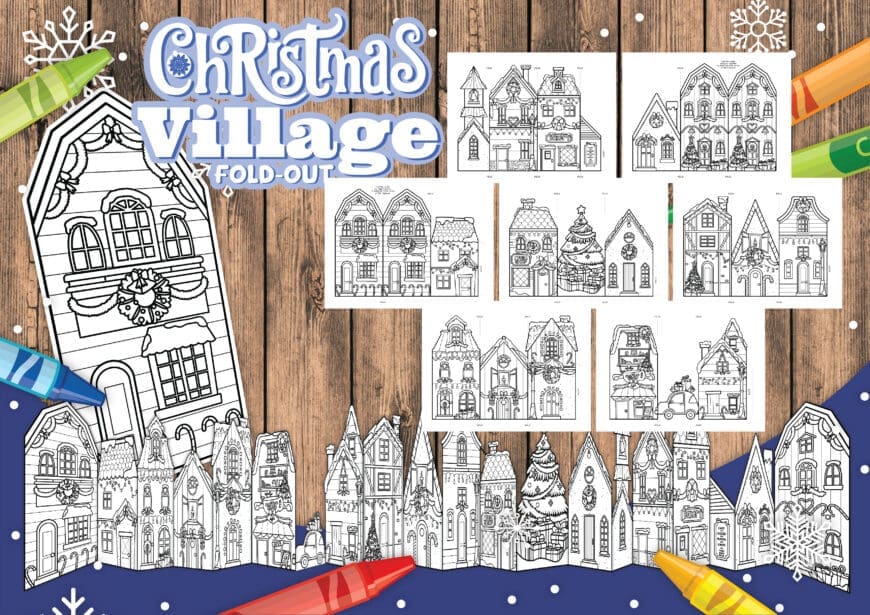
Using the FREE Houses Printable
Your printable includes seven pages of beautifully illustrated festive houses and shops, each with:
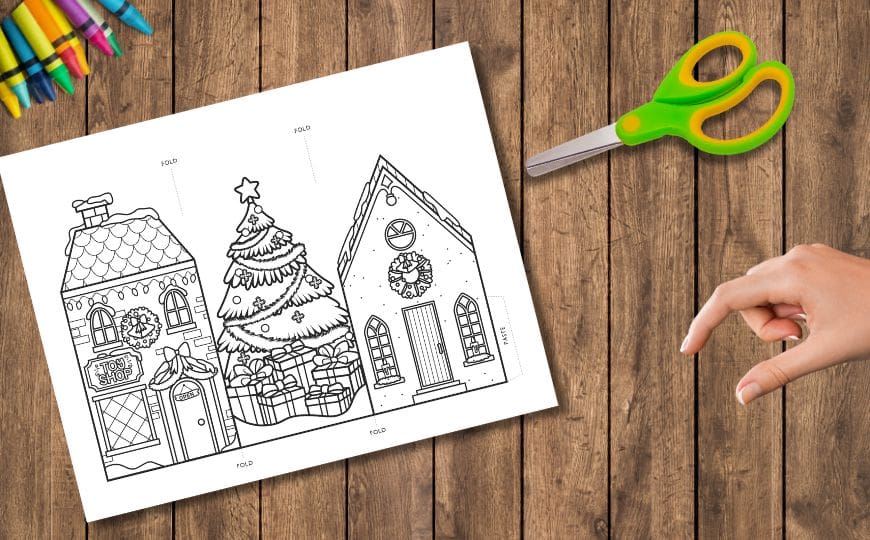
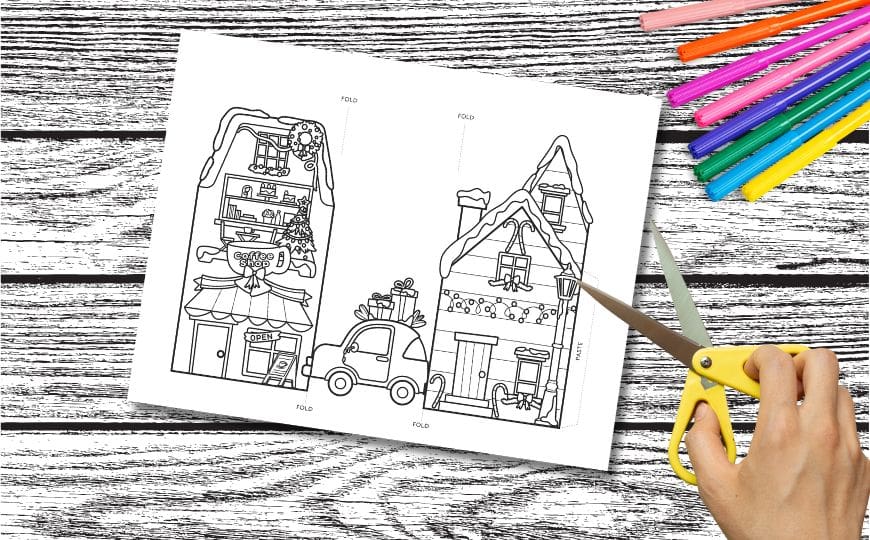
- Clear FOLD and PASTE markers
- Double house spreads for creating front and back covers
- Gingerbread-style cottages, shops, and a bakery
- Decorative details like wreaths, garlands, lampposts, and snowy rooflines
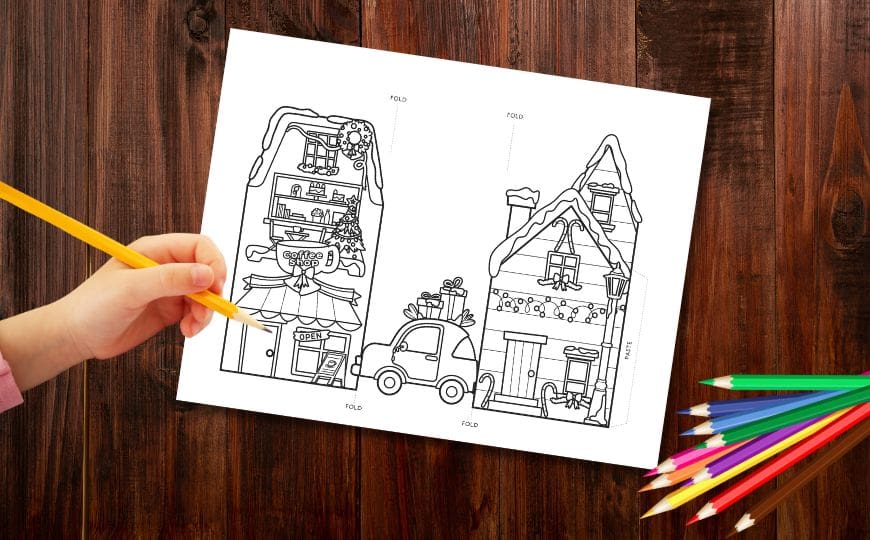
Print the pages on standard paper or thin cardstock, colour them in, and follow the fold lines to assemble. These houses work beautifully on their own or can be glued onto cardboard to make them sturdier.
The printable pages (1–7) show all the buildings and fold lines needed to create a standing village strip—perfect for kids or for quick seasonal décor projects.
Step-By-Step: Building Your Cardboard Christmas Village
1. Trace & Cut
If you’re making additional cardboard houses, sketch simple shapes or use the printable templates as inspiration. Transfer designs to cardboard and cut carefully.
2. Score Fold Lines
Use the back of your craft knife or a scoring tool to create clean corners.
3. Assemble Structures
Glue tabs to form each house. Attach the roofs last, reinforcing the inside seams.
4. Add Windows
Cut window openings or glue vellum/tissue behind them for a frosted glow. This works especially well with the printable houses if you want to backlight them.
5. Decorate
Paint or colour your houses, add glitter to roofs, draw details with markers, or glue on tiny wreaths and cotton snow.
6. Illuminate
Place LED tea lights behind or inside your buildings. The printable houses look especially magical when backlit.
Customising Your Village
- Recreate houses from your own street.
- Turn the printable buildings into a fold-out storybook village for children.
- Add characters, lampposts, tiny trees or a miniature car (like the one on page 3 of the printable) .
- Mix matte or metallic paints for variation.
- Let kids design and colour their own houses on the printable pages.
Styling Your Display
Arrange your houses along a mantel, shelf or windowsill:
- Place smaller houses at the front and taller ones at the back.
- Use box risers covered in greenery or fabric for height.
- Add bottle-brush trees, mini figures, or fairy lights.
- Hide LED tea light bases under cotton wool “snow.”
- In small spaces, cluster your printable village on a tray for an instant centrepiece.
The printable fold-out format lets you create a scene that stands on its own, while the sturdier cardboard houses can be mixed in for dimension.
Storing for Next Year
- Allow everything to dry fully.
- Wrap individual houses in tissue or bubble wrap.
- Store flat printable houses in a labelled envelope to prevent creases.
- Keep all buildings in a dry, clearly labelled box.
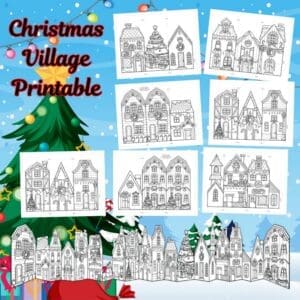
Download your free Christmas Village Printables
These printables are offered for your non-commercial personal use only. Mass-production of this printable Christmas village is not permitted, even for non-profit purposes. Please do not upload the Christmas Village Houses Printables to other sites – instead, if you want to let people know about these freebies, post a link to this page. Pinning is okay as long as the pin links back to this page. Thanks!
All you need to do is add click on add to cart and the free printable Stained glass free Christmas Village Printables will be added to your shopping cart. When you are finished click on the orange cart menu at the top right of your page and follow the instructions on the screen. You will not be charged and the free pdf file will be available for you to download immediately and will also be emailed to your inbox.
Free Christmas Village Houses Printable
Final Thoughts
Creating a cardboard Christmas village is a wonderfully affordable, eco-friendly craft that brings festive warmth to any home. Whether you build houses from scratch, use our free 7-page printable, or combine both, you’ll end up with a charming Christmas scene to enjoy year after year.
Happy crafting—and enjoy your printable village!