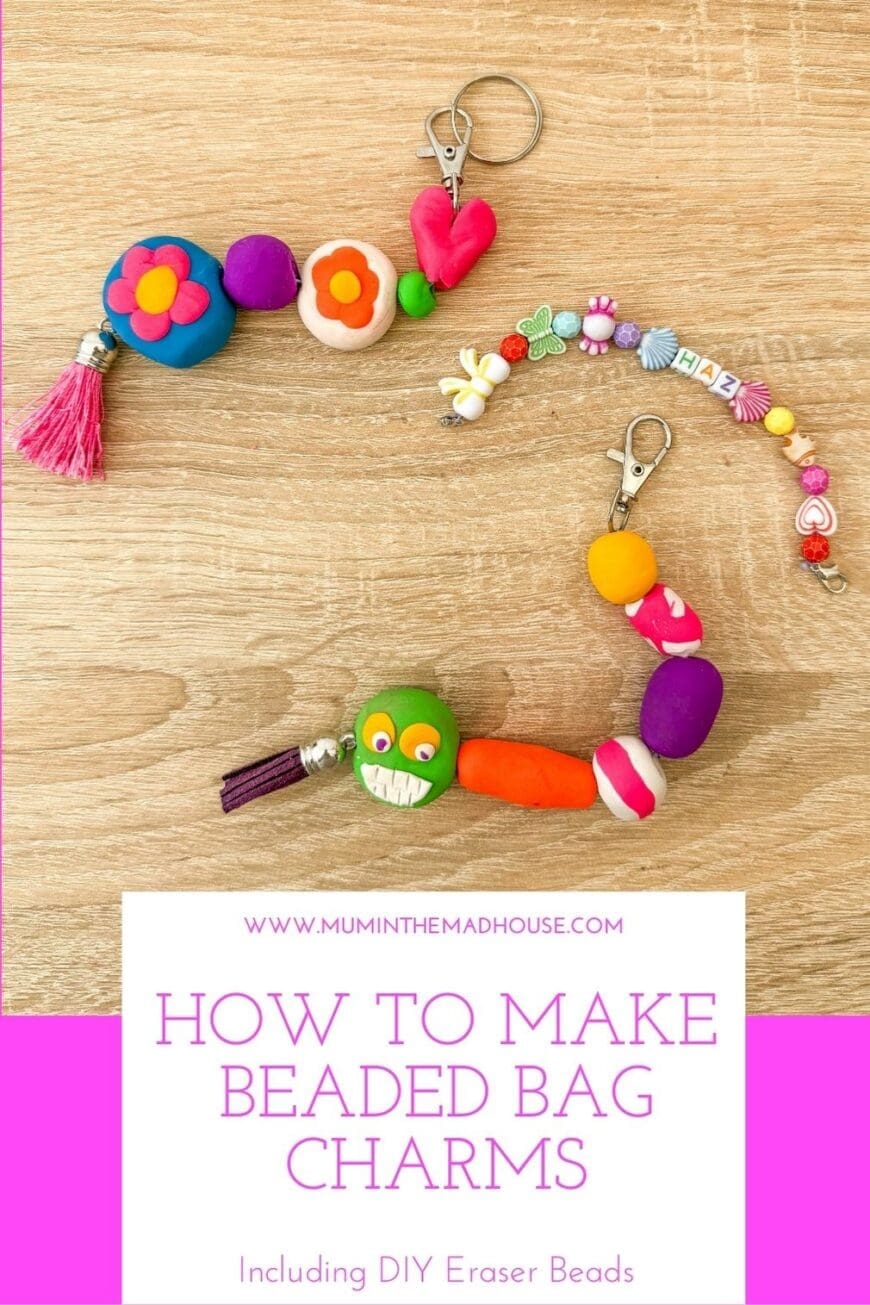
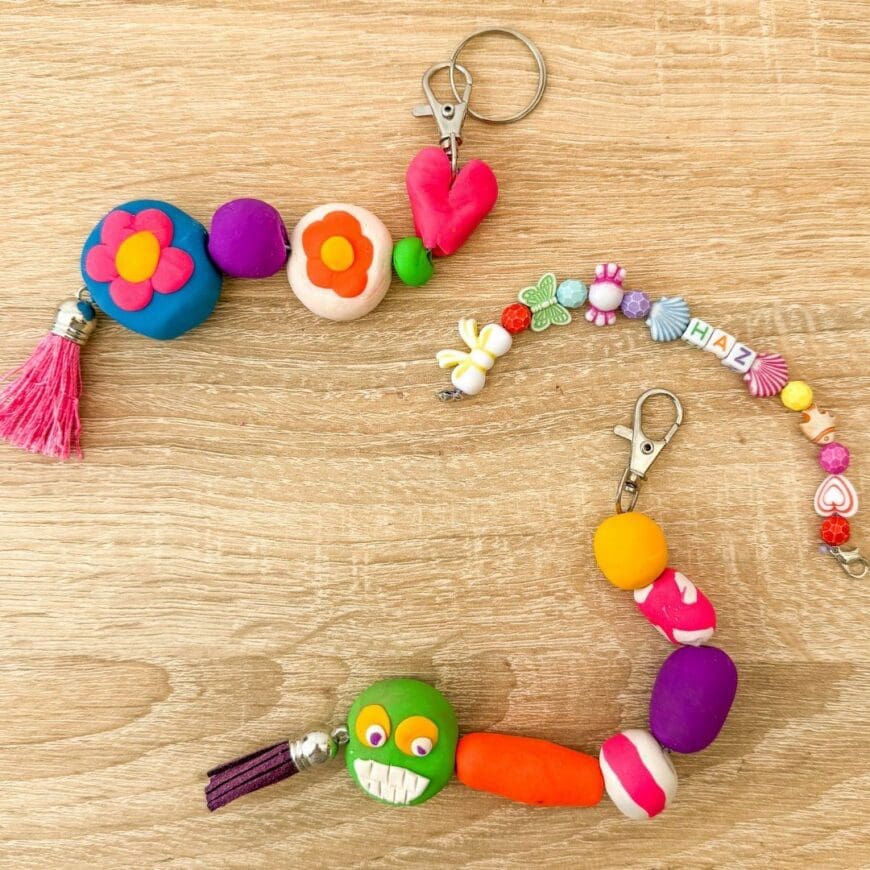
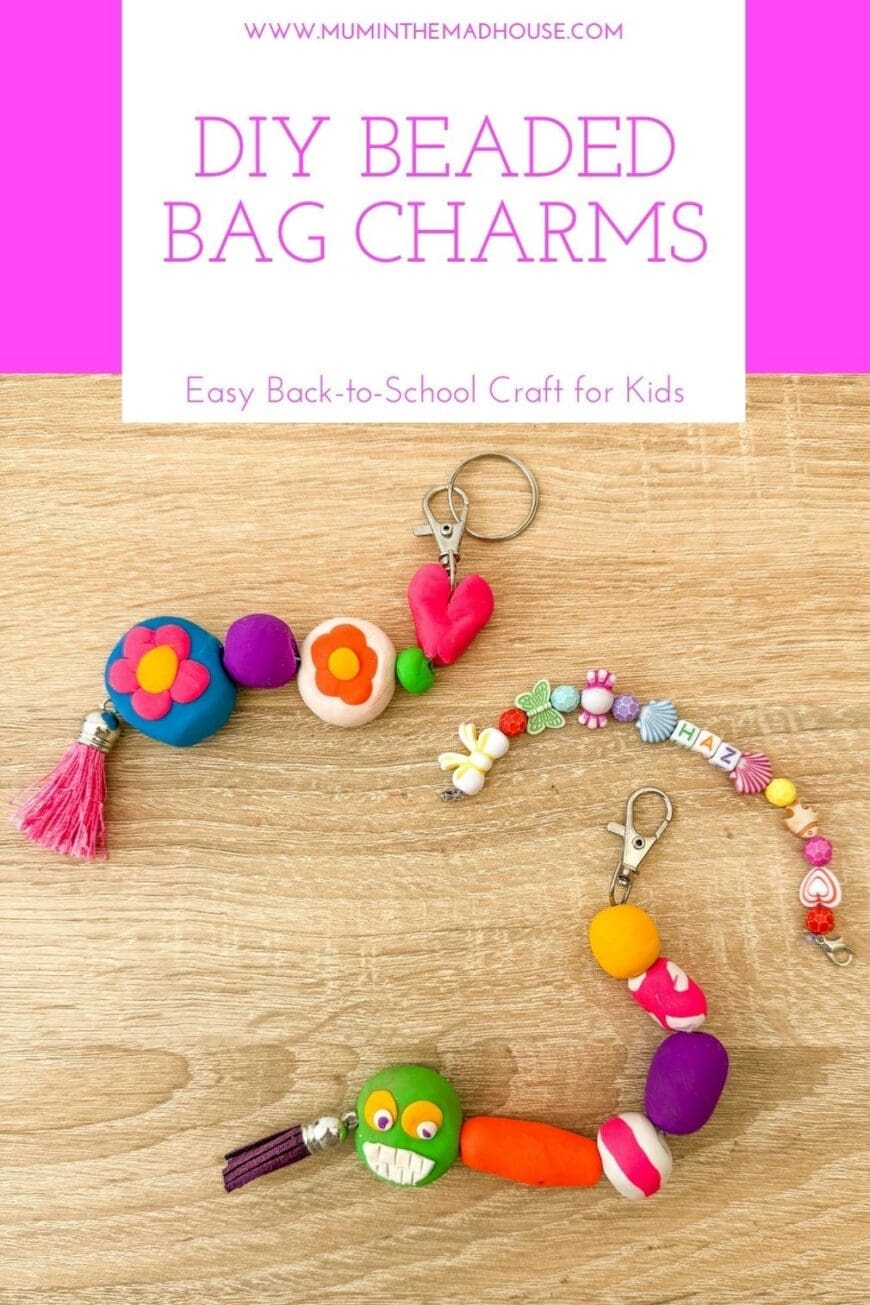
Back-to-school season is here, and what better way to add a little personality to your child’s school bag than with a colourful DIY beaded bag charm? This quick and budget-friendly project is great for a weekend activity, a rainy-day craft, or even a school holiday project. Plus, kids can personalise their DIY Bag charms with initials, favourite colours, or themed designs.
Why Make DIY Beaded Bag Charms?
- Encourages creativity and design skills
- Boosts fine motor skills while threading beads
- Gives kids ownership of their school gear
- Great way to use up leftover beads from other projects
You might also like: Button Bracelets and DIY Knot Headband Alice Band.
Materials You’ll Need
- Assorted beads (plastic, wooden, or clay)
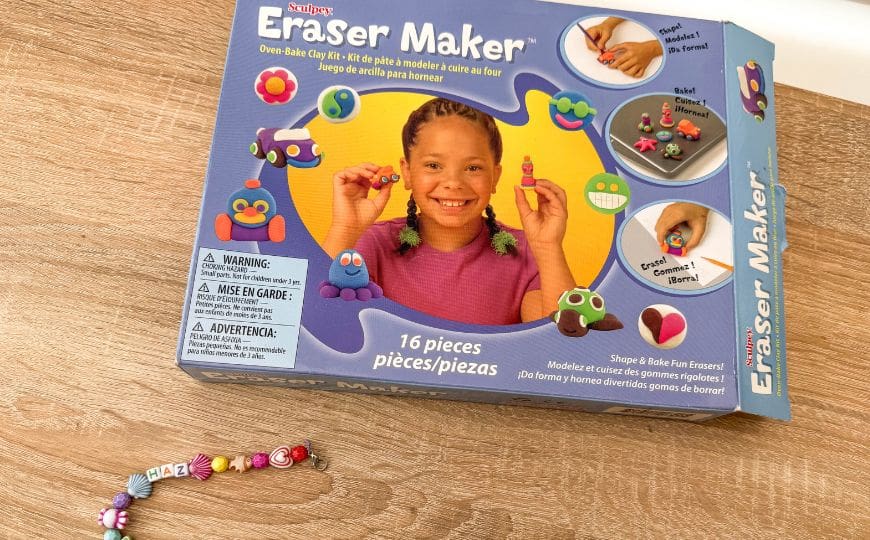
- Make your own eraser clay
- Keyring hooks or lobster clasps
- Nylon cord, waxed cotton cord, or jewellery wire
- Scissors
- Tape (to hold cord steady while threading)
- Optional: alphabet beads for initials, themed charms
This post contains affiliate links. If you make any purchases after clicking one of these links, I will make a small commission (hopefully enough to keep me in tea all year) – at no extra cost to you! This allows me to keep creating and sharing free tutorials and content for you. Thank you!
No products found.
Tip – Upcycle beads from broken jewellery or charity shop finds to make this a zero-cost craft.

Step-by-Step Guide
- Cut Your Cord or Wire – Measure around 15–20cm for your charm. If using cord, add extra length for knots.
- Plan Your Design – Lay out your beads in the order you want. Encourage your child to try patterns like colour blocks or rainbows.
- Thread the Beads – Secure one end of the cord with tape. Begin threading, starting with larger beads for a sturdy base.
- Add Initials or Charms – Personalise with alphabet beads or themed pendants — think stars, footballs, animals.
- Secure the Ends – Tie a double knot or twist jewellery wire tightly. Attach to the keyring clasp.
- Clip to the Backpack – Add the charm to the bag’s zip or strap for instant customisation.
Variations to Try
- Seasonal Styles – Use orange and black beads for Halloween, or red, green, and gold for Christmas.
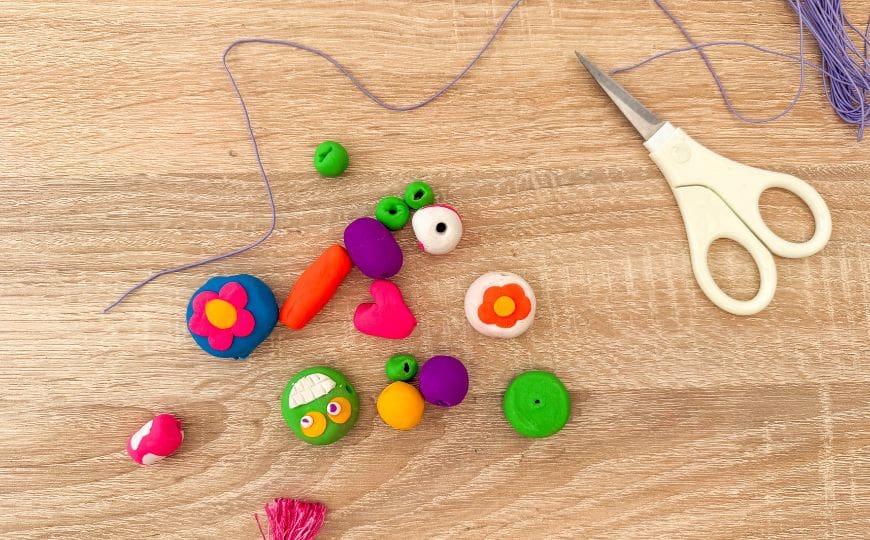
- Make your own Erasers – this was such a fun twist on this activity, we turned the eraser clay into beads, and now the kids will never be without an eraser!
- Friendship Charms – Make matching charms for friends.
- Mini Charm Sets – Create a series of small charms for zips and pencil cases.
Safety Note
Small beads can be a choking hazard. Always supervise younger children and keep materials away from under-3s.