I was so impressed with the last coasters I made with my Cricut and infusible ink that I decided to try again using the lessons I learned with the new infusible ink sheets to make these stunning DIY Christmas coasters.
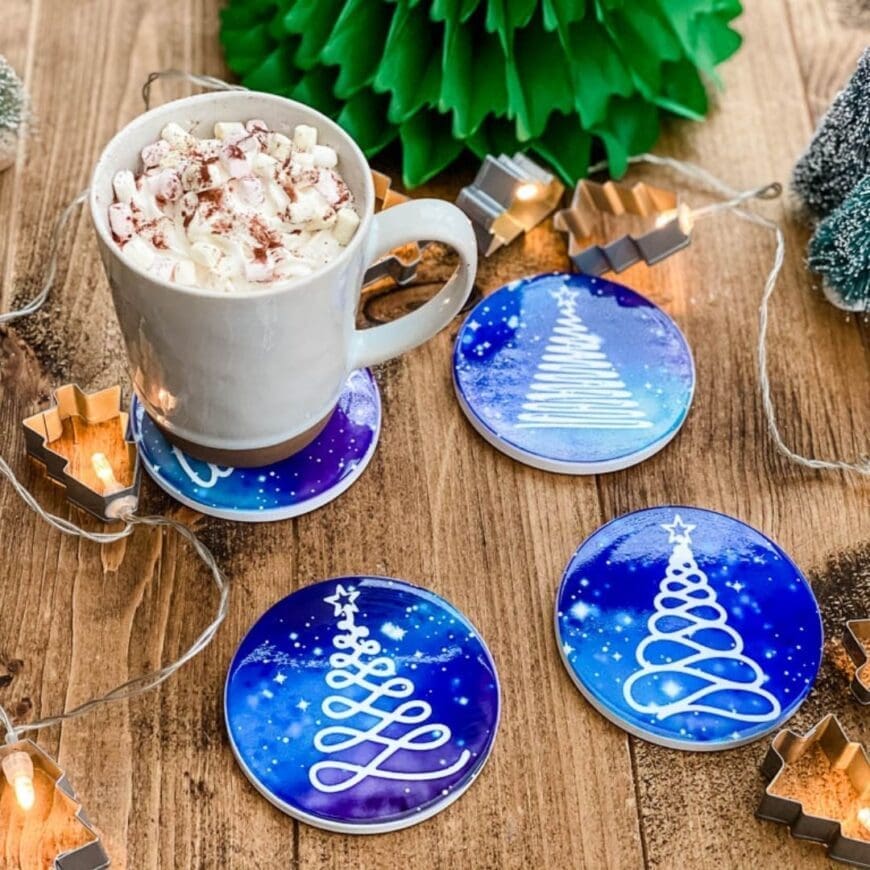
I designed these for my best friend who has a blue and orange kitchen diner and wanted them to be like Christmas trees against the night sky.
I was delighted with how they turned out and wanted to share with you my hints and tips and also the designs so you can make your own.
What is Infusible Ink?
Here’s what Cricut has to say about their Infusible Ink…
“Infusible Ink is an all-new system of Cricut DIY products that make it possible to achieve pro-level, personalized heat transfers on T-shirts and more at home for the first time. Unlike the vinyl or HTV process, where artwork is attached on top of a base material using adhesive, an Infusible Ink transfer becomes one with the material itself. The results are bright, beautiful, seamlessly smooth transfers that never flake, peel, wrinkle, or crack. “
This post contains affiliate links. If you make a purchase after clicking one of these links, I will make a small commission (hopefully enough to keep me in tea all year) at no extra cost to you! This allows me to keep creating and sharing free tutorials for you to try. Thank you!

Materials
- Cricut Maker (UK Link/US Link)
- Cricut Standard Grip Mat (UK Link/US Link)
- Cricut EasyPress 2 (UK Link/US Link)
- Cricut EasyPress Mat (UK Link/US Link)
- Cricut Heat Resistant Tape (UK Link/US Link)
- Cricut Infusible Ink Transfer Sheet I used Galactic Stars (UK Link/US Link)
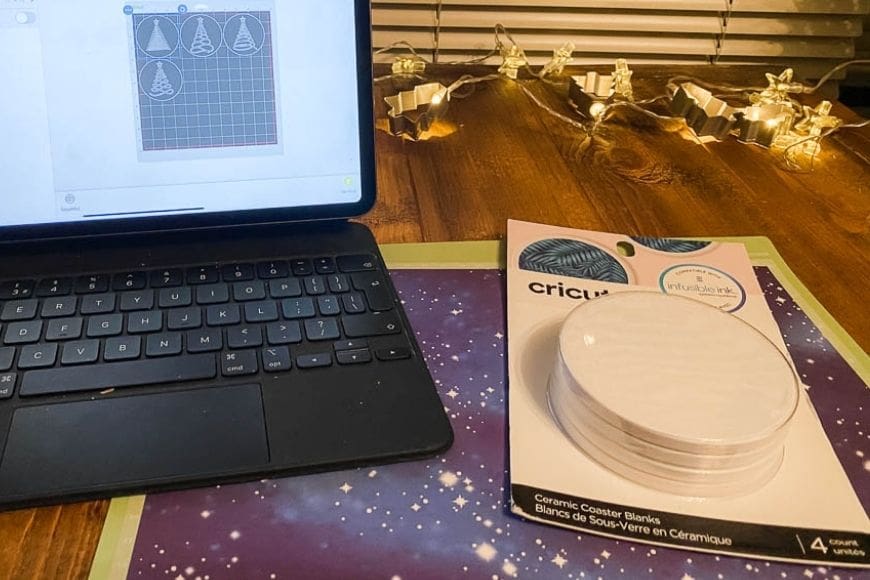
- Cricut Ceramic Coaster Blanks (UK Link/US Link)
- Lint Free Cloth
- Butcher Paper (comes inside of Transfer Sheet package)
- White Cardstock
How to Make DIY Christmas Coasters using Cricut Infusible Ink
In order to make it simpler for you, I have already designed the coasters and spliced them on to circles.
Place your Infusible Ink Transfer Sheet on the Standard Grip Mat, liner side down. You may think the Infusible Transfer Sheet colour seems dull now, but wait until you see the finished project. The process of transferring the infusible ink makes the colour so vivid, it really pops!
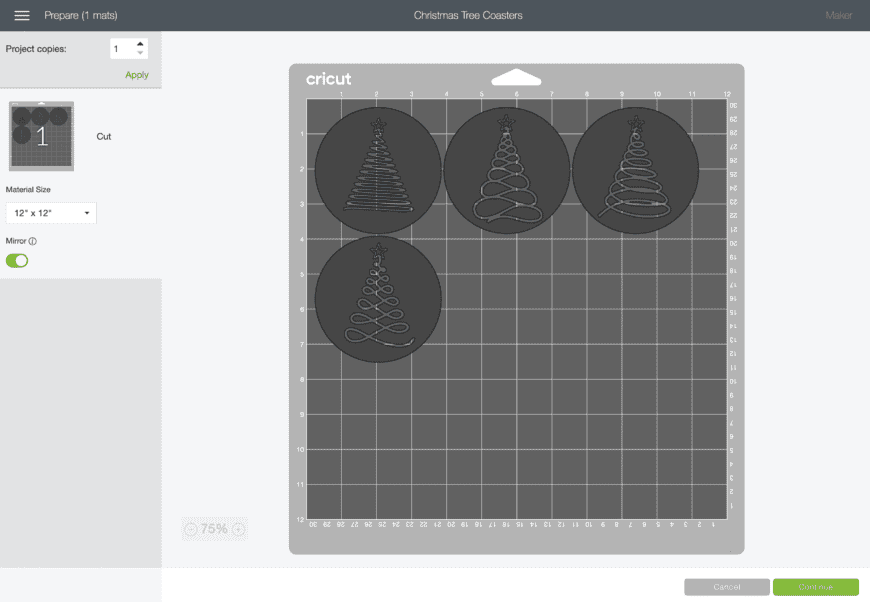

When you’re ready to cut, click the “Make It” button. You need to make sure that you click the “Mirror” function. Select “Infusible Ink Transfer Sheet” from the list of materials.
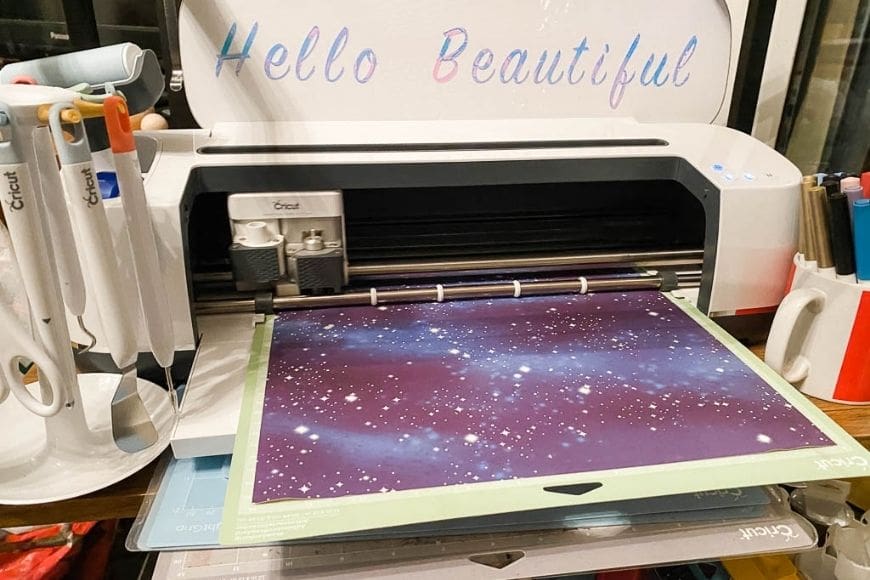

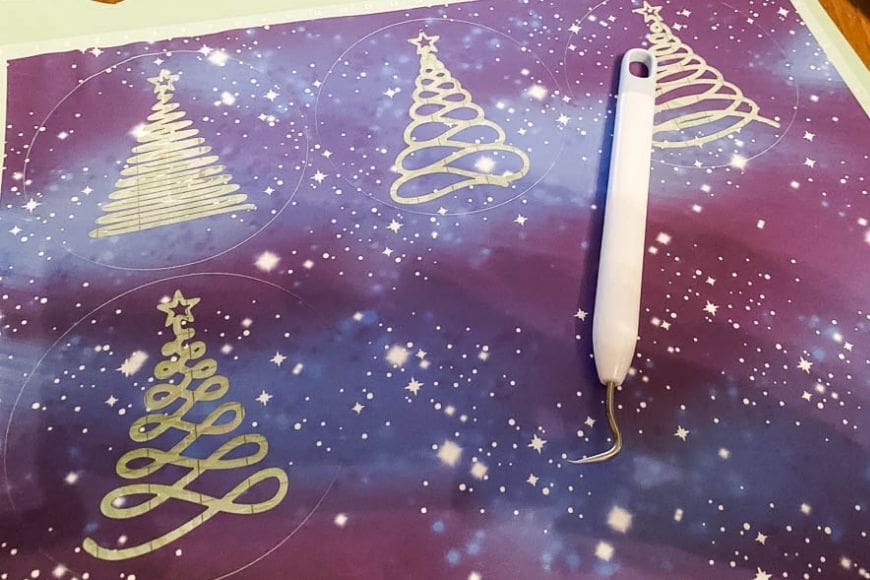
When it’s finished cutting, then you need to weed away the extra material from the transfer sheet liner. Cricut advise you do it with your fingers, but I really struggled so used the tools.

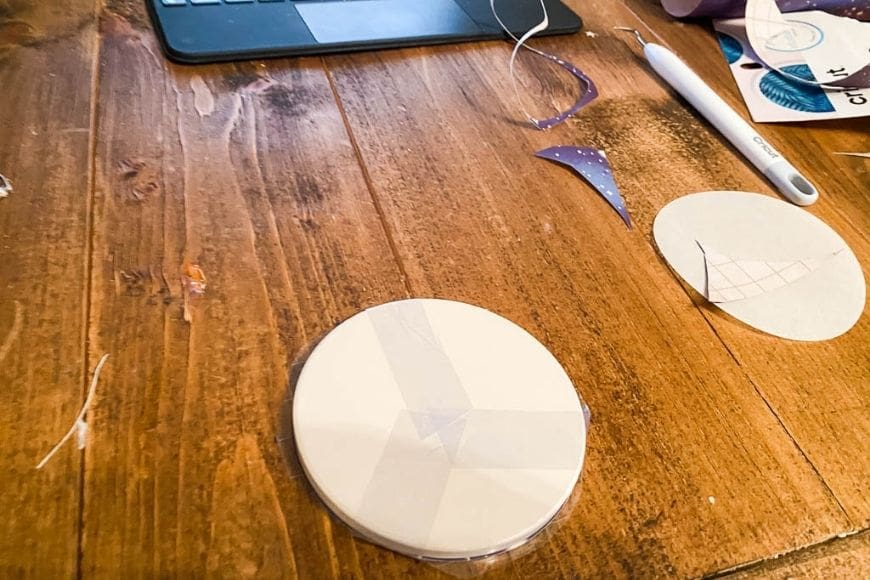
Use the lint-free cloth which comes with the infusible ink to clean the surface of your coaster. It’s important to remove all lint. I use rubbing alcohol first to ensure that they are spotless and you need to use heatproof tape to hold the infusible image in place. DO NOT TRY WITHOUT THE TAPE. I did that last time and it leads to the image moving.

Place a piece of white cardstock on your Easypress Mat to protect it.
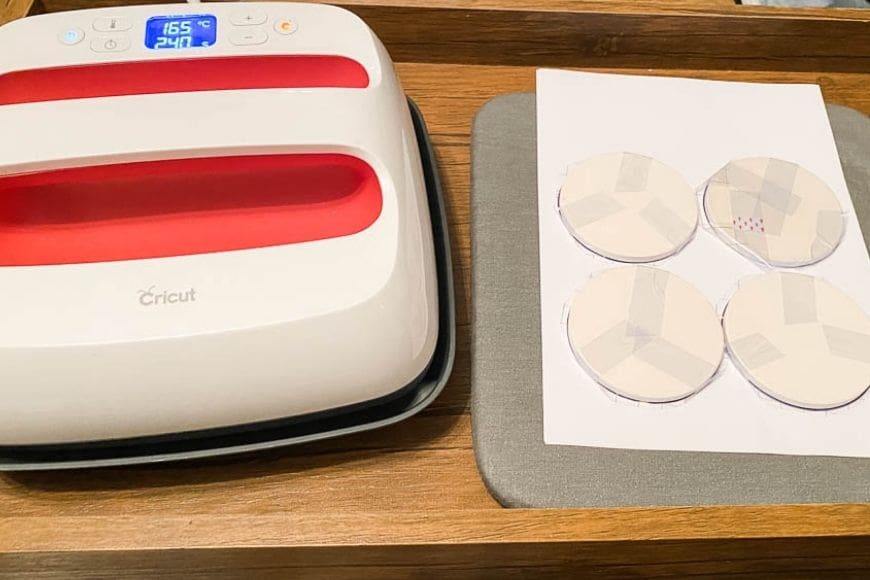

Place your coasters face down on top of the card stock on your pressing mat. Line them up and cover with the butcher paper that comes with the infusible ink.
TIP: Make sure that you can apply even pressure to all of the coasters or do them two at a time.
Prep your EasyPress 2: For this project, you will preheat your EasyPress 2 to 400 degrees F and set the timer for 240 seconds.
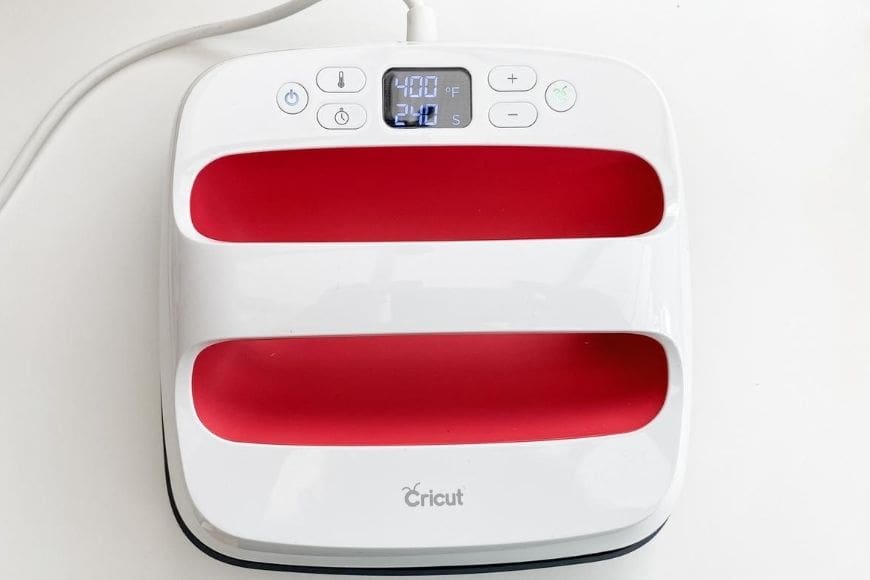

After the 4 minutes is up (you don’t need any pressure), lift up the easy press off the coaster. The coaster will be RED HOT so let it cool before you touch it and remove the heat resistant tape and ink sheet.
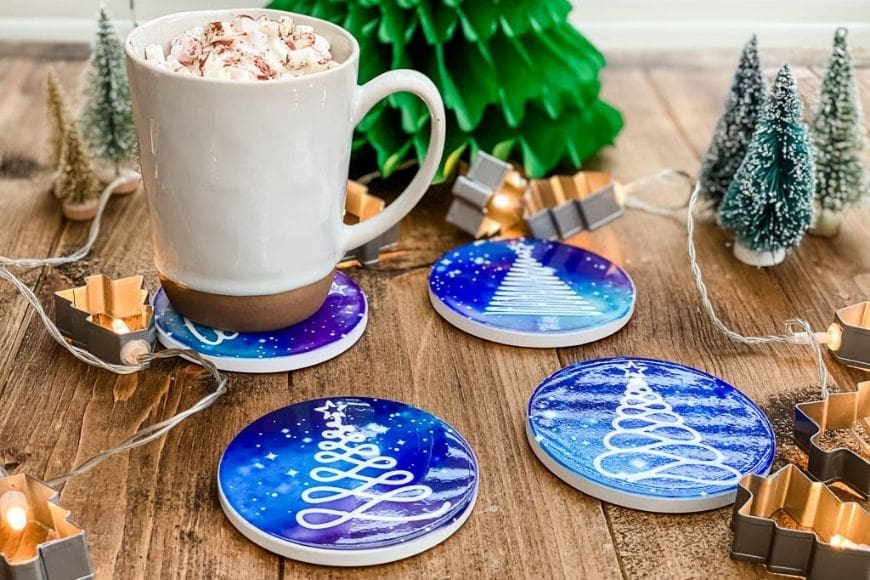

I can not express just how shiny, bright and just amazing these DIY Christmas coasters turned out.


Comments are closed.