

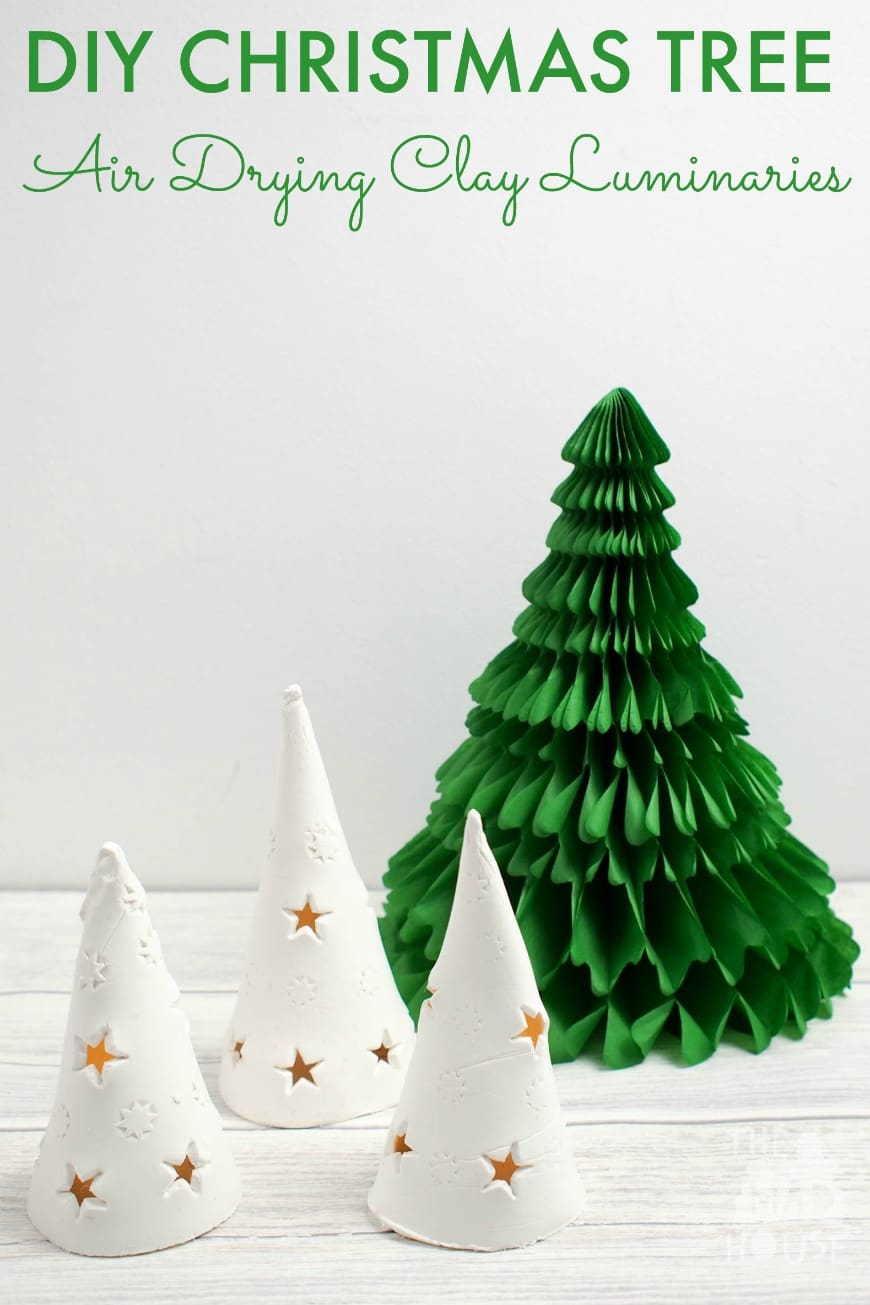
I love candles and I love Christmas. Add the two together and you have these beautiful DIY Christmas tree luminaries made from air drying clay. These have been inspired by some I saw here. We are big fans of holiday keepsakes and these festive luminaries for battery operated tea lights would make the perfect gift or a treasured keepsake to bring out year after year.

The other great thing about these DIY Christmas tree luminaries is they are really great value to make as gifts. We used FIMO Air light clay for these and they took less than a quarter of a 500g packet. I am going to recommend that you use the FIMO Air light, as it is a lightweight clay, so holds the tall shape without bending. A big plus is that you can also dry it in the microwave (just make sure that your luminaries are not too tall!
DIY Christmas Tree Luminaries

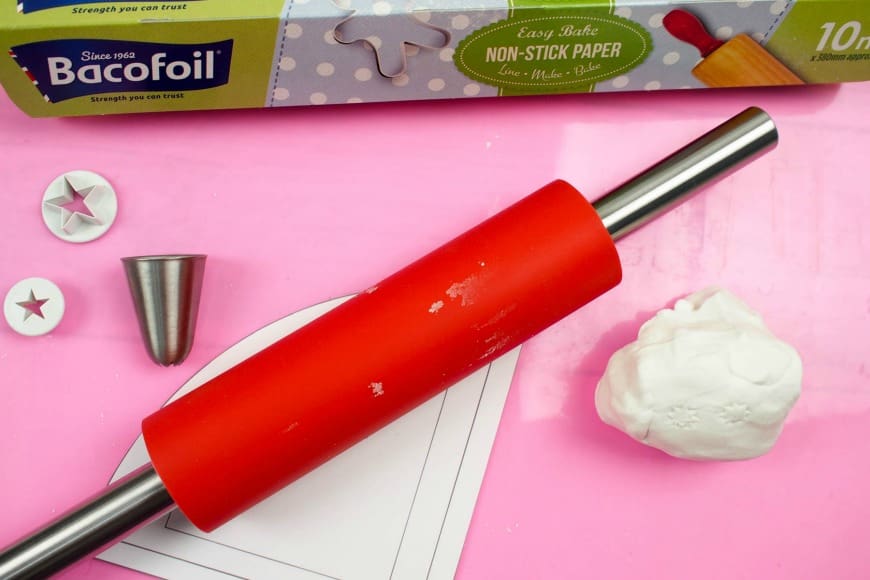
Materials to make Clay Christmas Trees for Tealights:
- White Clay (US Link & UK Link)
- Rolling pin
- sugarcraft cutters – we used small star ones (UK Link/US Link)
- Parchment paper (do not use wax paper it will stick).
- Icing nozzle
- Butter knife or small blade
- Our template
No products found.
How to make DIY Christmas Tree Luminaries
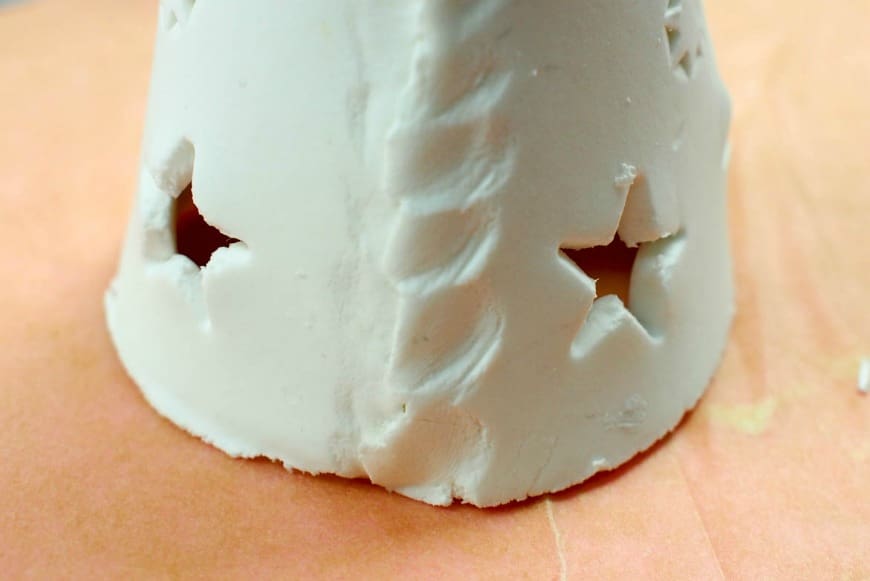
These were a joint effort between me and Maxi and I am going to admit that joining the clay can be a little tricky, but together we managed it.
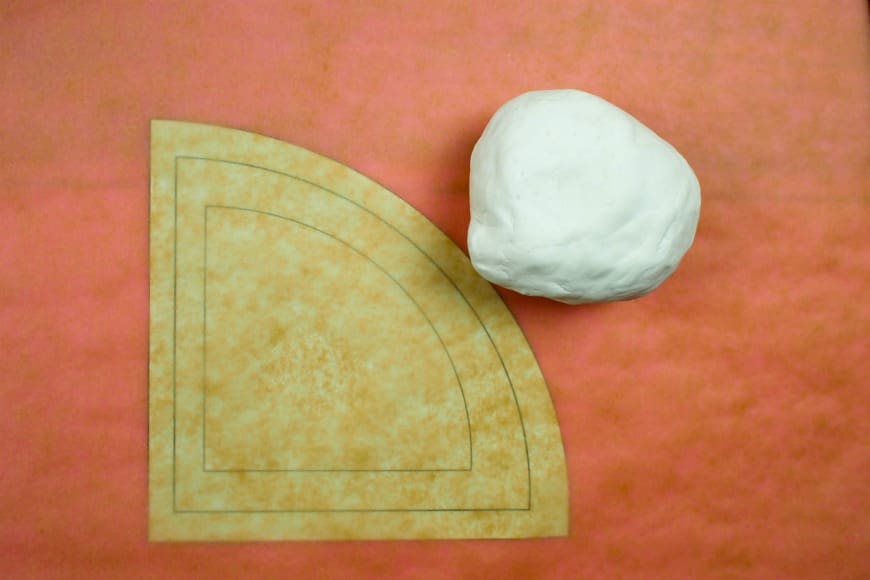
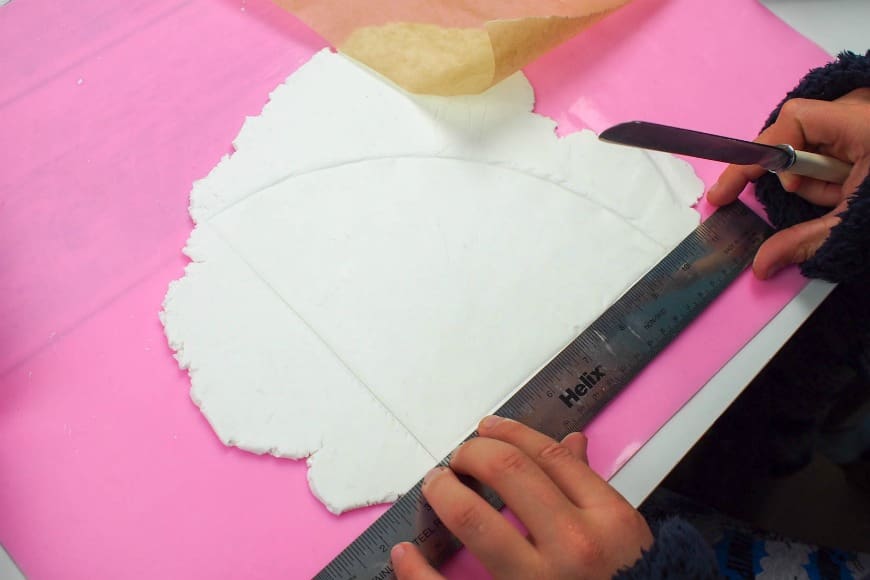
Roll out your clay on a silicone cooking mat to around 5mm thick using an icing rolling pin (this makes it smoother). Alternatively, you can use parchment paper under and on top of the clay. In order to get our clay to the right size we placed the template underneath a sheet of parchment paper.

Then take your template and lay on top of the clay and mark out the clay. Again we placed it on top of a piece of parchment paper and used a butter knife to mark it, before removing it and making the final cuts through the clay.
Now comes the fun part, cutting our your patterns. We decided to use stars and Maxi decided where to place them.
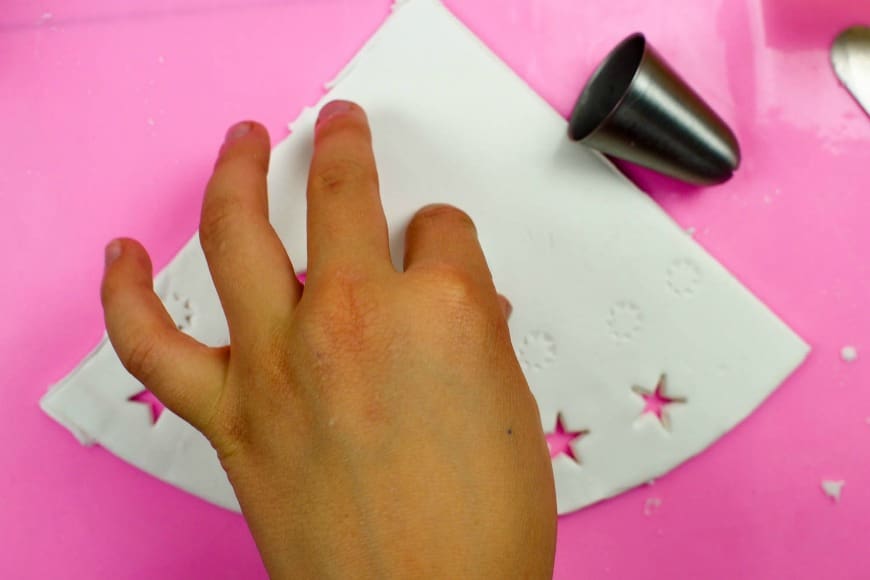
Tip: keep the cutouts away from the top as they split when you shape your tree.
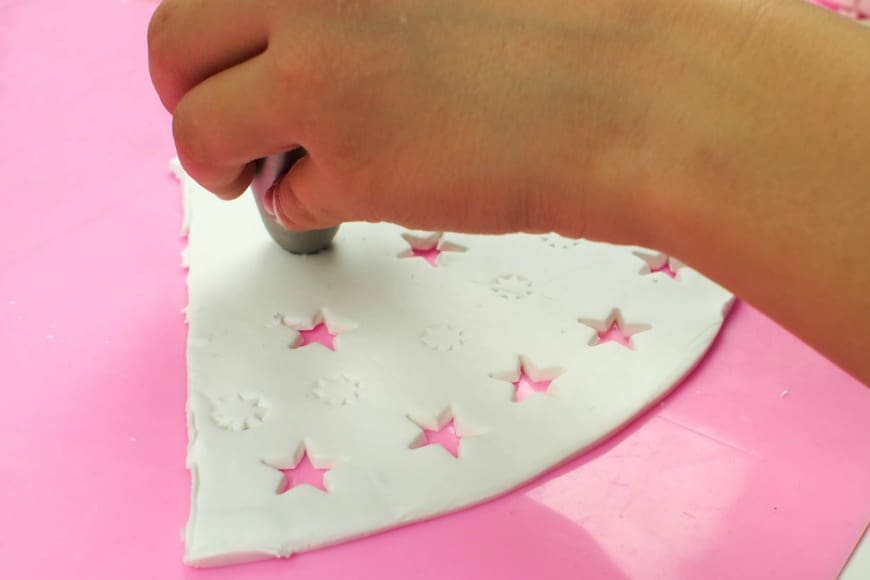
In addition, to cut outs we used an icing nozzle to press a pattern into the clay.
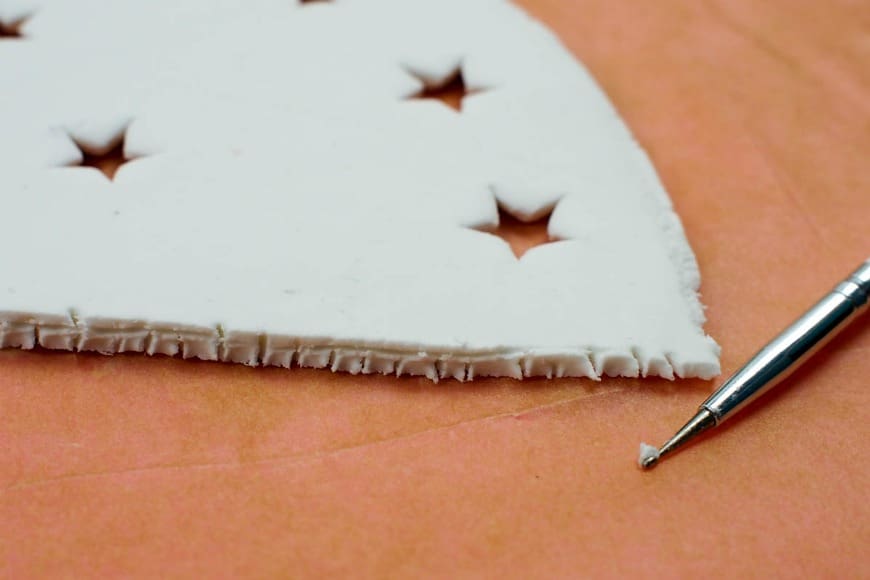
Score the edge of the clay on the side that you want to be on the inside of the cone. This will make joining easier. We used a nail art tool. Then smudge the edges together.
Allow your dough to harden, how long this takes will depend on which dough you use. With the microwave dough, you pop it in the microwave with a cup of cold water and microwave on medium for 10 minutes. Fimo Air Light (US Link/UK Link) is AMAZING!
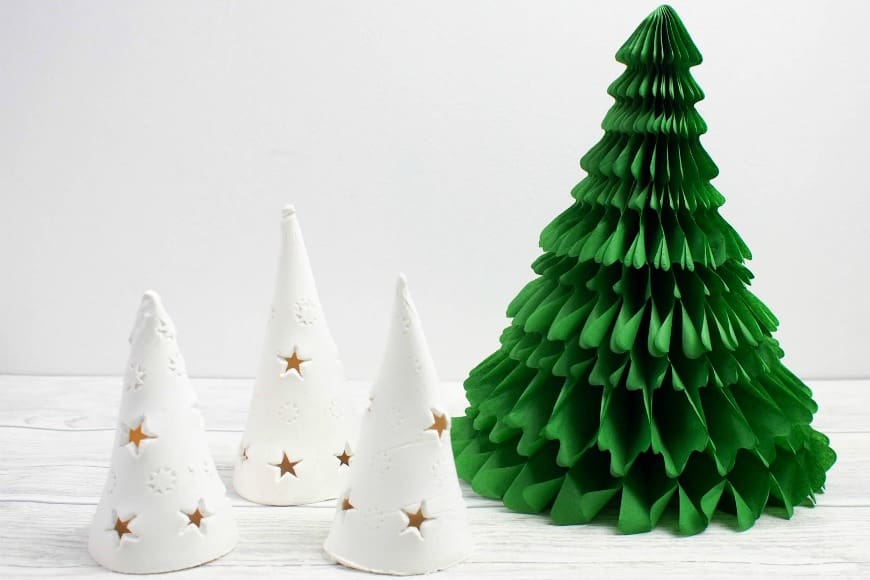
We then microwaved the clay to dry it and popped our battery tea lights under and et voila. I am delighted at how they look. Yes, they are a little crooked, but I think that adds to the charm and Maxi is really proud of them. So much so he is making his nana a set for Christmas.
My top tip with any clay is to keep the temperature constant, do not do what I did which is move it on top of a radiator or it will crack and crumble.

We were also tempted to make some circular ones like our Valentines Luminaries and cut out stars rather than hearts or even ones with Christmas trees cut out like these beautiful ones on Thinley Spread

Comments are closed.