

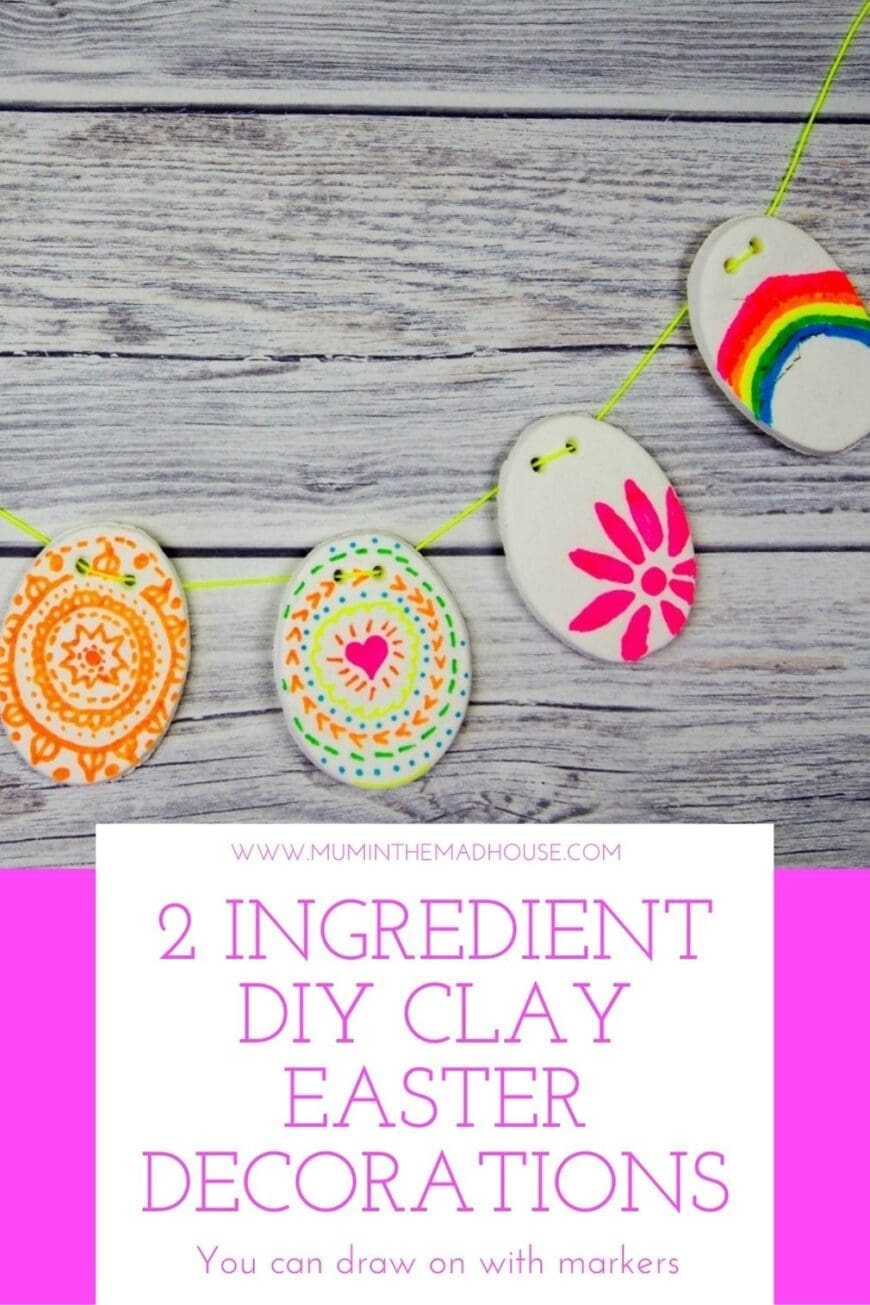
This DIY Clay Easter bunting is so simple to make using just two ingredients and makes perfect DIY clay decorations. We have turned ours into easter bunting. I love this two ingredient DIY clay recipe as you can draw on it with felt tips or sharpies making it great for kids of all ages.

This DIY clay dough is a similar consistency to fondant icing and really lovely to use. it is air drying and produces a bright white clay that is really great to mould and use.
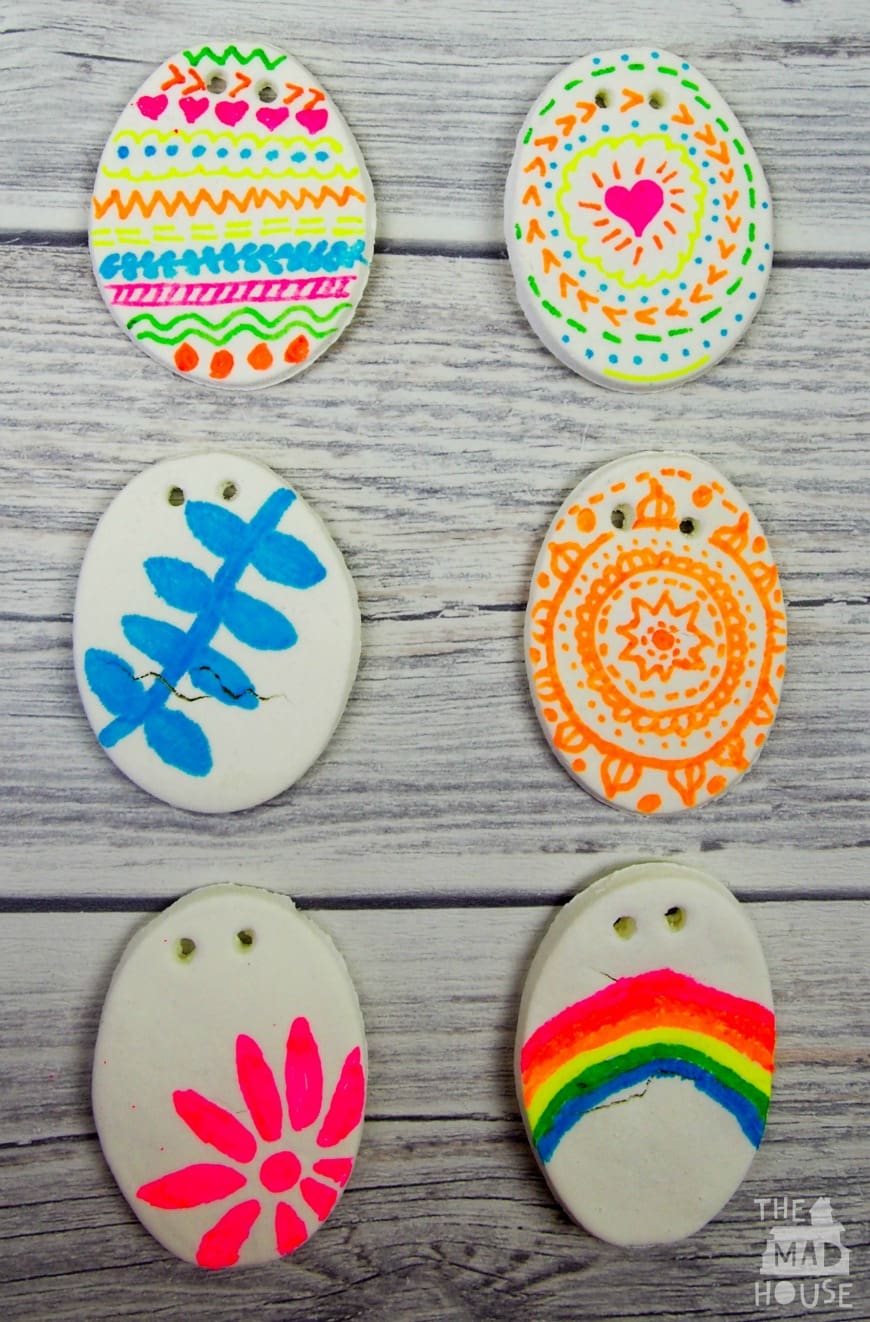
Do not make the mistake we did and put them too near a heat source. They need to be dried at a consistent temperature. We did that, but then I placed them in a box that was out on our kitchen table near the radiator, but I wanted to show you that even cracked they are delightful to decorate.
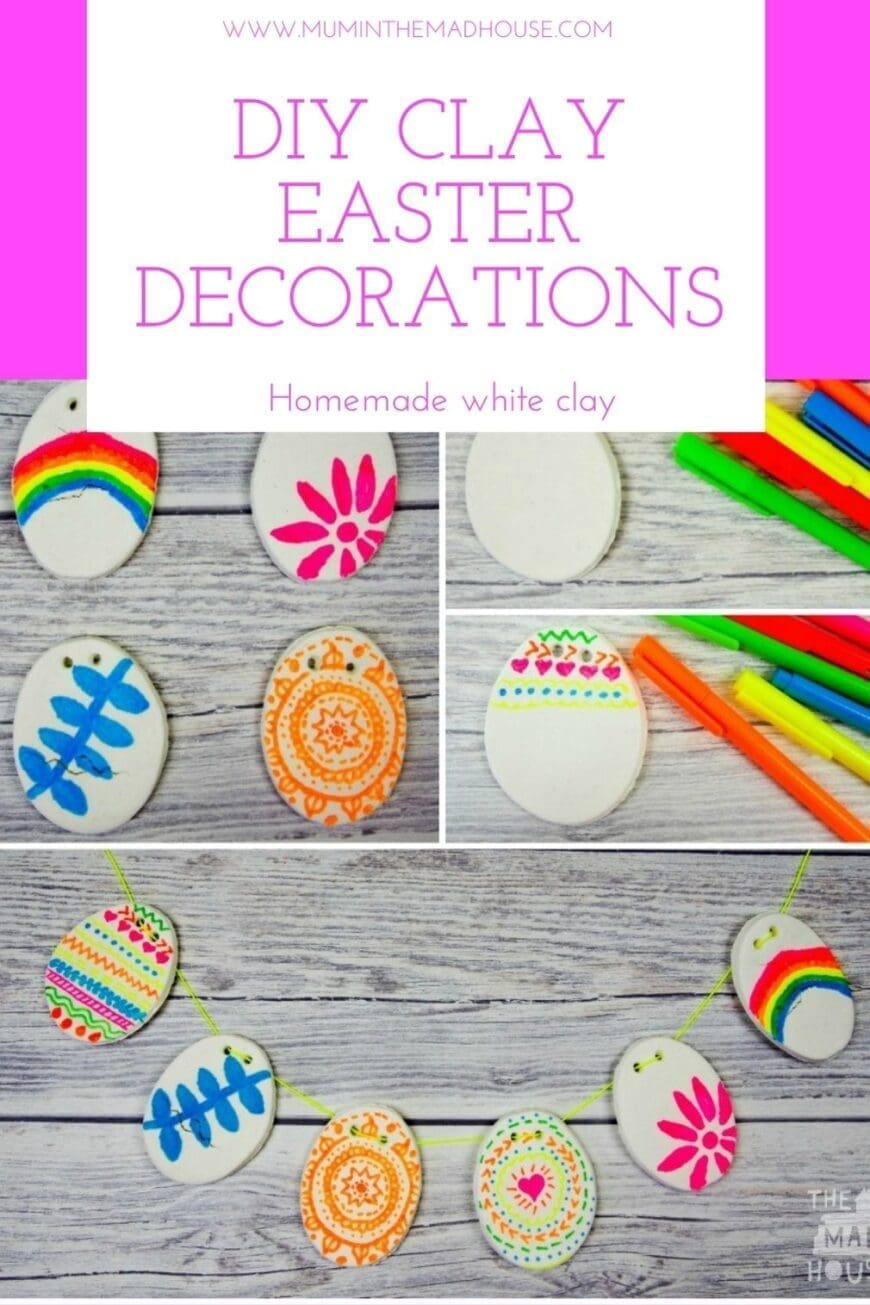
DIY Clay Easter Bunting
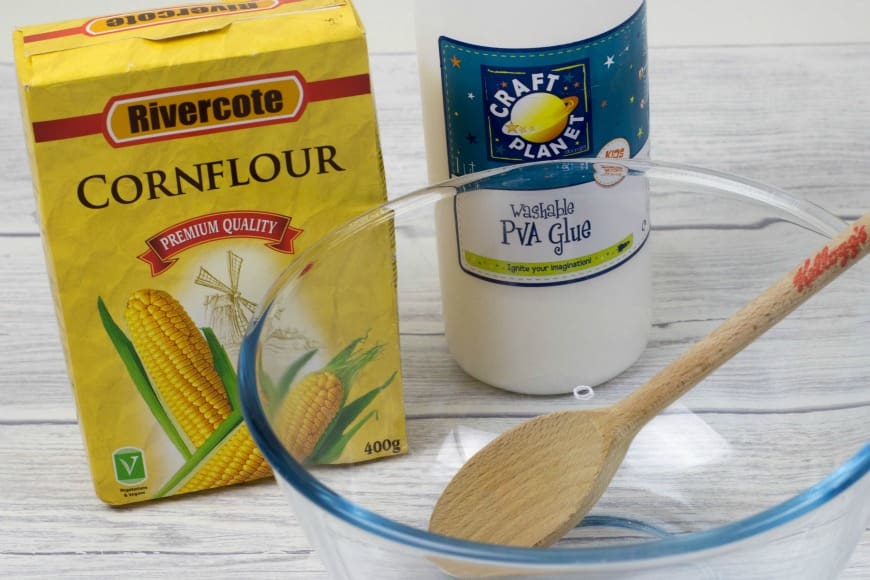
Materials
- Cornflour or cornstarch
- PVA or school glue
- Cookie cutter
- skewer
- Rolling pin
This post contains affiliate links. If you make any purchases after clicking one of these links, I will make a small commission (hopefully enough to keep me in tea all year) – at no extra cost to you! This allows me to keep creating and sharing free tutorials and content for you. Thank you!
No products found.
How to make DIY Clay Easter Bunting
I think I first saw this recipe over on Nurturestore and fell in love with it. So go and check it out there.
We made a video to show you the texture of the clay here:
Once you have made your clay it keeps for around a week in an airtight container. If it is open to the air it will start to harden on the outside and get a crust.
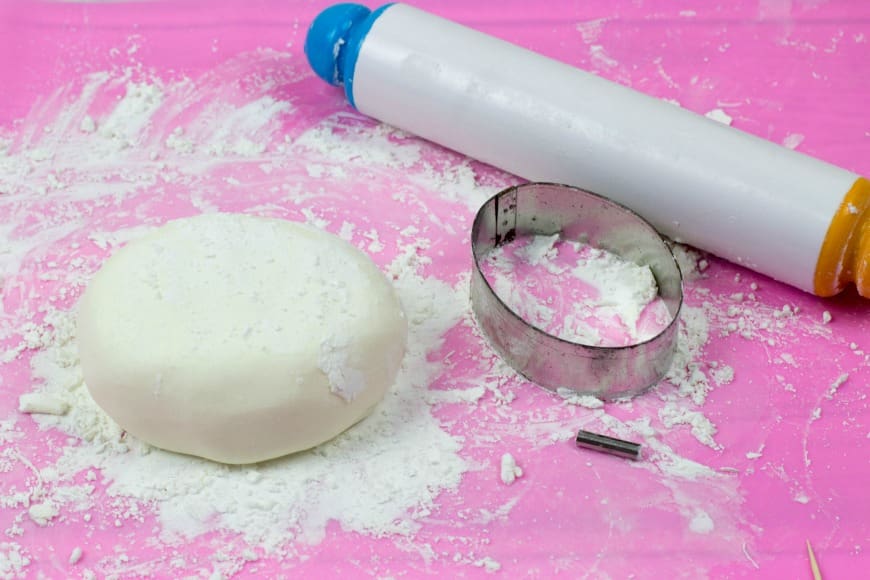
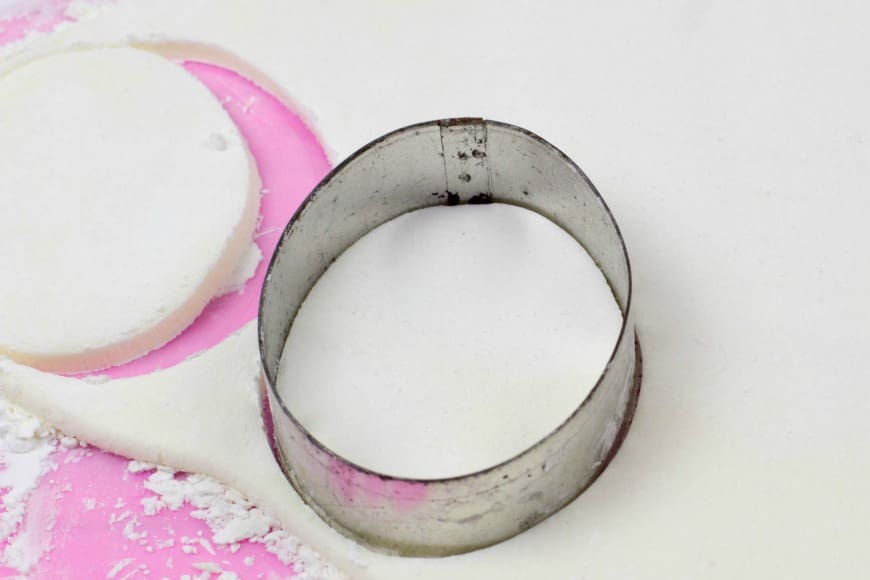
We rolled out our dough until it was about 5mm thick and cut out our egg shapes.
Then we put holes in our eggs, a single hole in the centre for a hanging decoration or two holes for bunting. You can use a strawer to do this.
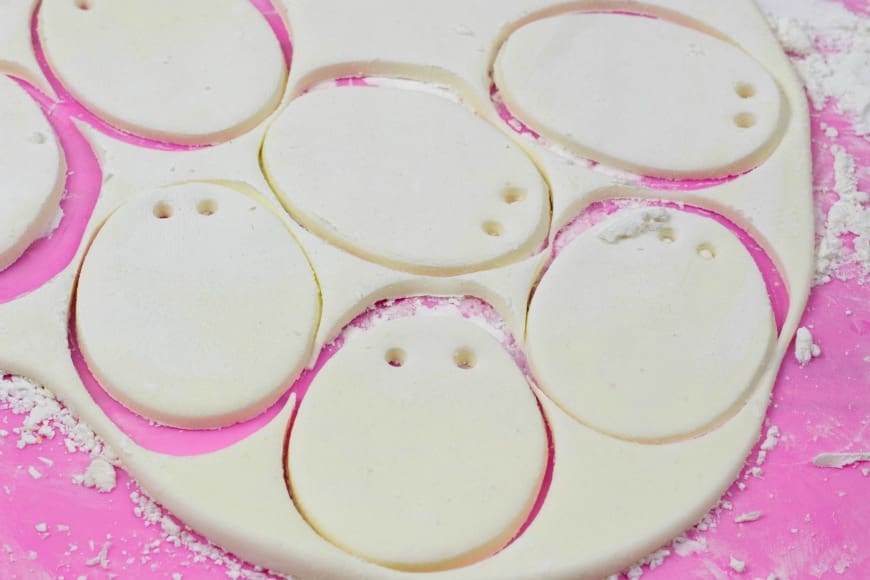
Once we had cut out all the egg shapes we left them for 24 hours to dry. As I said earlier it is key to dry them in a place with a consistent temperature to prevent cracking.
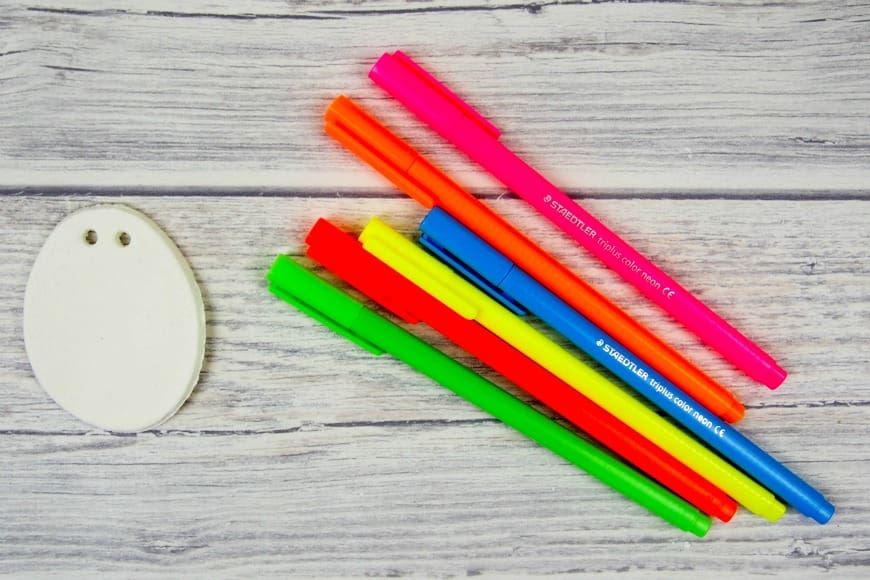
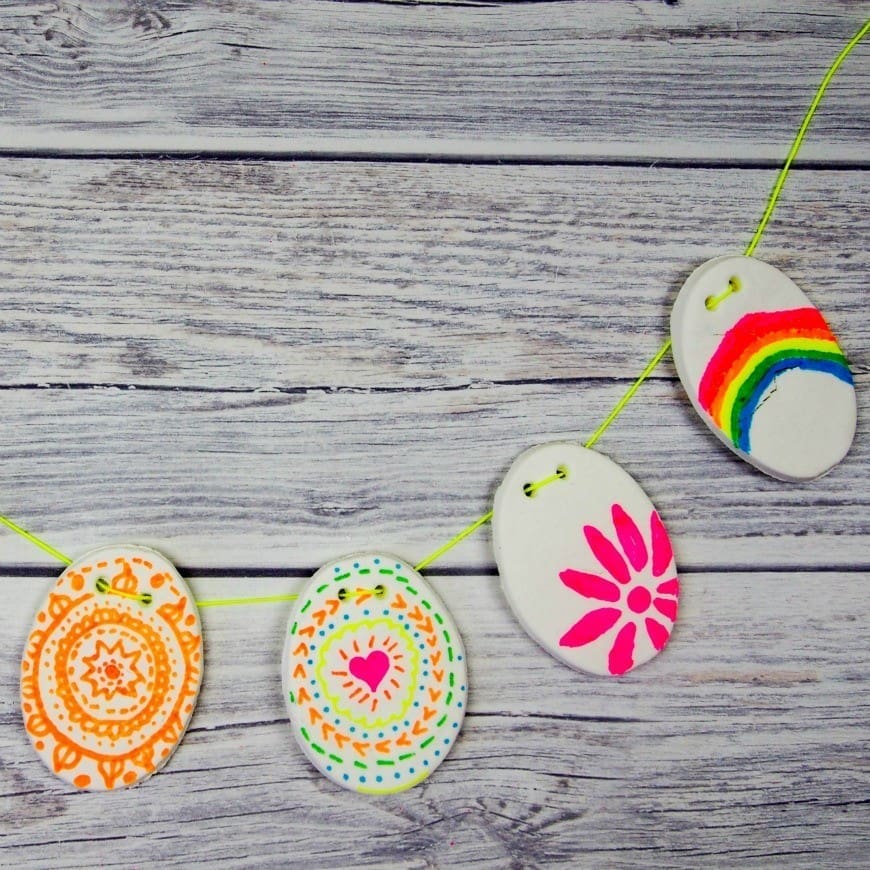
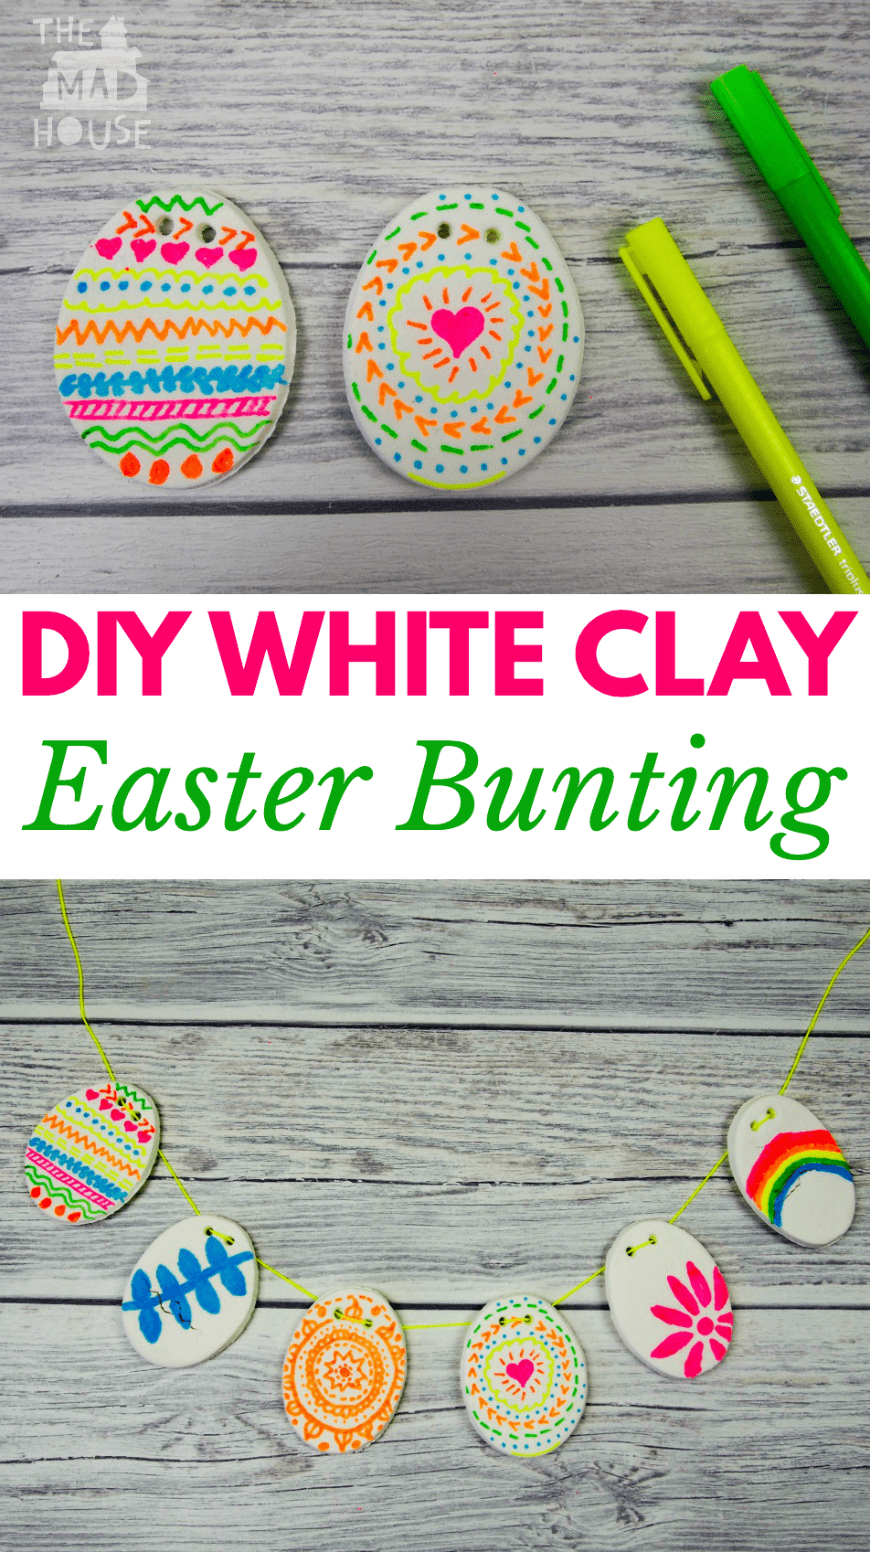
Once they are dry then comes the fun part, the decorating. The boys decided that they wanted to go all neon on our eggs, so we used our Staedtler triplus colour neon pens (UK Link/US Link).
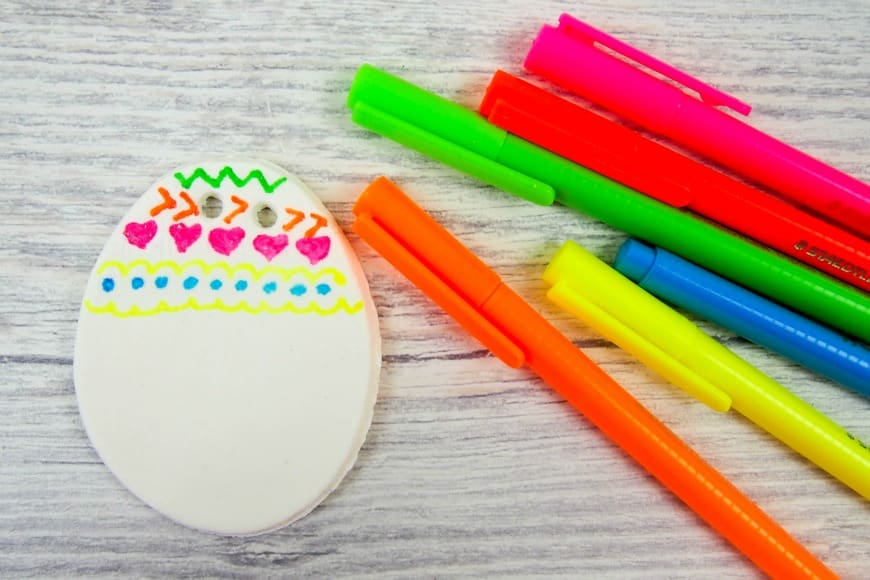
The boys had a lot of fun drawing patterns and pictures onto the eggs. This DIY white clay is brilliant for colouring on with felt pens, markers or sharpies. You could even use fineliners and make really intricate patterns.
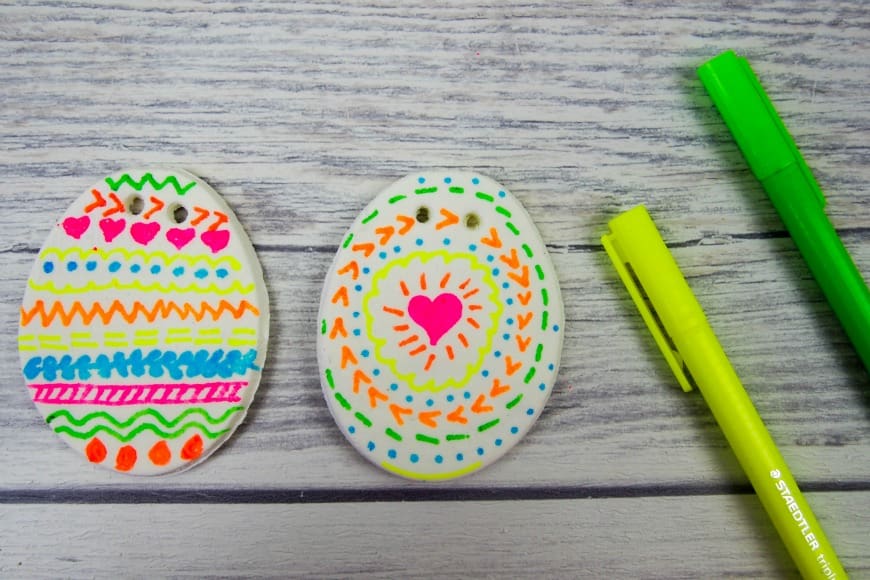
I also tried out sharpies, ball point and regular felt tip pens on our DIY clay Easter bunting and they all worked.

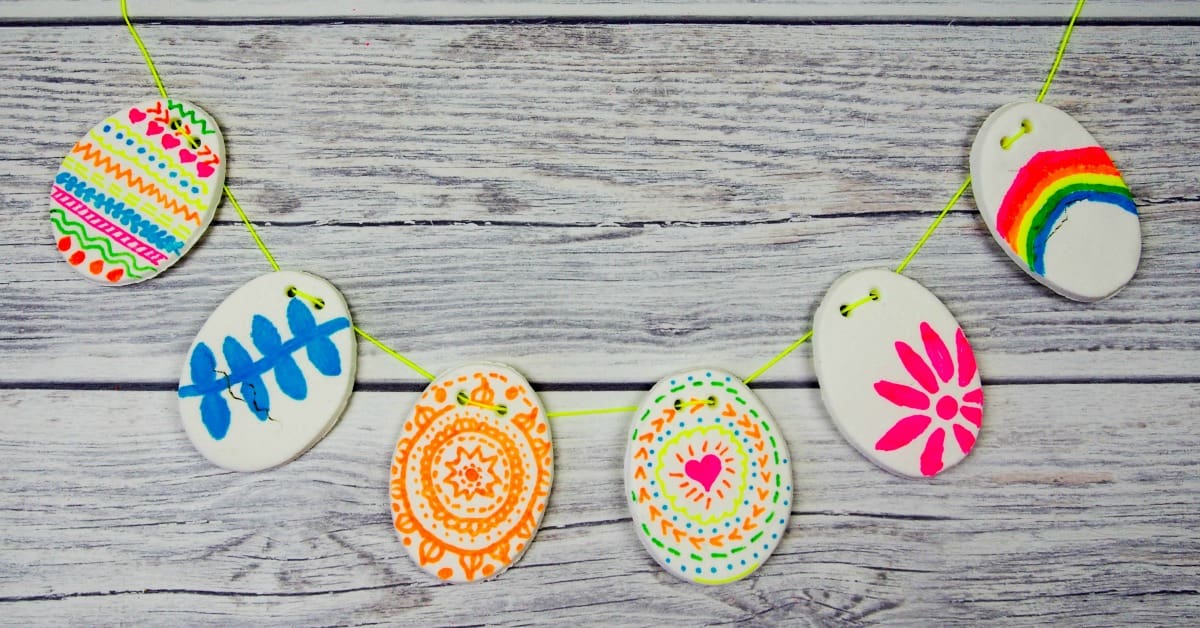
As you can see our DIY clay Easter bunting hangs really well with two holes in it. I also love that the boys coloured one in as a rainbow after I told them about The Rainbow Rock Project.
This is a great Easter craft and activity that you can do with kids of all ages.
Comments are closed.