

These DIY Clay Star Cadle Holders were inspired by some we saw when we were on holiday in Holland. I knew then that we could recreate them using our FIMO Air Light (microwavable) clay or any other clay and finally got around to making them this week. They are perfect advent or Christmas decorations and you can find our tutorial below to make your own DIY candle holders.
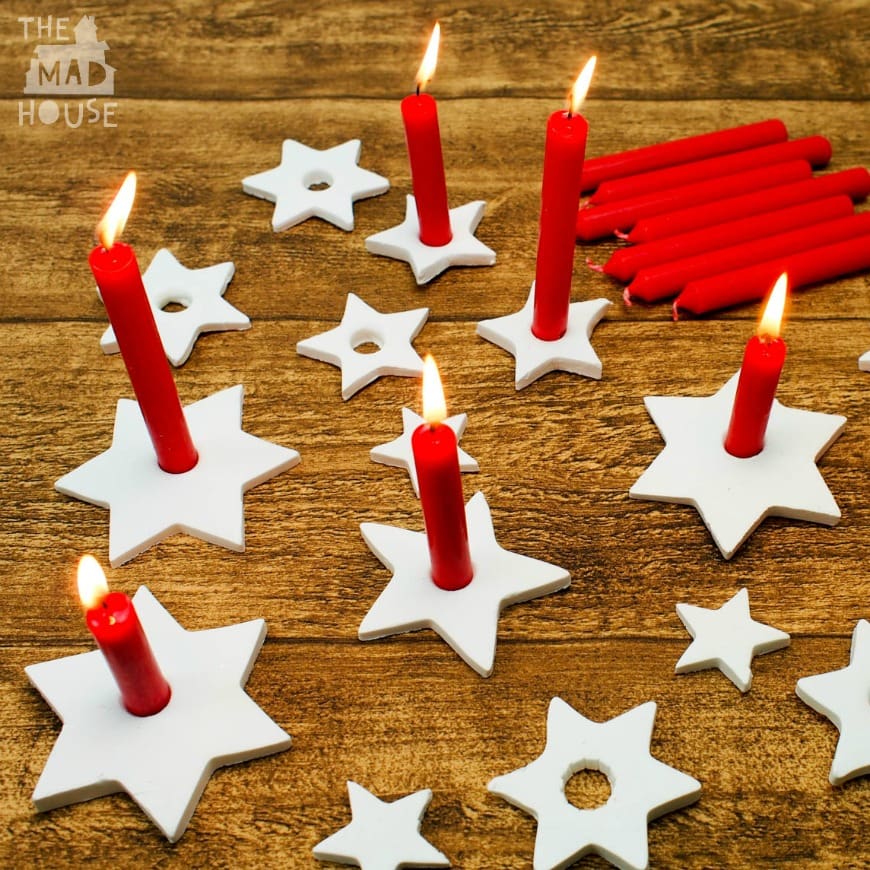
We made the middle of the star in our DIY clay star candle holders the perfect size for an old box of red Christmas tree candles which were my mum’s (the size that goes in our twirling angel). We have had these candles for the last five years but never used them as we didn’t have any suitably sized candle holders for them. 30 minutes with the boys and we have more than enough and now need even more candles! Plus these easy DIY candlestick holders are are a great way for using up any excess clay you might have from Christmas decorations.
DIY Clay Star Candle Holders

Materials and craft supplies required:
This post contains affiliate links. If you make any purchases after clicking one of these links, I will make a small commission (hopefully enough to keep me in tea all year) – at no extra cost to you! This allows me to keep creating and sharing free tutorials and content for you. Thank you!
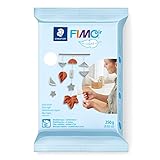
- White Clay – We used Fimo Air Light (US Link/UK Link) and LOVED it – you can microwave it!
- Rolling pin
- Cookie cutters – Star shape cutters – various sizes
- Candles
- Circle cutters


How to make DIY Clay Star Candle Holders
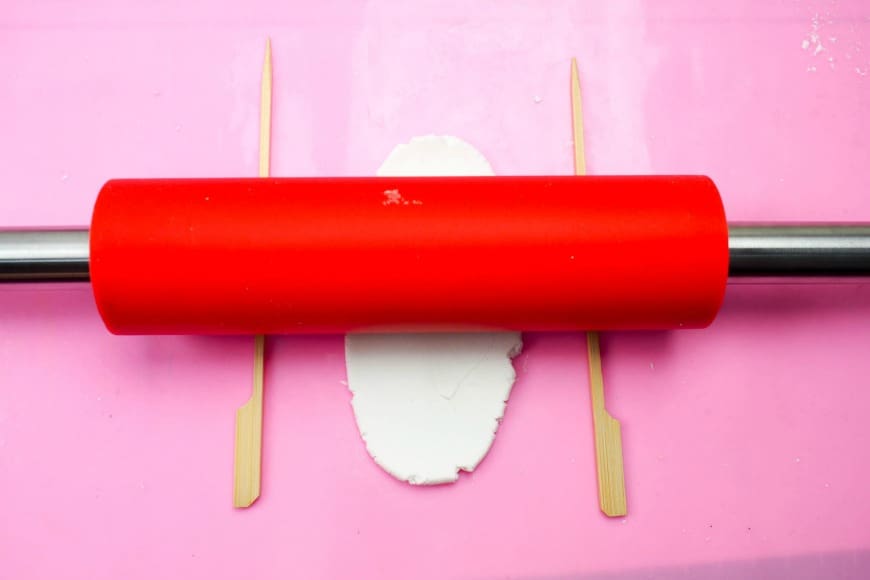
Take your lump of self-hardening clay or microwave clay. You need to prepare and condition it by mushing it until the texture is soft, pliable and soft to touch. Then roll out your clay, we use a silicone icing mat, but you can roll onto parchment paper. As we wanted all of our stars to have the same depth we used a couple of skewers at each side.
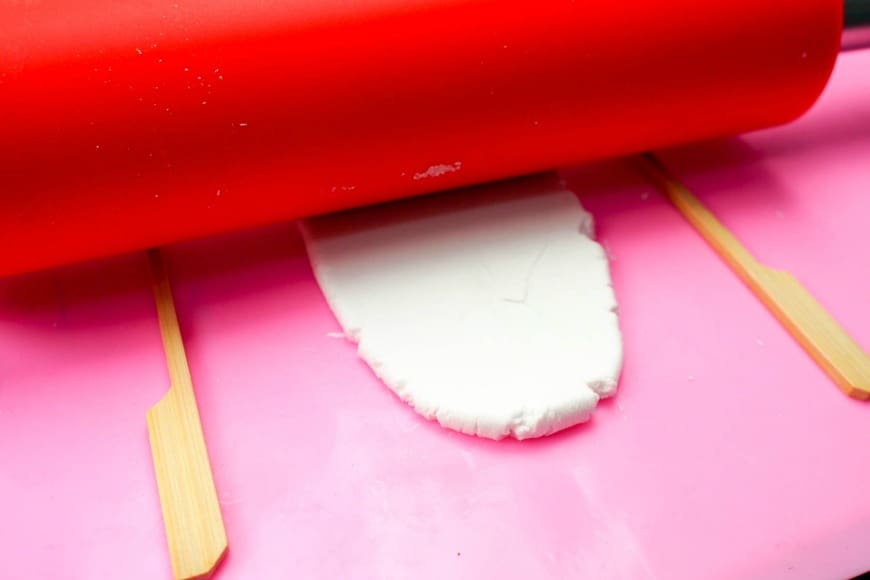
Once your clay is rolled then cut out your shapes for the base of your candle holders. We wanted stars.
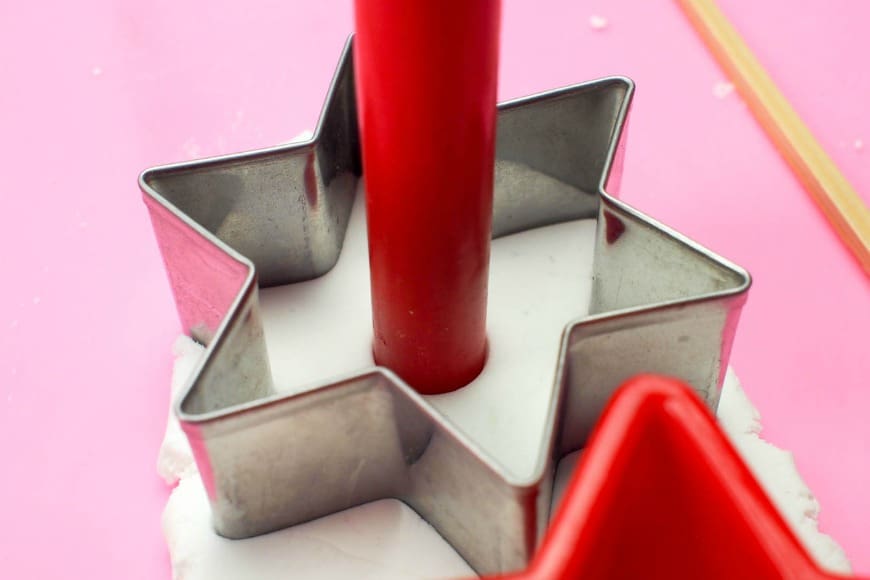
Before you remove the cutter, press your candle into the clay hard, so it starts to make an impression or use a circle cooker to cut the hole for the candle. If you are using later or pillar candles then cut a larger hole.

Then you need to carefully remove the star and push the hole through with the candle and gently wiggle it to make it slightly bigger. Then lay flat and dry your clay.
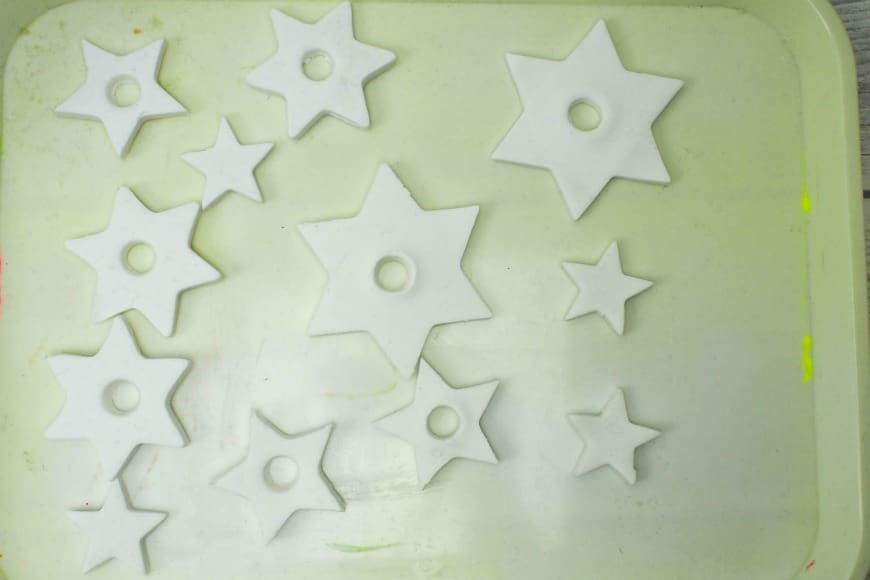
We used Fimo Air Light, so I popped them on a microwave plate with a cup of cold water and microwaved them on medium for ten minutes. If you are using oven bake clay or polymer clay follow the instructions on the packet.

Once your clay has dried then you can smooth out the edges and side of your clay – I use a nail file as it is super easy to use, but you could use sandpaper.
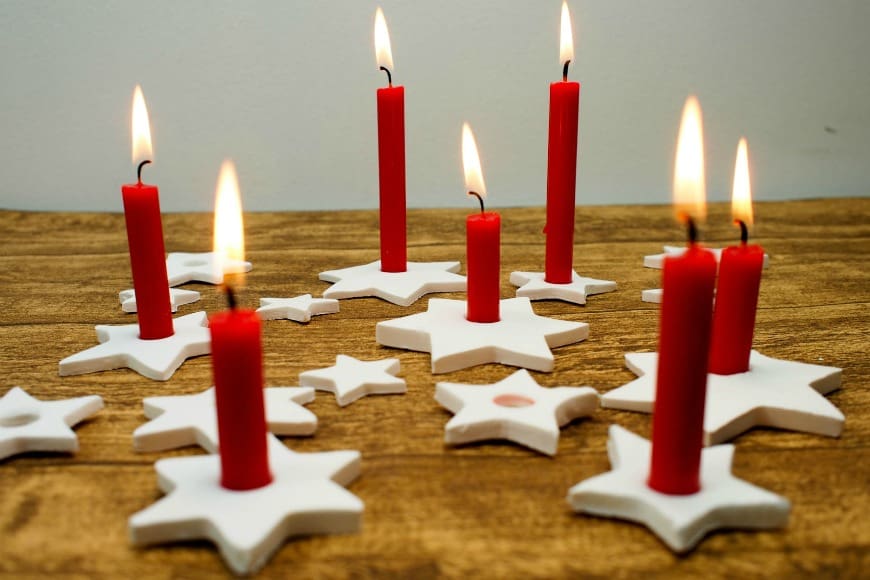
We love the bright white stars against the red candles and decided to leave them as they were. However, you can paint them with acrylic paint and varnish them if you wish.

We decided that these were too nice to put away until Christmas and are keeping them out now until we get our advent candles out! They look amazing as part of our home decor and are perfect for a festive tablescape.
Candle Holder Ideas
Why not take a look at our festive votive candle holders that we made from jars or our tea light holders we made from saltdough for Soltice.
Comments are closed.