

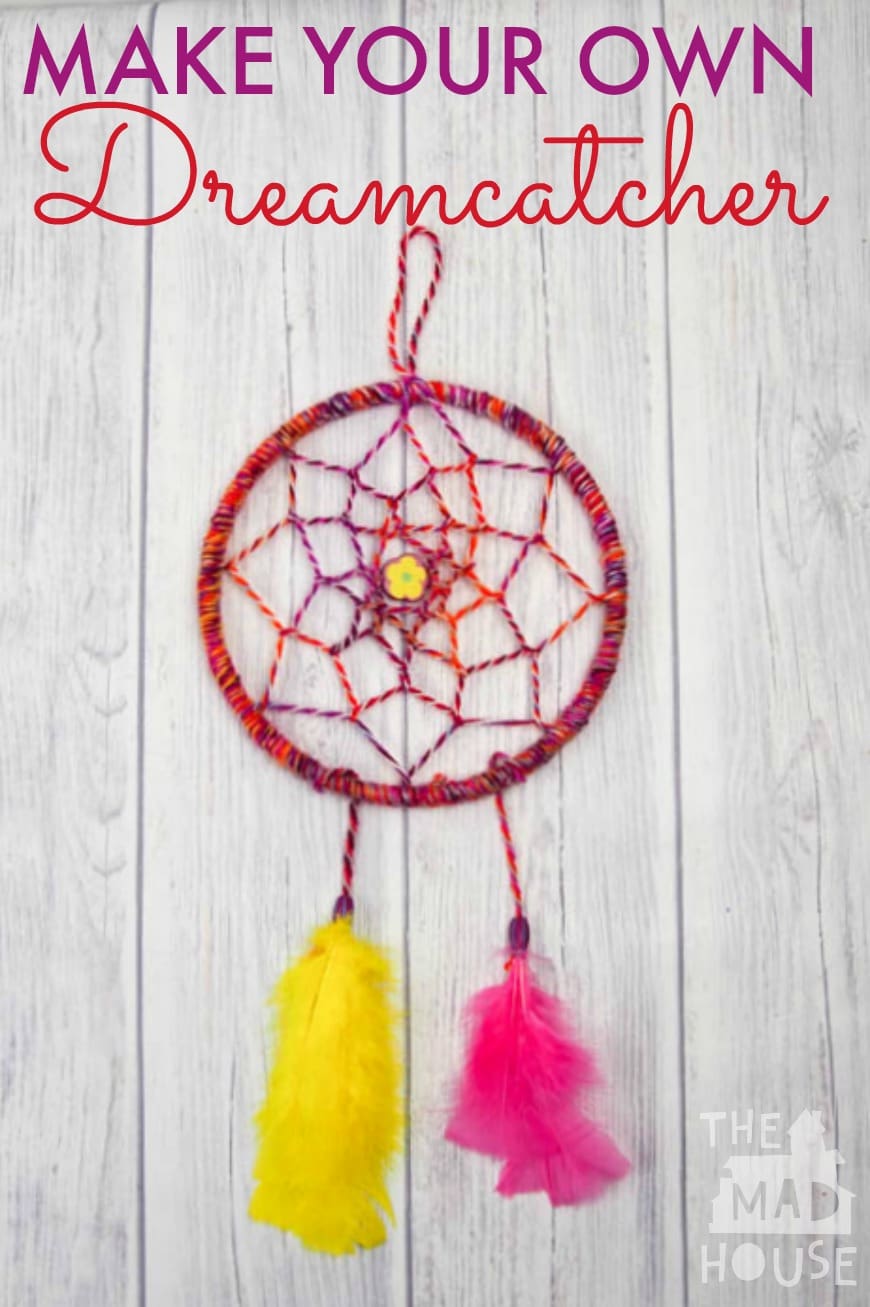
I love getting creative with the kids and this DIY dreamcatcher tutorial is perfect for tweens and teens. How to make a dreamcatcher is much easier that you think in fact I was amazed at how easy it is to make a DIY dreamcatcher.
It is inspired by one Maxi made when we were invited by Bassetts Vitamins to Lakefest earlier in the summer. So this is to share with you how to make a dreamcatcher.
Bassetts Vitamins are all about encouraging family life with more colour and this DIY dreamcatcher certainly captured the imagination of my two tweens and I can not believe just how simple it is to make. I have often dismissed making one as they look so complicated, but I was so wrong! It is one of those crafts that you think if turning our all wrong and bny the time you get to there it all comes together. We were really amazed.
How to make a dreamcatcher is much easier that you think in fact I was amazed at how easy it is to make a DIY dreamcatcher.
I have to say I particularly love the nature activities, especially the cobweb art, bird bistro and nature mandala and the boys are looking forward to making a pinhole projector.
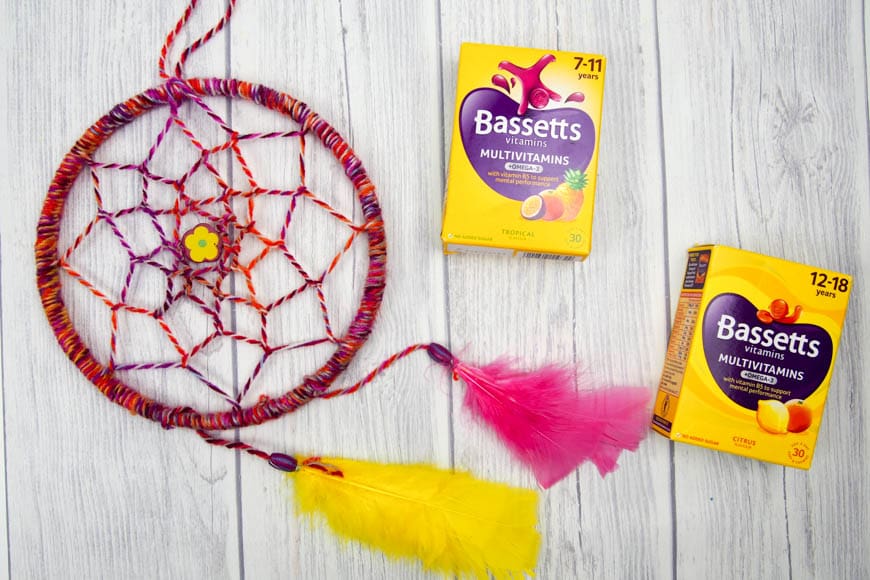
I am delighted to be working with Bassetts Vitamins, as they are the vitamins I give the boys and have for a long time. I love that they are perfectly nutritionally balanced for each age group, including us adults and contain only natural flavours and colours, which is important when you have a child that has issues with certain E numbers! To find out more check them out here or take a look at their facebook or Instagram site. They are all about supporting families in the pursuit of an exciting, happy and colorful lifestyle, but they understand that life isn’t perfect and this is what makes it colourful for all involved. They are part of my families daily routine and leave me safe in the knowledge that my boys are getting all the vitamins they need in addition to their diet and that we are starting the day off the right way before we step into our colourful and mostly chaotic days ready to take on whatever may come.
DIY Dreamcatcher Tutorial
This post contains affiliate links. If you make any purchases after clicking one of these links, I will make a small commission (hopefully enough to keep me in tea all year) – at no extra cost to you! This allows me to keep creating and sharing free tutorials and content for you. Thank you!
Materials:
- Hoop – we used the inside of a plastic embroidery hoop (7inch) (UK Link/US Link)
- Yarn
- Beads (UK Link/US Link)
- Feathers (UK Link/US Link)
- Scissors
- Large eye needles (UK Link/US Link)
No products found.
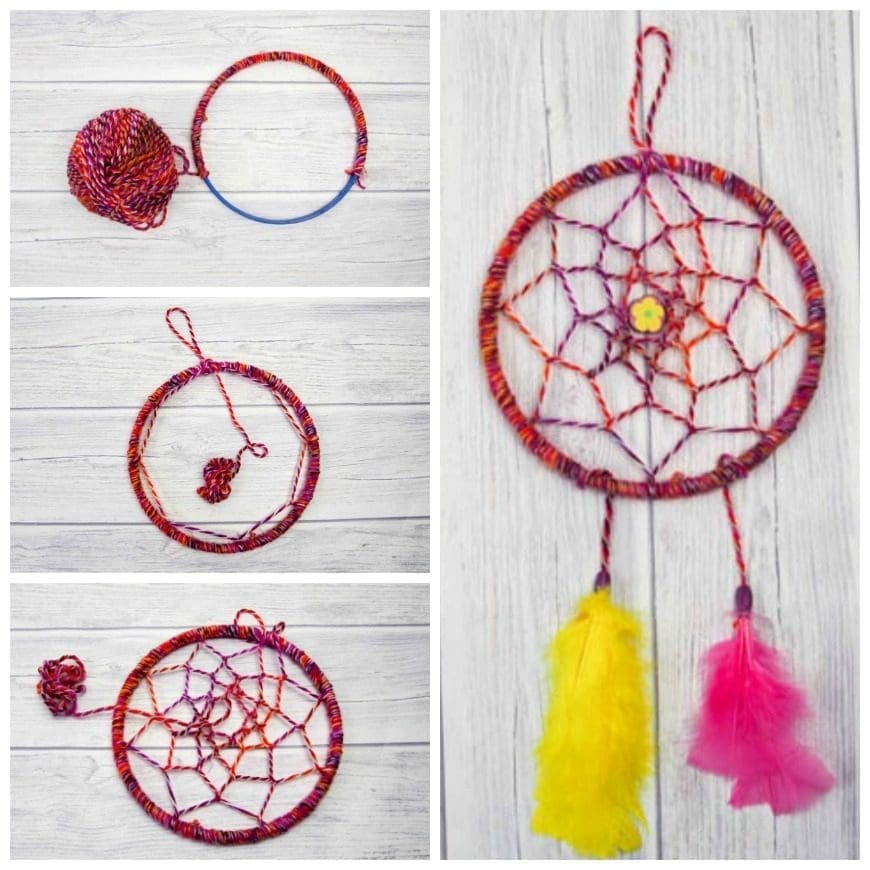
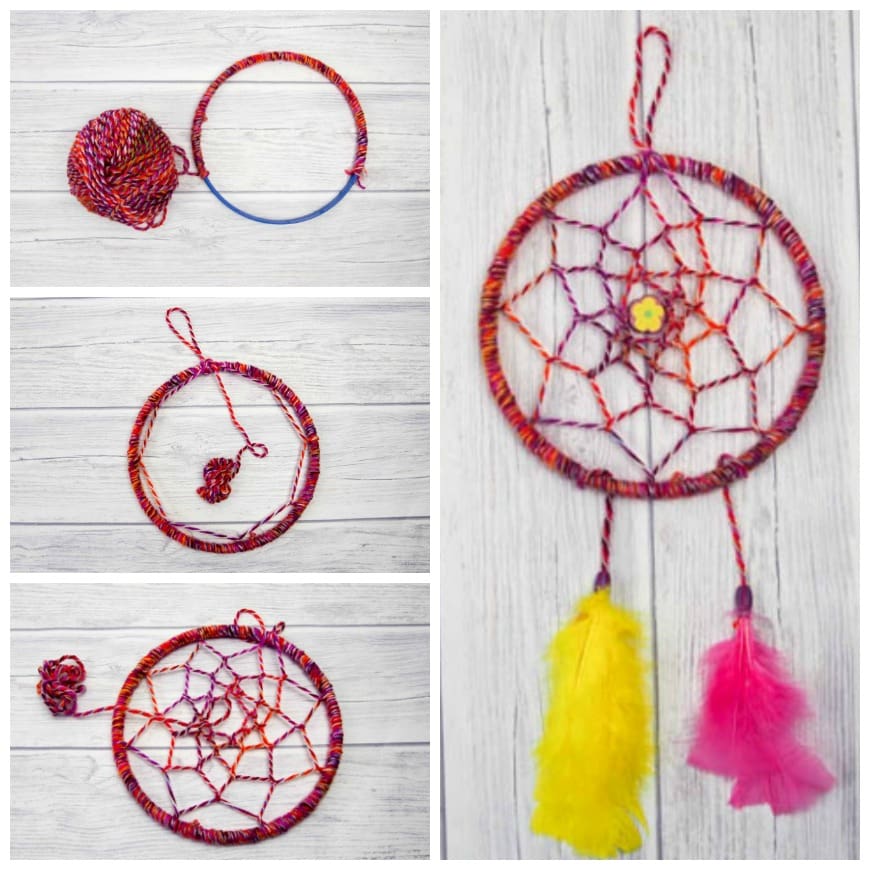
How to make a DIY Dreamcatcher
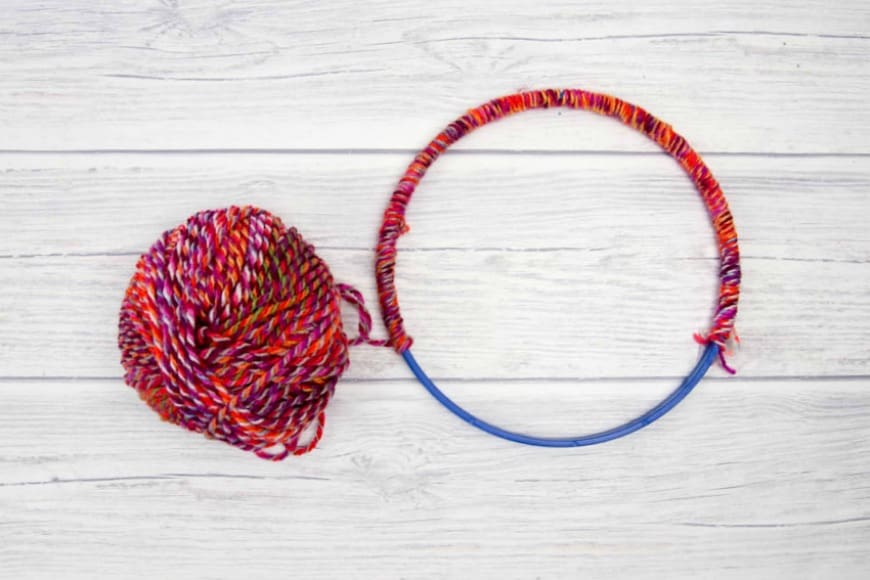
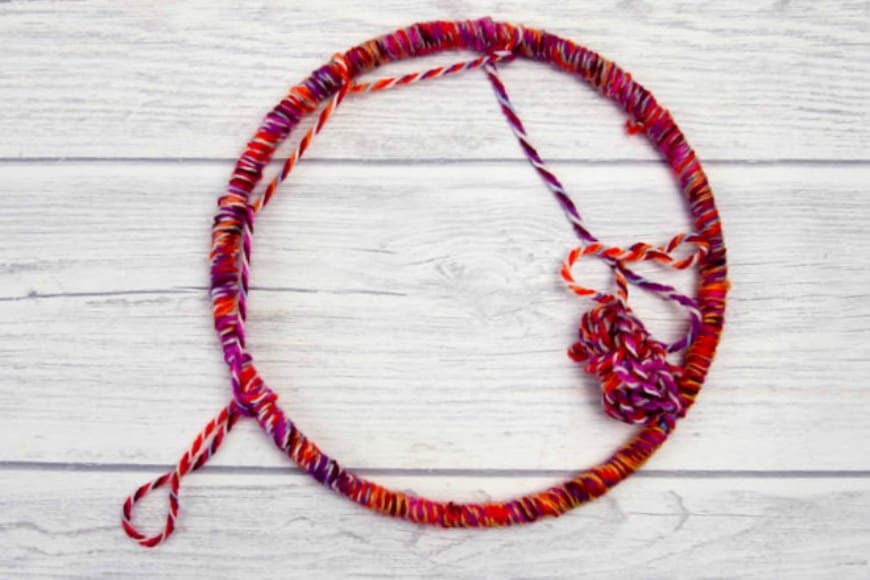
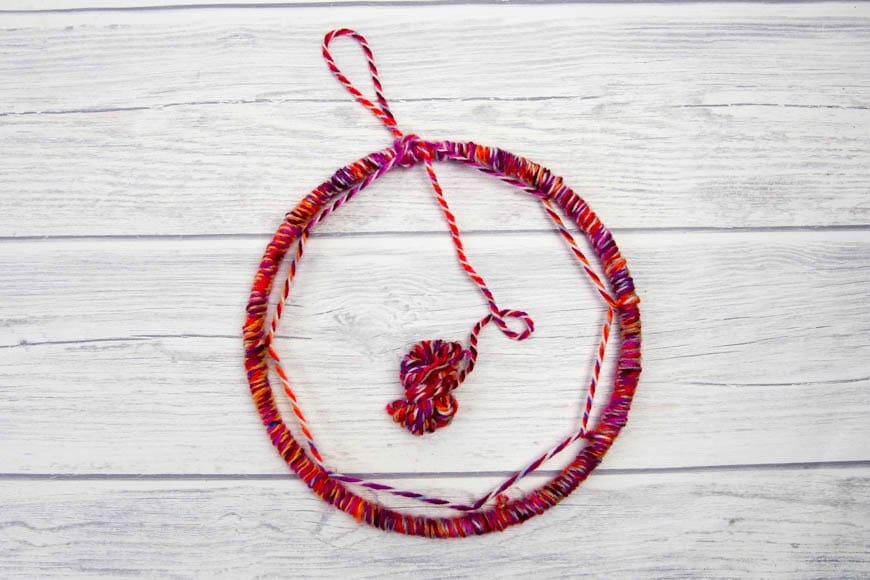
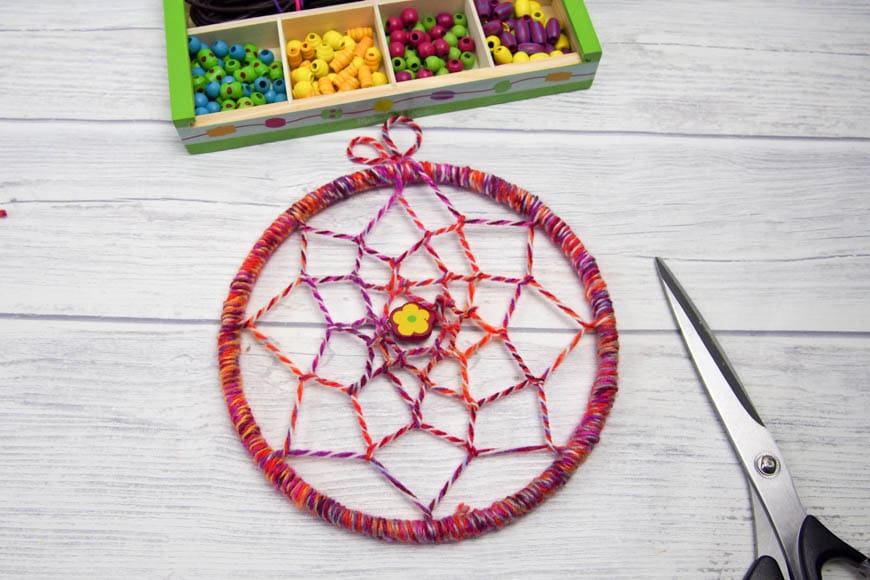
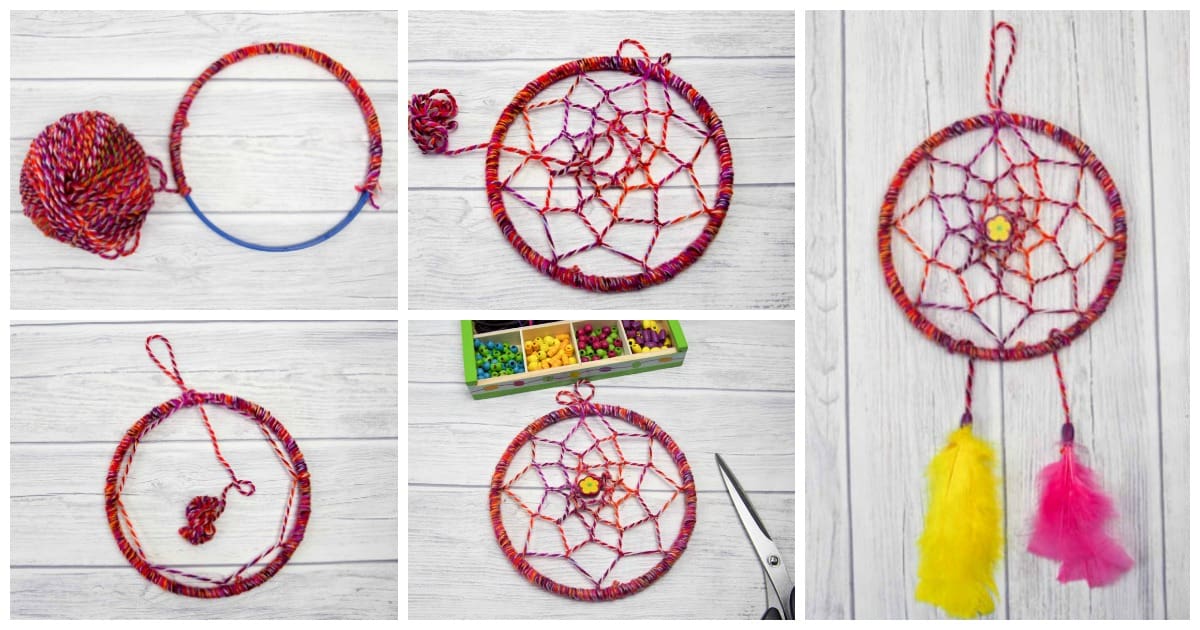
As our plastic hoop was blue plastic we covered it in the yarn (but you could use pieces of string) by wrapping it around it until it was completely covered. To make it easier for children then tape the end of the yarn to the hoop. I tied the ends together with a knot and creative a loop at the top of the hoop so that the dreamcatcher could be hung from it.
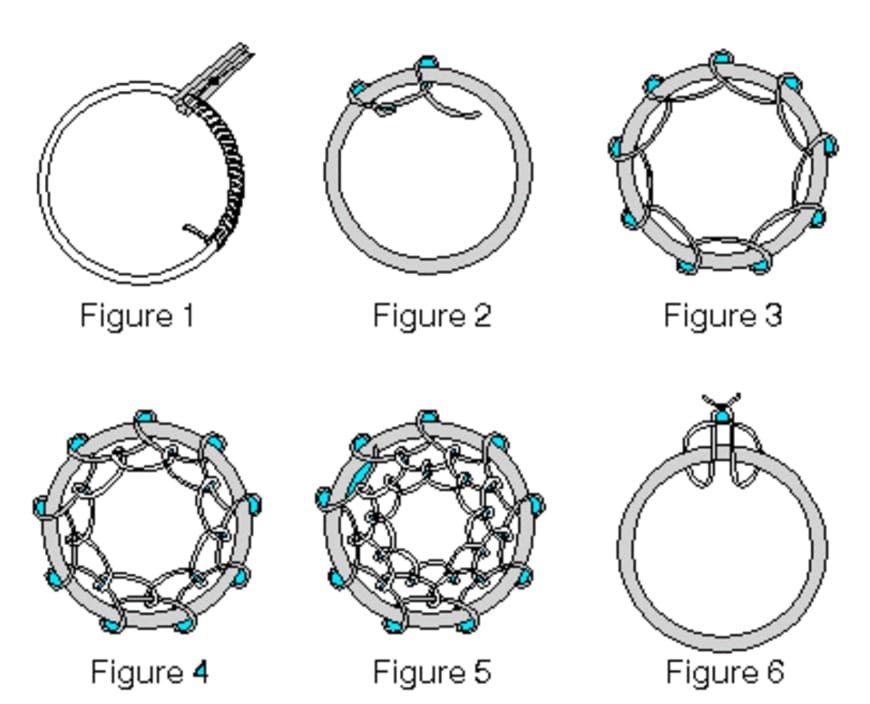
Then we started lacing the web of our dreamcatcher. I found this next image that shows you just how really simple it is on we heart it.
The trick is to try and keep the gap between each of the web joins on the first round approximately the same distance apart.
Once you have creative the first round of the web, you start again but lace around the center point of the web loop you made initially.

Keep going until you get to the centre. Do not worry if you think it is going all wonky, it will come together in the end – honest! When you get to the center you can just tie it in a knot and leave it, but Mini wanted to add a bead in the centre!
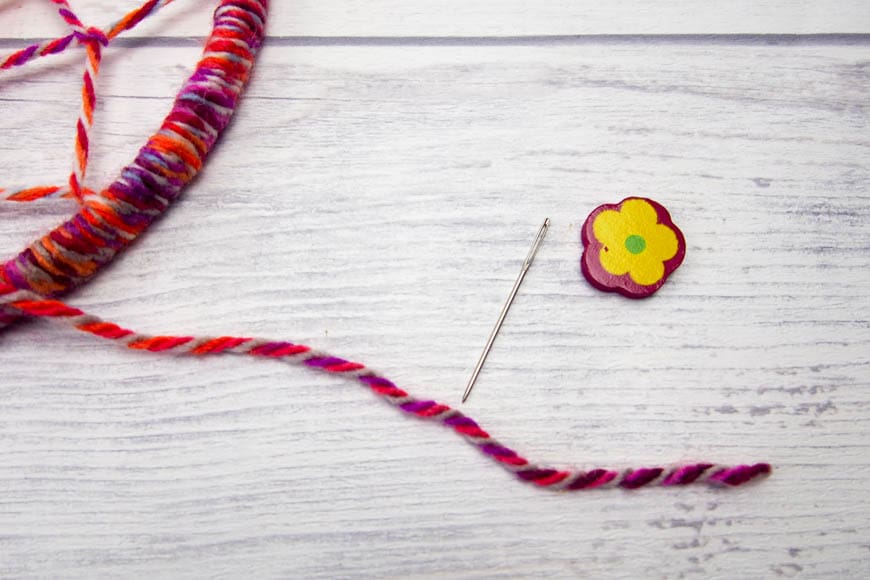
So we threaded the wool on to a large eyed needed and then added it to the center and tied it at the other side.
That is the thing about dreamcatchers you can add beads at any point when you are making it. If you look at the one Maxi made at Lakefest he interspersed beads through his lacing using a dab of glue to secure.
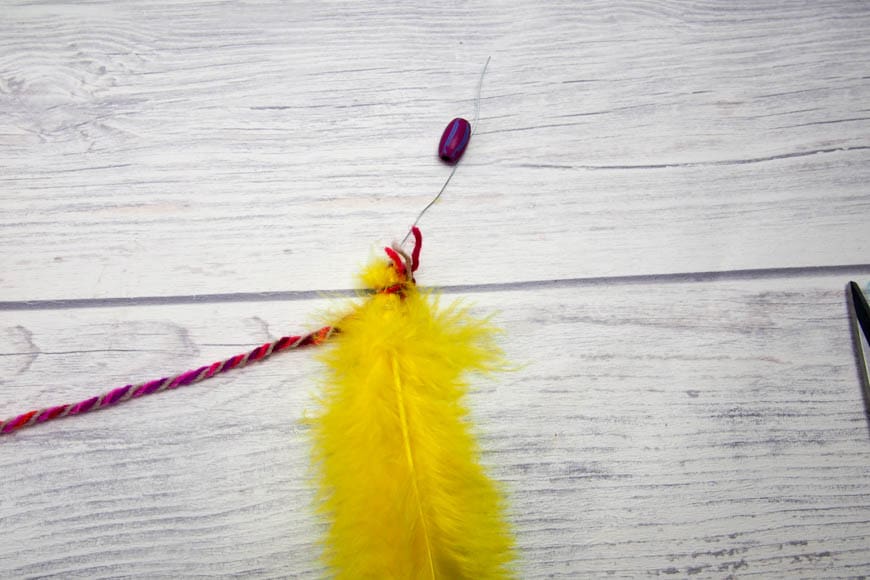
Next we added a couple of feathers to dangle below you could also use pom poms. Our feathers had florists wire wrapped around them. We tied the yarn around the feather and then threaded the yarn and wire through a bead.
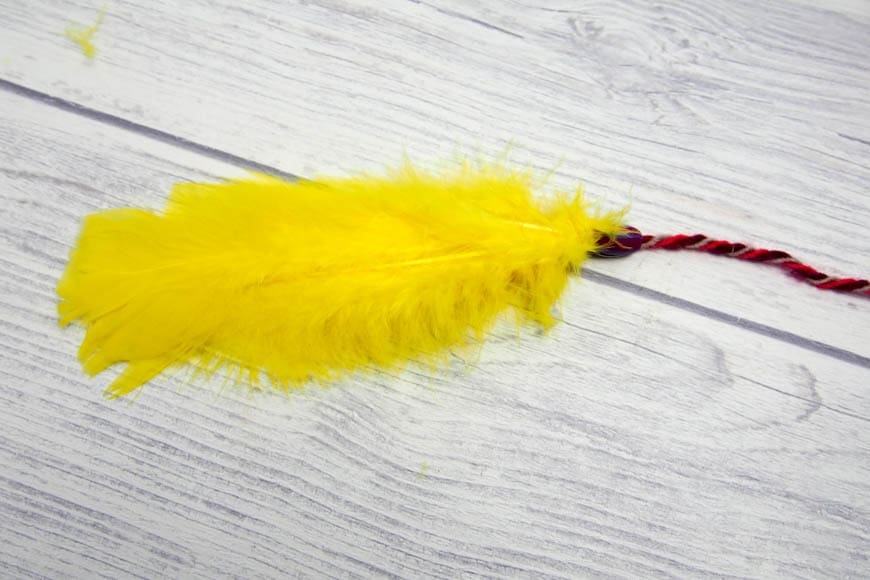
The bead covers the wool and the top of the feather for a great finish.
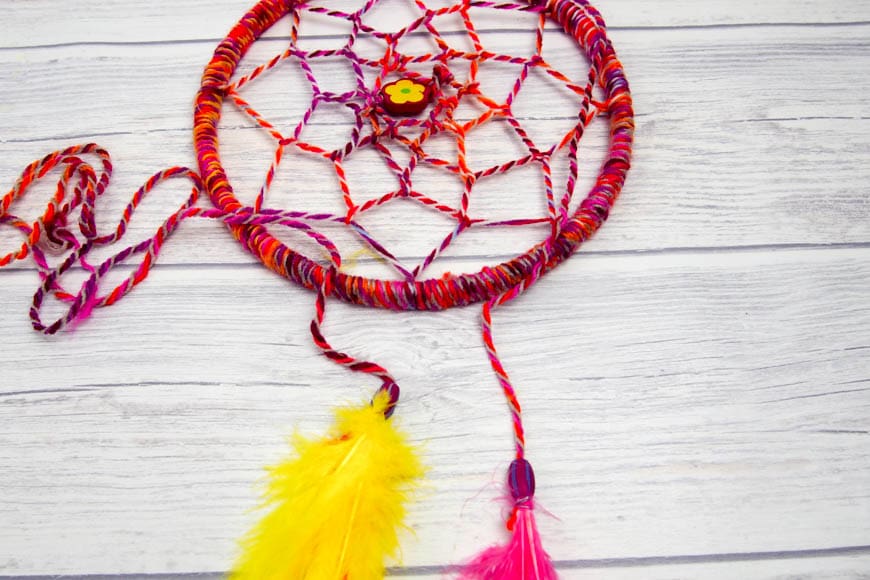
We did the same to another feather, but you could have as many as you want. Or swap out the feathers for more beads. We then tied them on to the bottom of the DIY dreamcatcher.
We would love to see any dreamcatcher that you make and do not worry if you think this is a little too challenging for your younger children. Just take a look at this DIY dreamcatcher that Mini made way back when he was four years old.
How to make a dreamcatcher
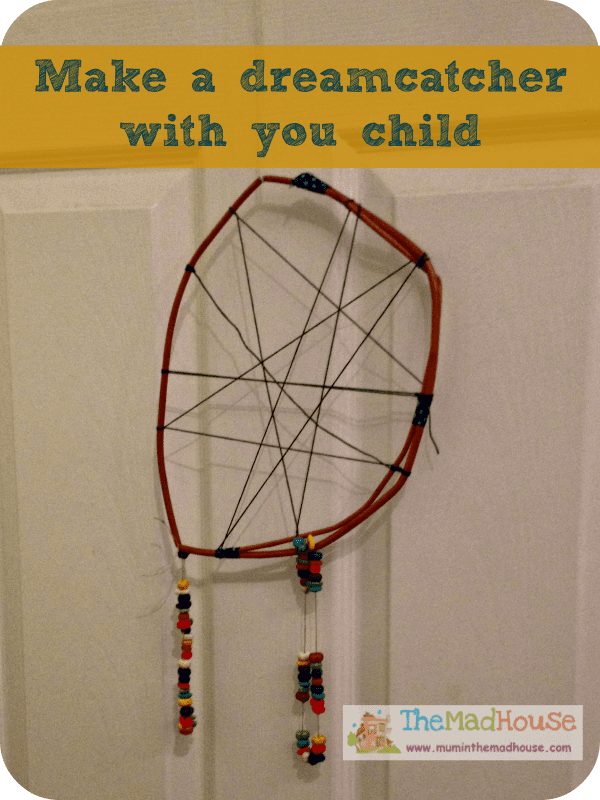
When it comes to children the act of making is as important as the outcome and this dreamcatcher was elemental in preventing nightmares and helping Mini adapt through a period of uncertainty. In fact, it still hangs above his bed.
Disclosure: I’m working with Bassetts Vitamins in a paid relationship

Comments are closed.