

Halloween décor doesn’t have to mean buying bags of plastic pumpkins and endless cobweb spray. Sometimes the simplest touches are the most effective—and right now, hand-painted candles are everywhere on TikTok and Pinterest. These DIY Halloween candles are chic, cosy, and just the right mix of spooky and stylish for your autumn home.

Whether you’re hosting a Halloween party, creating a moody autumn tablescape, or just love a little seasonal craft, painted candles are an easy way to add personality. Even better? You don’t need a load of expensive supplies—just some plain candles, a few paints, and a sprinkle of creativity.
Why Painted Halloween Candles Are So Popular
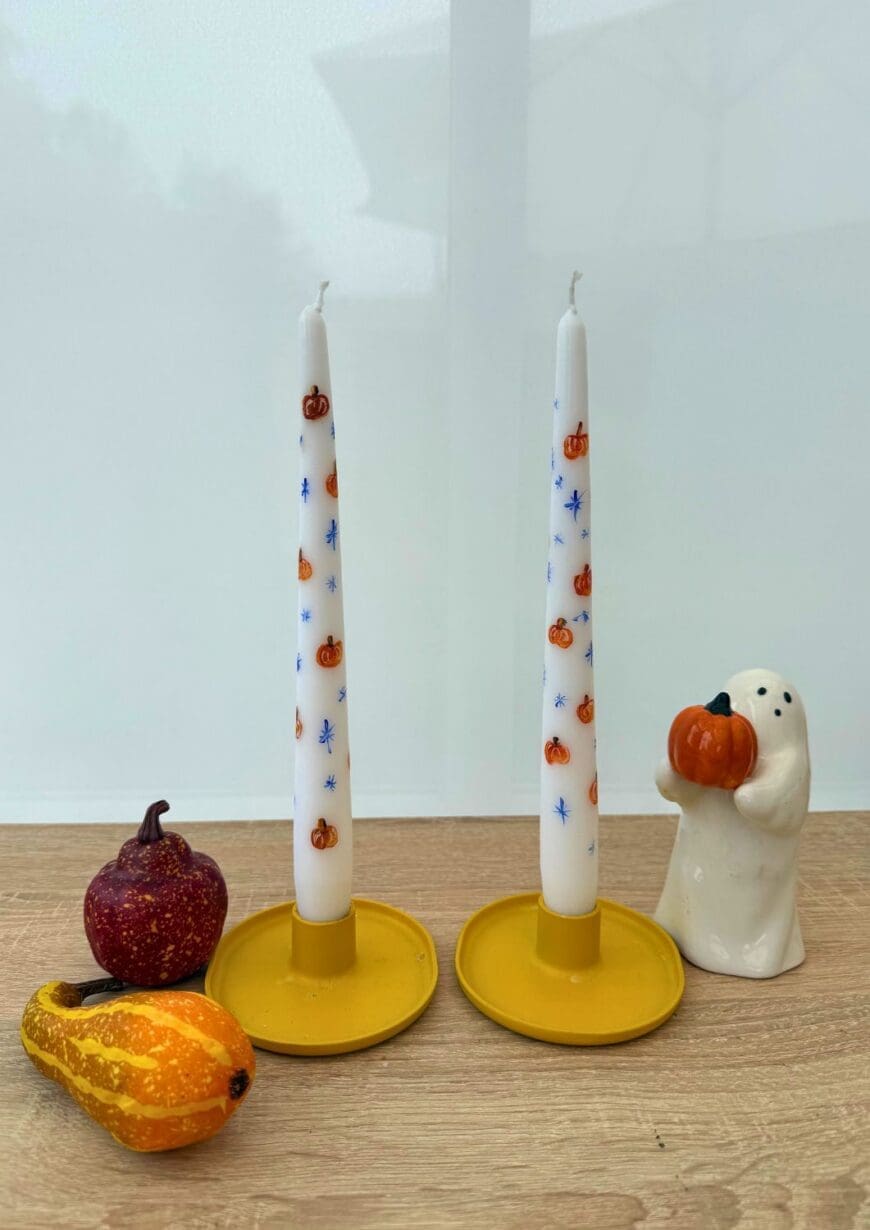
If you’ve been scrolling on social media lately, you’ll have spotted painted pillar and taper candles popping up everywhere. They’re a great mix of DIY Halloween craft and cosy autumn décor—you can go cute with smiling pumpkins or spooky with black bats and ghostly faces.
The best part? These candle creations work just as well as Halloween decorations as they do for general autumn décor. Imagine a pair of taper candles with tiny cobwebs for a dining table, or a chunky pillar candle with ghost faces on your mantel. Chic, festive, and totally customisable.
Materials You’ll Need
Here’s what you’ll want to gather before you start your Halloween candle craft session:
- Plain pillar candles or taper candles – white works beautifully as a blank canvas.
- Acrylic paint or paint pens – non-toxic, water-based paints are best.
- Paintbrushes – small brushes for fine lines (nail art ones are perfect), larger ones for filling in shapes.
- Paper towel – handy for wiping brushes or cleaning up smudges.
- Damp cloth – to clean the candle surface before painting.
- Optional sealant if you are not planning to burn your candles – a thin coat of clear, water-based varnish can help prevent smudging.
This post contains affiliate links. If you make any purchases after clicking one of these links, I will make a small commission (hopefully enough to keep me in tea all year) – at no extra cost to you! This allows me to keep creating and sharing free tutorials and content for you. Thank you!
No products found.
💡 Safety note: Never leave a burning candle unattended. Or skip the flame entirely and use battery-operated LED candles. They look just as good and are especially great if kids are around.
Step-by-Step Tutorial
This candle painting tutorial is super simple and only takes about 20–30 minutes per candle.

1. Prep Your Candle
Wipe the candle with a damp cloth to remove dust or candle wax residue. A clean surface helps the paint stick and stops smudging later.
2. Sketch Your Design
Use a pencil to lightly mark out your design. If you’re nervous about freehand drawing.
3. Start Painting
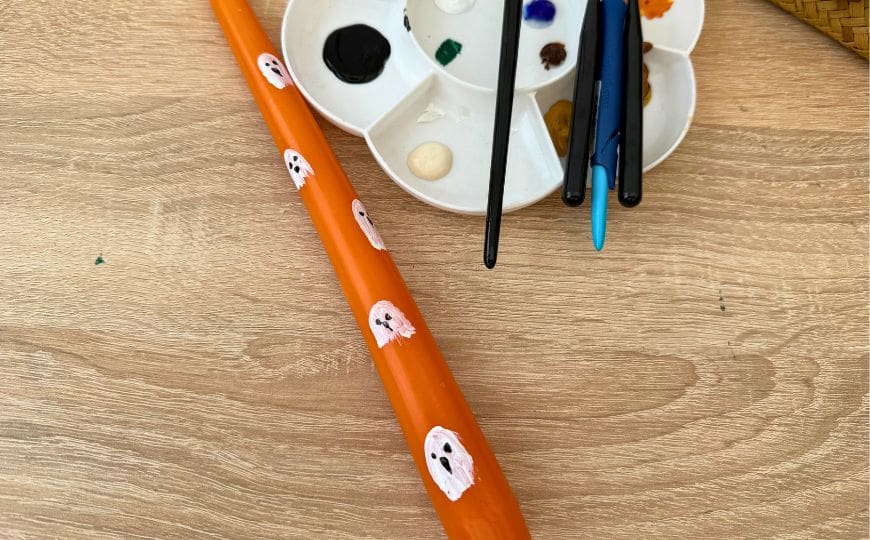
- For ghost faces, paint small dots for eyes and an oval for the mouth.
- For bats, try small lines and curves—paint pens make these easier.
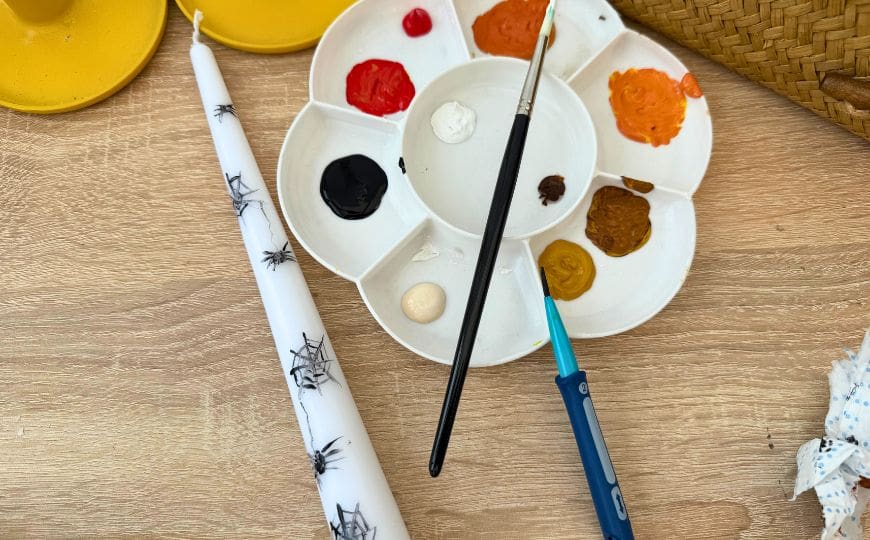
- For cobwebs, start with a few crossing lines and add curved “web” shapes between.
- For pumpkins, paint a simple orange circle with a green stem.
Don’t worry about paint quality being museum-perfect—simple designs are the most effective and look great on Instagram or Pinterest.
4. Add Details
Once the base is dry, you can add dots, lettering, or highlights. Think spooky words like “Boo!” or “Trick or Treat.”
5. Seal (If not burning the candle)
A thin coat of clear varnish helps prevent smudging if the candles are handled a lot.
Design Inspiration
Here are a few fun ways to bring your candles to life:
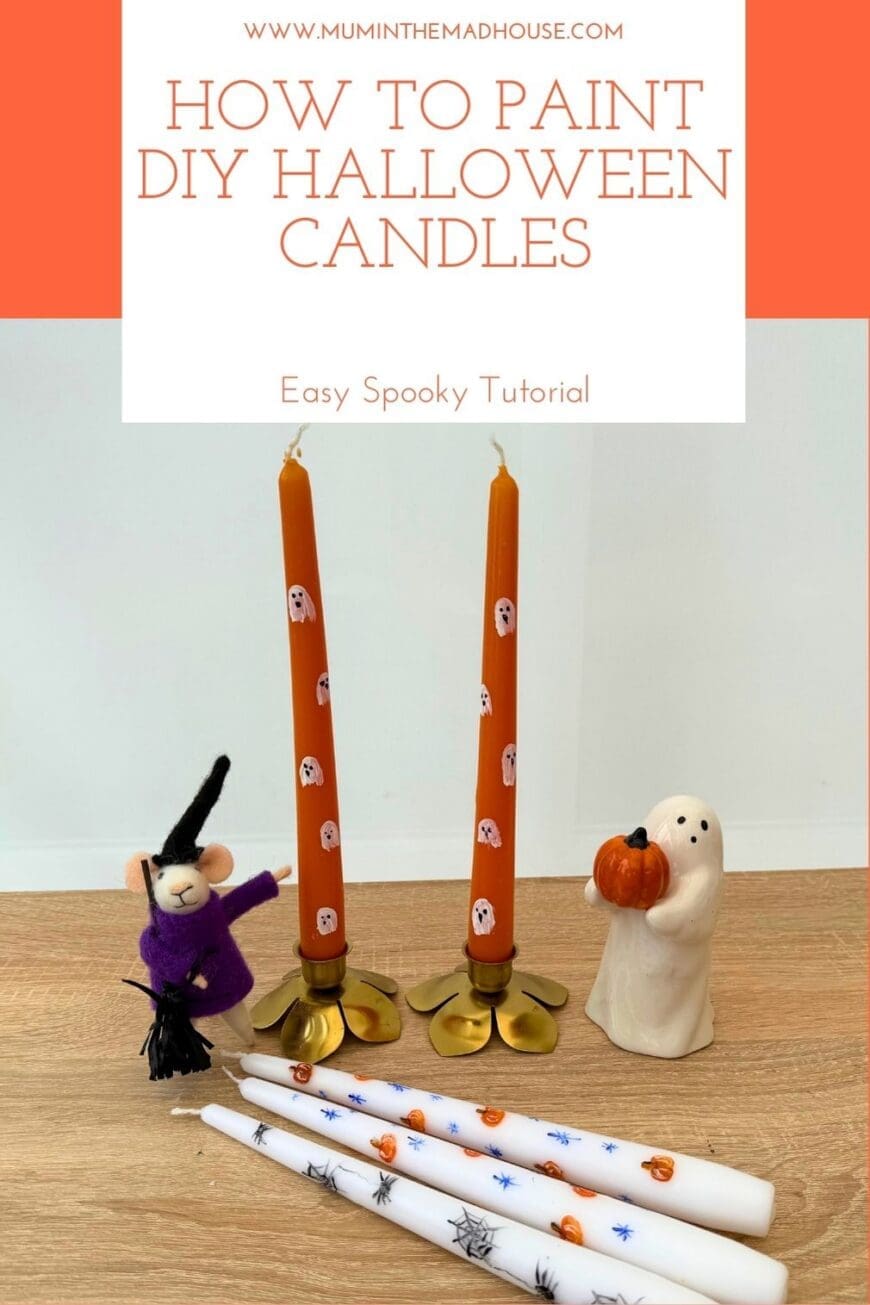
- Minimalist Ghosts – pairs of candles with simple ghost faces look cute and modern.
- Spooky Lettering – taper candles with words down the side like Spooky or Boo.
- Pumpkin Patch – clusters of tiny orange pumpkins dotted around a pillar candle.
- Creepy Cobwebs – great for a Halloween tablescape with black candle holders.
- Flying Bats – paint them swooping around the candle for a dramatic look.
Painted candles are such much fun to experiment with—you can even match them to your existing home décor.

Tips for Best Results
- Use non-toxic acrylic paint so it’s safe if the candle wax heats up. Paint pens are perfect.
- If you’re using taper candles, avoid painting right near the flame.
- Keep a piece of craft paper underneath while you work to protect your table.
- Allow plenty of drying time to avoid smudging.
- Store your finished candle creations somewhere cool and dust-free.
Decorating with Your Painted Candles
Once your Halloween painted candles are dry, it’s time to style them:
- Line them up on a mantel with autumn leaves for a cosy accent.
- Use as a centrepiece with tea lights and mini pumpkins.
- Add to a spooky tablescape with black napkins and cobweb runners.
- Give them as handmade Halloween gifts—wrap in craft paper and tie with string.
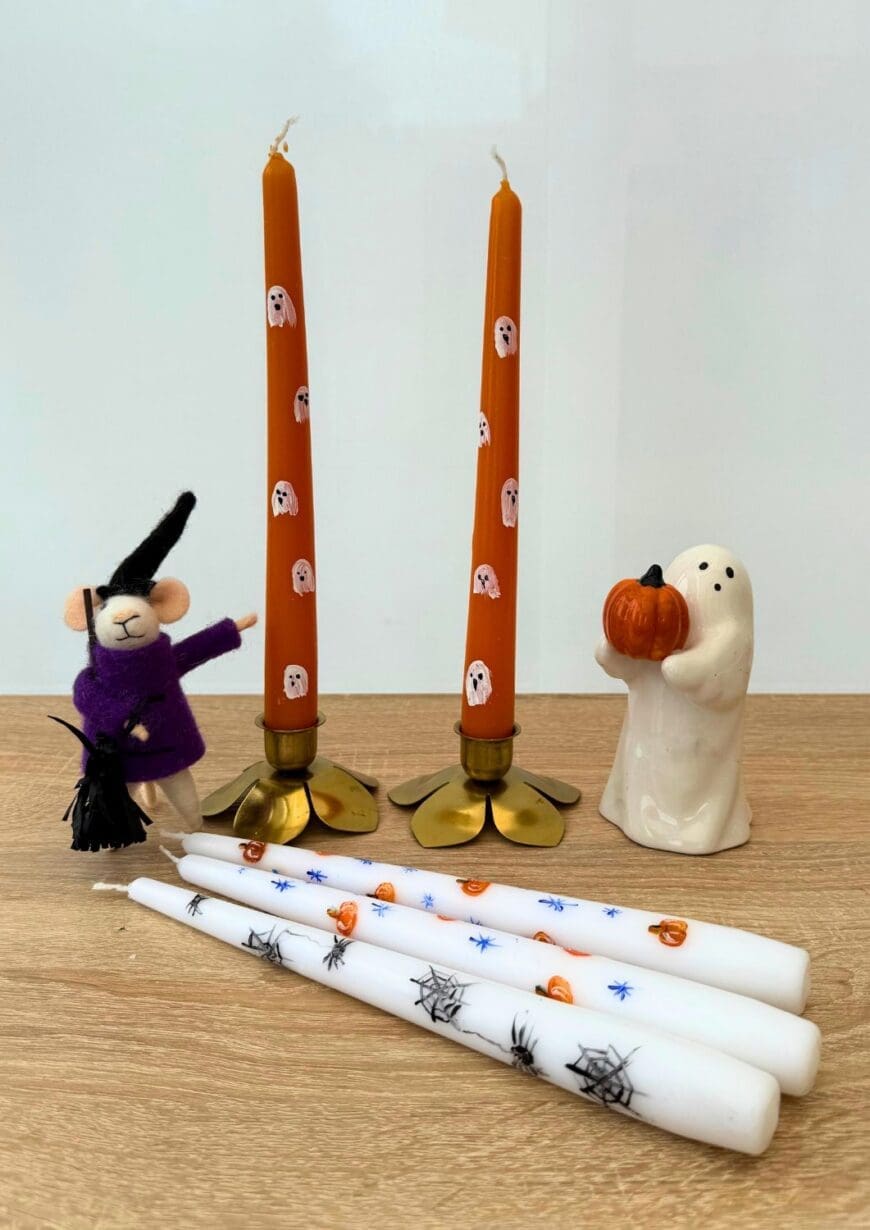
Whether you’re going subtle or full-on spooky, painted candles bring instant atmosphere to your Halloween home décor.
Final Thoughts
Candle painting is one of those crafts that feels simple but gives such a stylish result. With just a few taps of a brush, you’ve got something that looks handmade, personal, and totally on trend.
So grab some pillar or taper candles, your paint pens, and get crafting. Your home will be glowing with spooky charm in no time—and your Halloween décor will be the envy of TikTok.
📌 Pinterest Pin Titles
- How to Paint DIY Halloween Candles – Easy Spooky Tutorial
- Easy Painted Candle DIY for Halloween Décor
📌 Pinterest Pin Descriptions
Pin 1:
Transform plain pillar or taper candles into stylish Halloween décor! This DIY Halloween candle craft uses simple painted designs like ghosts, bats, and pumpkins. Includes a free stencil sheet to make it easy!
Pin 2:
Want cosy and spooky décor this autumn? Try this DIY Halloween painted candle tutorial. Simple step-by-step guide with fun designs – perfect for a Halloween tablescape or party!
📌 Hashtags
#DIYHalloweenCandles #HalloweenCrafts #PaintedCandles #HalloweenDIY #HalloweenDecor #HalloweenIdeas #DIYDecor #CandlePainting #CraftyHalloween #SpookyDecor