

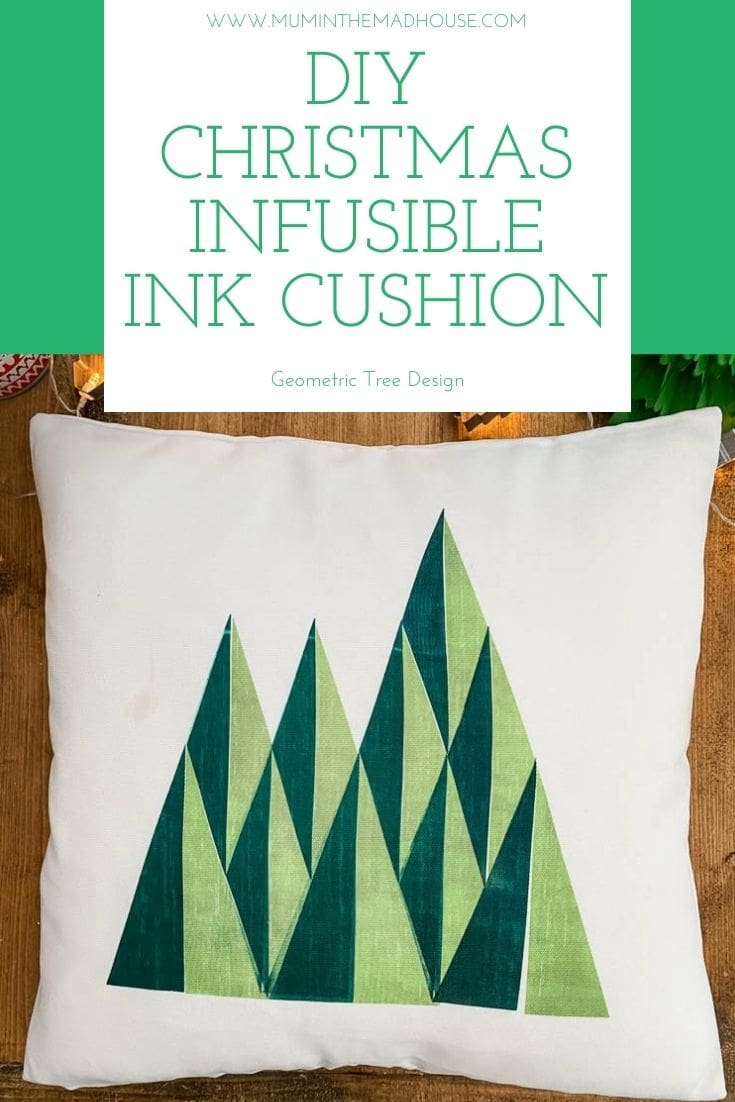
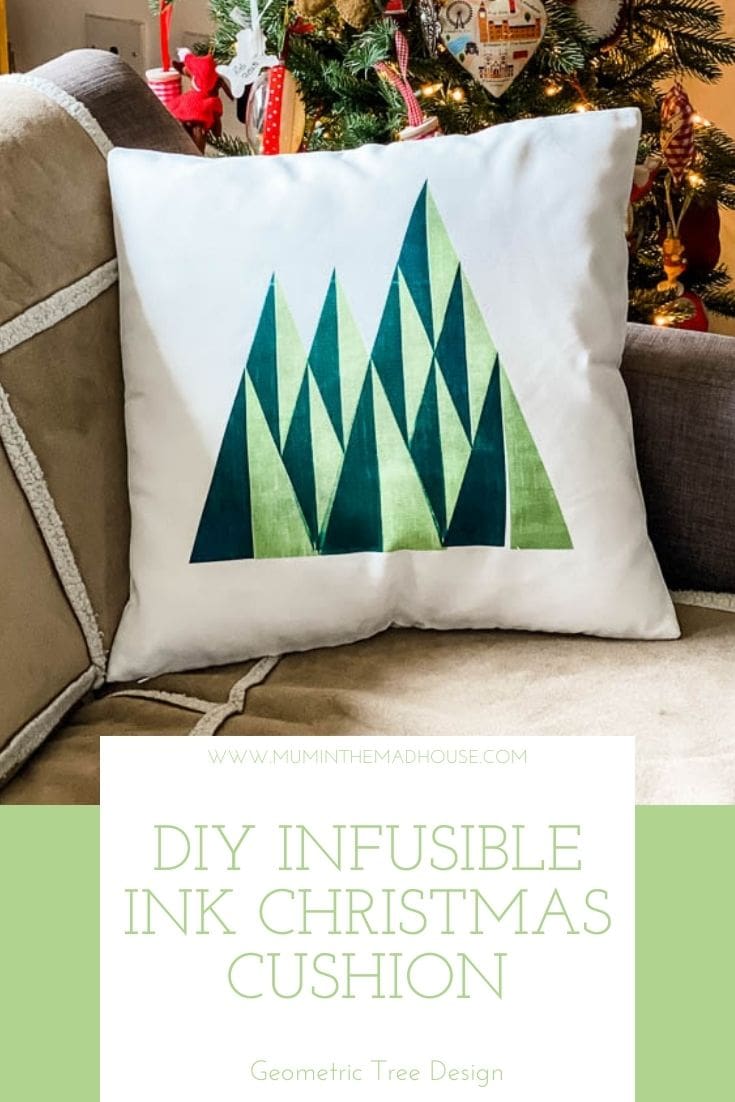
How to Create a cushion or pillow using Infusible Ink and the Cricut blank pillowcase perfect for Christmas time with our fab geometric tree design.
I love being able to bring out homemade decorations at Christmas but that doesn’t mean I don’t want them to look professional and simple and easy to make, but they also need to be washable and long-living which is why I love infusible ink as it takes on the properties of the material you infuse it with.
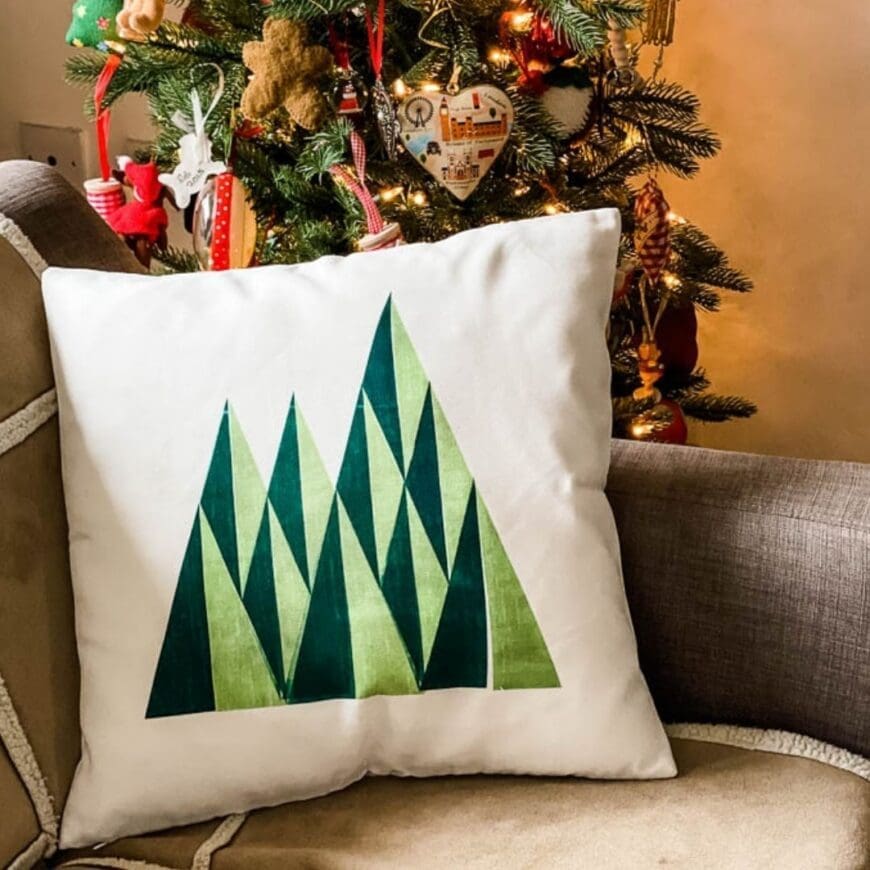
How to make a Christmas Tree DIY Infusible Ink Pillow or Cushion
This post contains affiliate links. If you make a purchase after clicking one of these links, I will make a small commission (hopefully enough to keep me in tea all year) at no extra cost to you! This allows me to keep creating and sharing free tutorials for you to try. Thank you!
Materials:
- Cricut Maker (UK Link/US Link)
- Cricut Standard Grip Mat (UK Link/US Link)
- Cricut EasyPress 2 (UK Link/US Link)
- Cricut EasyPress Mat (UK Link/US Link)
- Cricut Heat Resistant Tape (UK Link/US Link)
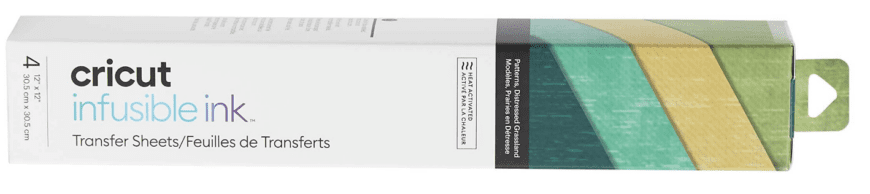
- Cricut Infusible Ink Transfer Sheet2 I used Grasslands (UK Link/US Link)
- Cricut pillow Blank (UK Link/US Link)
- Lint Roller
- Butcher Paper (comes inside of Transfer Sheet package)
- White Cardstock
How to Make Geometric Tree Pillow or Cushion using Cricut Infusible Ink
In order to make it simpler to make this DIY Infusible Ink Pillow Cushion, I have already designed the geometric Tree pattern and sized it for the pillow blank.
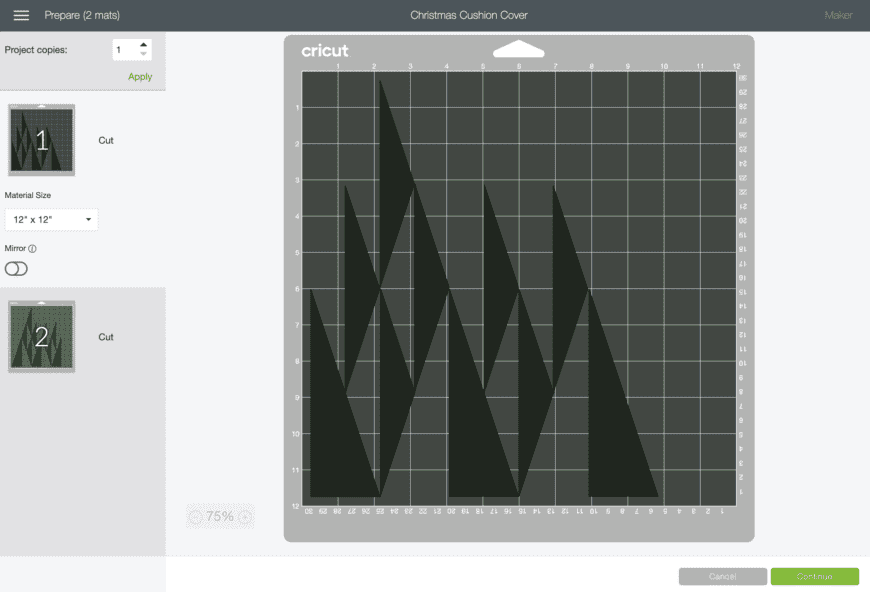
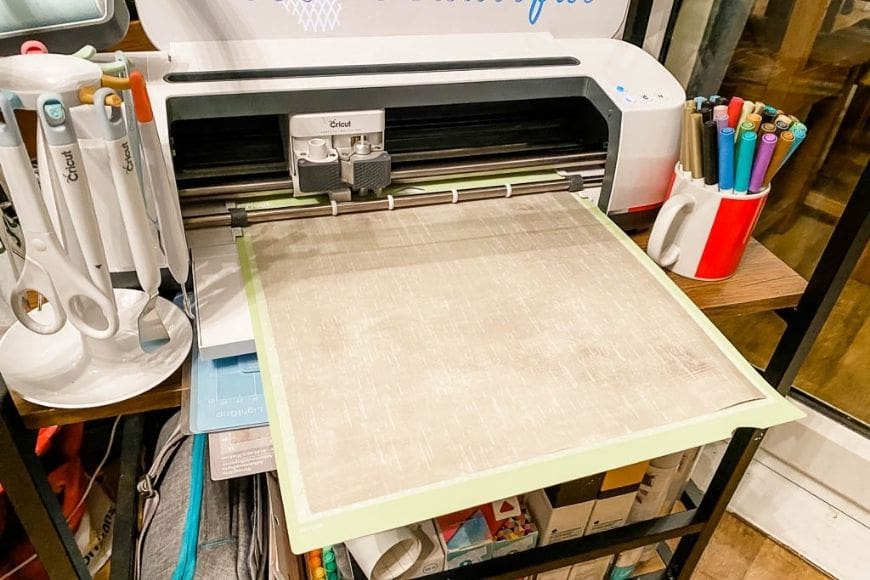
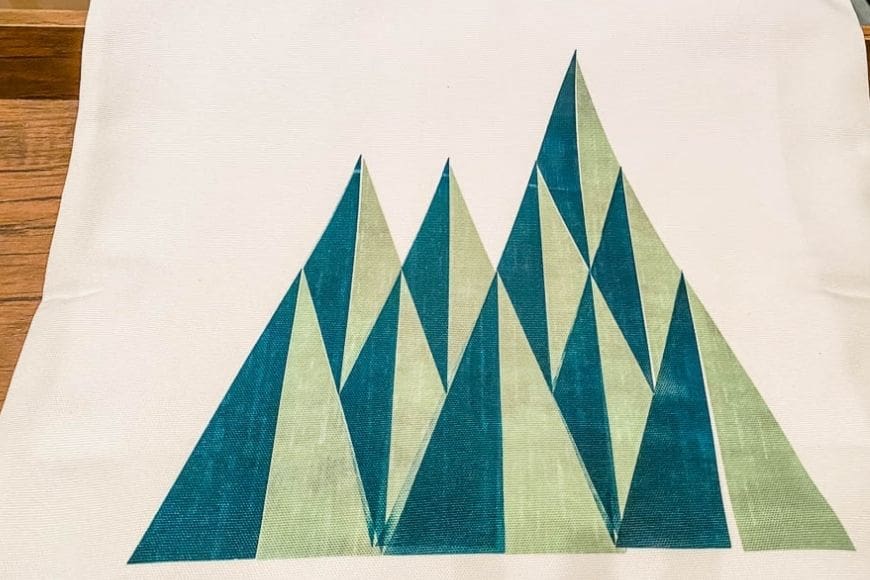
Place your Infusible Ink Transfer Sheet on the Standard Grip Mat, liner side down. You may think the Infusible Transfer Sheet colour seems dull now and even blue rather than green, but wait until you see the finished project. The process of transferring the infusible ink makes the colour so vivid, it really pops!
When you’re ready to cut, click the “Make It” button. You need to make sure that you click the “Mirror” function. Select “Infusible Ink Transfer Sheet” from the list of materials.
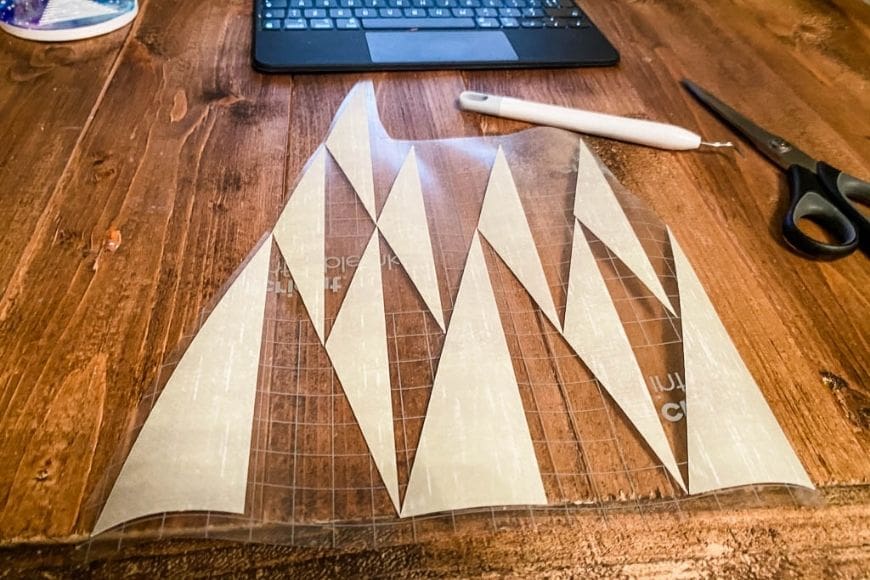
When it’s finished cutting, then you need to weed away the extra material from the transfer sheet liner. Cricut advise you do it with your fingers, which is easy by bending the image and removing along the lines especially for such a simple design.
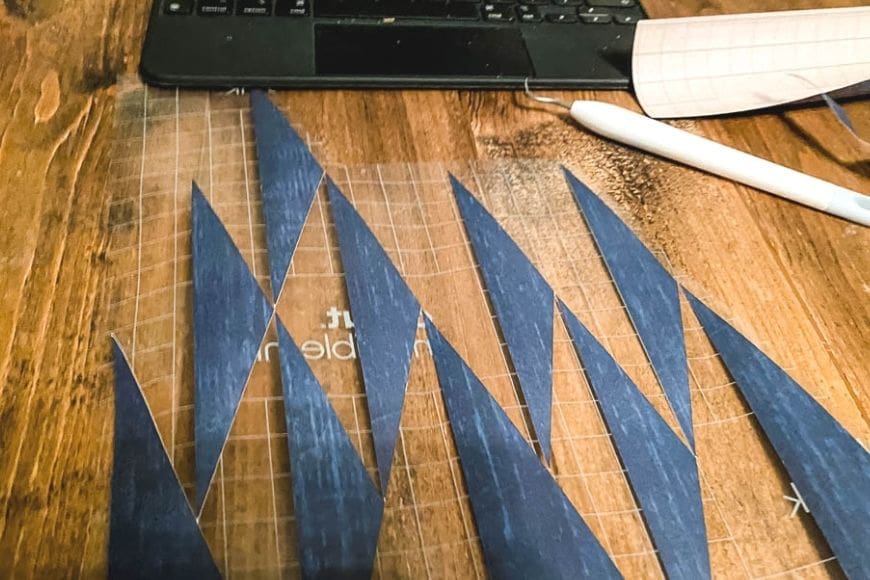
The cut and weed the second sheet.
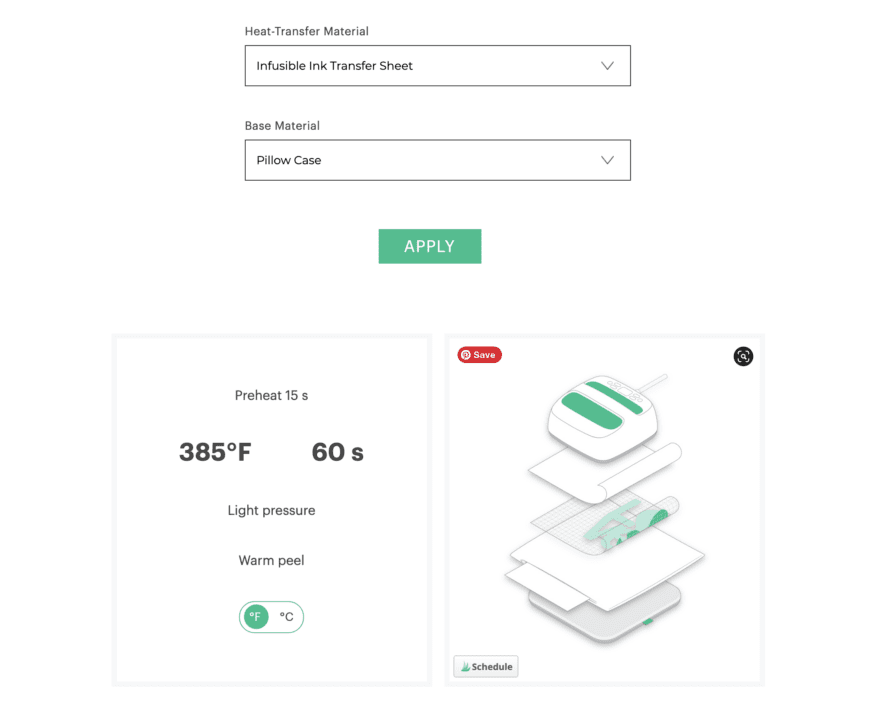
Use a lint roller to clean the surface of the bottle bag blank. It’s important to remove all lint. You can also use heatproof tape to hold the infusible image in place. Then check the Cricut Easy Press Heat Guide for temperature and instructions to press and set the image.
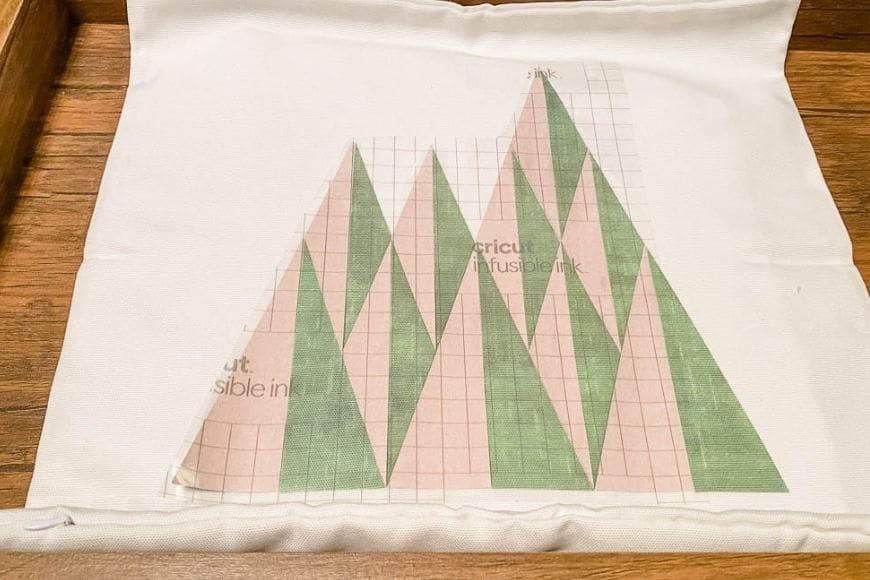
Iron on the first colour and allow to cool before adding the second colour.
TIP: It makes life much easier if you make sure your image is smaller than the size of your easy press as lifting it to move it means you might get ghosting as I did here.
If you like this then check out our other Cricut Projects.