
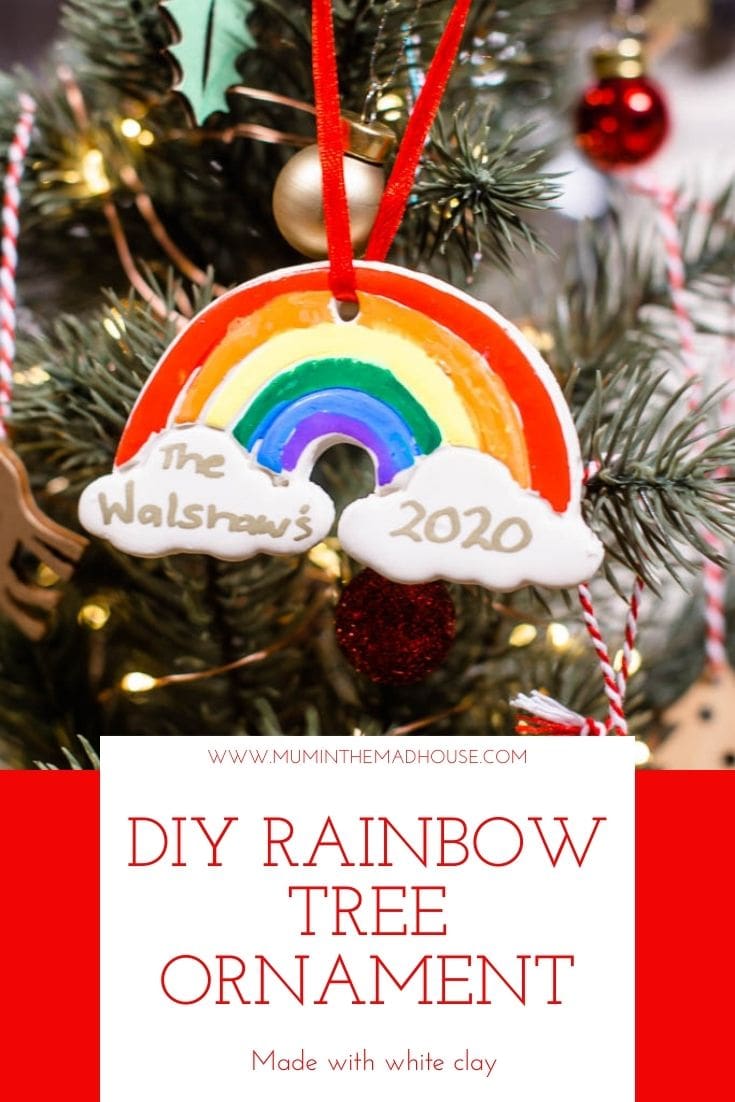
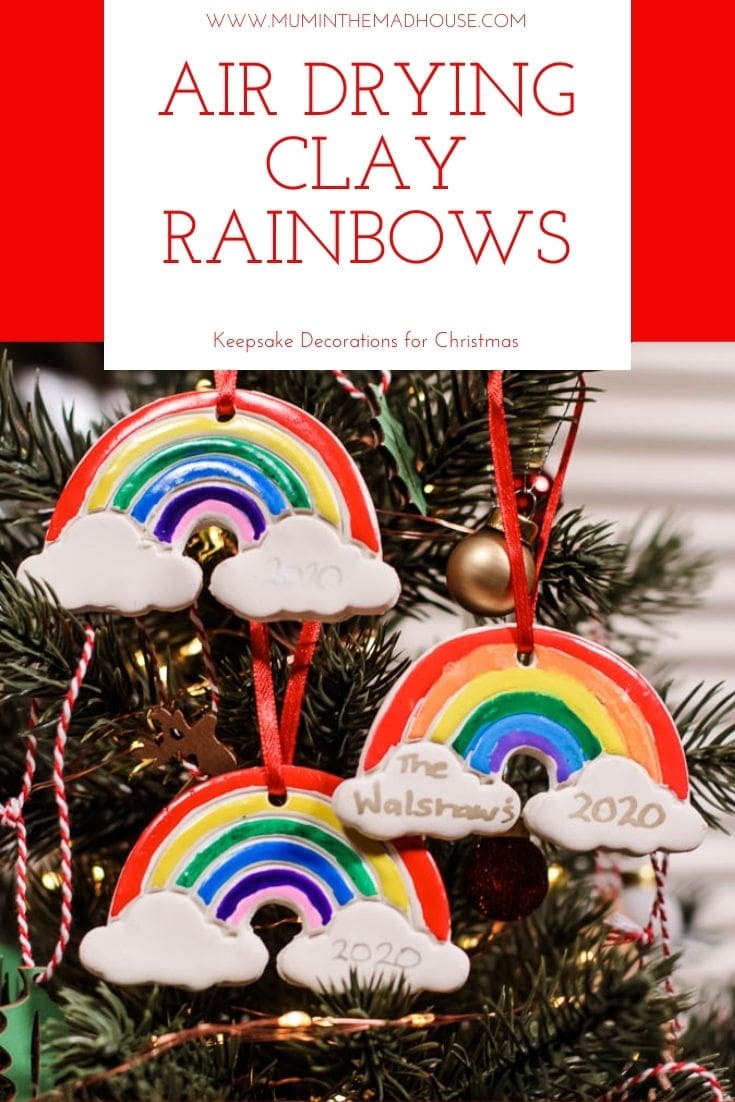
These DIY Rainbow Clay Christmas Tree Decorations are the perfect homemade Christmas tree ornament for this year. This is a fun DIY Christmas craft that you can hang on the tree and be reminded of the year we have had.

Every Year we made a new decoration for our Christmas Tree. This year I wanted to make something that symbolised the hope of things to come and also remind of us the year we had.
Homemade Christmas Tree Ornament make a fabulous keepsake gift for grandparents and godparents. I have come to treasure these sort of tree decorations now my boys are getting older. This year I have made extra for our friends and family.
We used to use a salt dough recipe for out homemade ornaments, however, one year we had damp in our loft and they didn’t keep, so we started using different types of clay.
Types of clay perfect for Christmas Tree Decorations
This post contains affiliate links. If you make a purchase after clicking one of these links, I will make a small commission (hopefully enough to keep me in tea all year) – at no extra cost to you! This allows me to keep creating and sharing free tutorials and content for you. Thank you!
- Air Drying Clay (UK Link/US Link)
- Polymer Clay – Staedtler FIMO (UK Link/US Link) or Sculpy (UK Link/US Link)
- Microwave Drying Clay (US Link/UK Link)
- Homemade 3 Ingredient white clay
- Homemade two-ingredient white clay
- Homemade White Salt Dough
How to make Rainbow clay Christmas decorations for the tree
Materials:
- Clay of your choice!
- Rainbow cookie cutter (UK Link/US Link)
- Acrylic Pens (UK Link/US Link)
- Red Ribbon (UK Link/US Link)
- Cookie circle cutters (UK Link/US Link)
- Adjustable Rolling Pin (UK Link/US Link)
- Silicone Sheet (UK Link/US Link)


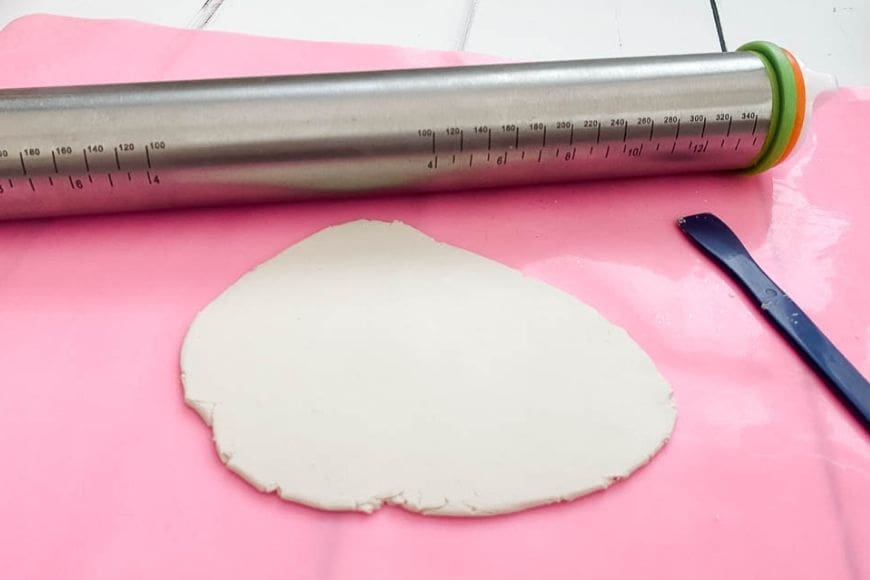
Start by rolling out your chosen clay to about 1/4 inch in thickness. I use a silicone mat to ensure smoothness and do a small amount at a time turning it over.
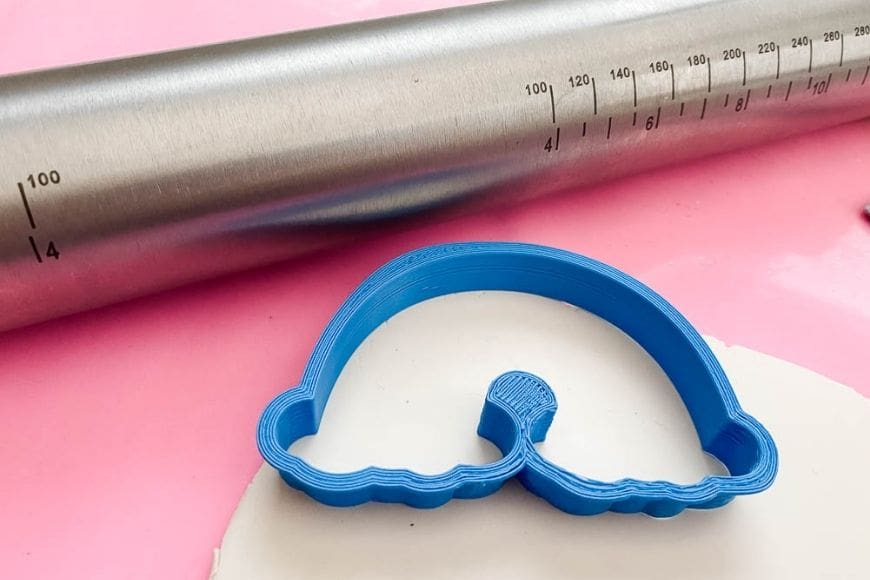
Press in your cookie cutter firmly.
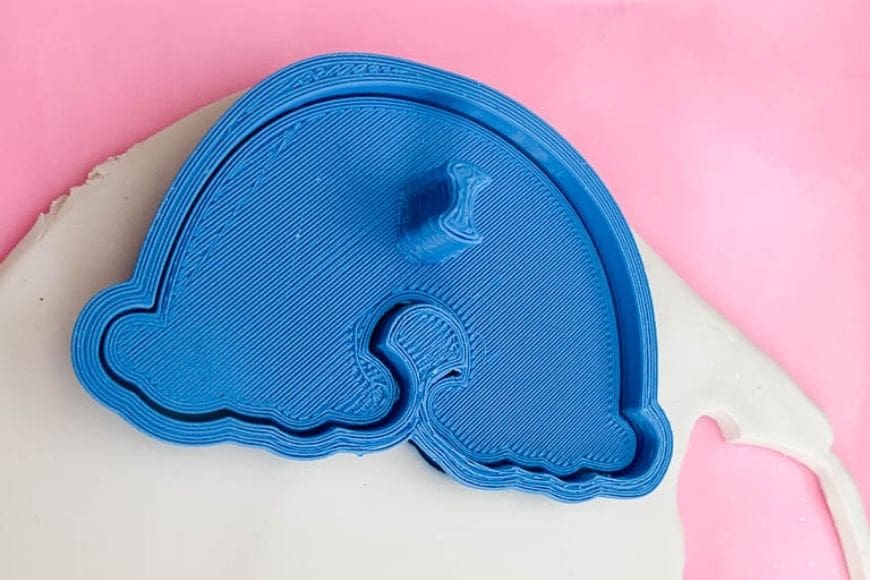
Press the top into the clay evenly to leave the indent – this may take some practice.
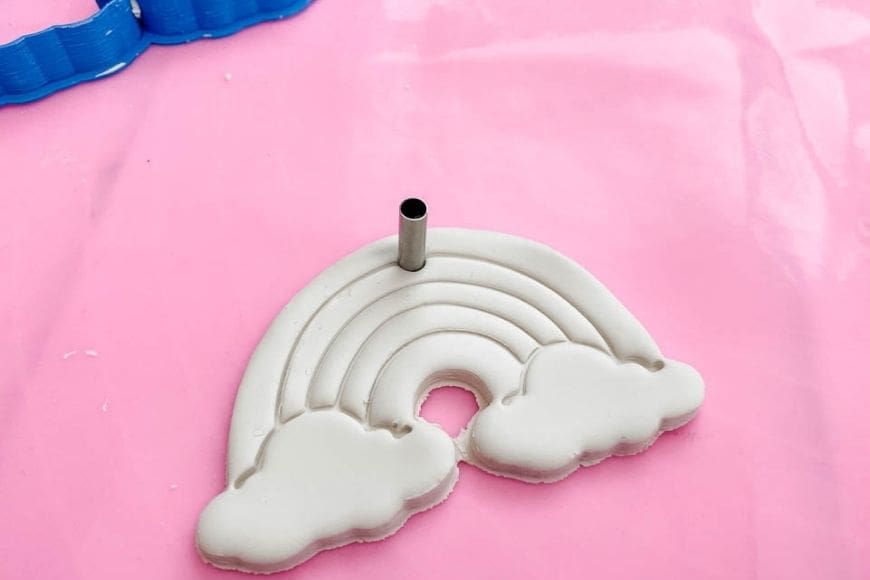
Remove the clay from around the cookie cutter and then make a small hole with your round punch or a straw and allow to dry.
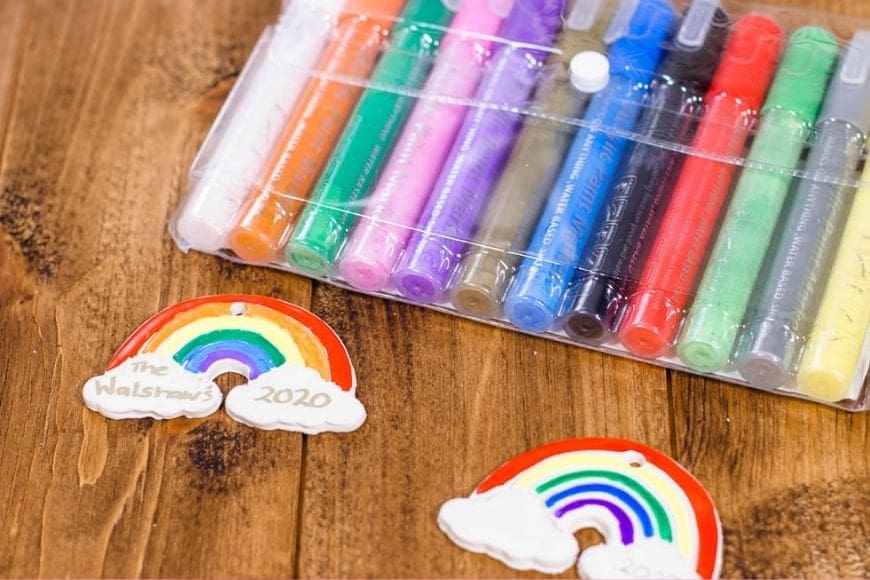
Decorate your rainbow using acrylic paint markers. I recommend leaving the yellow rainbow until last!
The pens are easier for children than getting our lots of acrylic paints and a paintbrush for each colour as you know they will only get muddled up!

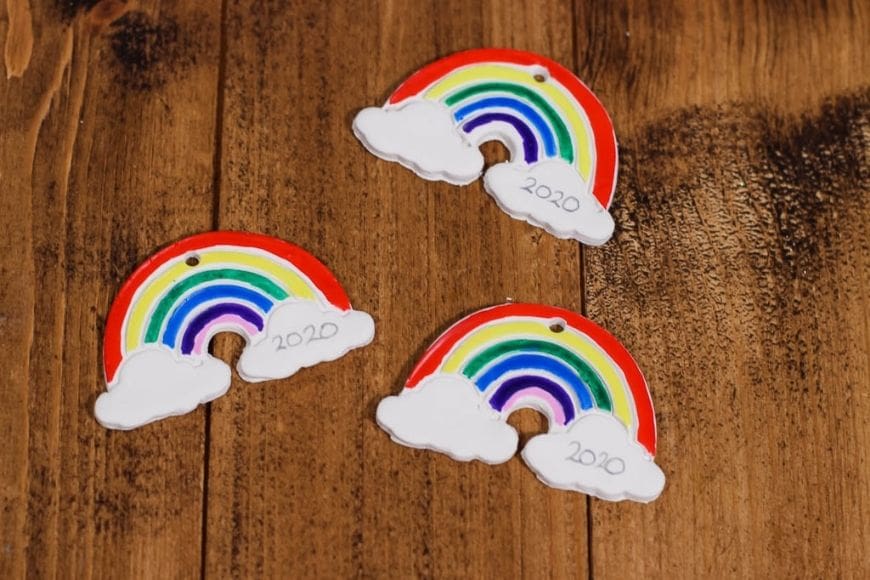
We choose to add our family name (ot the person we are gifting to on the left cloud and the year on the right. Then once dry hang with a red ribbon and pop on your tree.

Depending on the clay you have used, if you want your decorations to last a lifetime then I would encourage you to spray varnish your creations. We are fans of Rustoleum Crystal Clear (UK Link/US Link) and it comes in gloss or matt.
If you like this make sure you check out other clay decorations:
- Fingerprint Christmas Tree Ornament – Air Drying Clay
- Gold and White Air Drying Clay Christmas Decorations
- DIY Festive Clay and Cork Trees
- Clay Mittens Christmas Decoration
- Festive and Beautiful Christmas Clay Crafts
- Air drying clay ornements
- Glow in the Dark Clay Snowflake Ornaments
- DIY Clay Star Candle Holders
- Make an adorable white clay Christmas fingerprint ornament
- White clay dough. Corn Flour dough, a fab alternative to salt dough
- DIY Christmas Tree Luminaries
- DIY Fingerprint Snowmen Christmas Ornaments
- Cornflour dough tealight holders for Solstice
Comments are closed.