

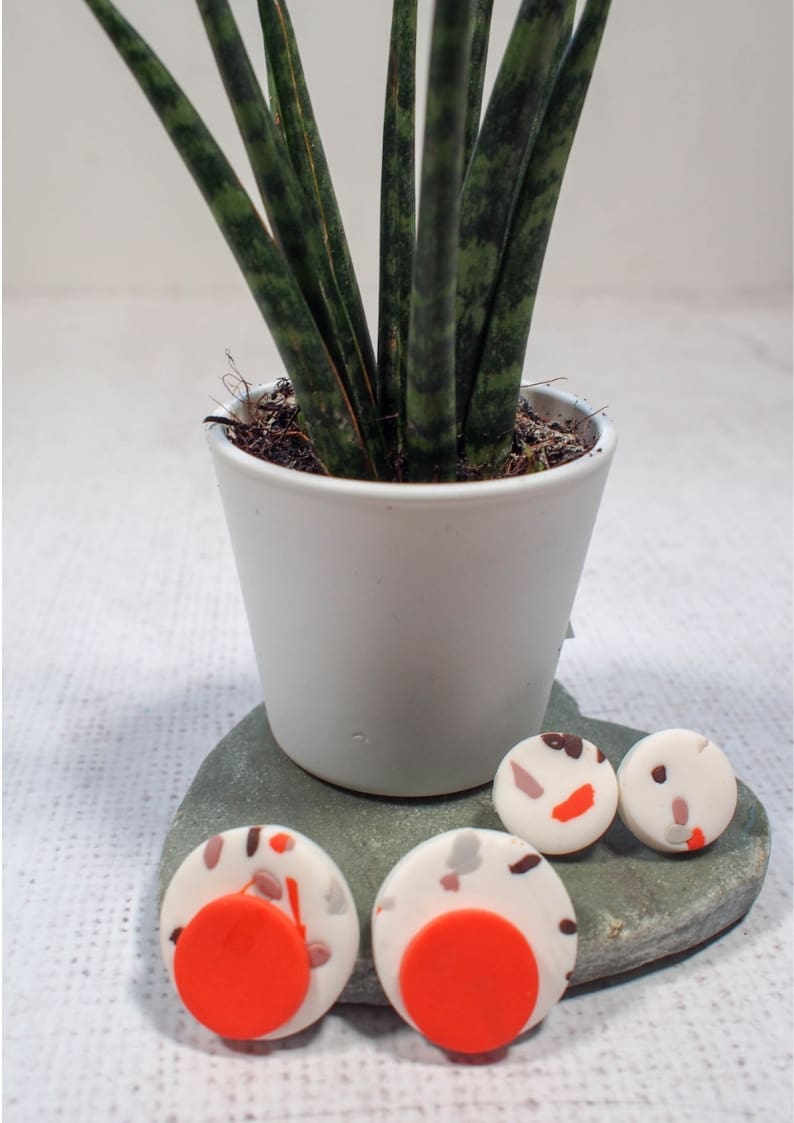
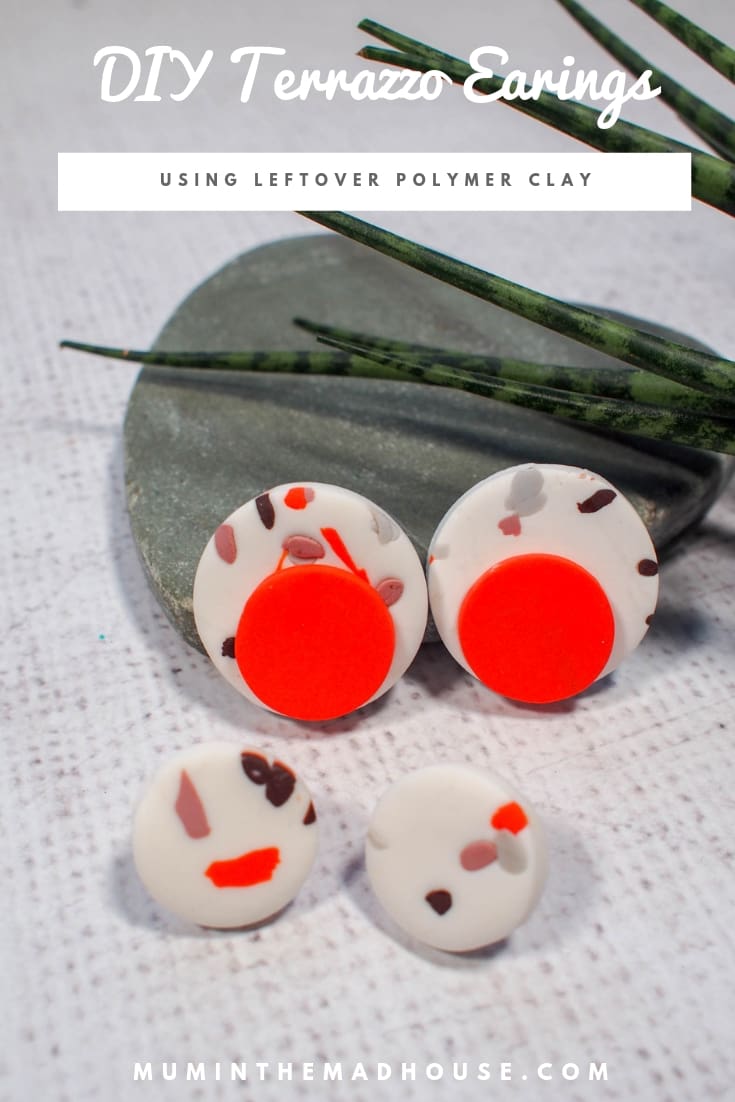
These DIY Terrazzo Earrings are a super simple way of using up leftover polymer clay. They are really fun to make and look fabulous. Plus Terrazzo is making a real comeback, in fact, I think it might be the new DIY marbling!
I wanted to use up some of the FIMO clay that I have and this is a really fun craft for doing with tweens, teens or even your girlfriends. I also wanted to showcase the colour coral which is so now and add a pop of colour to my earrings.
This was a really fun way to spend an hour on a Sunday afternoon and I have so many more ideas of things to do with DIY tarrazzo polymer clay now, so keep your eyes peeled.
Tutorial for DIY Terrazzo Earnings using Leftover Polymer Clay
This post contains affiliate links. If you make a purchase after clicking one of these links, I will make a small commission (hopefully enough to keep me in tea all year) – at no extra cost to you! This allows me to keep creating and sharing free tutorials for you to try. Thank you!
Materials:
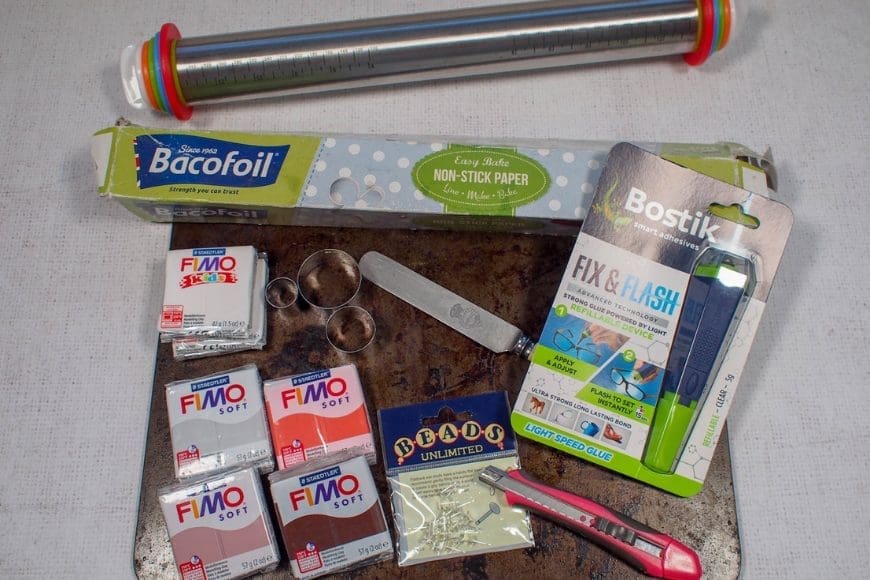
- Polymer Clay (UK Link/US Link)
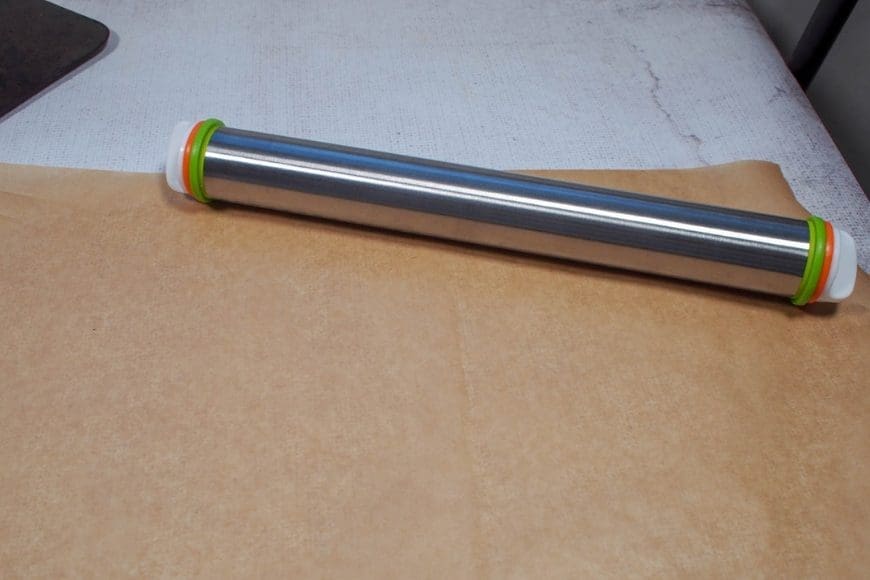
- Rolling pin (UK Link/US Link)
- Parchment or greaseproof paper
- Oven proof tray
- Circle cutter (UK Link/US Link)
- Bostik Fix and Flash
- Earring Findings (UK Link/US Link)
- Knife
- 150 grit Sandpaper (extra fine)
No products found.
How to make DIY Terrazzo Earnings using Leftover Polymer Clay
I don’t have special clay tools and actually, repurpose a lot of my baking equipment which is what makes this a really inexpensive craft.
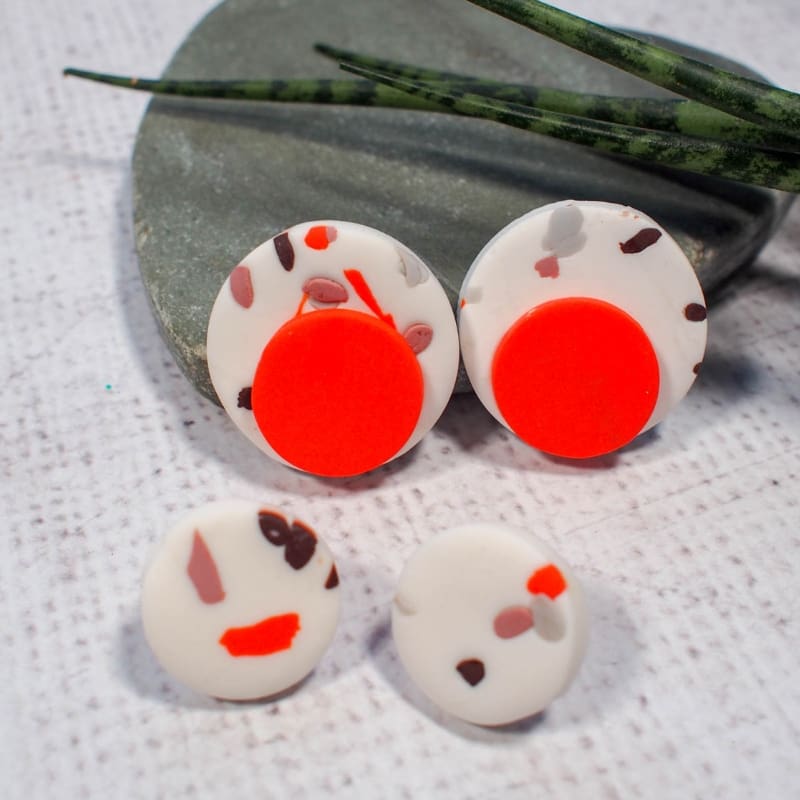
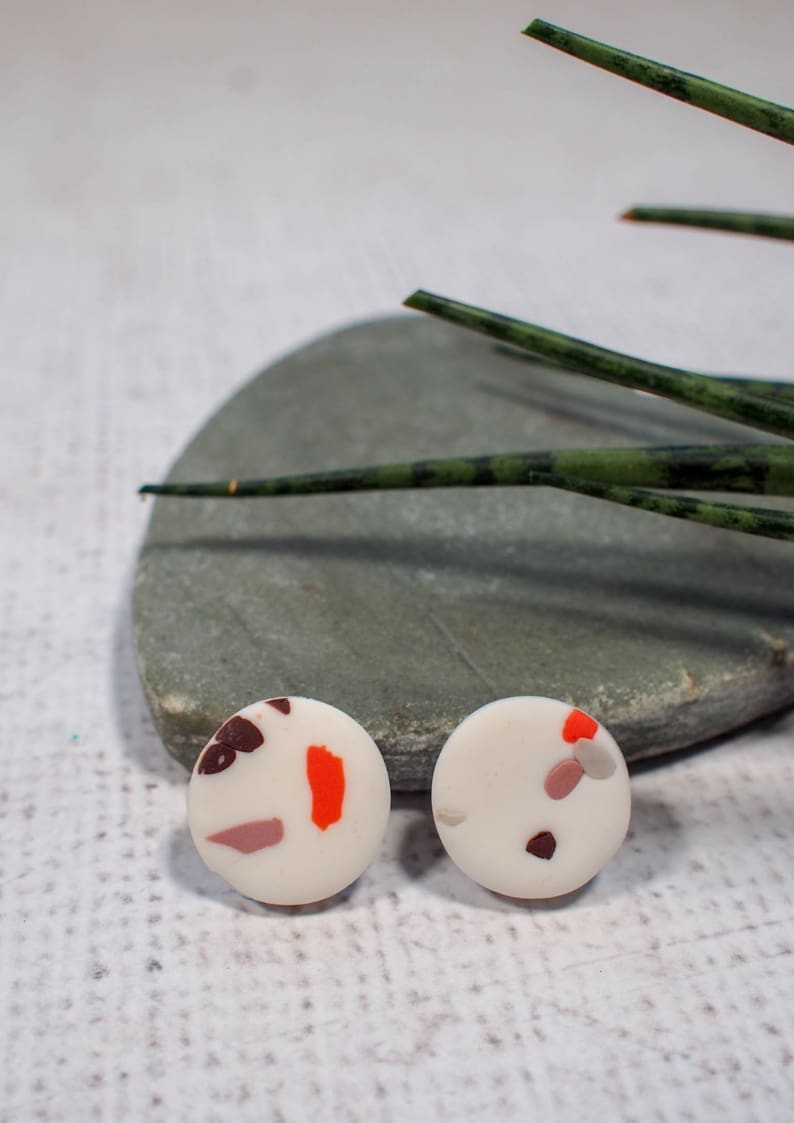
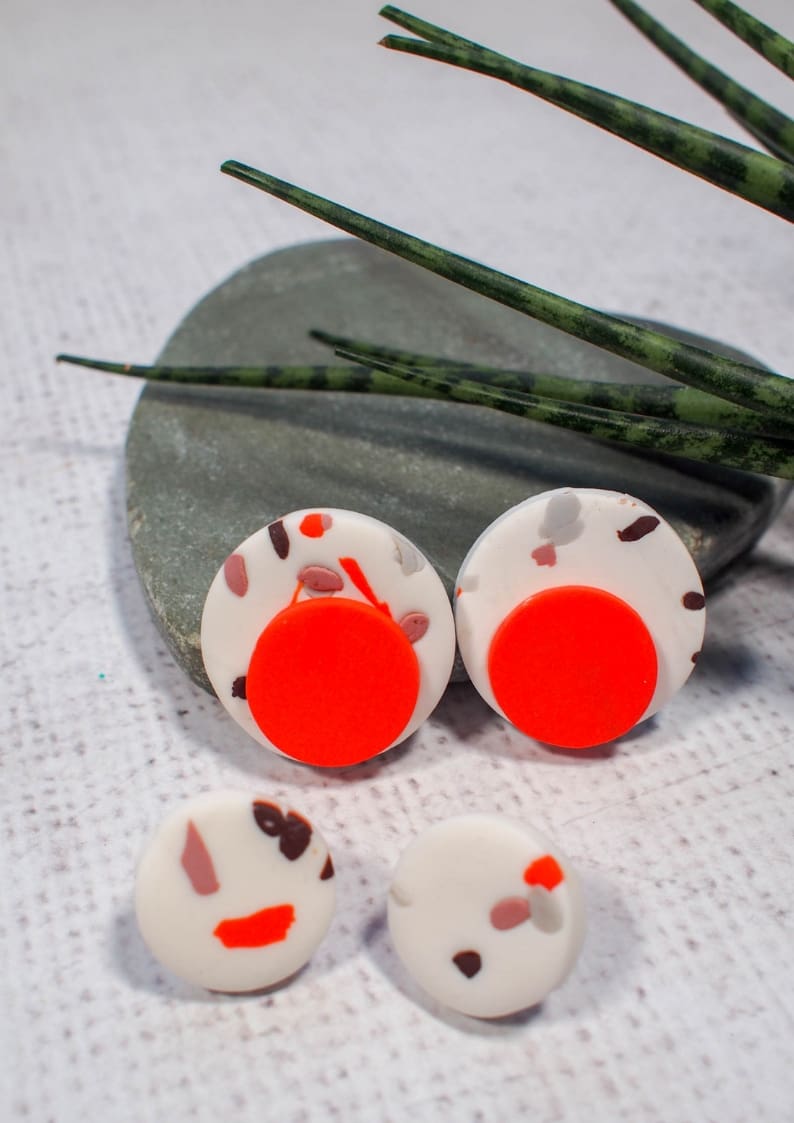
Start by picking out the colours for your terrazzo. I chose a white background with flecks of brown, grey, pink and coral. You can choose whatever colours you like and this is a fabulous way to use up leftover polymer clay from other projects. Do use the same brand clay, so it all cures at the same temperature and time.
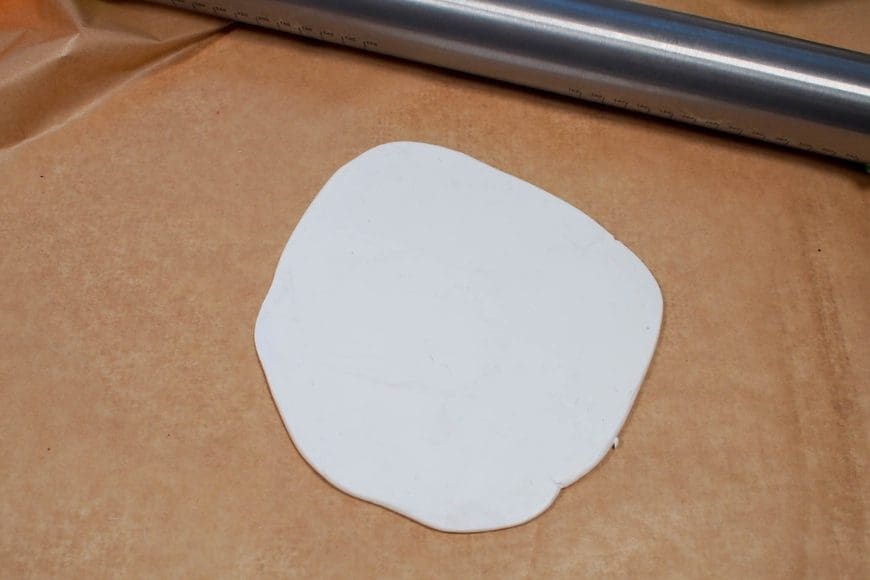
Roll out your base clay – I have a roller with little circles you put on the ends to make the clay an even thickness and I really love it. It is perfect for this and for pastry too.
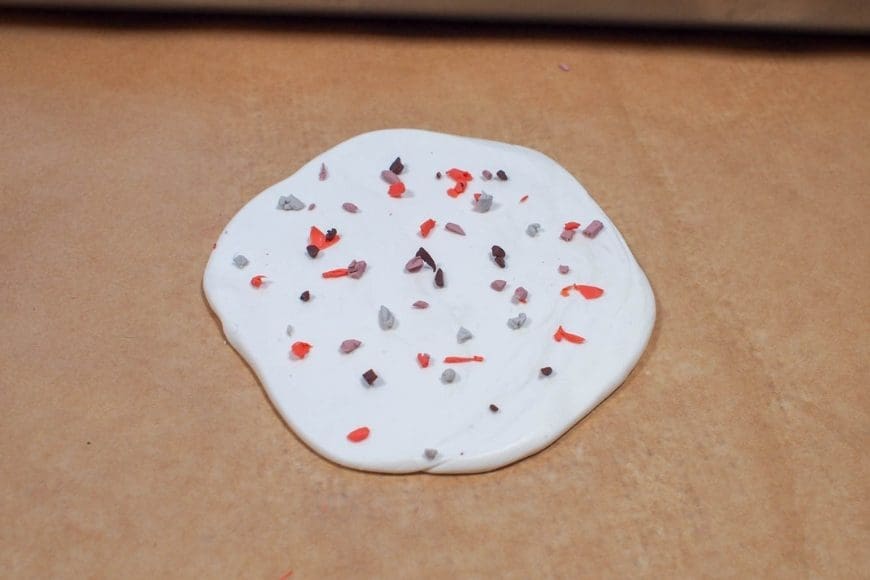
Then cut of flake small pieces of the coloured clay. If you have older clay it is easier to do this! Then sprinkle it on to the base clay and roll again.
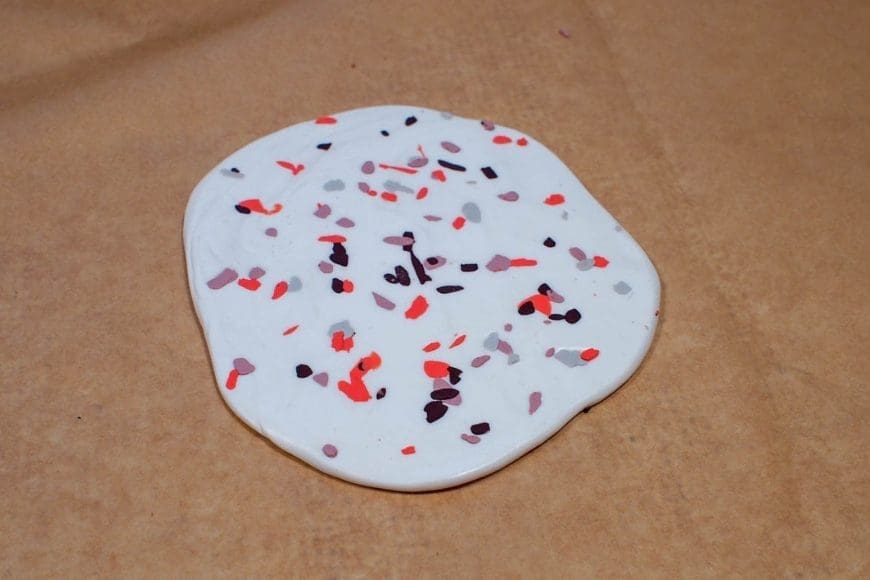
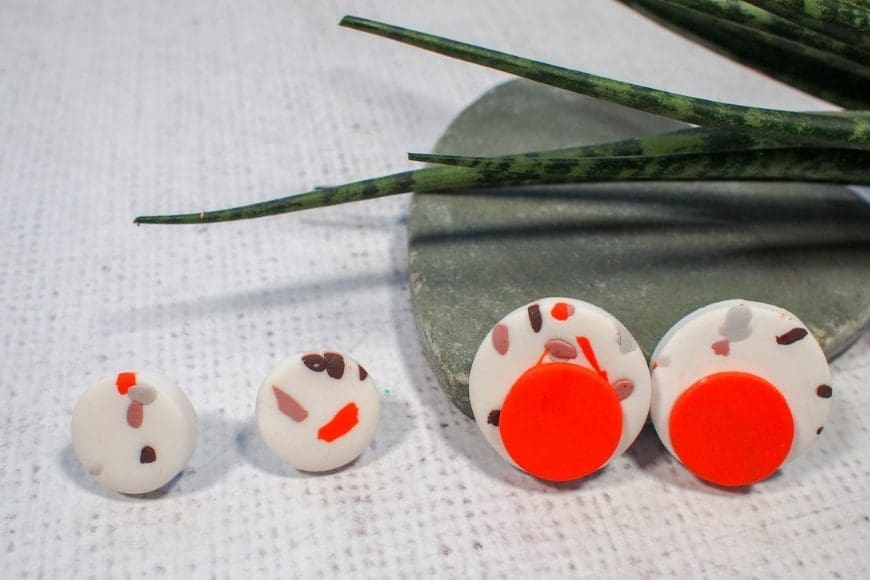
Then cut out your circles for the earrings. I wanted to have a contrasting smaller circle, so I cut that at this time too.
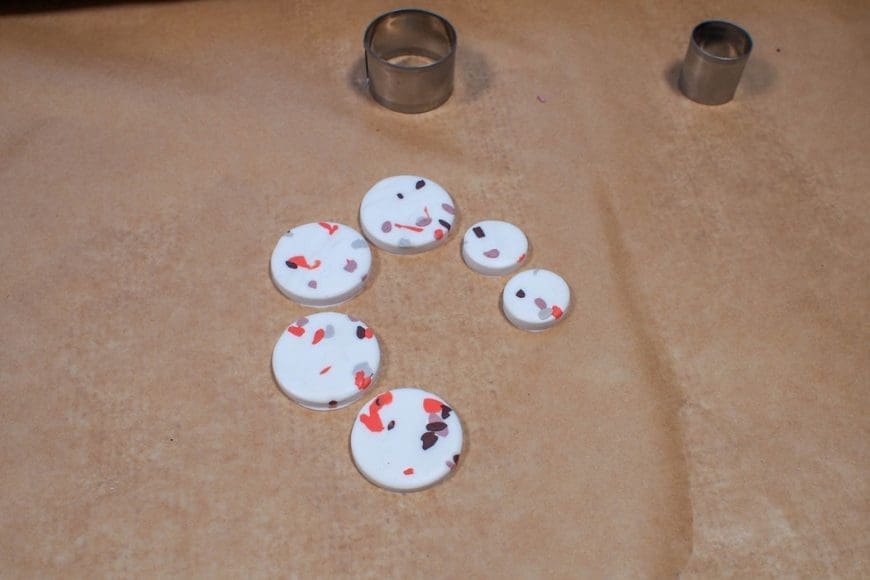
Then place on to a baking tray and cure as per your clay’s instructions. Be sure not to over cure as you don’t want to colour your clay or to release any chemicals into the air.
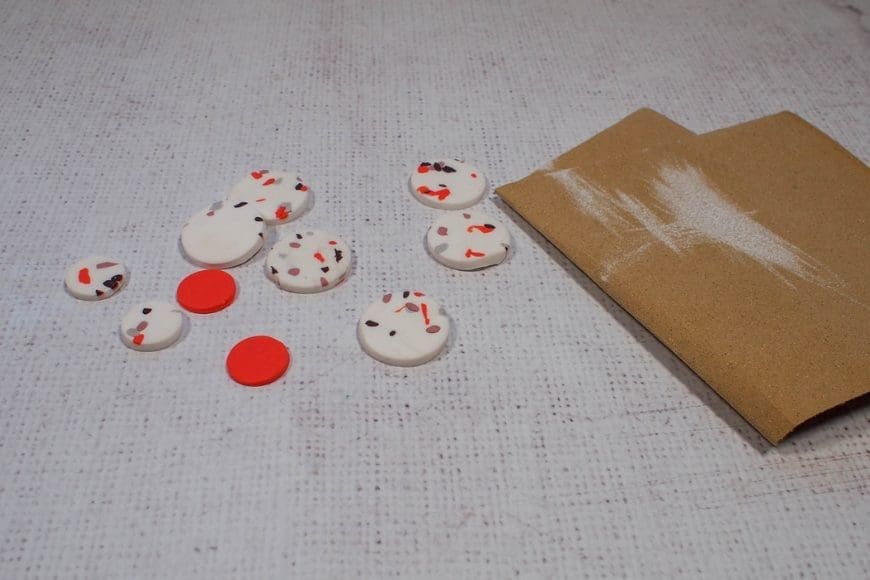
Once the clay has completely cooled then sand off any bumps and make sure the edges are all smooth with extra fine sandpaper.
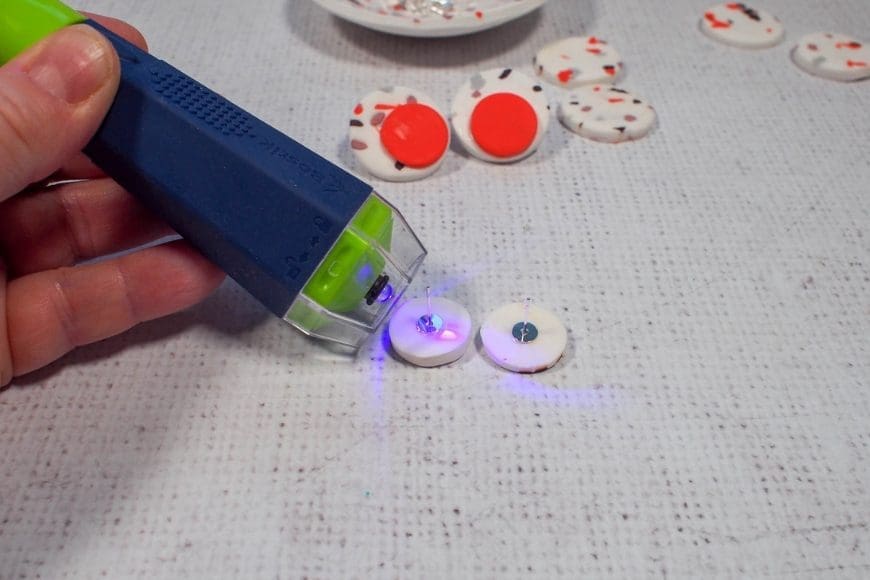
You then need to glue on the posts to the back of your earings. I particularly like Bostik Fix and Flash as it only takes 15 seconds to dry, so I can move on to the next one plus there is no smell.
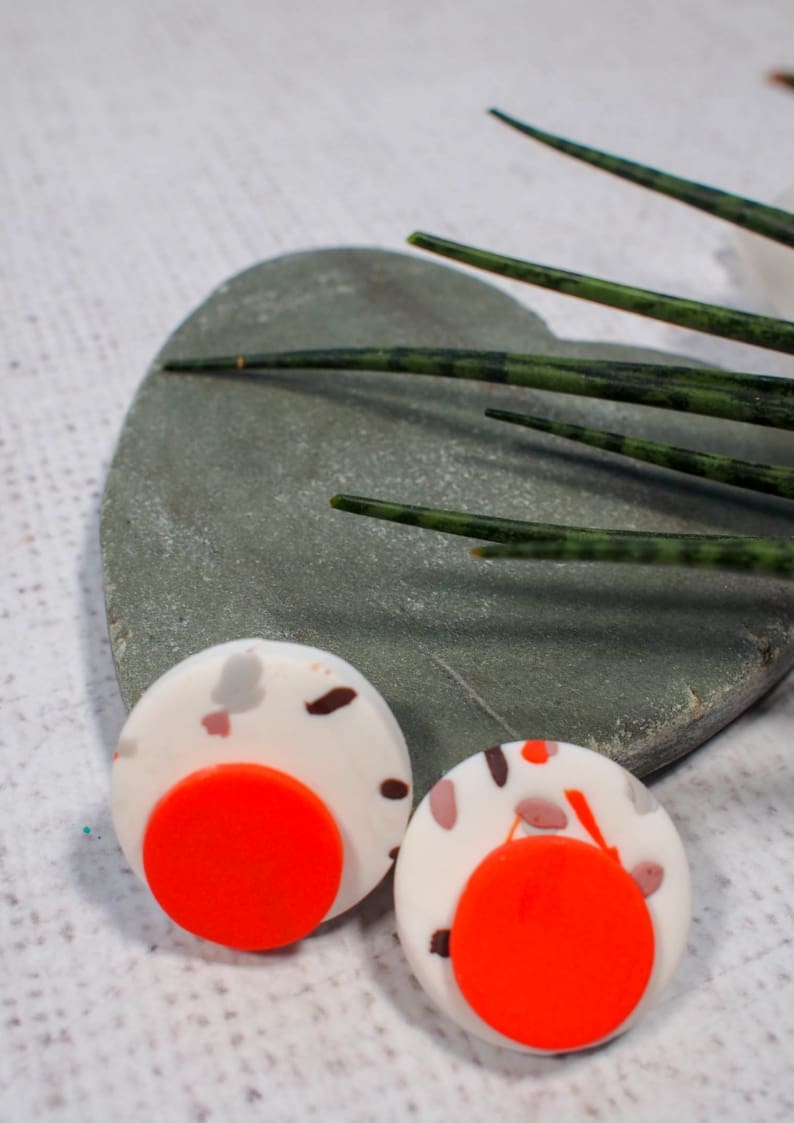
It was easy to glue the posts on the back and to sick the coral circles on the front too.
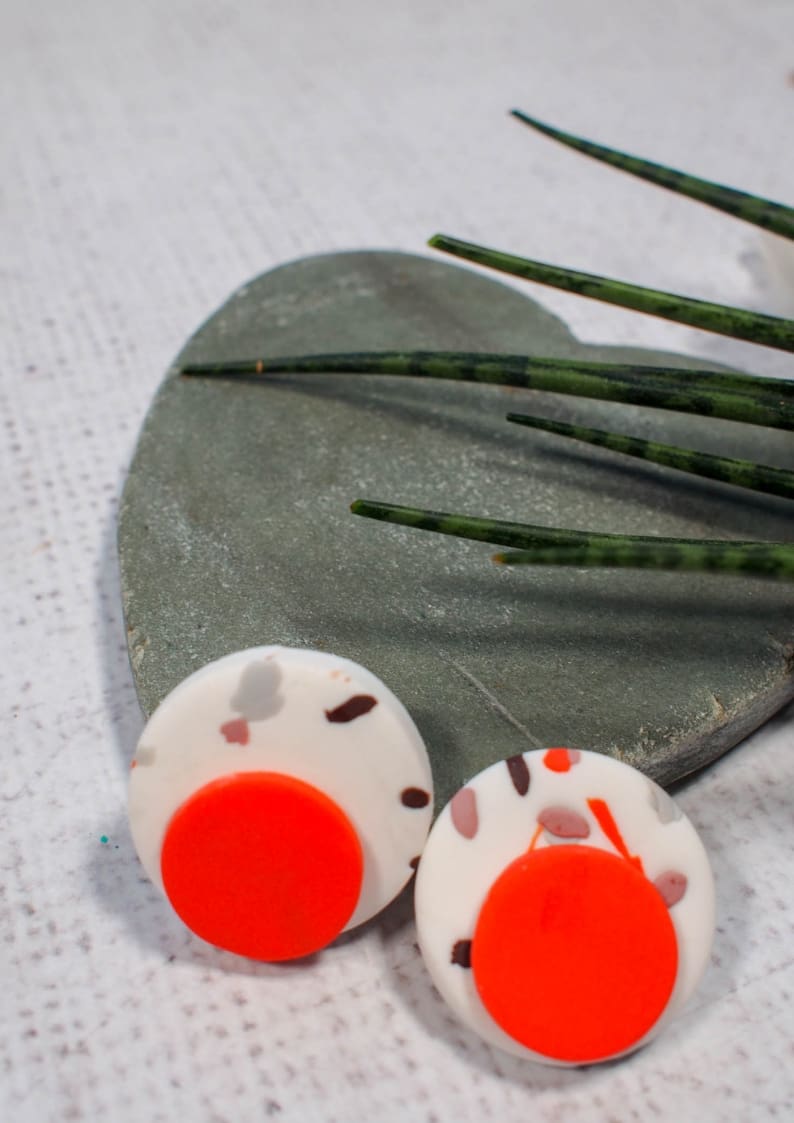
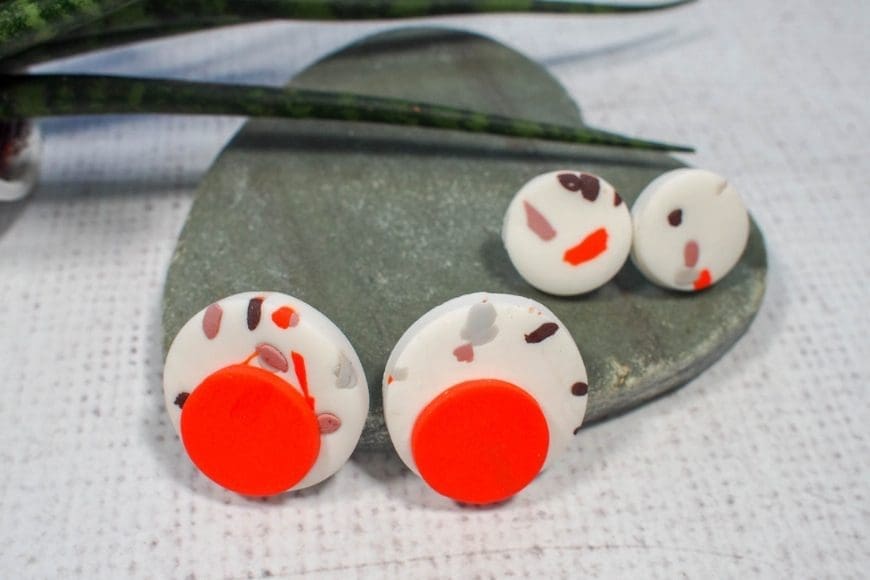
I love how they turned out and next time I am going to try and make some dangling ones.
Comments are closed.