

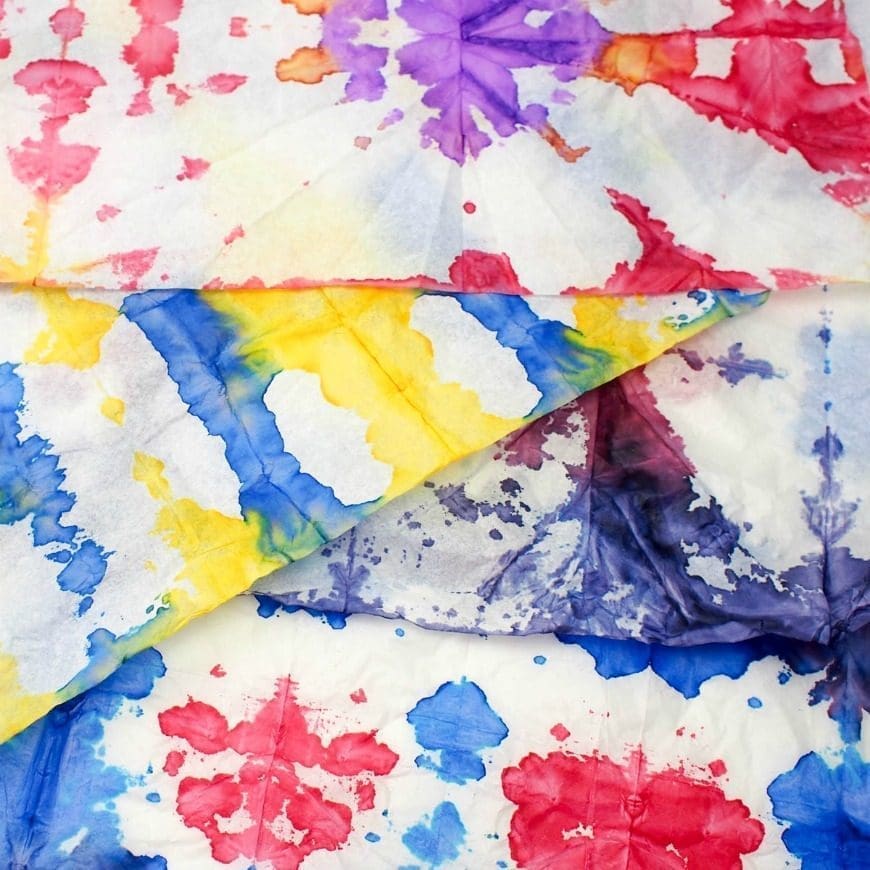
This DIY tie dye gift wrap is such a simple, fun process art activity. I have always wanted to have a go at tye dye. The closest we have got is our fabric dying with sharpies when the boys were younger. I am a big fan of unique and kid-made gift wrap, so this was great to make with them.
This was such a fun art activity to do with the boys and one which really focusses on the process. For my perfectionist Maxi it was super fun as a lot of the final outcome was out of his hands and he had to learn to just have fun and then wait until the following day until the paper had dried to see how it turned out.
I am going to admit that we had a few failures with this before getting it right and found out that the key is the type of paper you use. In the end, inexpensive tissue paper worked best for us. The type that companies use to protect delicate gifts. More expensive paper isn’t absorbant enough.
DIY Tie Dye Gift Wrap
Materials:
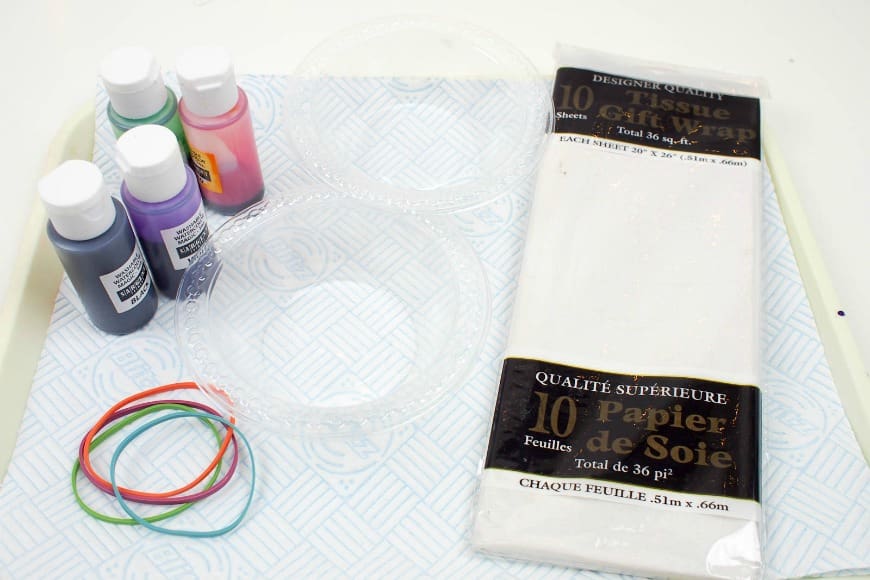
- White tissue paper
- Liquid watercolors or liquid food colouring
- Plastic cups
- Paper towels
- Elastic bands
- Gloves
This post contains affiliate links. If you make any purchases after clicking one of these links, I will make a small commission (hopefully enough to keep me in tea all year) – at no extra cost to you! This allows me to keep creating and sharing free tutorials and content for you. Thank you!
No products found.
How to make DIY Tie Dye Gift Wrap
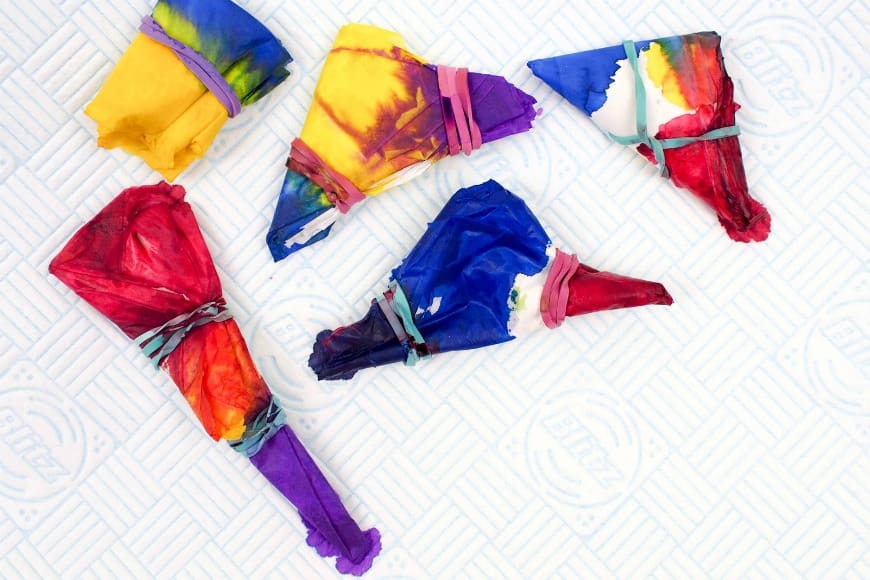
As this was all about the process, I didn’t give maxi any folding instructions, but if you want to you can find some fab ones at Babble Dabble Do. He explored lots of different ways of folding from accordion folding through to triangles.
Before you start you need to prepare your work area. We used a large plastic tray lined with paper towels as a work surface. Then we poured our liquid watercolor into the plastic bowls.

Maxi hates getting his hands dirty, so for him plastic gloves were essential and to be honest I wish I had used them as I had blue fingers for the day after!
Fold the paper, adding elastic bands at the end points of your folded design. Rubber bands help resist the dye and also keep the paper folded.
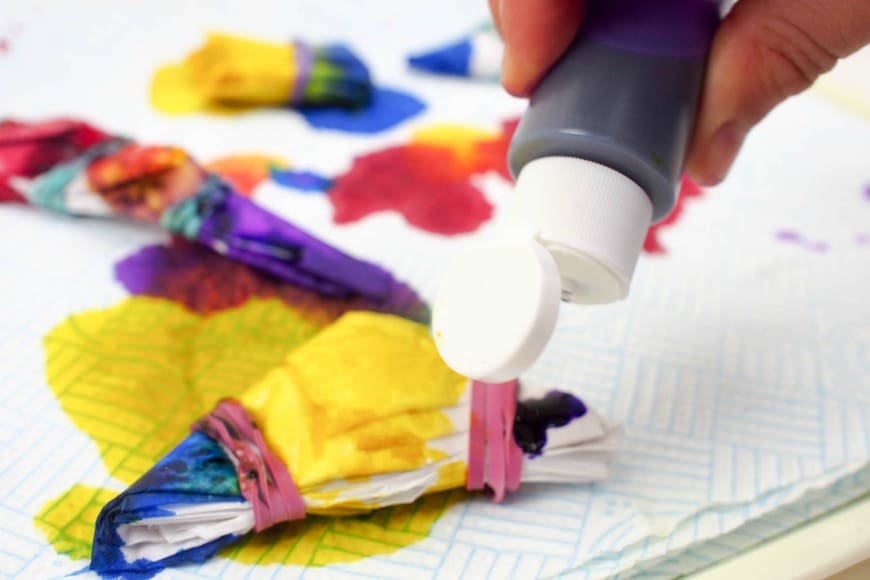
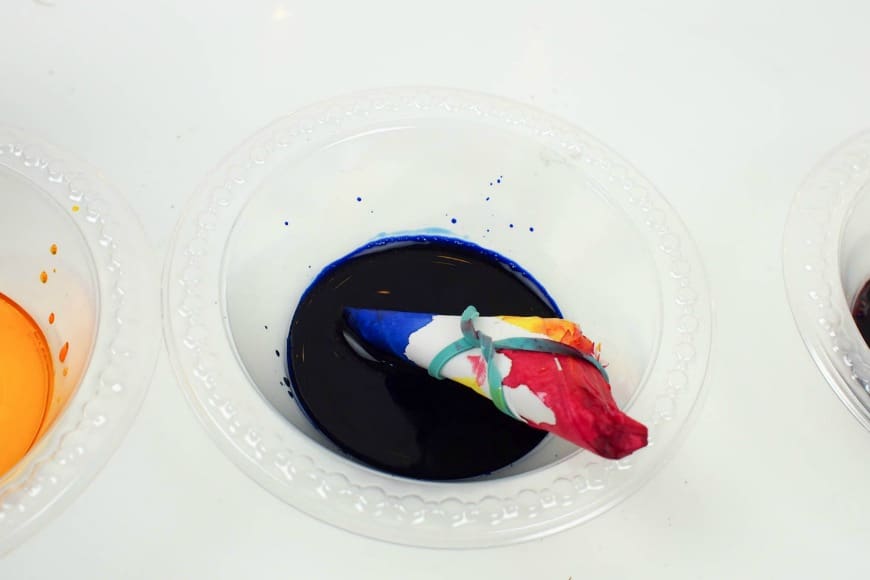
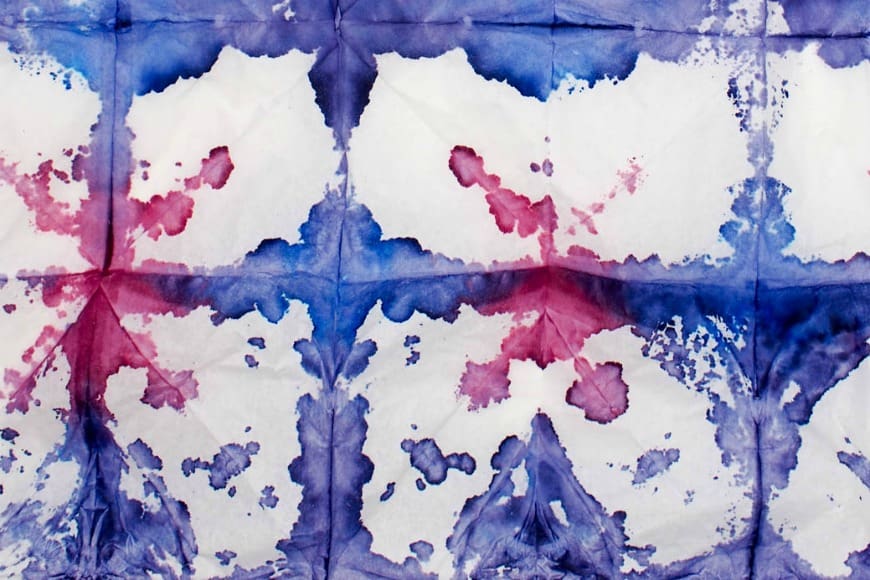
Then begin dipping the corners of the paper into the different colors. You’ll want to hold the paper in the dye for a few seconds to allow the watercolor to soak into the folded paper.
Tip: Start with the lightest colour first, so that you do not contaminate the colours in the bowls
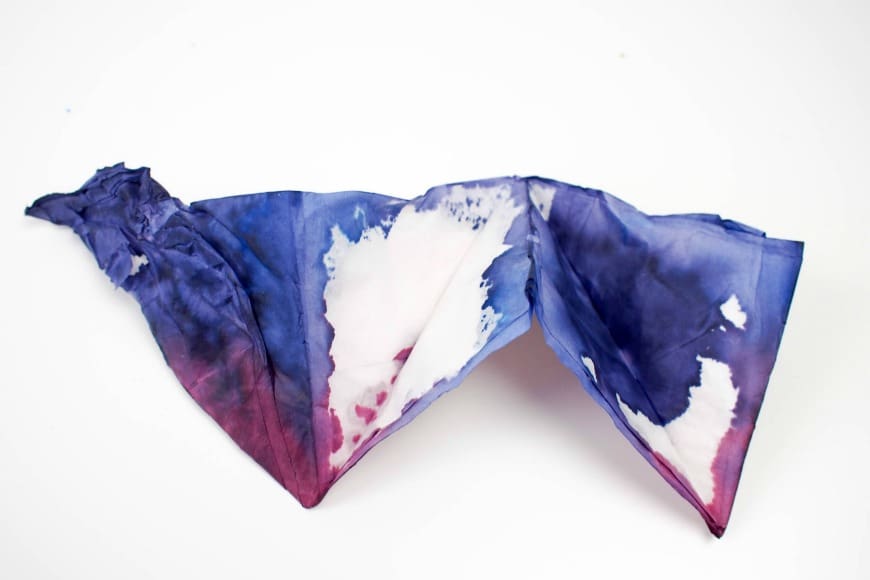
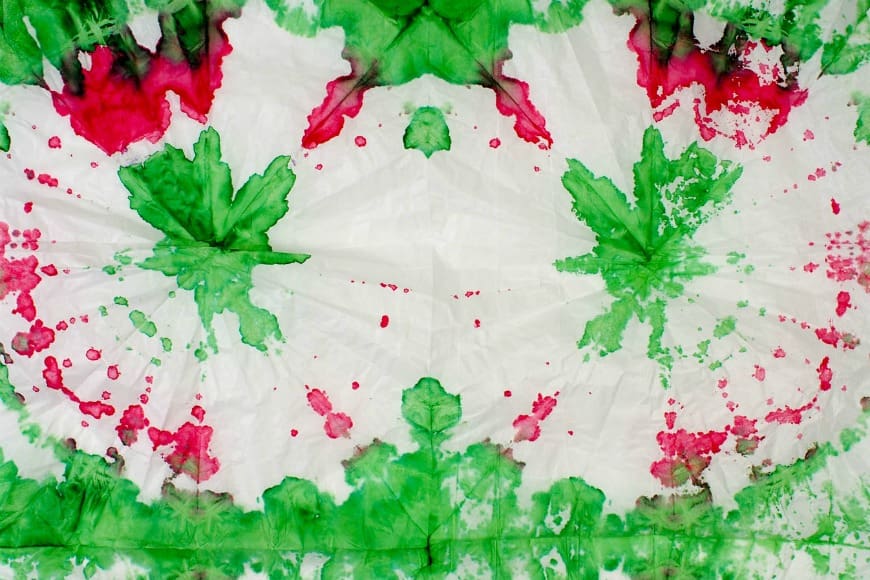
Once you’re done dying, place it on the paper towel and let dry completely, if you try and unfold the wet paper it will tear. For us the drying process took overnight. I was tempted at one point to pop in the oven on low!
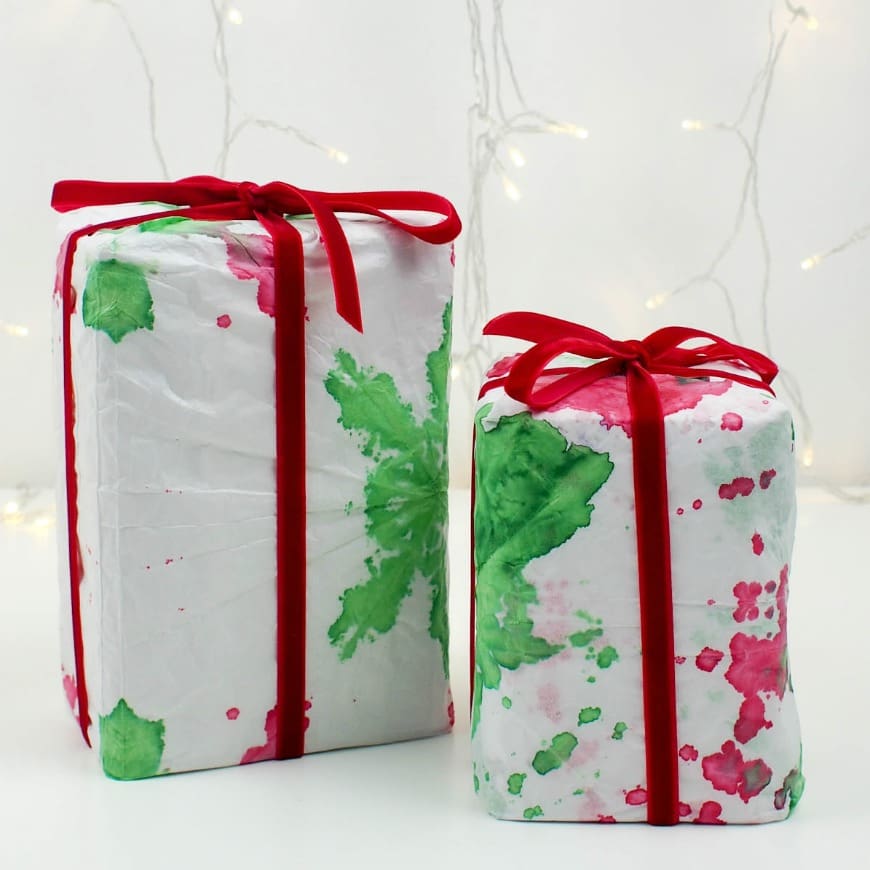
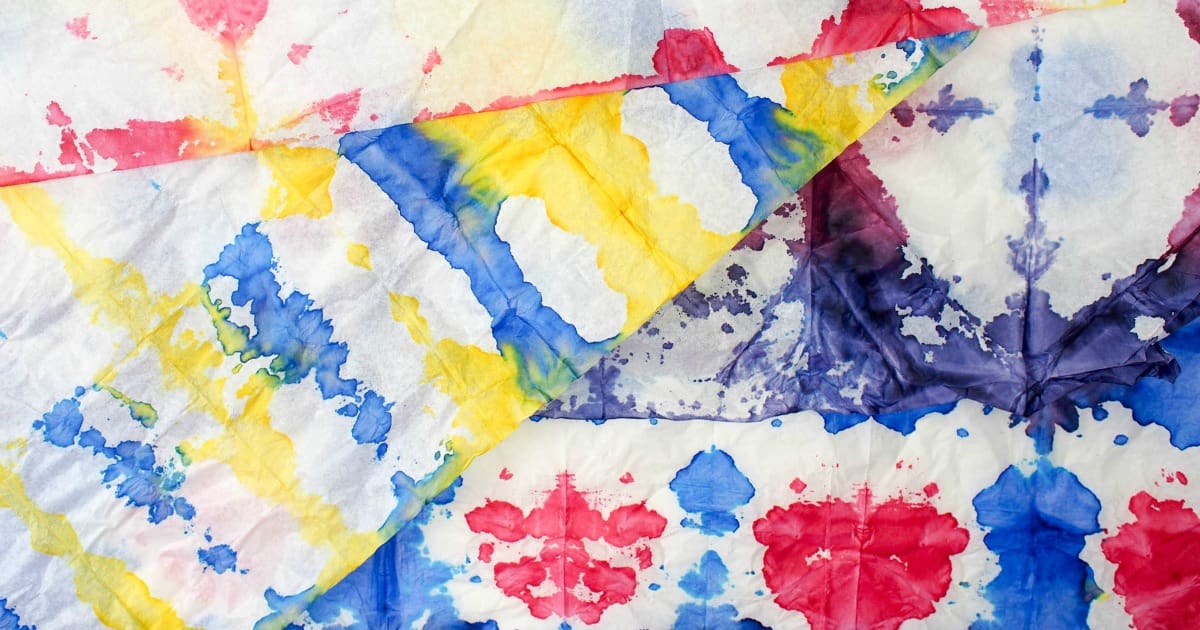
Once your paper is completely dry, carefully unfold the tissue. You can use an iron on its lowest setting to remove some of the creases from folding if you wish.
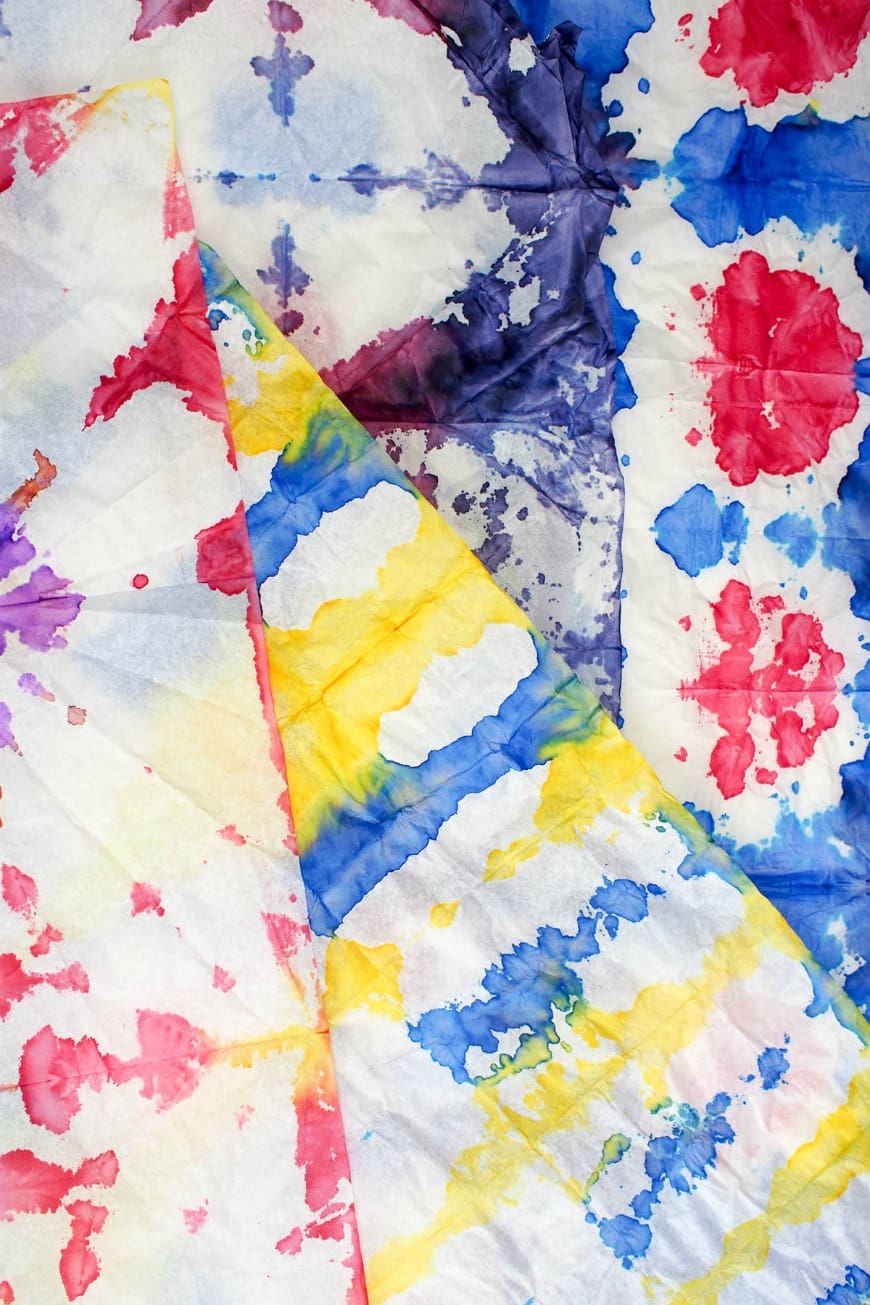
You don’t need to just use these beautiful tissue paper sheets for gift wrap, they would make beautiful flowers too.

Next time we are going to try with smaller sheets of paper.
Perhaps you have some gift wrap leftover and want to use it on some fun activities with the kids? Well, take a look at this amazing printing with leftover wrapping paper by Views from a Step Stool or Recycled Wrapping Paper Wreath by To Be a Kid Again.
Comments are closed.