

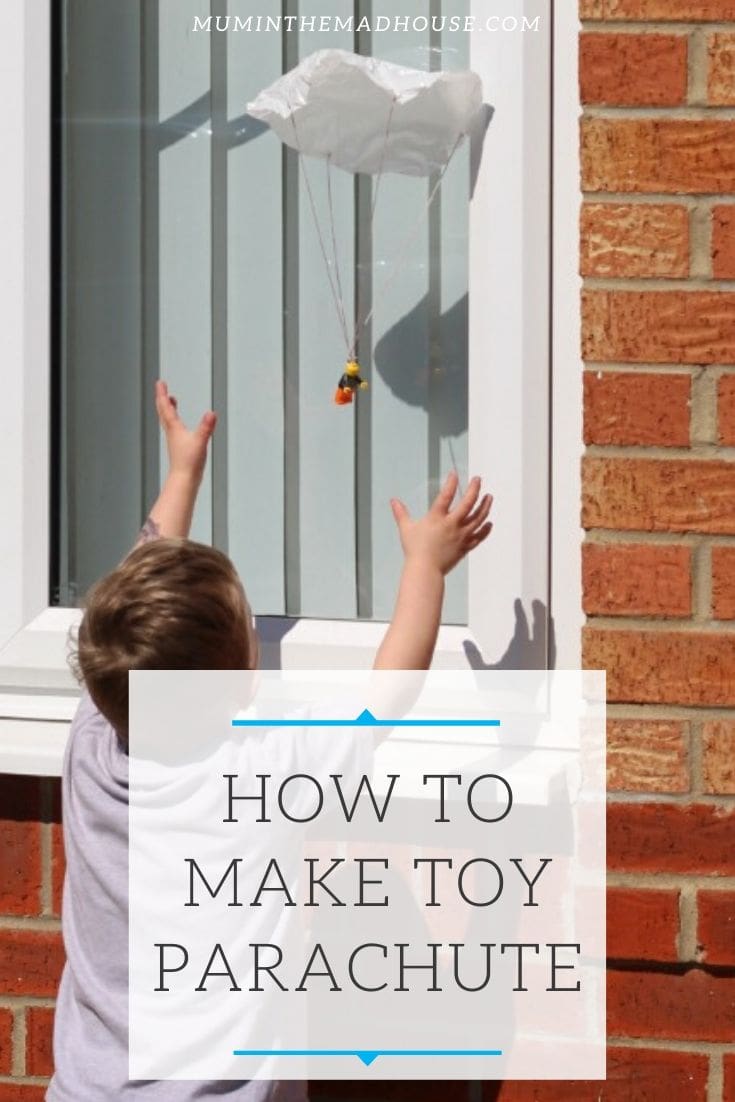
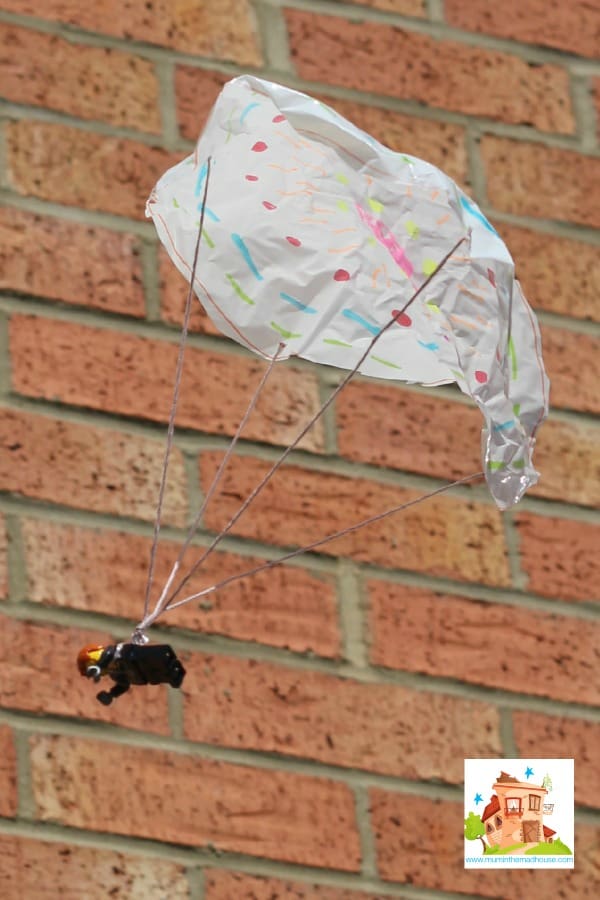
This DIY toy parachute is simple enough to make with your children but also so engaging it will create hours of fun. In this tutorial, you will learn how to make your very own homemade parachute toy with only a few simple materials that you are likely to have at home.
Make Learning fun with this simple toy parachute craft.
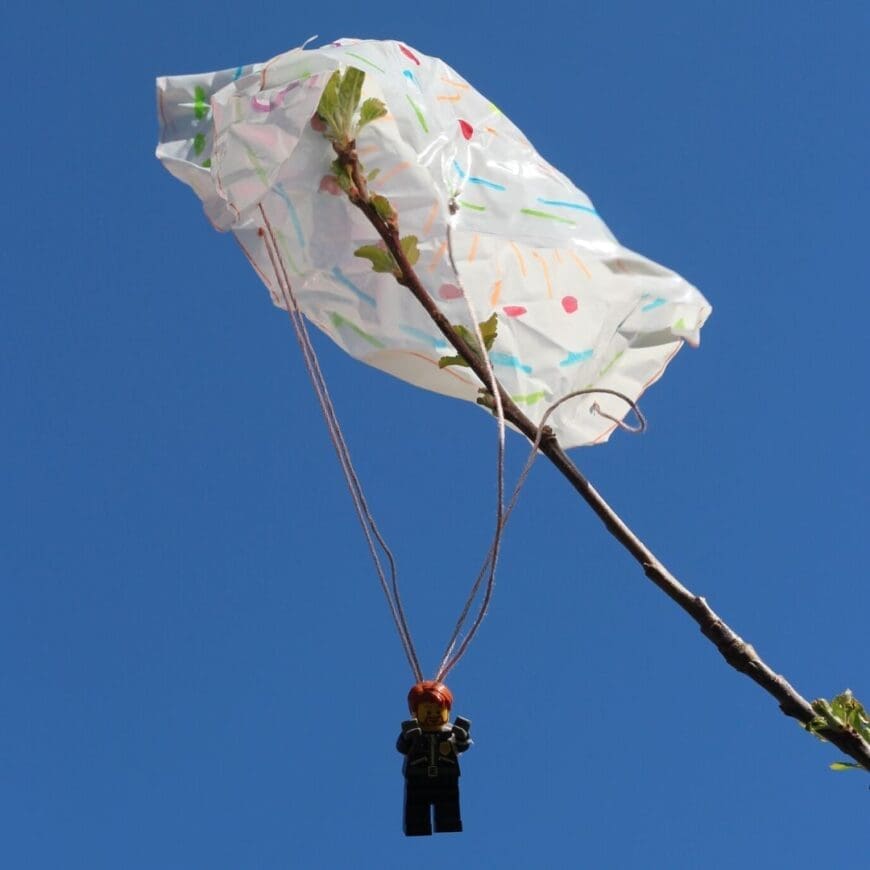
Depending on the age of your children you can discuss gravity and how a parachute works with air resistance. A great way to demonstrate this is to drop the toy with and without the parachute and time it.
It is fun to make different sized and shape parachutes out of different materials (we used carrier bags, envelopes and ziplock bags. Also, does the length of the strings make a difference? Does the size of the canopy make a difference or even the shape or weight of the parachute?
This post contains affiliate links. If you make any purchases after clicking one of these links, I will make a small commission (hopefully enough to keep me in tea all year) – at no extra cost to you! This allows me to keep creating and sharing free tutorials and content for you. Thank you!
Materials
- Parachute material – we used carrier bags, envelopes and ziplock bags
- Tapestry needle (large-eyed needle)
- Embroidery thread
- Loom bands (optional)
- Loom band S clips (optional)
- Scissors (please ensure parental supervision before using)
- Permanent markers
No products found.
How to make a DIY Toy Parachute
First, you need to cut your chosen parachute material into your chosen shape like this circle. We used a paper plate as a template but also used a compass to draw larger circles.
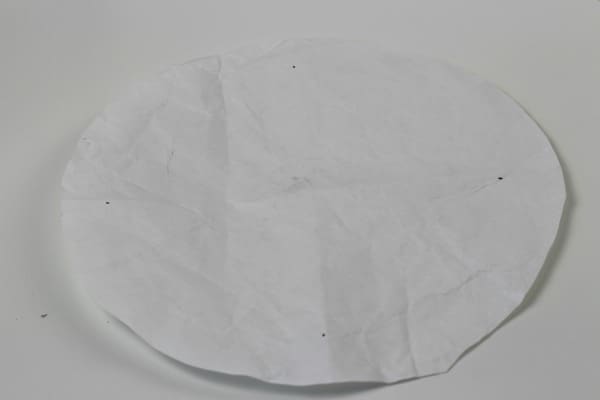
Cut out your circles and mark four points for the cord to be threaded through.
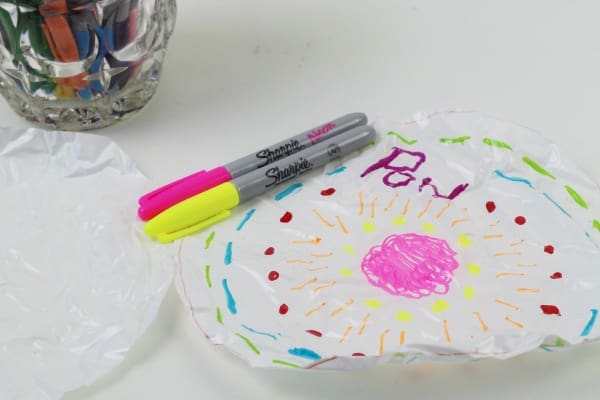
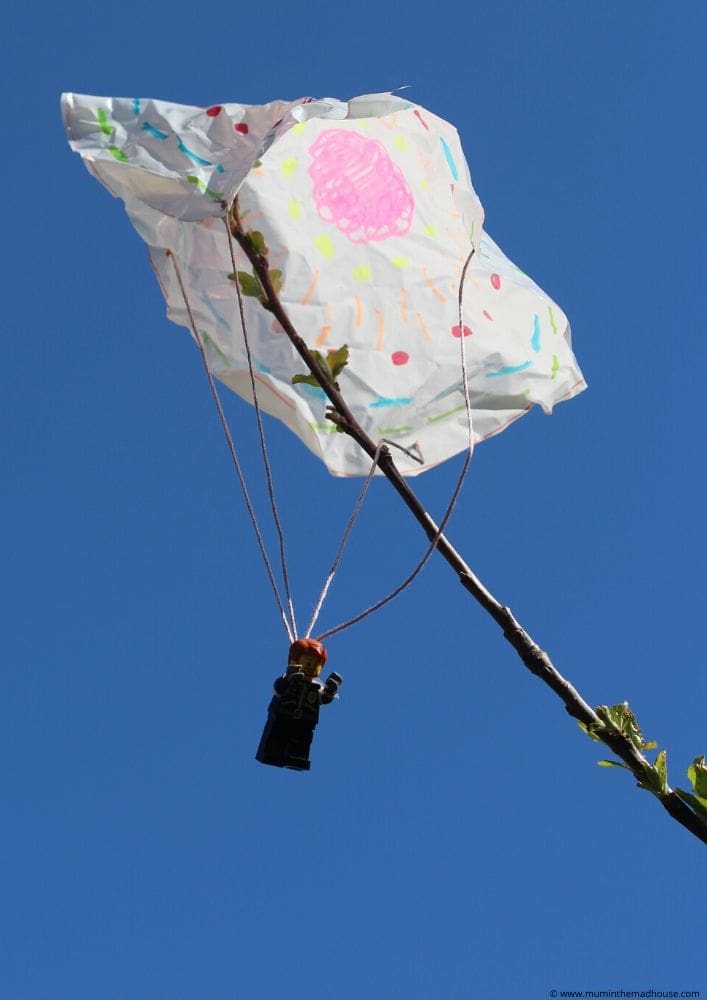
Decorate your parachute. If you are colouring carrier bags then make sure you use sharpies, so they do not smudge. if you are recycling a large envelope, then standard felt tips, pencils, crayons or paints are fine.
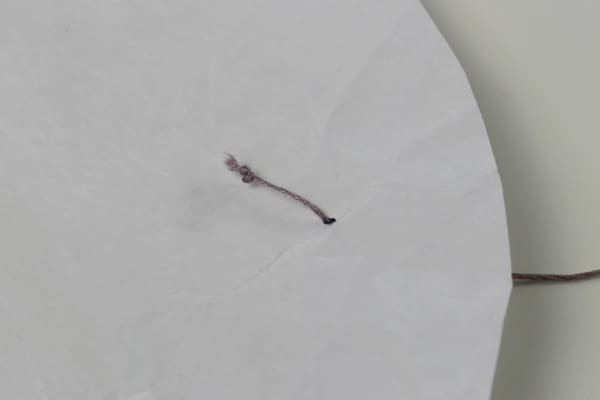
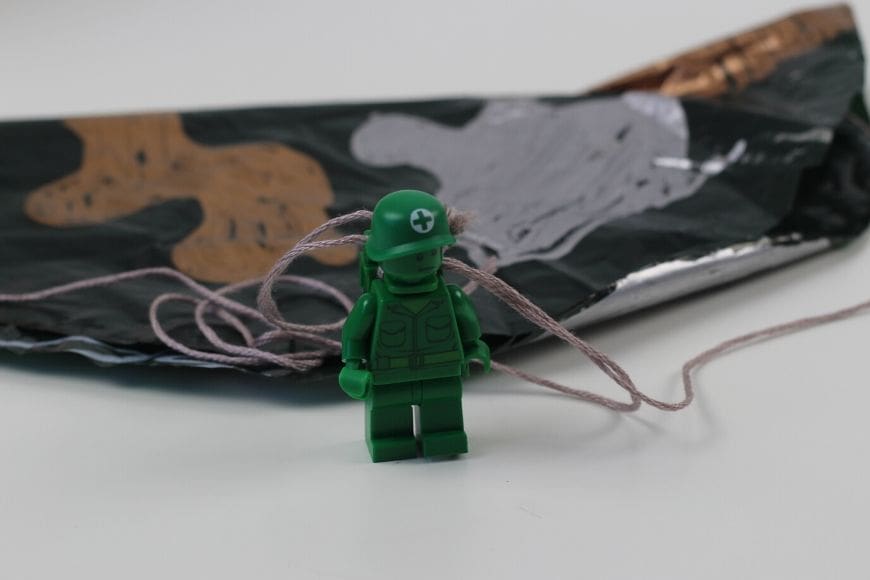
Thread your embroidery thread in to a large headed needed and push through the parachute. Tie a knot in the end and cut your thread to your desired length.

Tie all four threads into a knot.
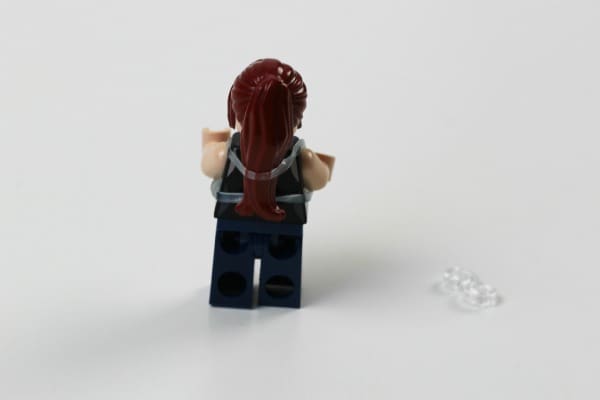
Take a loom band (I am sure you must have some left lying around after the loom band craze) and place it over the arm of your toy around the back and over the other arm. If you don’t have any loom or elastic bands then you can just tie two threads to each of the toy arms.

Then take a loom band S clip and attach to the loom band and the other side clip over the thread from the parachute.
Comments are closed.