

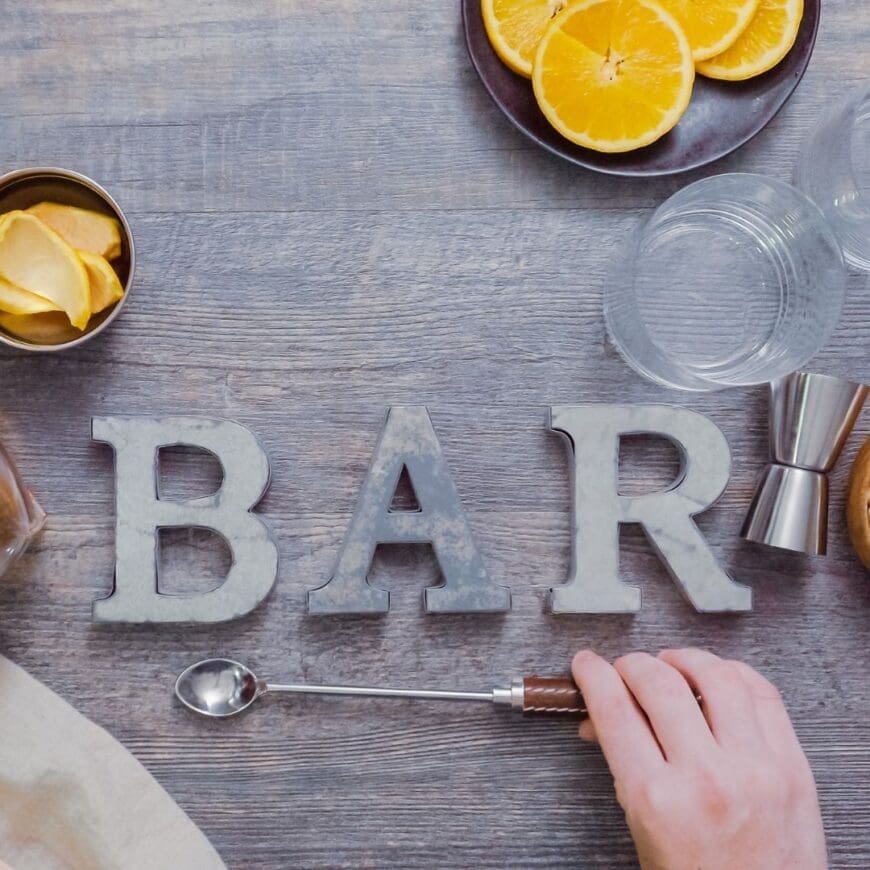
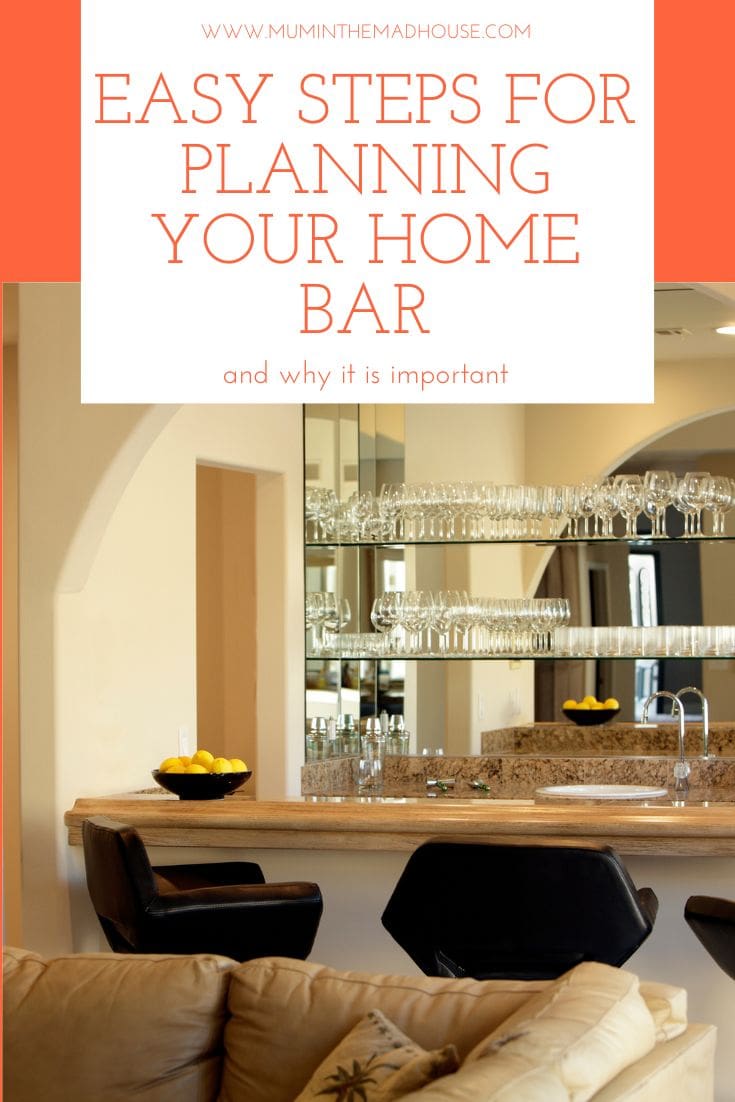
Building your very own bar is a dream that many of us share. A DIY bar can be a great place for entertaining guests.
It doesn’t matter where your home bar is, having an entire bar with bar stools, flowing drinks, and brilliant company is the perfect way to relax at home.
The project itself isn’t overly difficult either, and you can easily create the perfect bar at home. Perfect idea for a fathers day gift too.
Today, we’ll take you through some home bar ideas, before discussing the easy steps you’ll need to take to build a DIY home bar of your own!
Deciding where your DIY bar will go…
Before any DIY project like this begins, your first step will be deciding where your home bar will go. And unfortunately for you, there are many great options…
- DIY basement bar
- Tiki bar
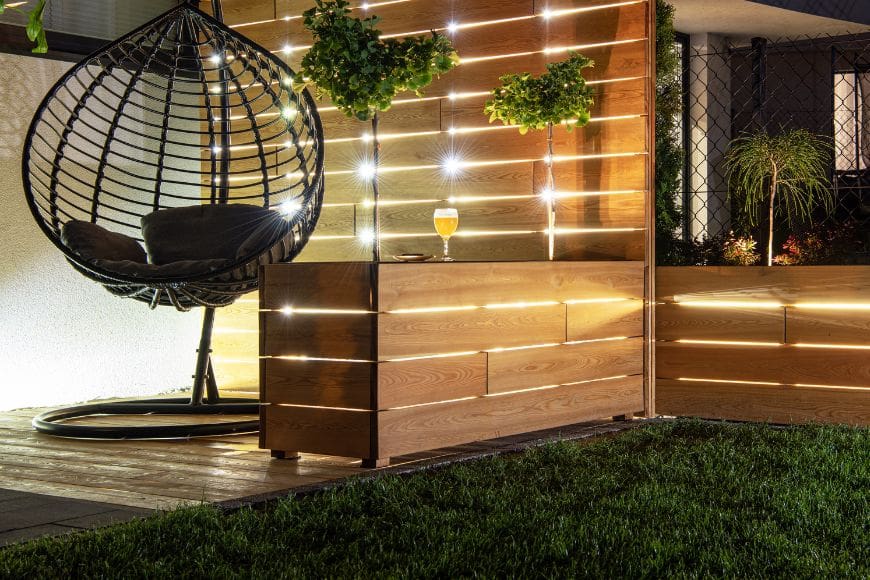
- Outdoor bar
- Patio bar
- Living room bar
- Pub shed
- Man cave bar
And the list goes on.
The next steps you take won’t change all that much if you have outdoor bars or indoor home bars, but you may need some basic knowledge about keeping your bar top protected outdoors if it isn’t under cover. Quite a few spray painting companies have popped up recently that can quickly transform anything you want and apply protective coverage at the same time.
For now, let’s focus on the difference between a wet bar and a dry bar, so you can decide which category your homemade bar will be!

Should your homemade bar be wet or dry?
When you build a bar, you need to consider whether you want a home wet bar or a home dry bar.
Opting for a wet bar means you’ll need to incorporate plumbing into your DIY bar plans, as a wet bar simply means you’ll have a fully functioning sink and installed drain incorporated into the bar area.
This is helpful when entertaining (especially if your bar isn’t near the kitchen), but it also adds complexity to the project, as you’ll probably need a plumber to prepare the bar area before you start building a home bar. This obviously becomes more of a major project.
A dry bar, however, removes this complexity. Here you don’t need a sink with your home bar, so you don’t need to include space for it in your bar design. Instead, your home bar will effectively work as an oversized liquor cabinet, just with a bar top, bar rail, a bar stool or two, and some decorative accents.
A dry bar is often easier to implement in your home yourself, but the choice between wet and dry will depend on where you’d like to put the bar, and how inconvenient it would be to lose the sink…
Layout and design
Your next steps after deciding on where it’s going (and if it’s wet or dry) is actually deciding on a layout and design that fits your space at home.
If you aren’t the most creative person in the world, then check out free bar plans online for inspiration. If you’re lucky, you might even find some plans with detailed instructions that work for your space.
Sizes
The most important thing you need to be aware of are the dimensions and sizes of your home bar.
Standard bar height is 42 inches, and standard bar depth is 24 inches. The width of your bar top can be customised to fill your available space, but just be aware that the wider the bar frame, the more materials you’ll need to build it, and the wider your back bar, foot rail, and other accessories will need to be too.
Keep in mind that most bar stools are 30 inches tall, so you won’t want to go smaller than the standard bar height, or else your home bar plans will be too short and your guests won’t be able to sit comfortably.
When deciding on the width of your bar top, remember that a home bar that’s 6 feet wide will accommodate 3 bar stools, so generally, you need 2 feet of space per bar stool.
Layout
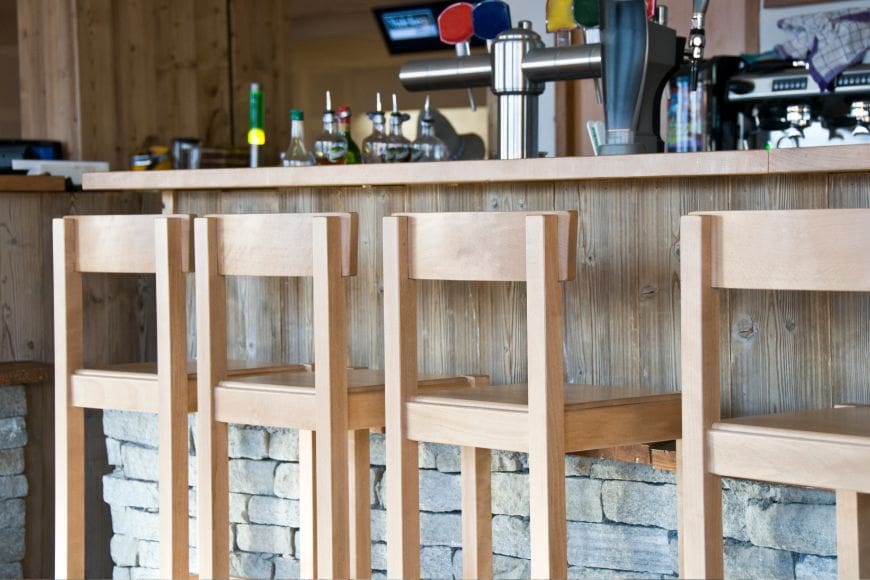
The shape of your home bar can vary from straight to L-shaped, to almost any shape you like. After all, it’s your DIY bar.
If you’re working in a space with concrete floors (such as an unfinished basement) then you can sketch out the entire bar area on the floor with chalk to get an idea about how much of the room will be taken up.
If you’re working in a finished room, then you can still layout where the bar will go before you start building using tape, for example.
It’s important to know the exact layout before you start building a bar, because you might not like the room as much when the bar is in place. When following a DIY step-by-step guide, it’s always good to sketch out your bar plans on the floor before you start your home bar build.
Design
Another important section is the design. This involves everything from bar moulding to the back bar, which beer lines and taps you’ll use to the colour of your foot rail and drink rail.
Knowing every detail from the shelves you’ll use to the style of your Chicago bar rail (A.K.A. bar moulding, or bar top finish) will help you nail the look of your home bar.
It’s great to look at other home bars or home bar plans to figure out your own DIY bar plans. Even visiting your local pub can give you some great ideas.
Once you’ve picked out the finishing details, you can get to the easy bit – building a bar.
Home bar: How to build and what you’ll need
Here’s a list of the required tools and materials for the job, and everything is available in your local hardware store:
- Wood glue
- Wood filler
- Finish nails
- Metal bar rail
- Plywood (for the wood base and drip lip)
- Power tools (drill, saw, etc.)
- *Miter saw (if you opt for mitred corners rather than round corners on your bar)
You don’t need a lot of woodworking experience to build a bar at home. Once you’ve planned your DIY bar, building it is simple. It’s the design and layout part you need to concentrate on.
After that, it’s a case of taking the tools required, cutting the wood base of the bar frame to size, adding glue, fix into place, and then adding the bar top of your choosing – and Voila, your home bar is complete.
Well, except for the design choices you made earlier, but the moment you put them into action, your home bar ideas will be a reality and you can sit back with a beer and some friends to enjoy it!
The dry or wet is a big decisive factor for me to make a home bar. While the wet one is really tedious as we don’t have a bar at the first place. I have decided on a dry one with a bucket for the waste, as its close to the balkoney the waste can go straight to the plants growing there.