
Get Crafty with These Oddbods-Inspired Accessories for School is a collaborative post with Oddbods in celebration of their fab back to school contest. I love crafting with children and I also love stationery, so I have developed some fun accessories that you can make with your kids to get ready for school.
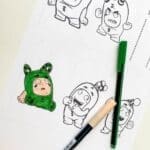
I have always been a fan of encouraging children to have a go at crafting and drawing and Oddbods characters are pretty simple to draw, but if your child wants their creations to look picture perfect you can simply visit the Oddbods printables page and print out and trace their favourite character.
Accessories for School
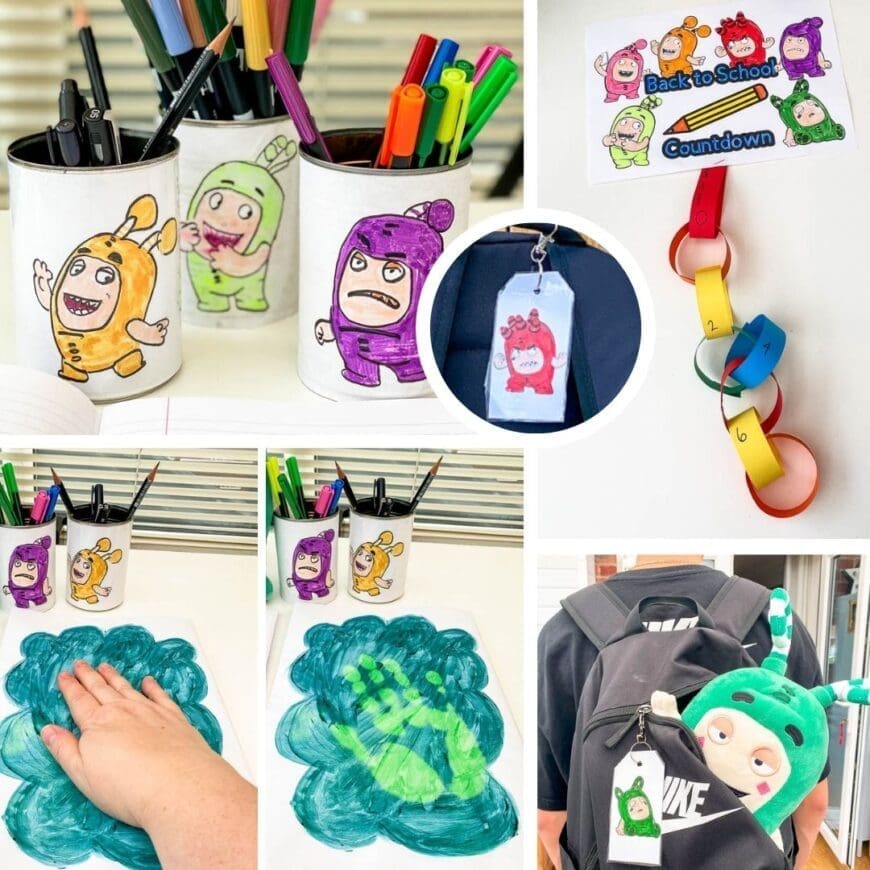
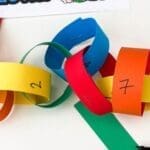
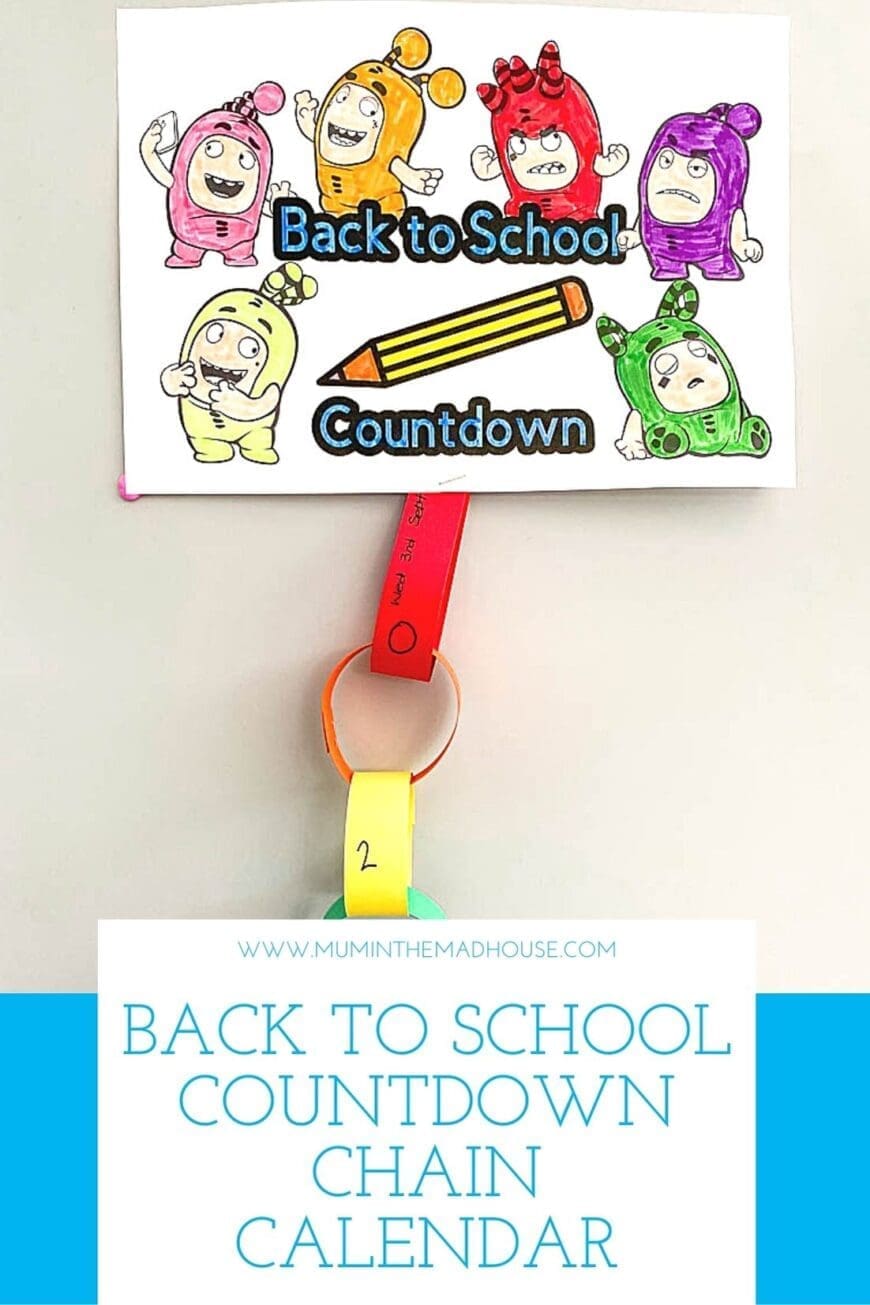
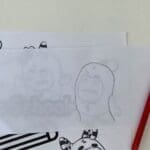
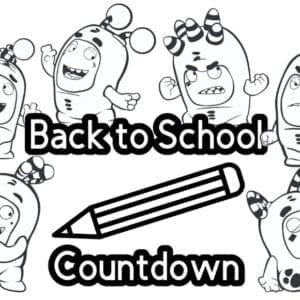
Back to School Countdown Chain Calendar
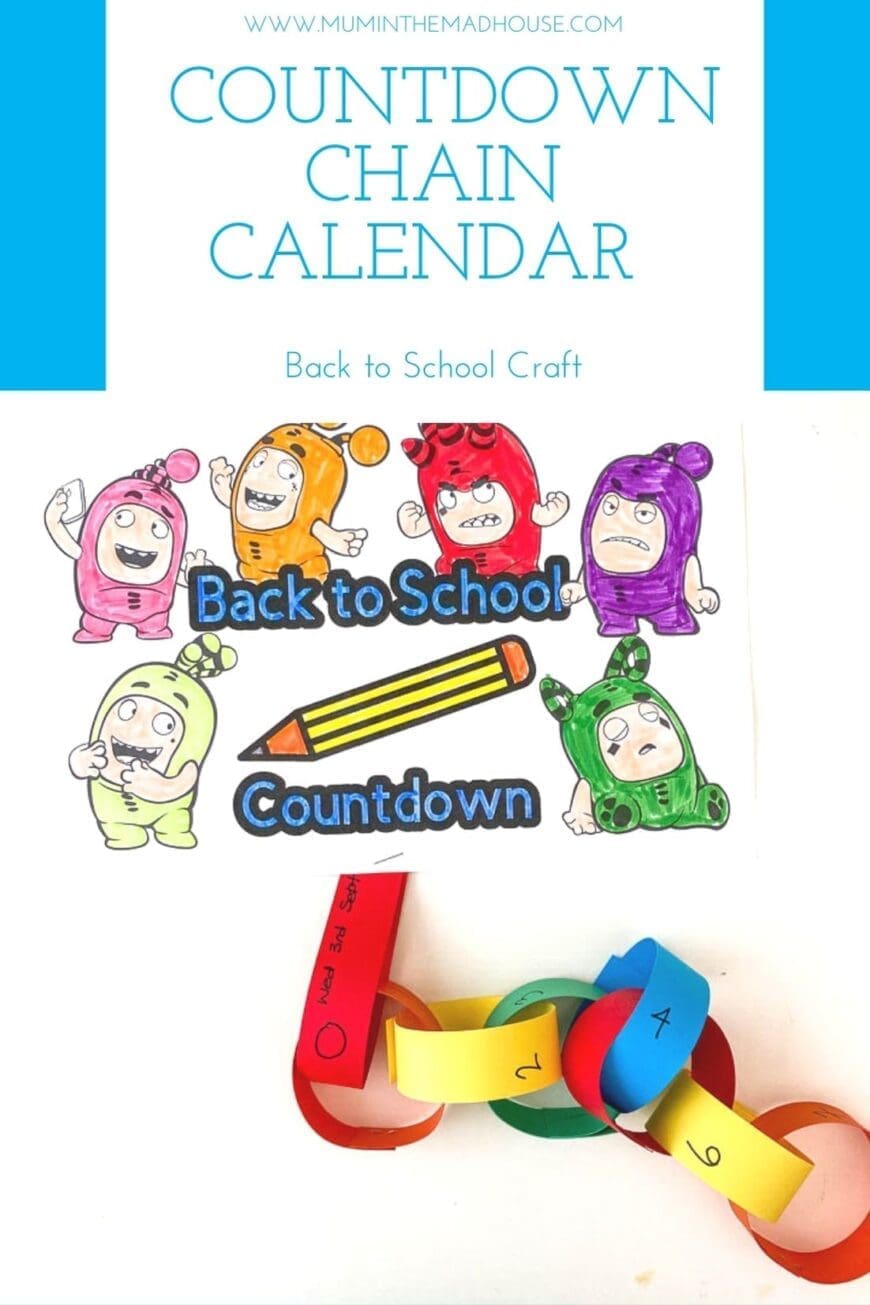
It can be really beneficial to help kids mentally prepare for going back to school. This simple countdown chain calendar is fun to make and a great way of counting down the days back to school in a gentle and visual way. Plus you can make it with your child and use the time to discuss any concerns or anxiety they might have about returning to or starting school.
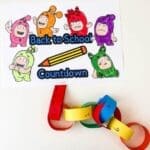
Back to School Countdown Chain Calendar
A visual countdown calendar
Ingredients
- Coloured Paper or Card
- Optional Back to School Printable to Colour
Instructions
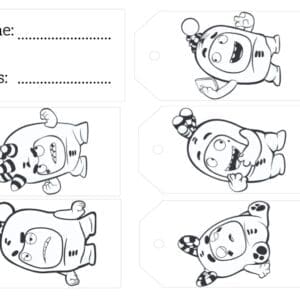
Print off and Colour the Back to School Printable.

Cut out paper strips. I used our paper cutter and cut 1-inch strips across the short edge of the paper, but if you have an older child use a ruler and get them to mark and cut the strips as it is an excellent scossor skill task.
Make a loop for each day until school starts from the day you want to start using the calendar. You can also write the day or number of days left on each of the loops.
Have your child make a loop with the paper and use glue or a stapler to connect it. My kids love using the stapler. Make a loop for each day until school starts. We are going to start counting down in August, so we made 16 loops.
On the last loop make a tear drop shape instead of a loop and connect it to the Back to School Header that your child has coloured in.


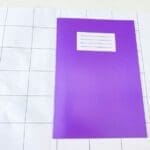
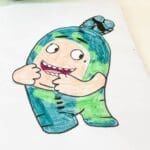
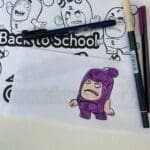
Colour Changing Exercise Book Cover
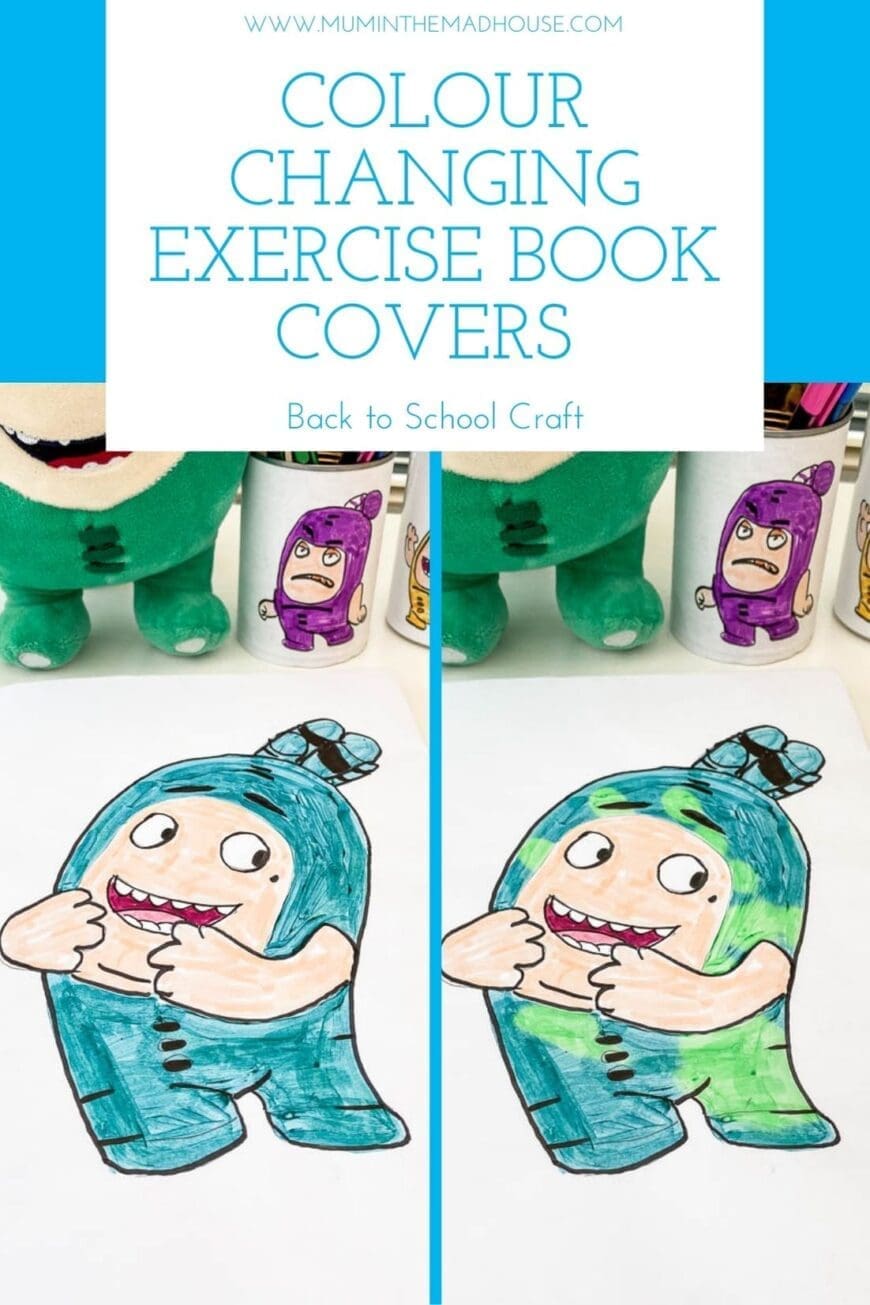
I loved covering my books when I was at school. Not only did it allow for personal expression but it also kept them much neater and when they got dirty, I could just wipe themclean. Back then I used wallpaper and sticky-back plastic.
Today I have a real treat for you? We will make a colour-changing book cover and then cover that with clear sticky-back plastic, so it’s easy to wipe clean if it gets mucky.
Colour-Changing Book Cover
How to cover your school books with this fab colour-changing paint
Ingredients
- Paper
- Sticky-Back Plastic Clear
- Exercise Book
- Colour-Changing Paint
- Spray Adhesive
Instructions
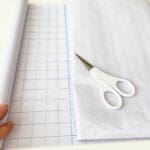
As I am painting my paper I am using the back of a desk planner as paper, but the back of wrapping paper works well too. Lay your book on the paper, mark the centre and cut it neatly to size. Make it approximately 2.5cm larger than the open book, all the way around.
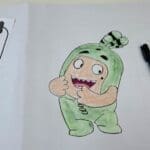
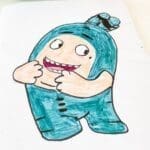
Now we are going to decorate and paint our notebook. I have chosen to paint the Oddbods characters Zee and Bubbels on my book cover. Once you have drawn and painted your cover allow it to dry before moving on to the next step. Don't worry; it is OK to trace your character- I did!
Also, don't worry about changing your materials. I used paints, pencils and markers. I also used a black pen to outline my character once I'd painted it.
Close the exercise book before you stick down the back cover. You don’t want the paper to be too tight and rip the first time you open and close the book! Use glue for a smooth finish – a spray adhesive is less likely to show lumps but a glue stick works well.
Once you've glued the paper to the cover, open the exercise book and fold the wrapping paper diagonally across each corner.
Fold the edges in and secure with glue.
Ease the pages of the exercise book gently away from the cover to tuck the wrapping paper underneath.
Cover with clear, sticky-back plastic to protect your exercise book. Simply follow the same process as before, making sure the plastic is slightly larger than your newly created cover.
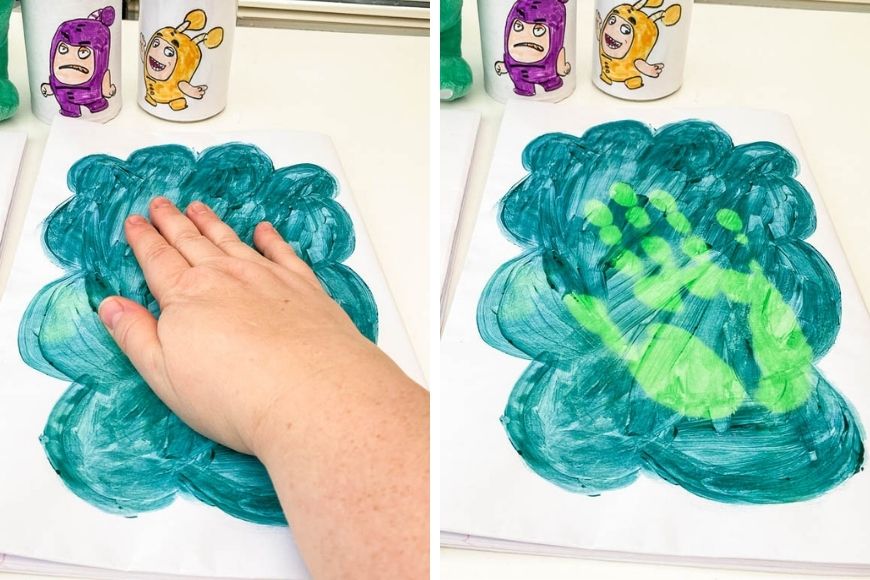
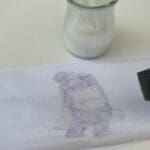
Now the secret here is that we have used colour changing paint.
Just pop your hand on and watch the colour change like magic due to the heat from your body.

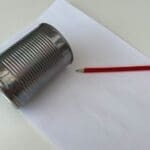
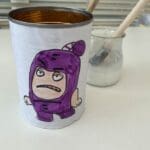
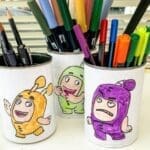
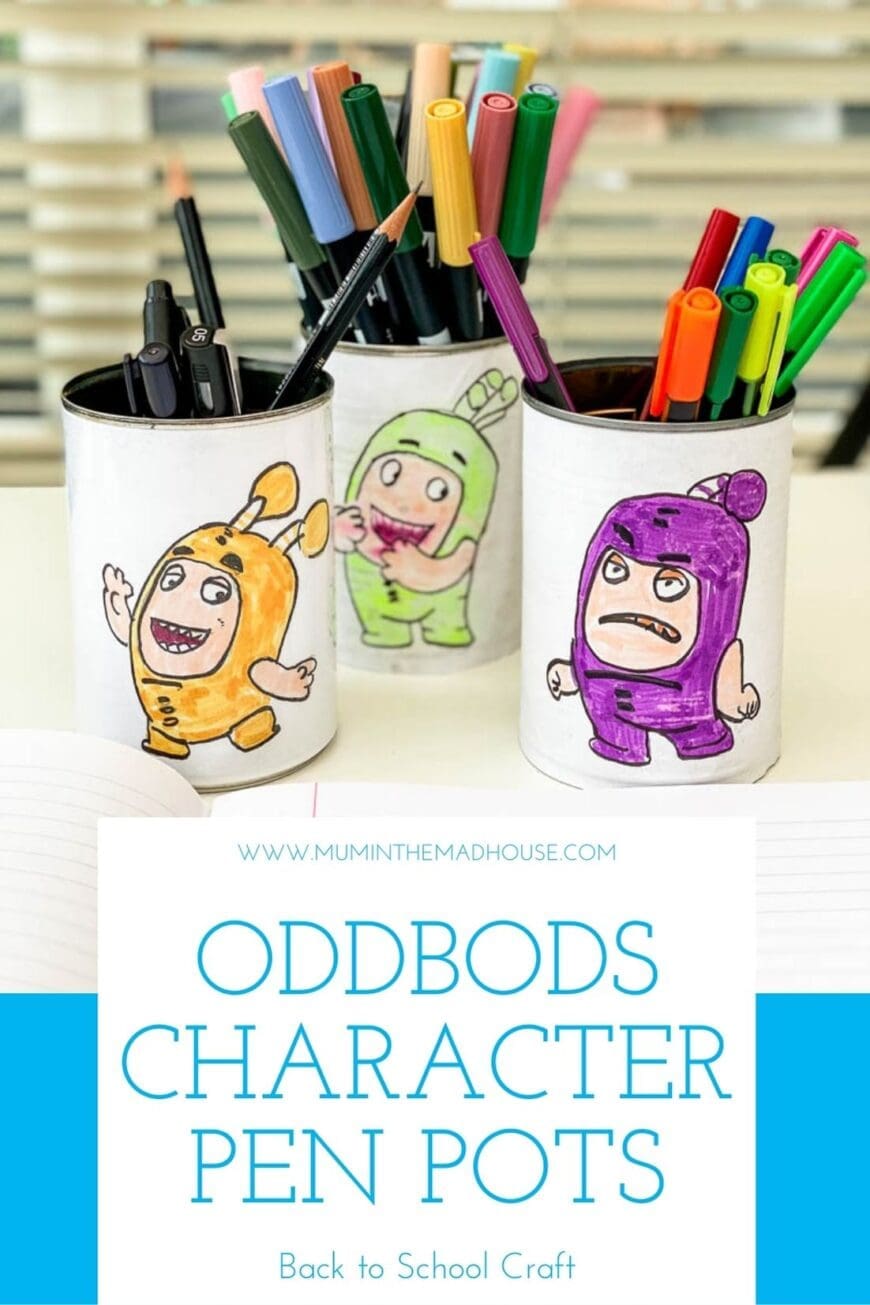
Oddbods Character Pen Pots

Who doesn’t love a pen pot to keep things tidy? This version is a great way to recycle an empty tin can. IThe metal edge must be smooth so use a can with a lift-off lid or get an adult to cover the edges safely with thick tape before you start this craft.
DIY Pen Pot
Make a pen pot from an old tin can
Ingredients
- Paper or Card
- Tin Can
- Glue
Instructions
Turn your plain paper to landscape format. With a pencil, mark the tin can's height on the paper and cut along the line using scissors.
Mark the circumference on the paper lightly in pencil as this will help you centre the character.
Design your cover with your favourite Oddbods character. If you print out our Back to School Calendar the characters are the perfect size to trace!
Colour in your character.
Cover the rear of the paper with glue and wrap it around the tin can.
Apply more glue mixture to the seam and over top of the paper to seal. Add a layer of gloss to your tin can pencil pot or cover in sticky-back plastic.
Add your pens!
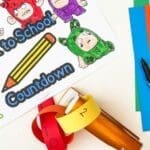
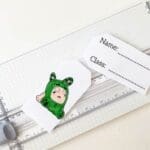
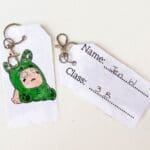
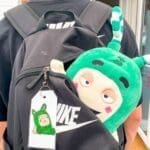
Oddbods Character Backpack Name Label

When my boys went to primary school , all the children had the same book bags, so to help identify their bags we created labels and attached them to a key ring. This memory inspired these fun free printable name labels.
It is as simple as printing them off, choosing your favourite Oddbods character (mine is Bubbles) and colouring it in. Then glue your child’ name and class information before laminating and punching a hole to attach to a key ring.
Oddbods Character Backpack Name Label
Printable colouring name label for bags
Ingredients
- Paper or Card
- Key Ring
- Glue Stick
Instructions
Print out the backpack name label sheet.
Select your favourite character and colour in.
Add your child's name and class to the label and glue on the back of the coloured character label.
Laminate – if you don't have a laminator then sticky-back plastic is a brilliant alternative. Just make it slightly larger than your name label.
Punch a hole in the label and add to a key ring.
I love keyrings with clips so that you can attach them easily to a bag.


Download our Oddbods Printables
This post contains affiliate links. If you make any purchases after clicking one of these links, I will make a small commission (hopefully enough to keep me in tea all year) – at no extra cost to you! This allows me to keep creating and sharing free tutorials and content for you. Thank you!
Truly it is really a tough year for teachers, parents and children. This craft will really bring out the creativity of your child. Our website also has some suggestion for a little bit craftiness ideas http://www.opal-academy.com . Feel free to browse and have fun.