

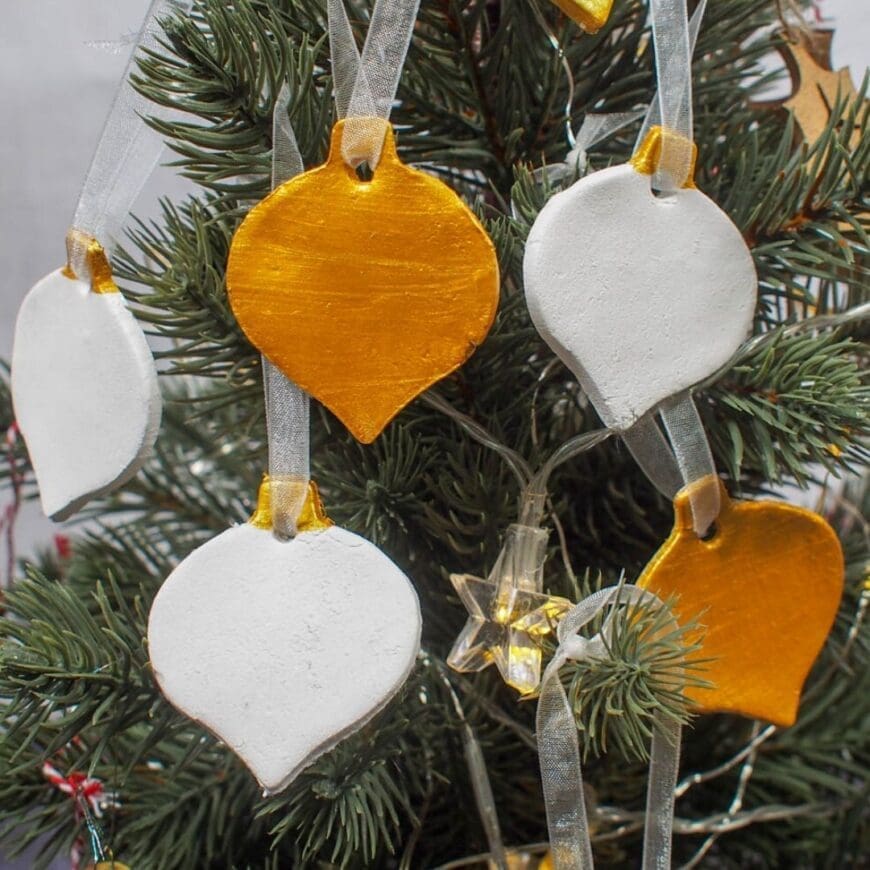
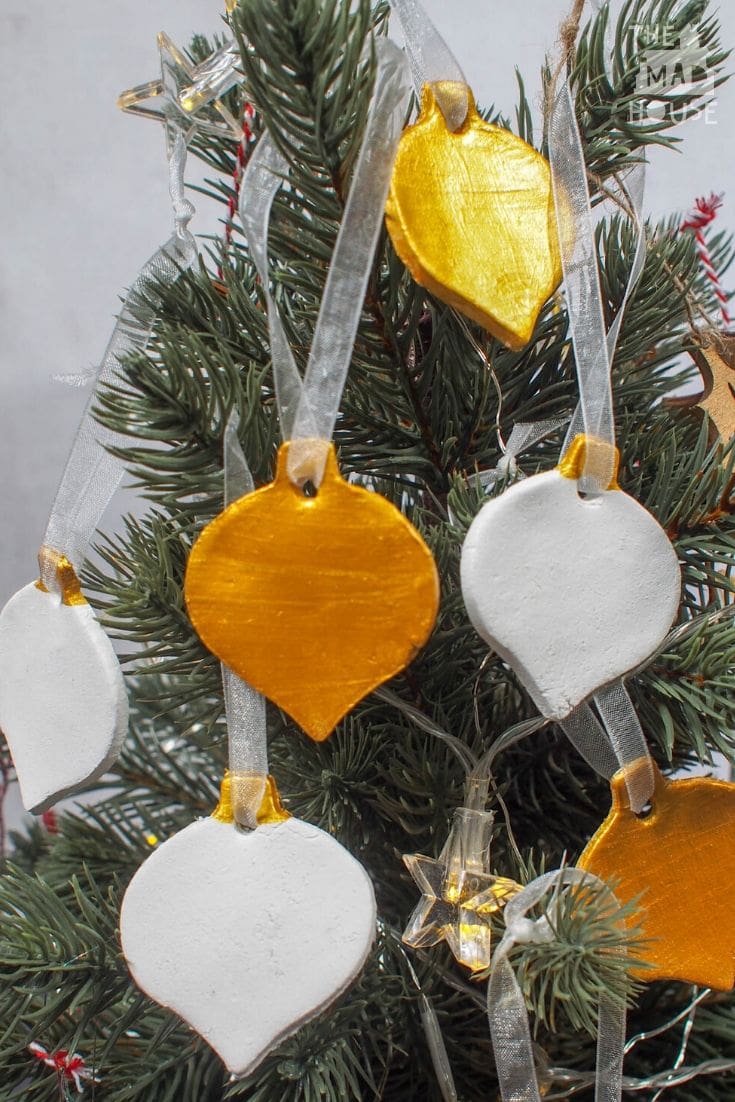
We LOVE making our own Christmas Decorations from Air Drying Clay. Each year we add to our ever-growing collection of seasonal decorations with more ornaments. I have to say that I do love these Gold and White Air Drying Clay Christmas Decorations. The addition of some gold paint has really elevated them.
I love how simple they are to make and really love the effects you can get. They make great keepsakes for family and friends. I always try and remember to pop the year we made them on the rear.
I also like to use them as gift tags for wrapping, then people can use them on their own tree. I never run out of ideas thanks to the myriad of Christmas cookie cutters you can get. Yes, that is my secret, I am always on the lookout for fabulous festive cookie cutters.
A lot of the time we keep our air drying clay decorations white, but we decided to add some gold to these to really make them pop.
This post contains affiliate links. If you make a purchase after clicking one of these links, I will make a small commission (hopefully enough to keep me in tea all year) – at no extra cost to you! This allows me to keep creating and sharing free tutorials for you to try. Thank you!
DIY 2 Ingredient Air Drying Clay
Materials:
- Ornament Shaped Cookie Cutters – ours were a gift from Stamptastic
- Air Drying Clay (UK Link/US Link)
- Icing Sugar Rolling Pin (UK Link/US Link)
- Silicone Mat (UK Link/US Link)
- Gold Acrylic Paint (UK Link/US Link)
- Bakers Twine (UK Link/US Link)
- Black Sharpie (UK Link/US Link)
How to make Gold and White Air Drying Clay Christmas Decorations
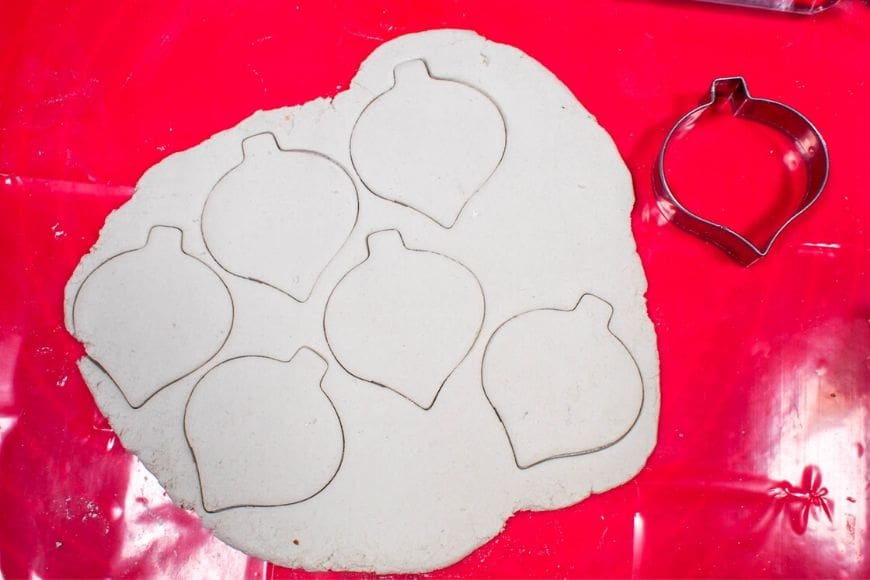
Roll out your clay about half a cm think on a silicone mat and cut out your trees using a cookie cutter. Ensure ensuring you cut a hole for the twine. You can use a straw for this.
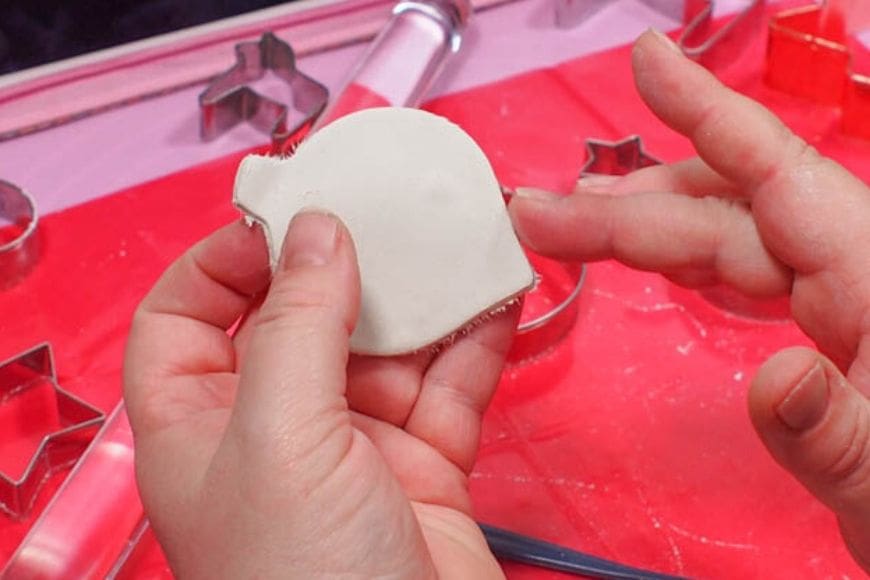
Smooth the edges. I find it is easiest to do this with a damp finger, but some people like to use a damp sponge.
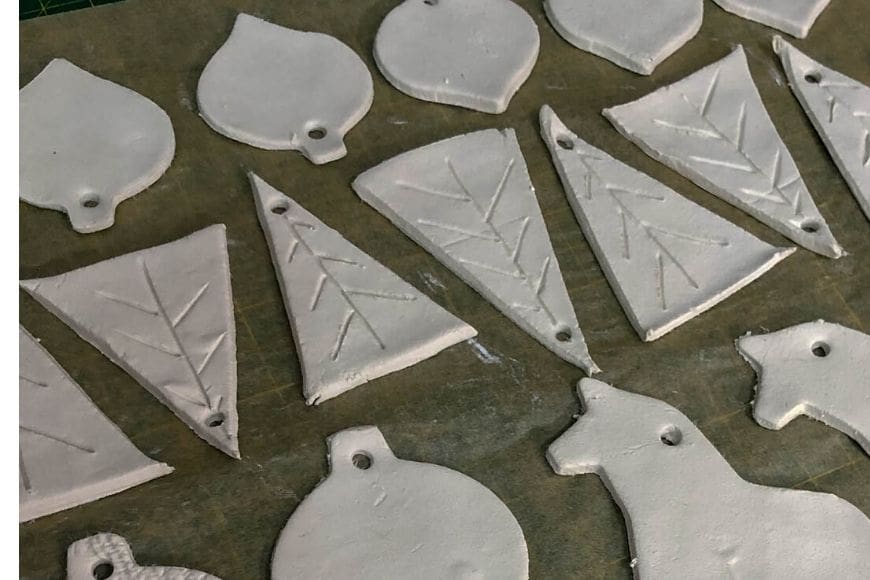
Allow the decorations to dry – this will take at least 24 hours. Make sure that you do not place them by a radiator as the change in temperature will cause the clay to crack. Also to make sure you don’t get the curve we did, be sure to regularly turn your ornaments over.
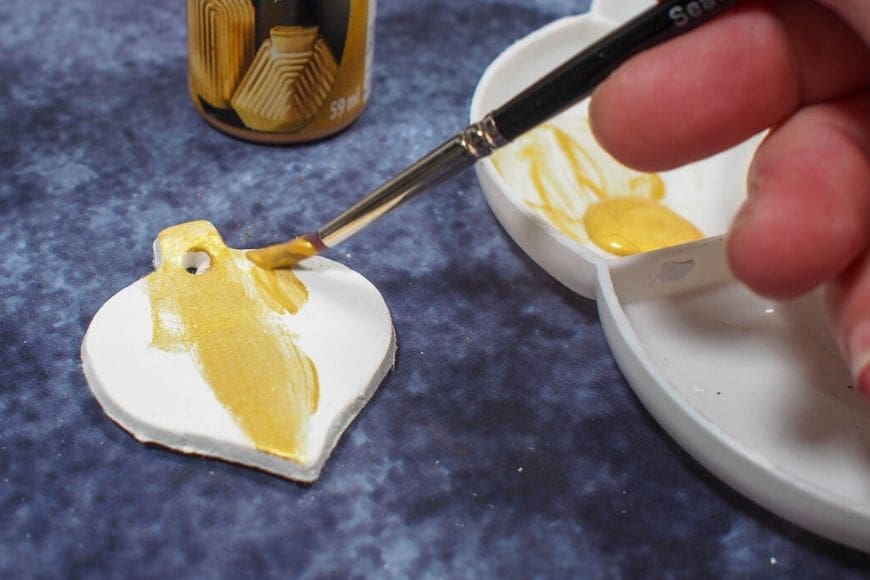
Once dry then paint. I am a fan of acrylic paint for older children and adults and a water-based paint for younger children. I love the depth of this gold paint. (UK Link/US Link).
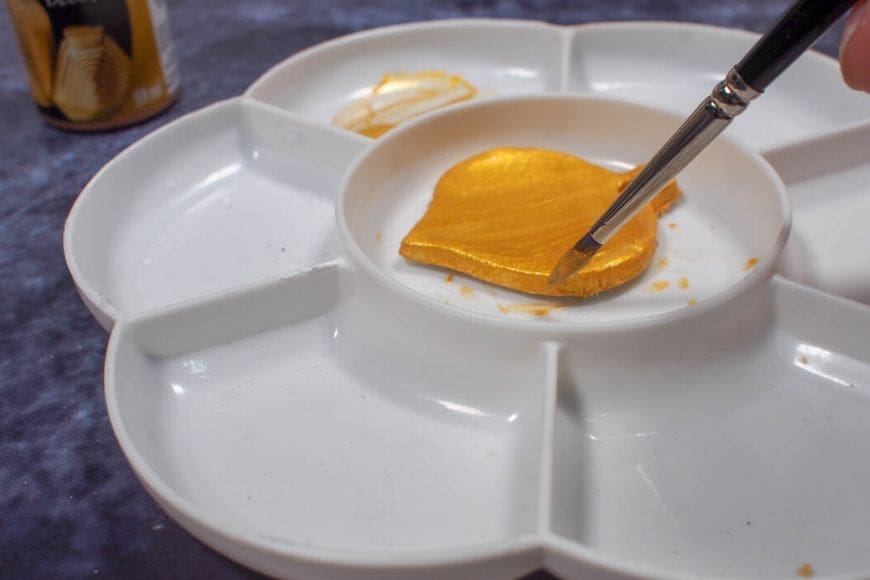
It is better to add multiple thin layers and let them dry in between.
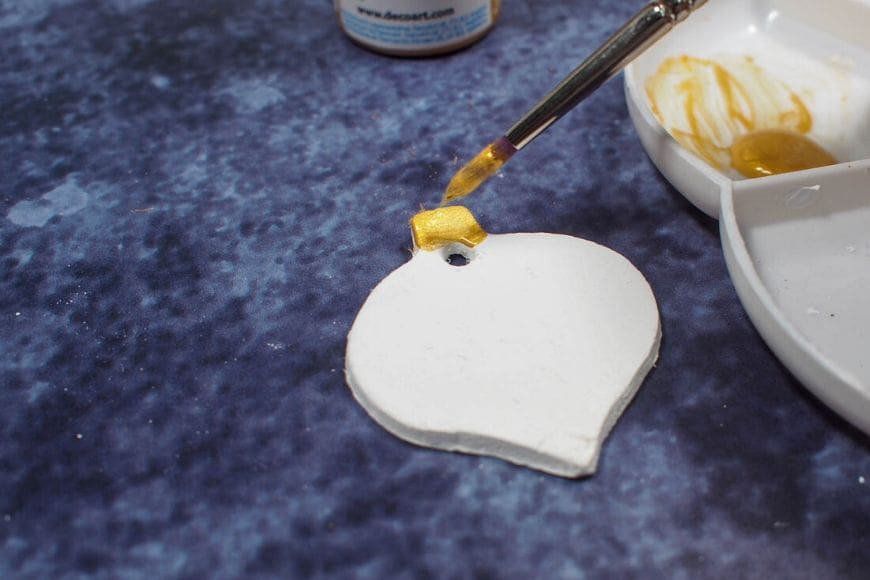
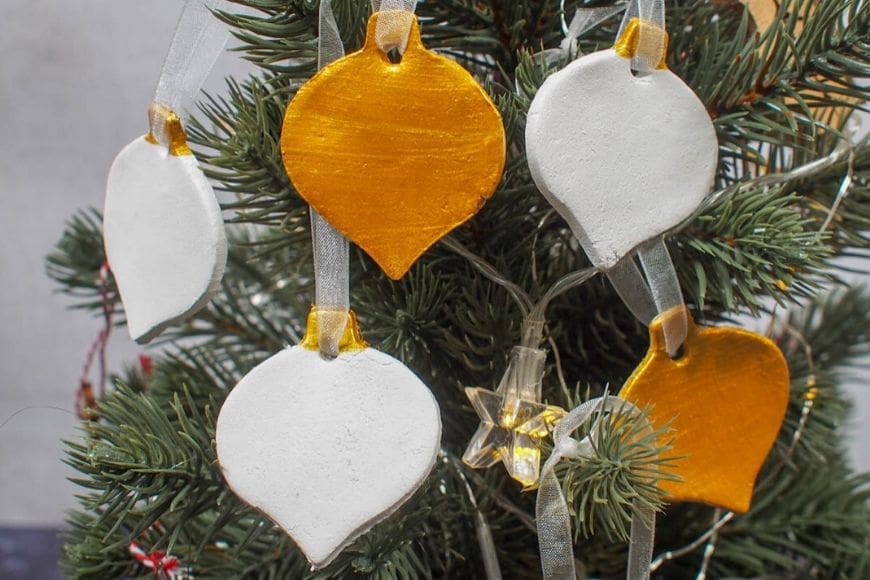
We left some mainly white with just a hint of gold at the top.
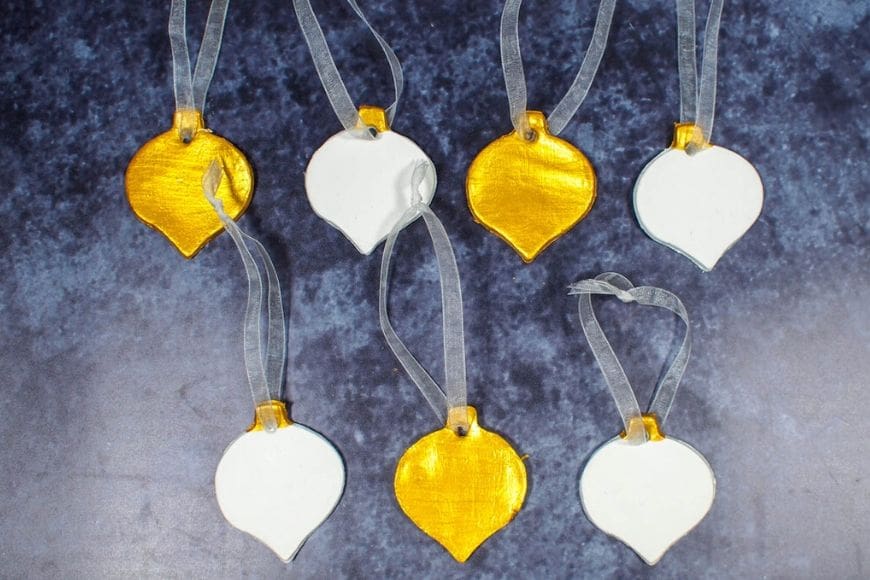
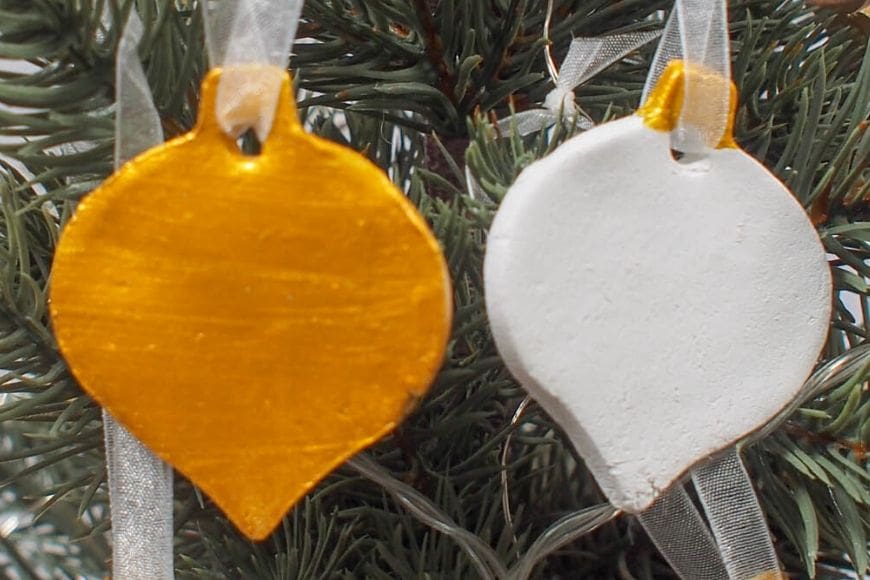
Allow to dry and then add some ribbon or twine. I wanted the attention on the decorations so used some translucent ribbon I had in my stash.
Comments are closed.