

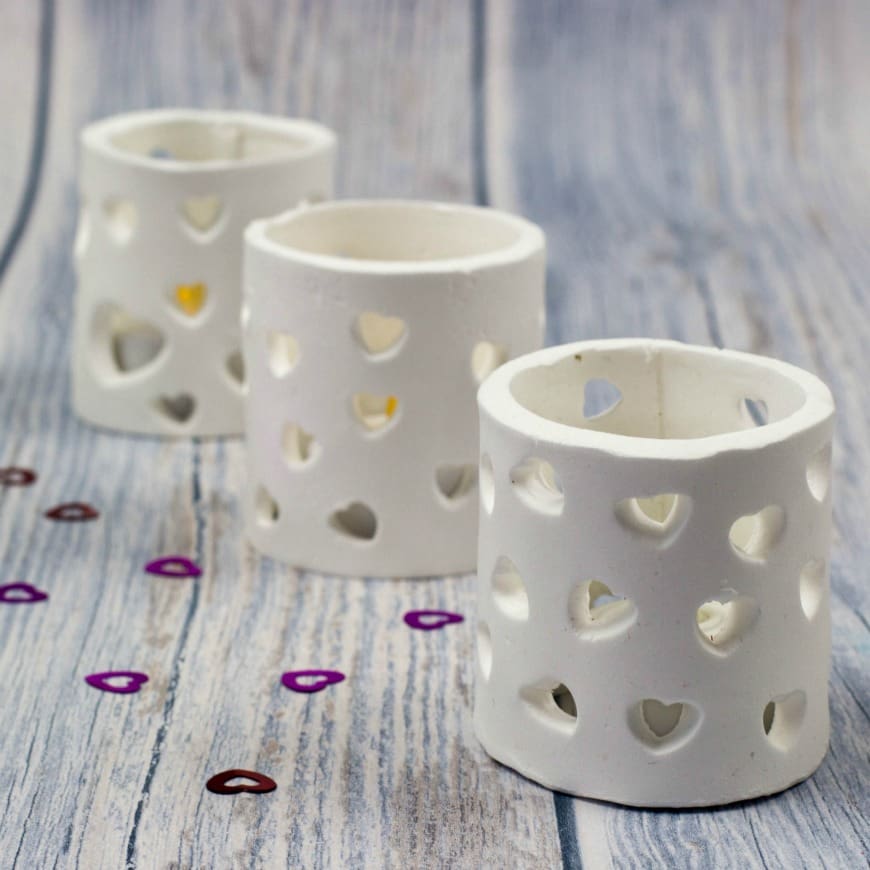
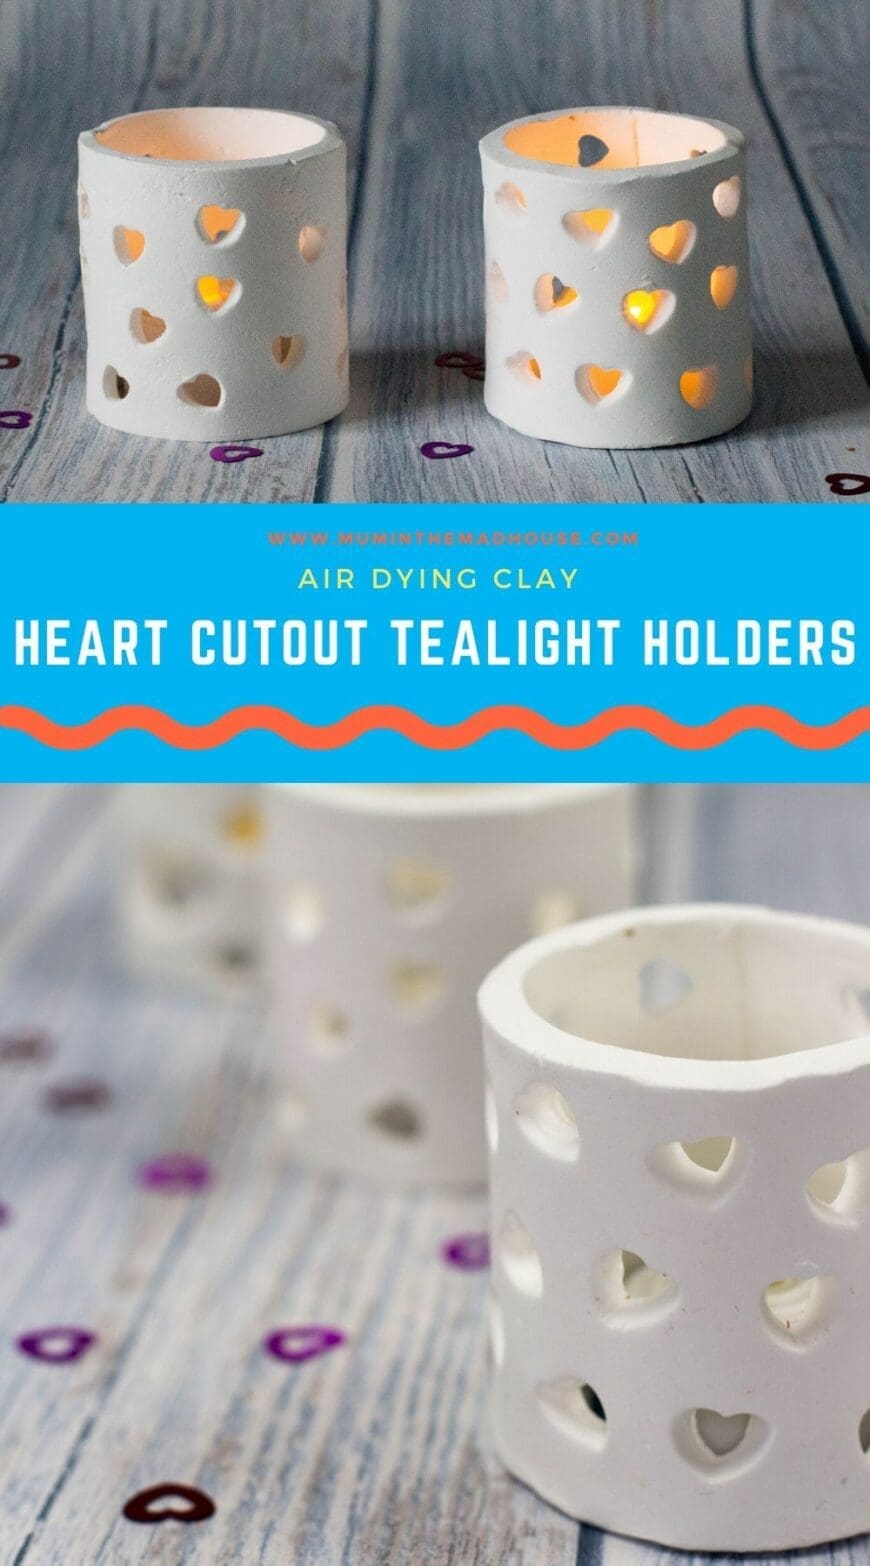
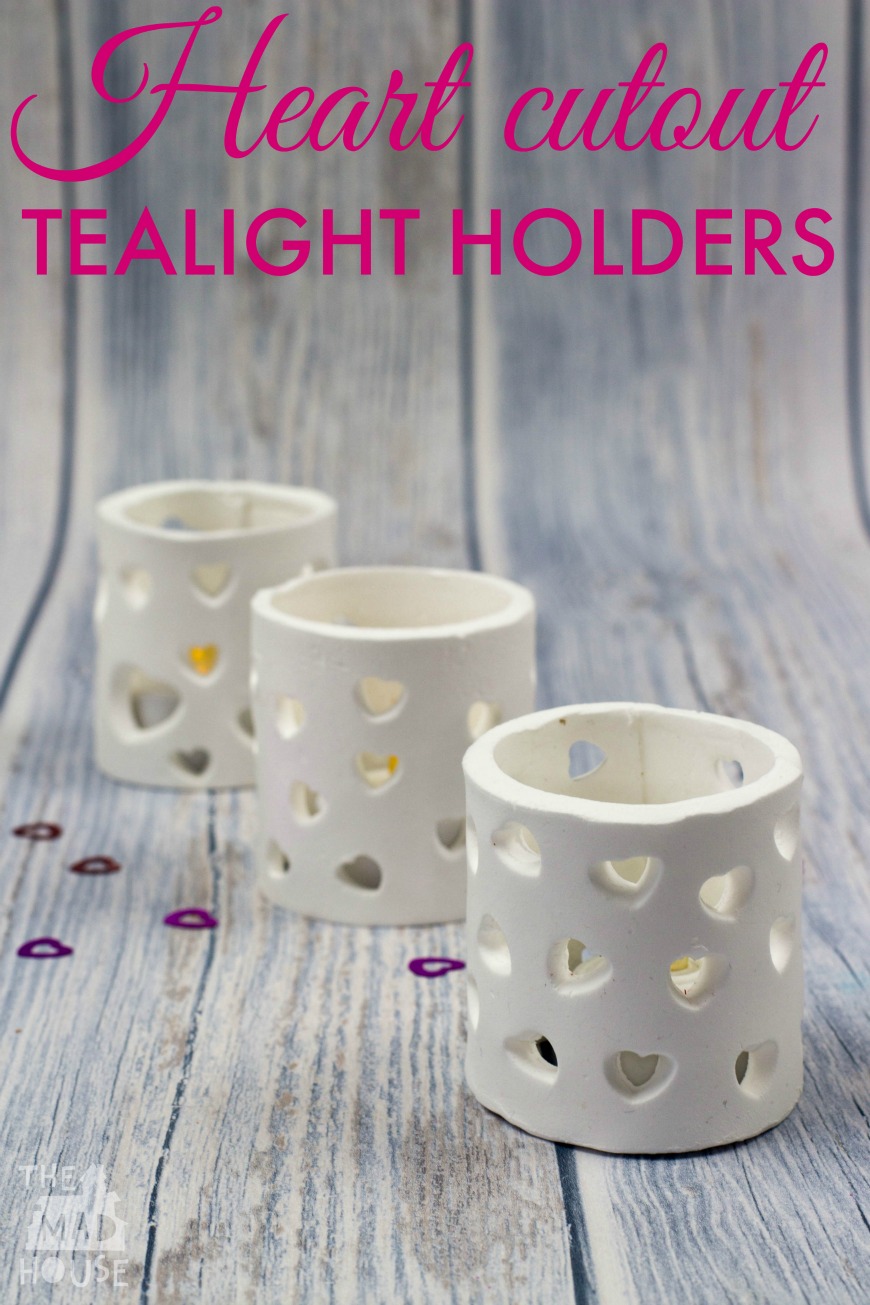
These heart-cutout tea-light holders are a beginner-friendly clay craft, perfect for kids or adults. By using special microwave-drying clay, you can make and finish a glowing candle holder in under an hour — a handmade gift that looks beautiful on a mantle, table, or windowsill.
I really need to share with you what a game-changer finding air-drying clay (Fimo Air Light ) that you can microwave has been for crafting and creating with my boys. We are not the most patient bunch and this clay is transformational. We can go from moulding and manipulating it to having it dry within 15 minutes as all it takes is 10 minutes in the microwave. Plus it is a different texture and weight to standard air drying clay with none of the fibrous feel to it, so my boys find it easier to work with. It dries more of a pure white, so we don’t even have to paint it. We loved working with it on our heart shaped ring bowls and the fingerprint heart ornaments we made. But you can use standard polymer clay to make these tealight holders too.
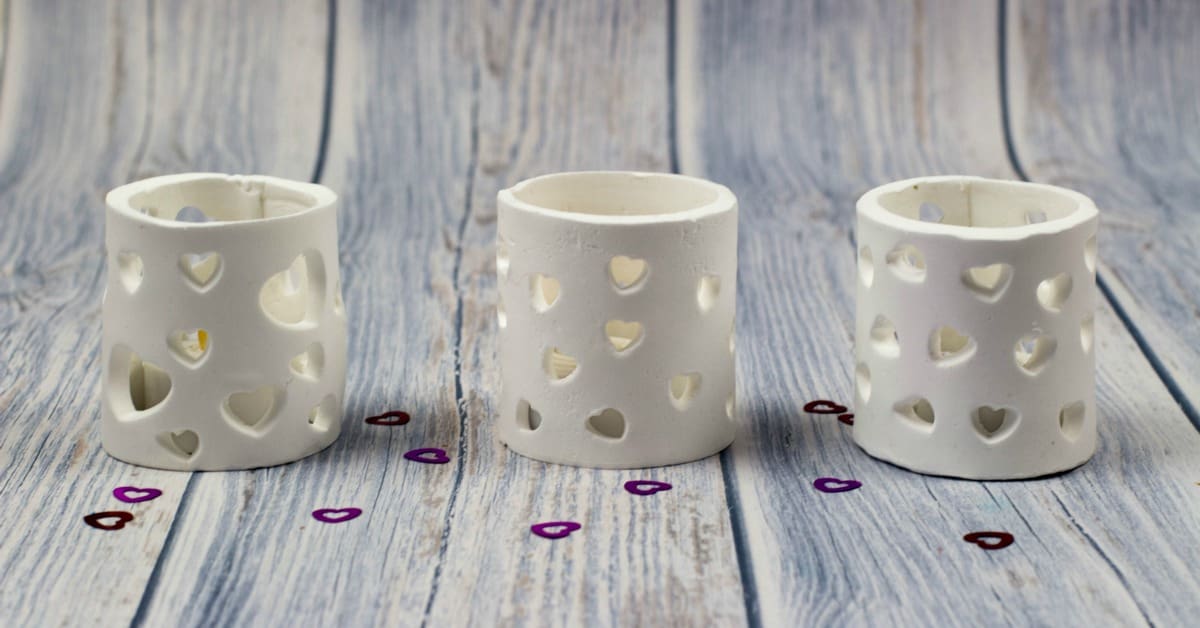
Heart cutout tea light holders
Only use battery operated tealights for this as some clays are not fire safe.
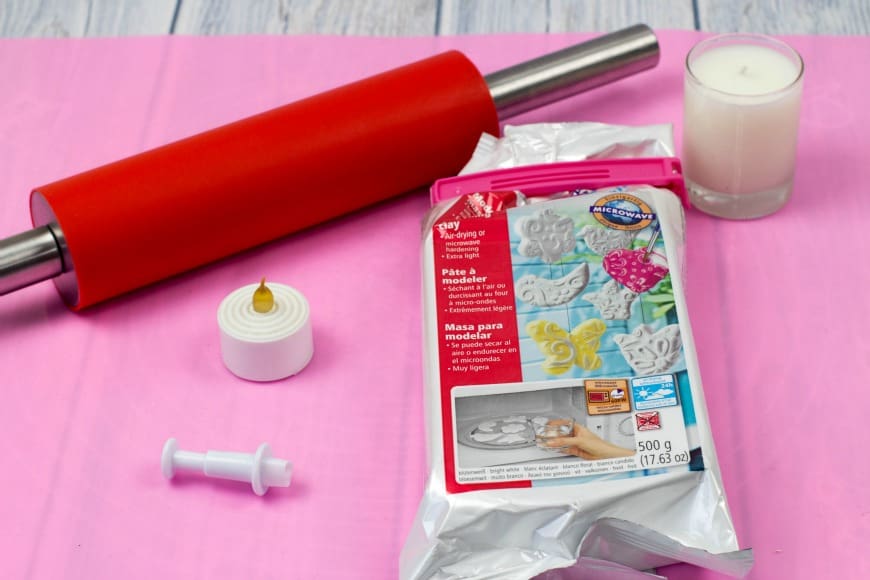
Materials
This post contains affiliate links. If you make any purchases after clicking one of these links, I will make a small commission (hopefully enough to keep me in tea all year) – at no extra cost to you! This allows me to keep creating and sharing free tutorials and content for you. Thank you!
- Fimo Air Light (which you can microwave) or other air drying clay (US Link/UK Link)
- Heart shaped cookie cutters (UK Link/US Link)
- Heart Fondant Plunger Cutters (UK Link/US Link)
- Rolling pin (UK Link/US Link)
- Silicone mat (UK Link/US Link
- Battery tea lights (UK Link/US Link)
- Carboard
- flexible measuring tape
- Knife
No products found.
How to make heart cutout tea light holders
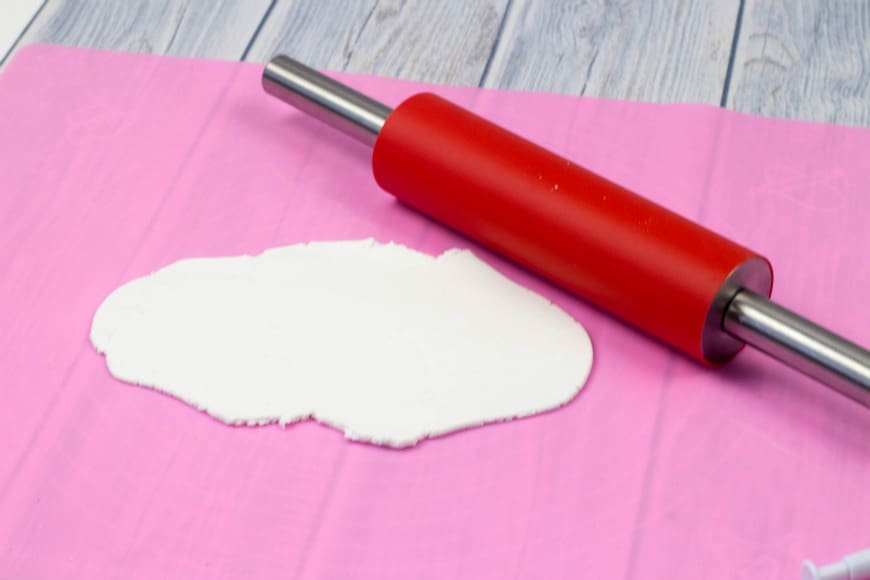
First off, knead your dough and then roll it out. We like to use a silicone baking mat and rolling pin for ease.
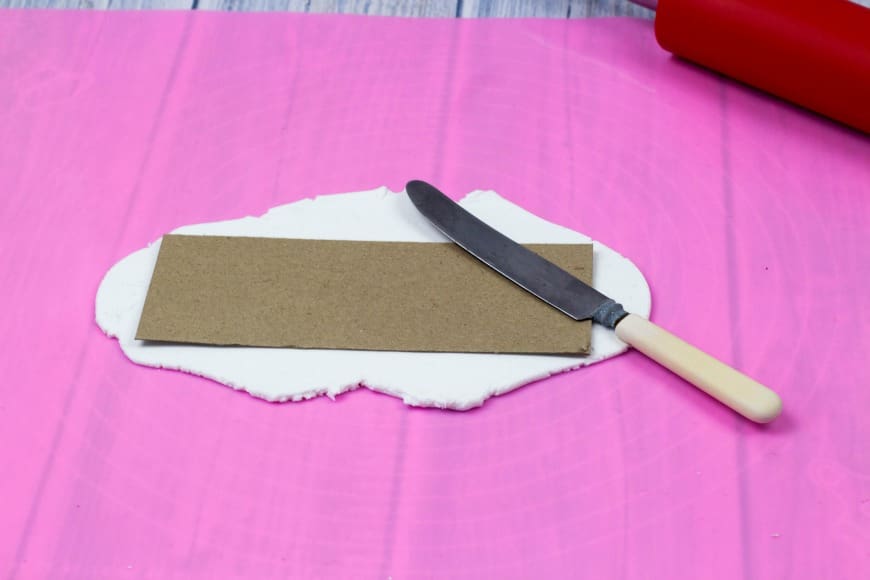
I took my measurements for the votives from an existing candle we had using a cloth tape measure. Then cut out a template in cardboard. Ours is 18cm by 7cm. Then I laid it on the air-drying clay and cut it to shape.
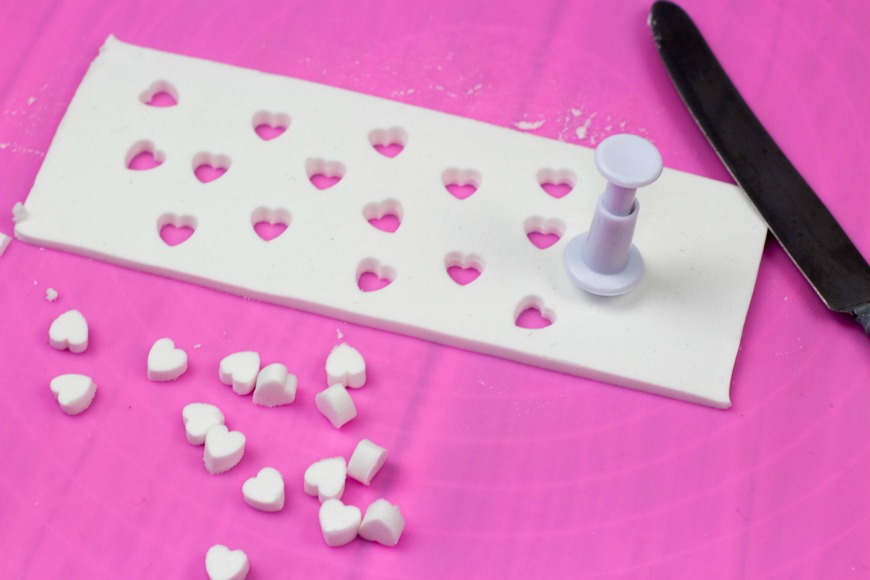
Punch out your hearts. This is for the light to shine through. We did random ones, but you could do a shape or pattern. I like to use royal icing or cookie cutters for ease, this way kids can participate easily.
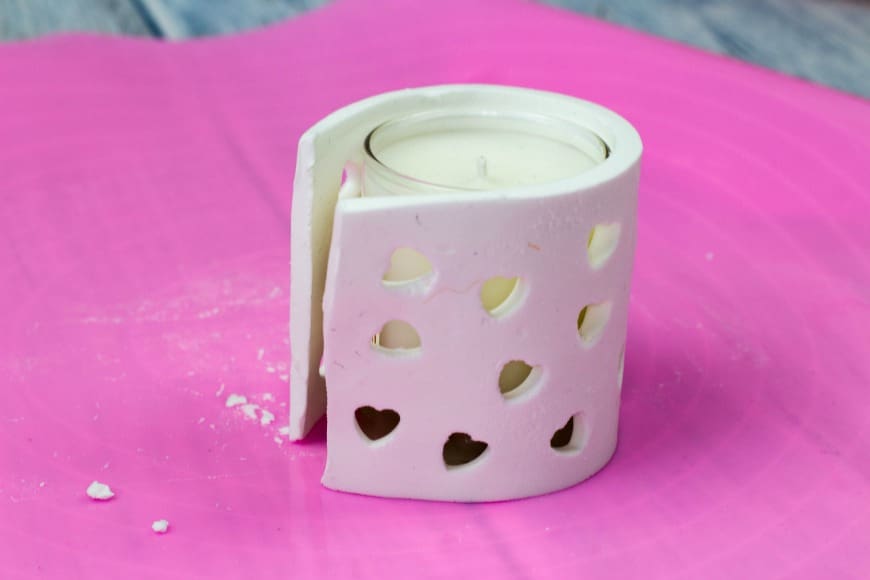
Then using a candle or other object for support, shape your clay and join the edges together. The easiest way to join them is to score them and dampen your finger. Remove your candle from the centre of the heart cutout tea light holder and then dry as per the instructions on the clay packet. You can also sand rough edges lightly with fine sandpaper, then paint and varnish when dry for longevity.
If you watch the video then you get a better idea of how it is all done!
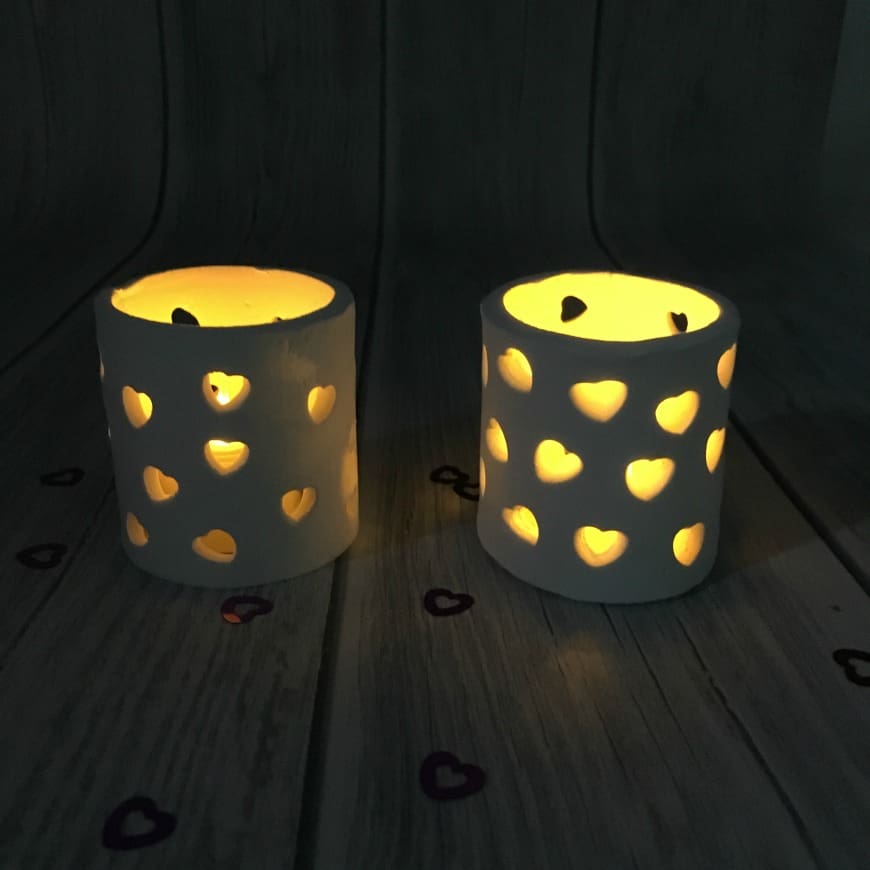
Look at how beautiful they are all lit up with the light shining through the cutout hearts.
Looking for ways to give your clay tea-light holders a modern twist? Try these on-trend ideas:
- Stone or Terracotta Finish – Paint with acrylics and seal with a non-toxic varnish to achieve a rustic, handmade look.
- Metallic Shine – Add copper, gold, or silver finishes for a festive touch, perfect for Christmas tables or elegant wedding settings.
- Personalised Touches – Press in children’s thumbprints, add initials, or use seasonal cut-outs (stars, snowflakes, flowers) to make each holder unique.
Gift Appeal
These heart-cutout holders also make thoughtful handmade presents:
- Occasions – Ideal for Mother’s Day, Valentine’s Day, or included in a Christmas hamper.
- Presentation – Package with an LED tealight and a ribbon for a safe, ready-to-give gift that’s both practical and heartfelt.
Comments are closed.