
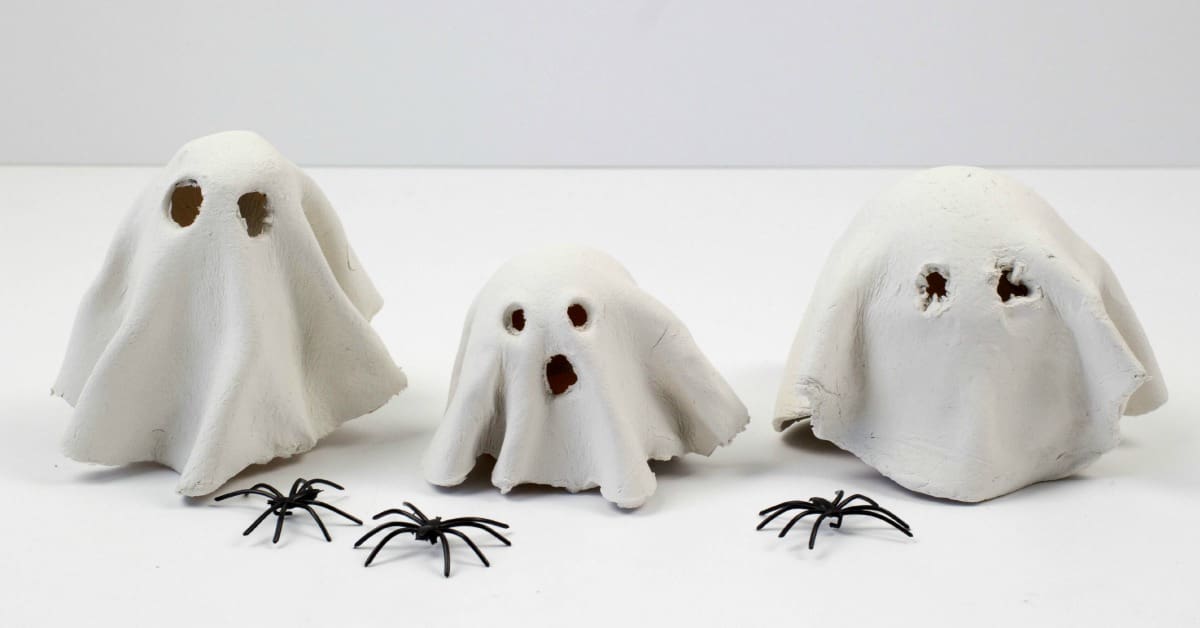
We love decorating for Halloween and this super simple clay ghost tealight is a fun craft activity perfect for kids to make.
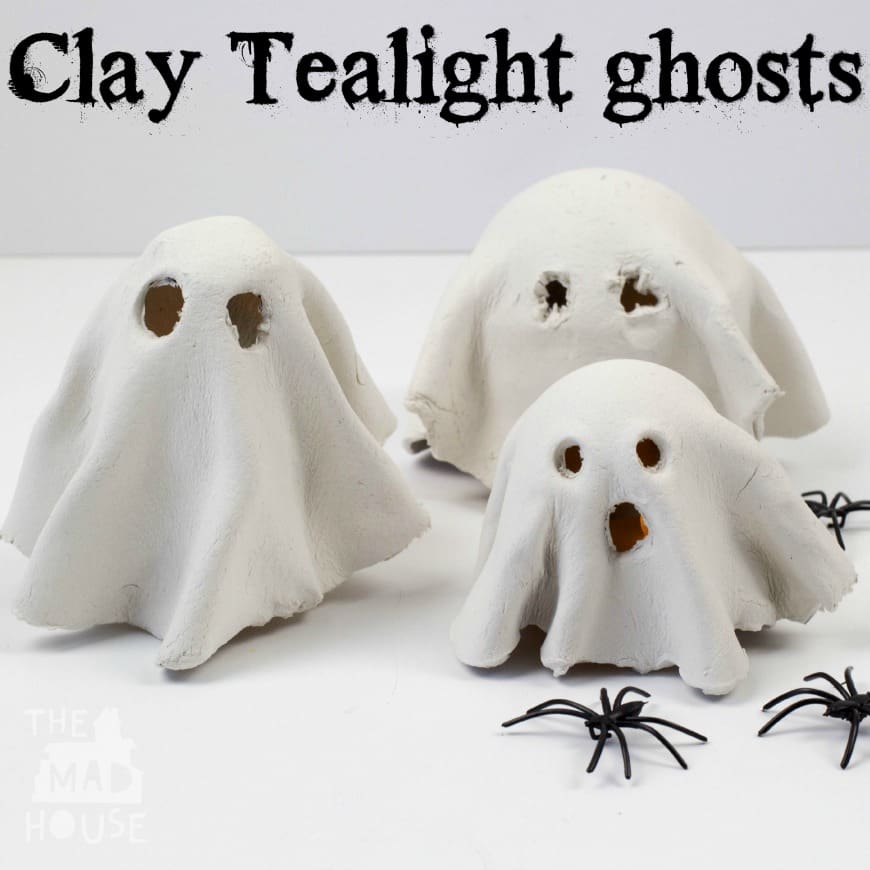
This is a great craft to make with tweens and we have used simple air drying clay here, but you could use homemade white clay too. We think that these ghosties look best plain, but there is nothing stopping you decorating them in any way you like.

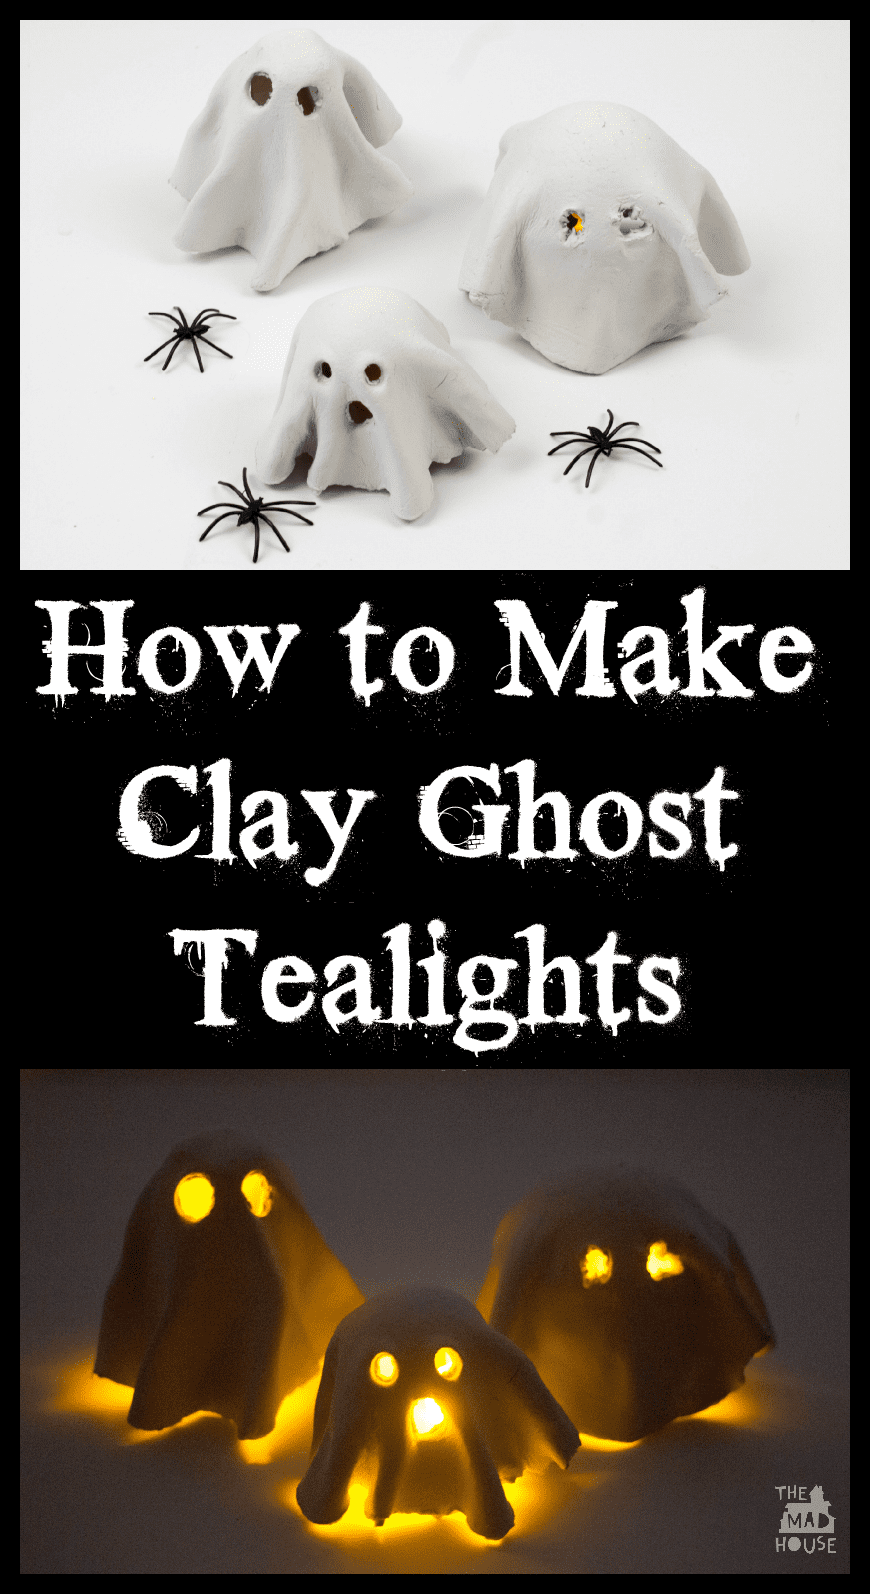
How to Make a Clay Ghost Tealight
Materials
Air drying clay (UK Link/US Link)
Glass
Polystyrene ball (UK Link/US Link)
Cling film (UK Link/US Link)
Craft knife (UK Link/US Link)
Rolling pin
LED tea lights (UK Link/US Link)


Instructions
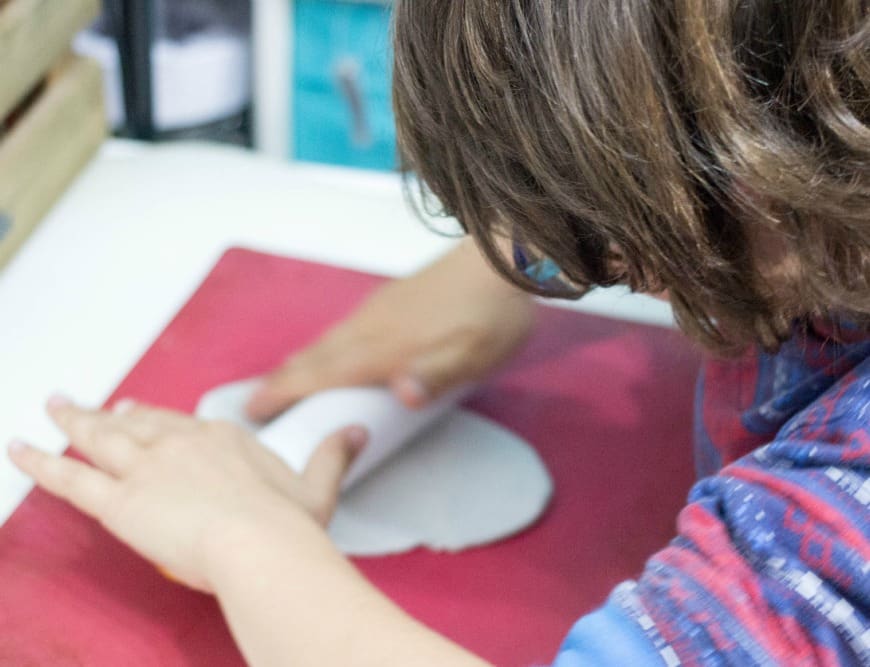
When using air drying clay we like to use silicone mats, they make rolling and moving the clay really easy and keeps the surface really smooth too.
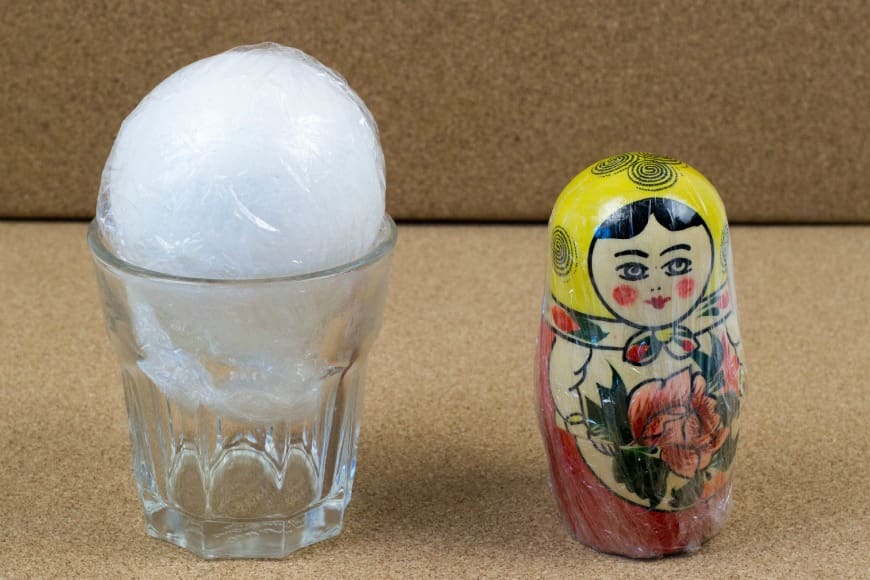
Cover a polystyrene ball in cling film and place it on top of a glass. We also used a bottle and a Matryoshka doll. All made really different shaped ghosts.
Roll out your clay to a thickness of around 3/4 mm. it is best to try and roll a circular(ish) shape.
Drape the clay over your glass and ball and gently position the clay so that it hangs evenly all the way around.
Using a craft knife cut a flowing line around the edge of the clay.
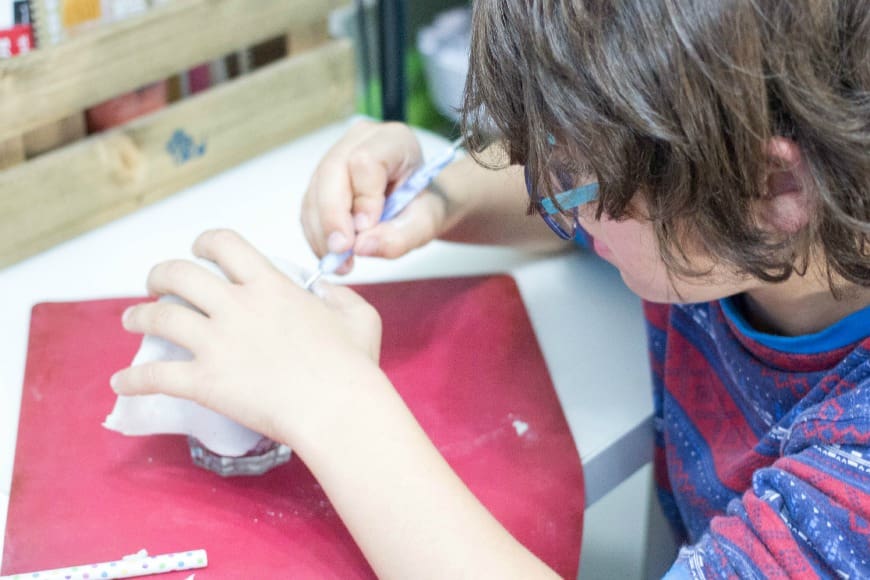
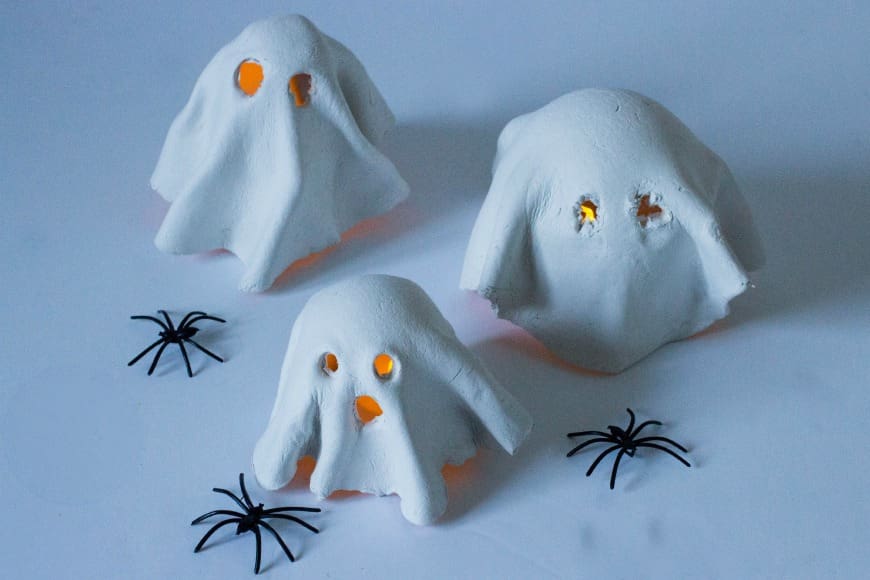
Carefully using your craft knife cut out holes for the eyes and mouth, before allowing the clay to dry for around 24 hours (or if you live in a cold area.
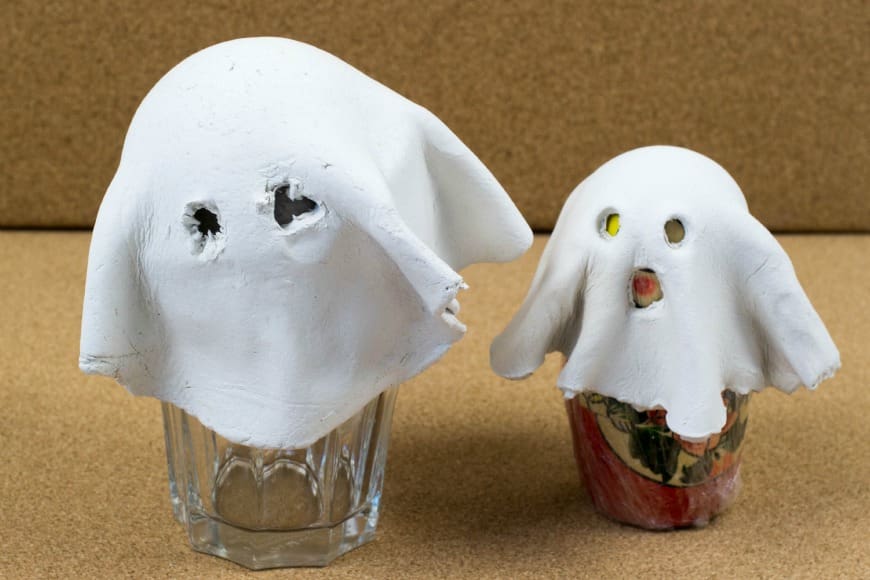
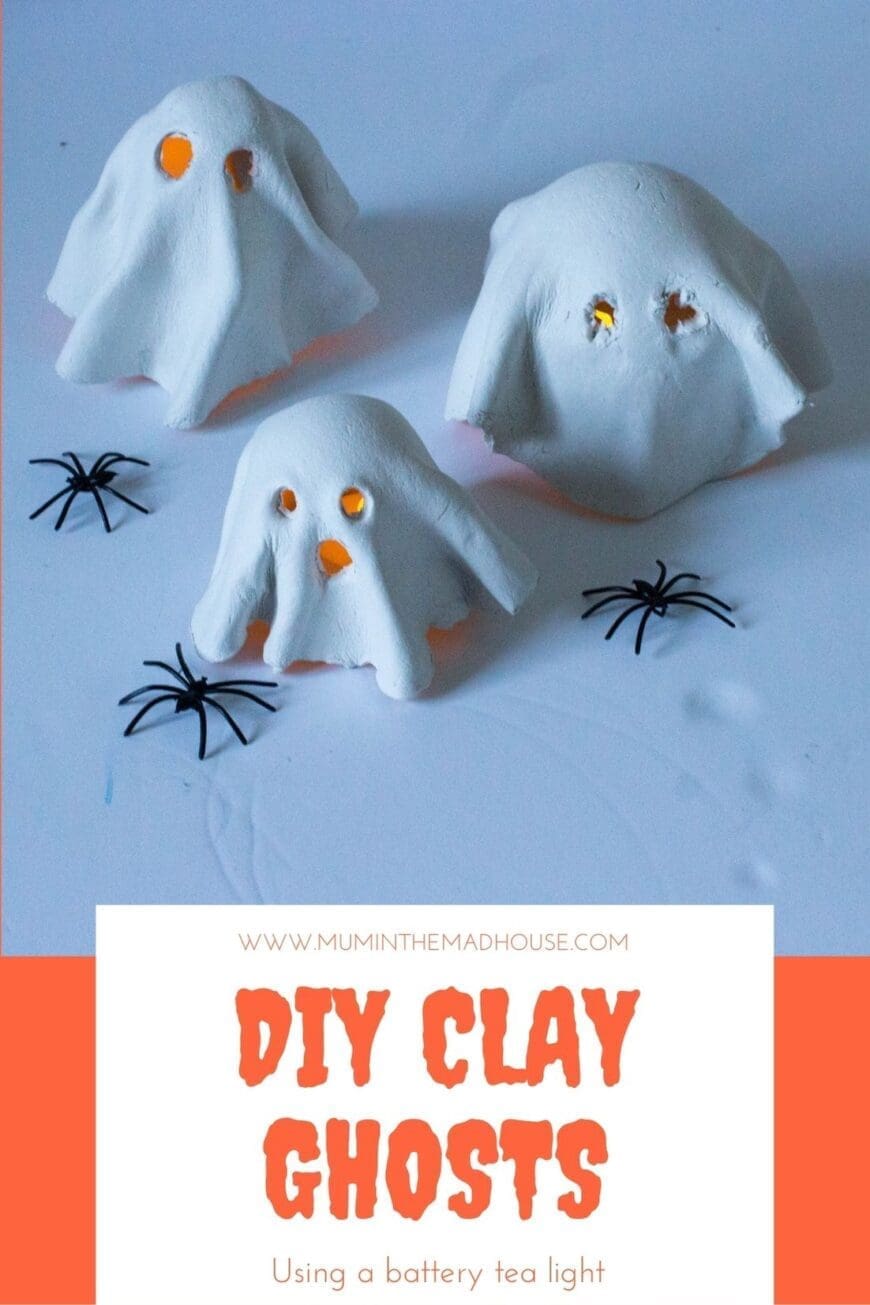
Once dry carefully remove the clay ghost and pop your tealight underneath. You could paint them if you want pure white ghosts, but we like the off white colour that the clay dries.
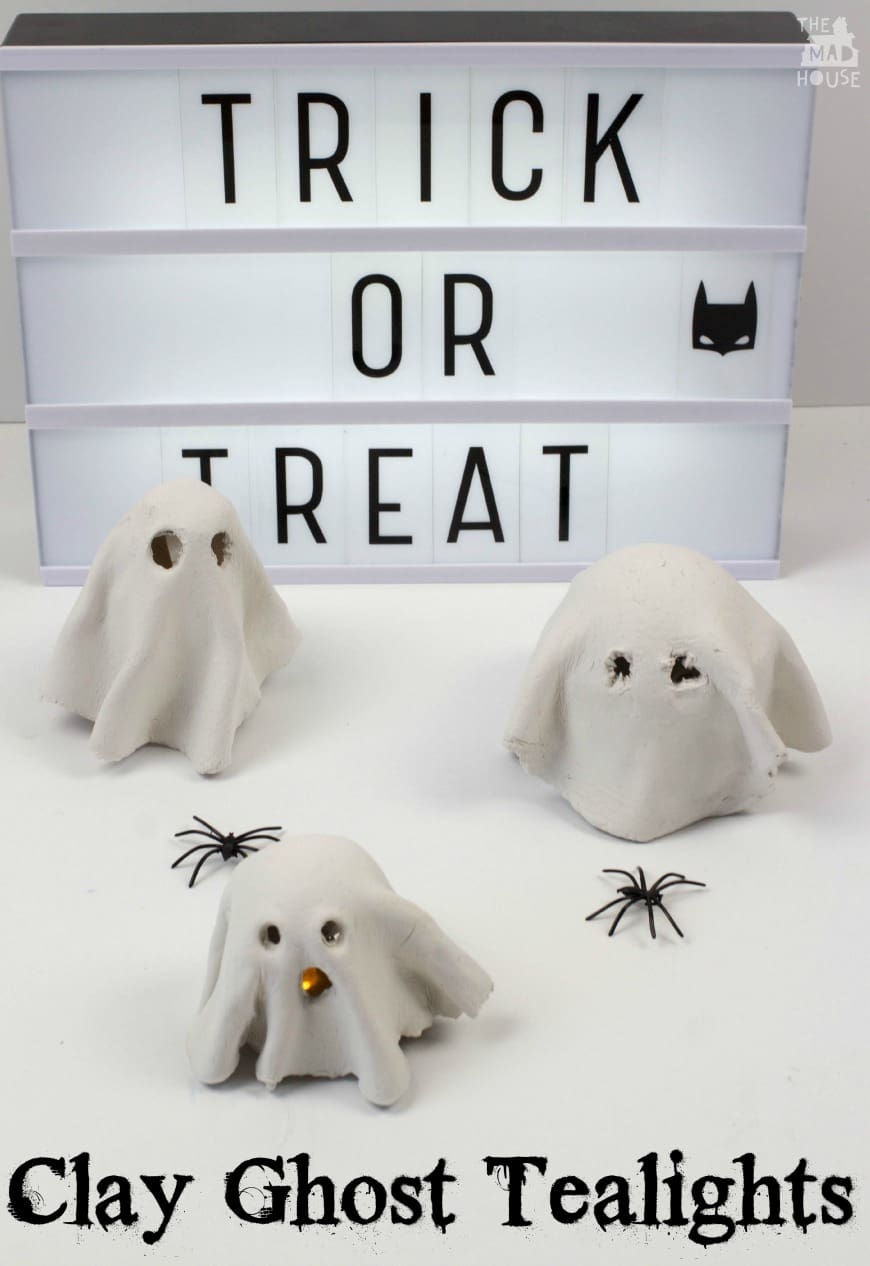
Mini loved making these and I love that we can bring them out each year as part of our Halloween decorating.
Why not take a look at the other Halloween crafts that my #SimpleCrafts co-hosts have produced:
Magic Pumpkins from Hodge Podge Crafts
Comments are closed.