

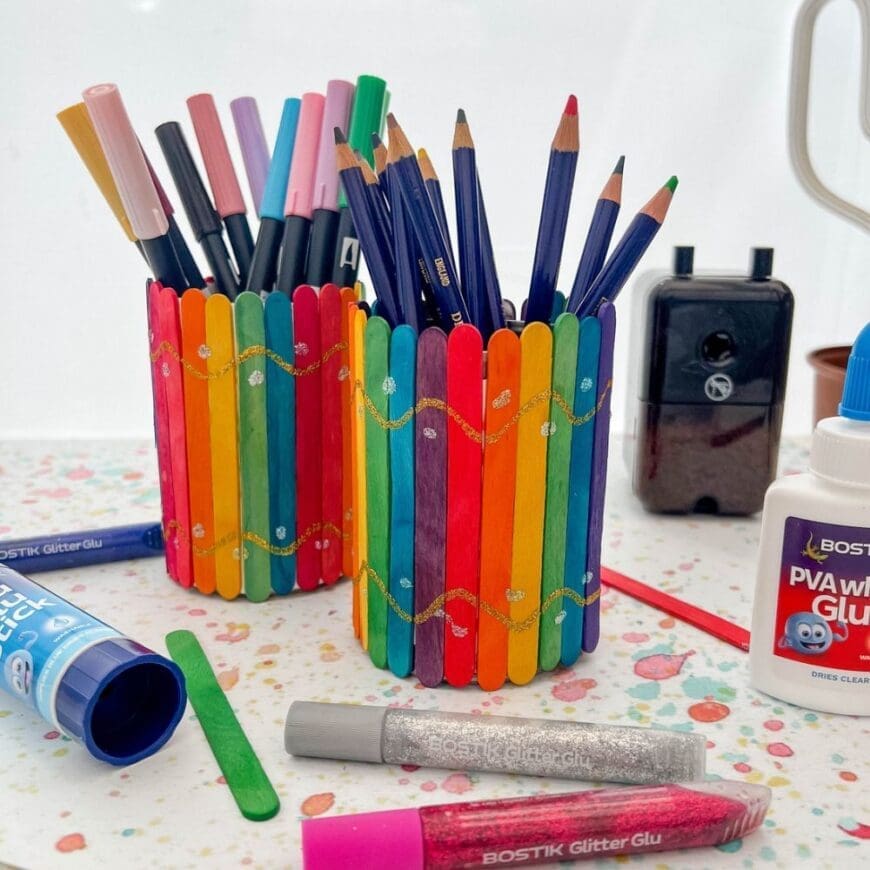
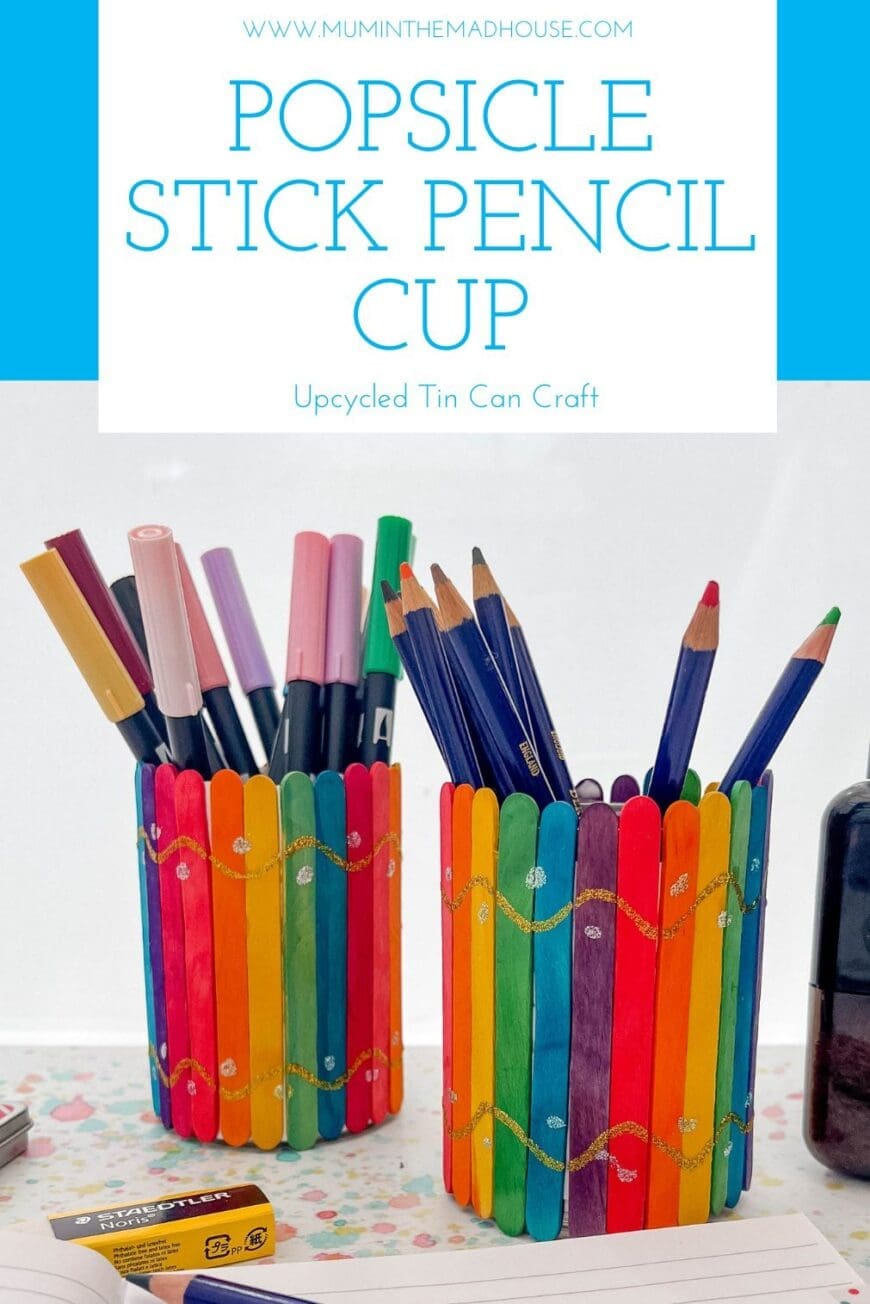
Popsicle Stick Pencil Cup – Upcycled Tin Can Craft is a paid collaborative craft with Bostik.
Long-term readers will know that I am a big fan of Bostik products. They are part of my craft material armoury and perfect for using with children. This DIY pencil holder is a way to upcycle a tin can and use craft sticks (lolly sticks) that come in every craft kit!
What I love about this craft, is that it is easy to make, but more than that it is a really great art project that allows children to express their creativity and decorate it however they see – so it is a mixture of craft and process art (find out why process art is really important).
Even better it is a piece of art that can be used every day, perfect for storing pencils, pens or flowers (as the tin can is waterproof). I think it would make a great gift for Mother’s Day or for Grandma’s birthday with a bunch of flowers in it. Or even as a pen pot for Dad’s desk for Father’s Day.
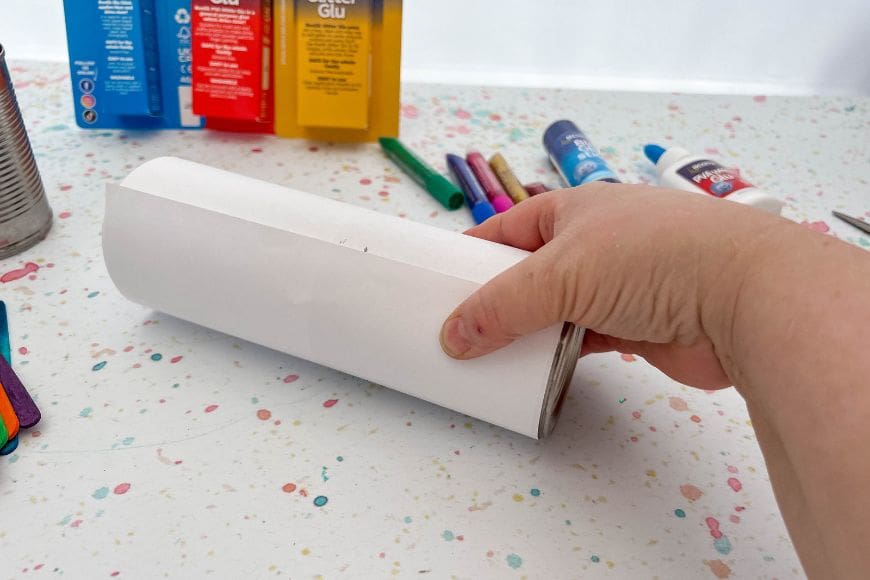
I have simplified the craft so that rather than sticking the lolly sticks directly onto the tin can (and securing with rubber bands), you measure out some paper that is slightly longer than the circumference and the height of the can label. Simply stick the popsicle sticks onto the paper with PVA white Glu and then decorate before wrapping around the tin. This makes it much easier for kids to do it independently which I think is a better way.
Tip: You can use the larger craft sticks and wrap them around a glass jar to make a different-sized pencil pot or flower jar
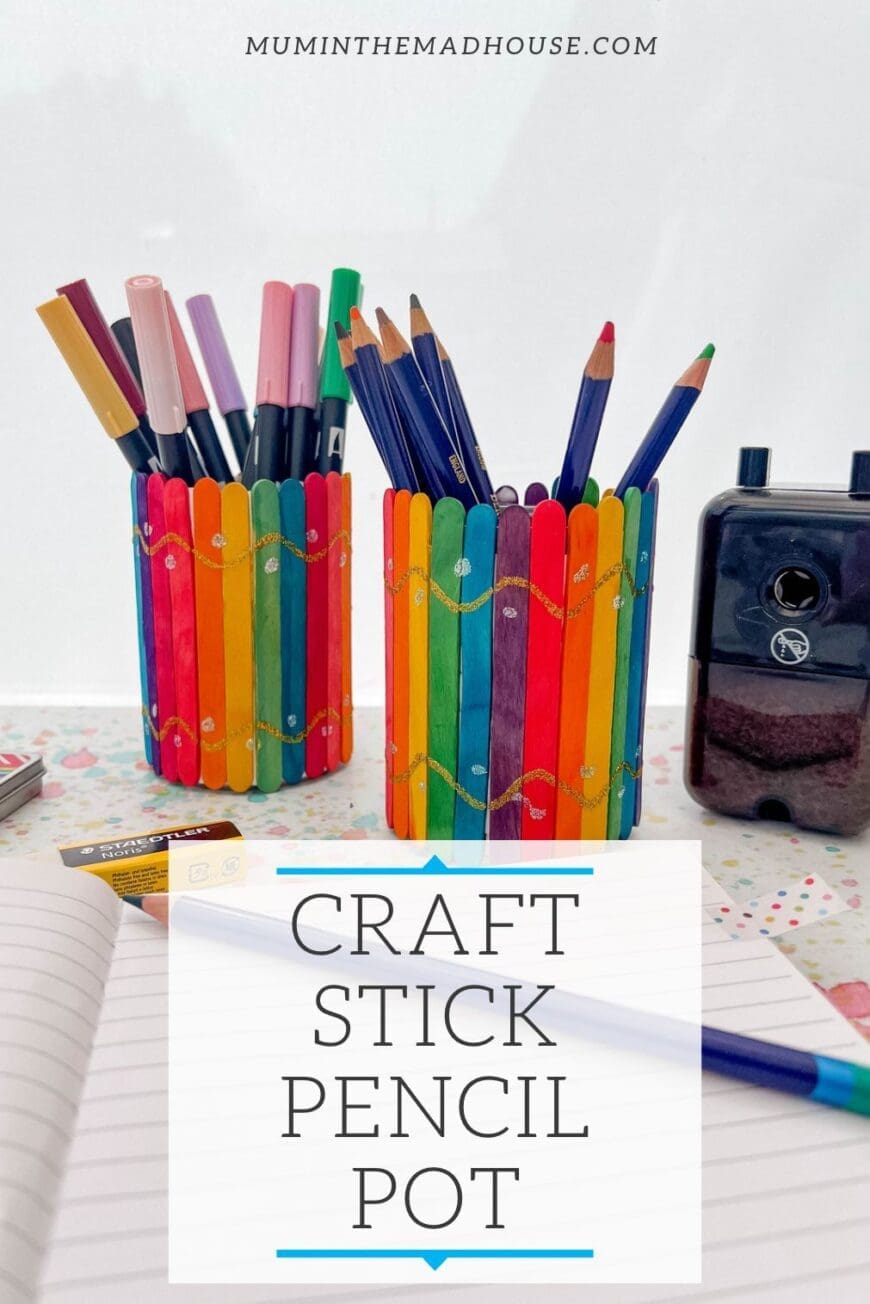
Craft Stick Pencil Holder Tutorial
This is a great craft to do with kids to make sure their desks or their homework area stays tidy and to store their writing utensils.

This post contains affiliate links. If you make any purchases after clicking one of these links, I will make a small commission (hopefully enough to keep me in tea all year) – at no extra cost to you! This allows me to keep creating and sharing free tutorials and content for you. Thank you!
Materials and Equipment
- Paper
- Scissors
- Tin can
- Popsicle sticks
- PVA white Glu
- Markers
- Glitter Glu
- Blu Glu Stick
- Embellishments
- Paint and paintbrushes (optional)
No products found.
How to make popsicle stick pencil holders
Prepare the tin can – this is a job for the adult if the tin can has a sharp edge. Most tins with pull-top lids are pretty smooth and will not need this, but if it does have a sharp edge then add duct tape across the top edge of the tin.
Measure the circumference and height of your tin can and then cut a piece of paper 1 cm shorter but 3 cm longer than your measurements.
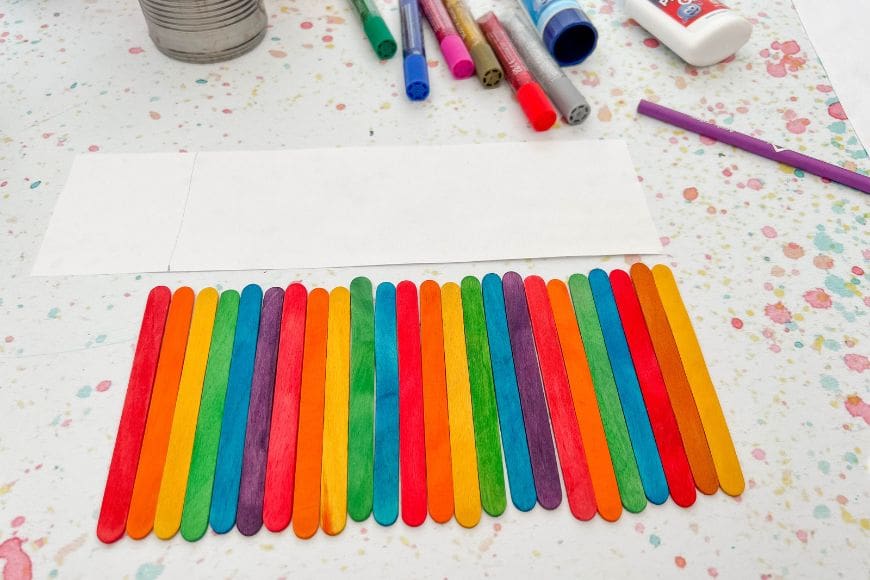
Add the craft sticks (lollipop sticks, ice cream sticks or popsicle sticks – whatever you call them) onto the paper!
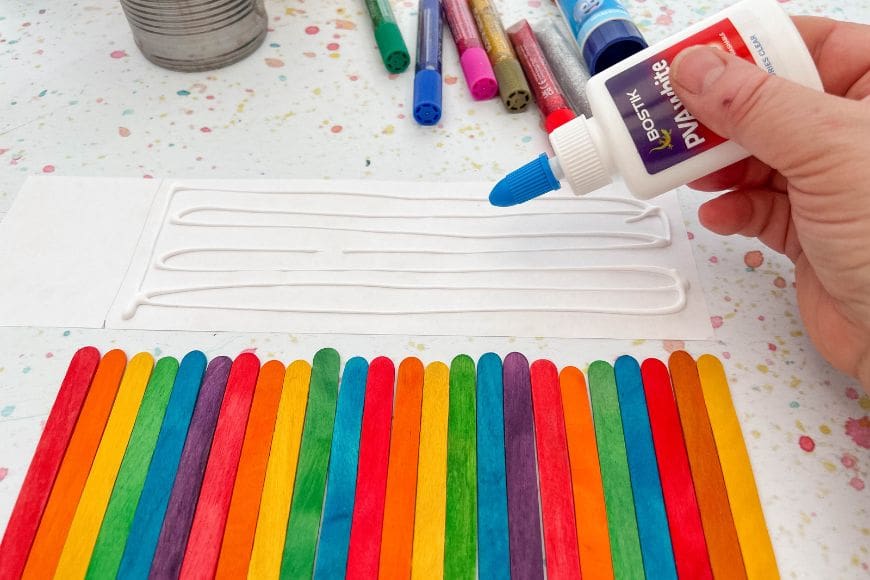
Place lines of PVA white Glu on the craft stick and glue it to the paper one after another and allow it to dry. The PVA glue works with most materials, including paper, card, wood, plastic and fabric, and comes in an easy-to-use, squeezable bottle with a resealable cap to stop the glue from drying out in between uses.
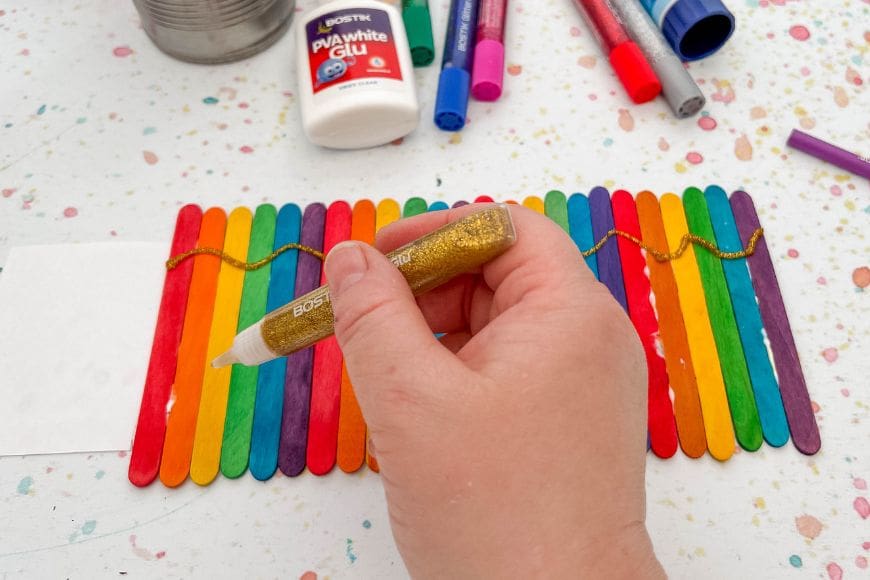
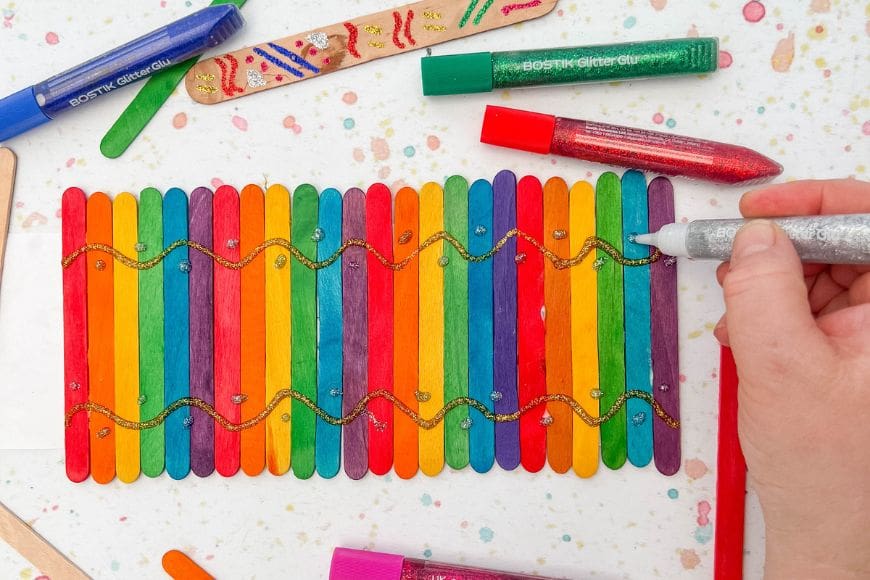
Now for the fun part, decorating and personalising the craft sticks. You can paint them different colours (or buy pre-coloured sticks), but if you do paint them make sure that they are dry before you add the decorations. This is where the Glitter Glu really comes into its own. We have used it in the past really successfully too.
It is perfect for detailed embellishment without the mess associated with loose glitter and even better, Bostik Glitter Glu can even be washed out of clothes.
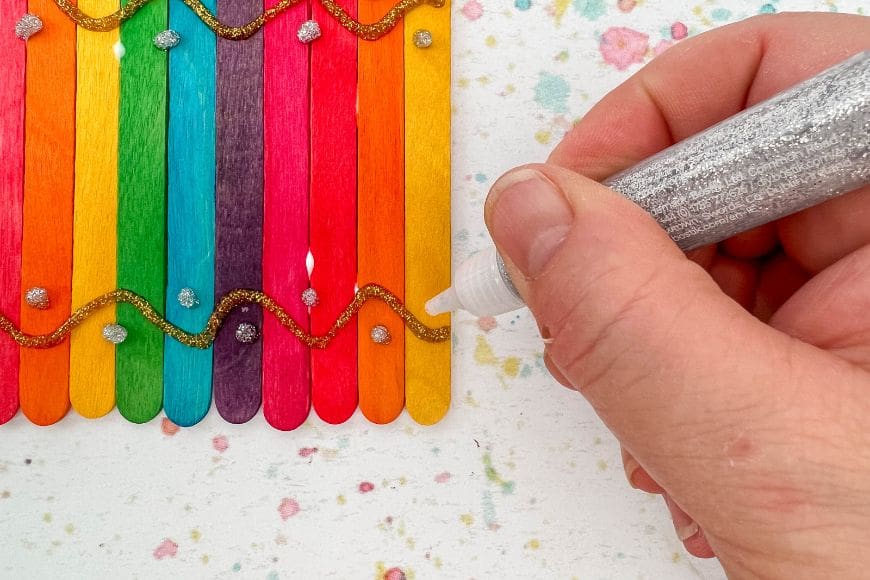
Each glitter glue pen comes in an easy-to-use, squeezable tube with a resealable cap to avoid the glue from drying out, and a fine tip for precise application when decorating. I love seeing the children’s unique designs, and they can use markers or even crayons to add their own designs directly on the craft sticks.
If you are adding buttons, beads, feathers or other embellishments, the PVA white Glu is perfect for this – it is white when you use it but dries clear, so it doesn’t matter if they add too much glue. This is where younger children love adding stickers and it is great for fine motor skills.
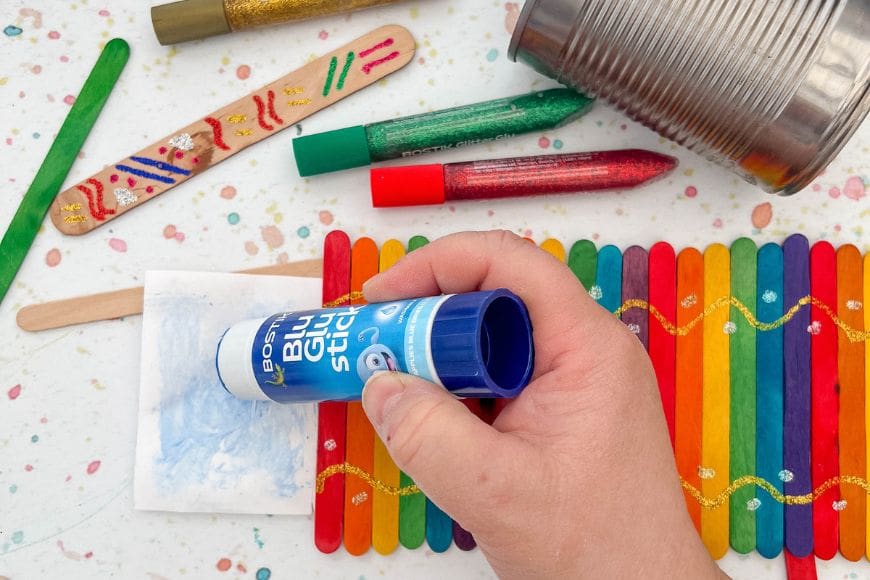
Once all the decorating has been completed and is dry, you then want to wrap the paper around the can and glue it into place. The Blu Glu Stick is the best for this. You apply it to the paper overlap. It goes on blue so you can see where you’re sticking and dries clear. It is ideal for use on most paper-based materials including card, crepe, tissue paper and photographs.
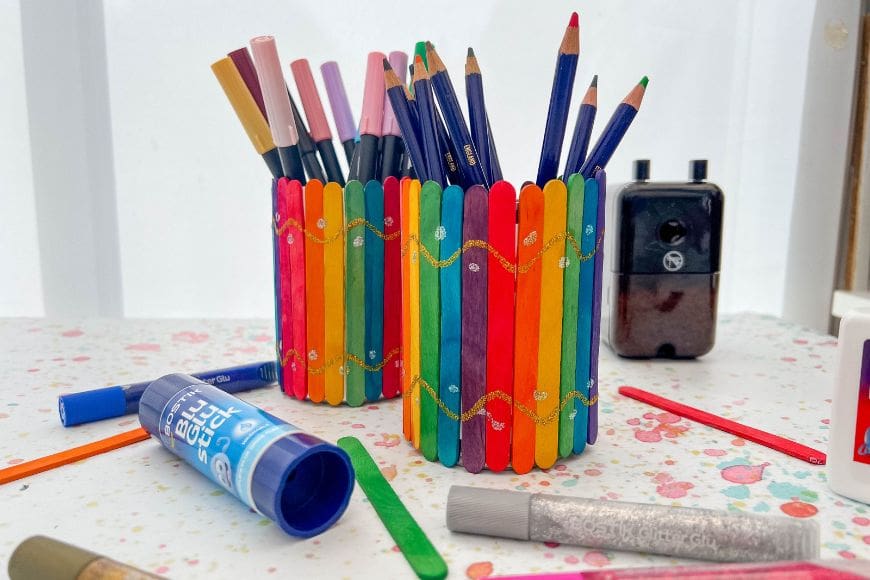
You can leave your Popsicle Stick Pencil Cup just like that or you can give it a coat of PVA glue which will create a glossy finish. You could then tie some ribbon or yarn around the tin to finish.
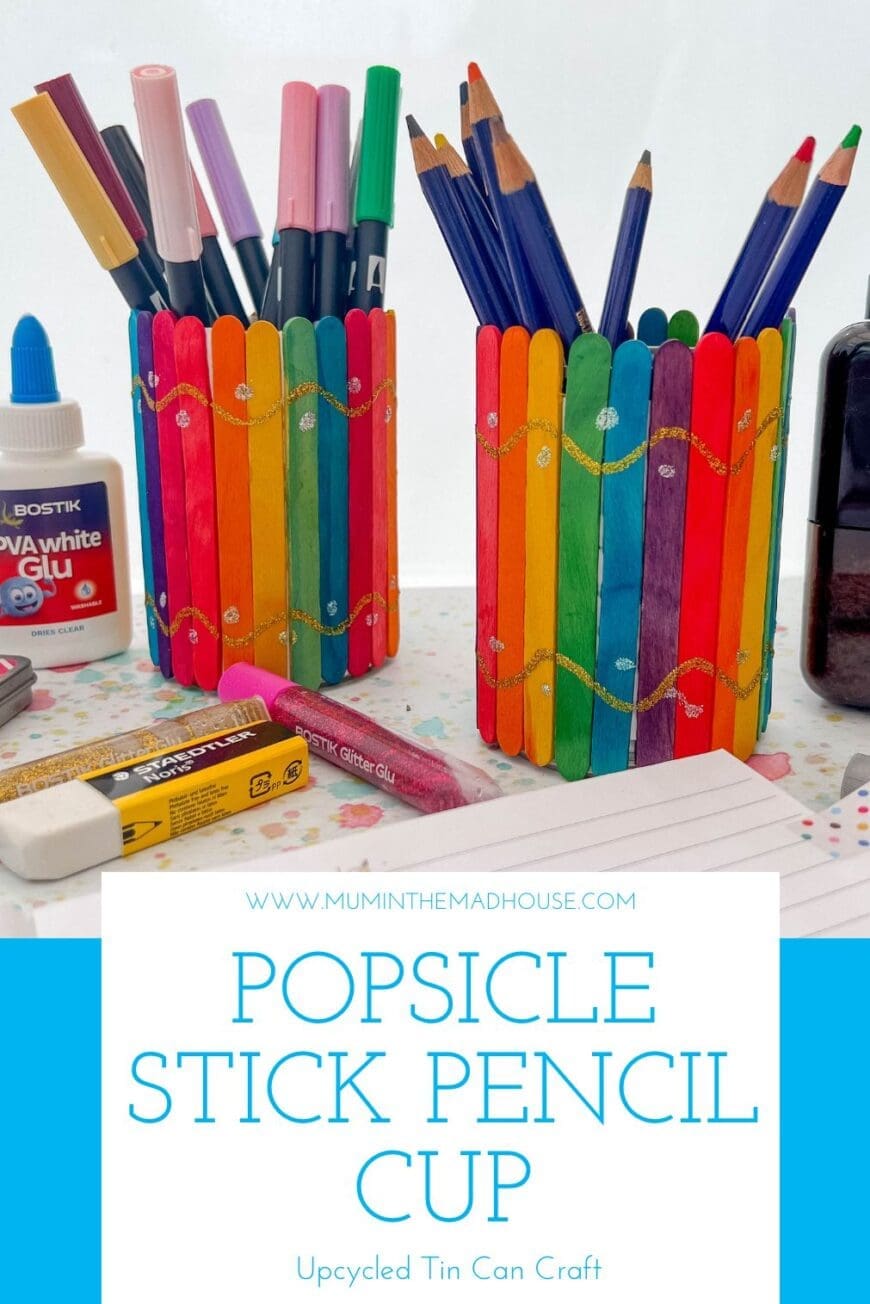
Look how fabulous they look! They would also make a really great back-to-school craft or teacher appreciation gift.