


We first used microwave drying clay with our Christmas fingerprint decorations and we totally fell for it, so decided to give it a try for the microwave clay heart shaped ring dish. The microwave clay is much lighter weight that standard air drying clay, in fact is has almost no weight to it, but it is easier to work with for smaller children and it isnt as fibrous as standard air drying clay. A big bonus is it dried a beautiful bright white too.
I first had the idea for these back in 2014 when I saw the marbled ring dishes on a beautiful mess. However, I wanted something that was simple for the boys to make that looked great and wasn’t that complicated. Using microwave clay made these heart shaped ring dishes a really great craft and meant that they didn’t take too long and kept the boys attention all the way through.
How to make a microwave clay heart shaped ring dish
Materials
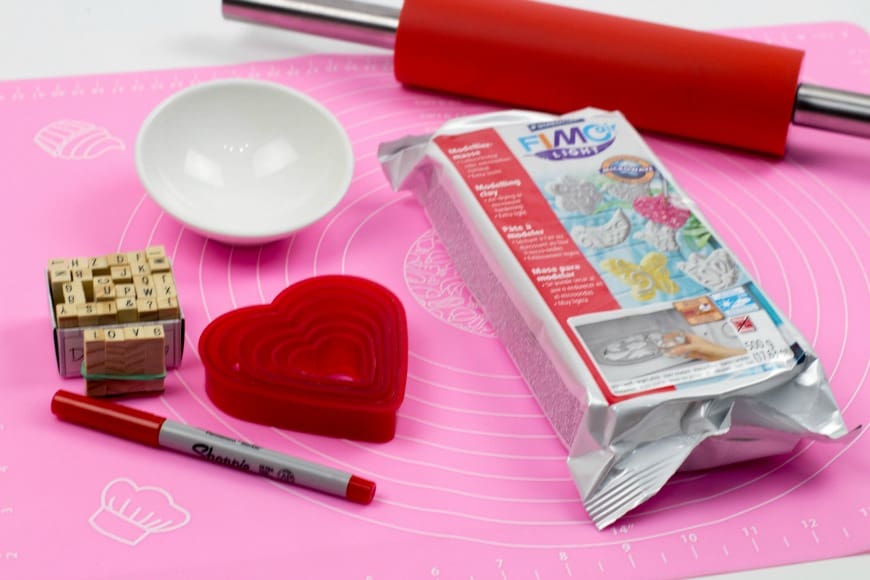
- Fimo Air Light (which you can microwave) or other air drying clay (US Link/UK Link)
- Heart shaped cookie cutters (UK Link/US Link)
- Small alphabet stamps (UK Link/US Link)
- Small bowl
- Rolling pin (UK Link/US Link)
- Silicone mat (UK Link/US Link)
- Ultra fine red sharpie (UK Link/US Link)
Instructions for making a microwave clay heart shaped ring dish
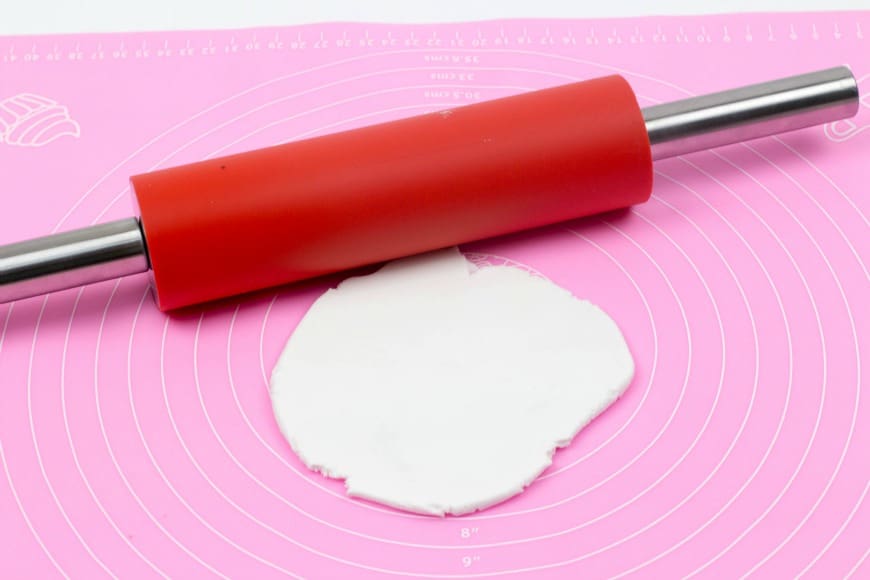
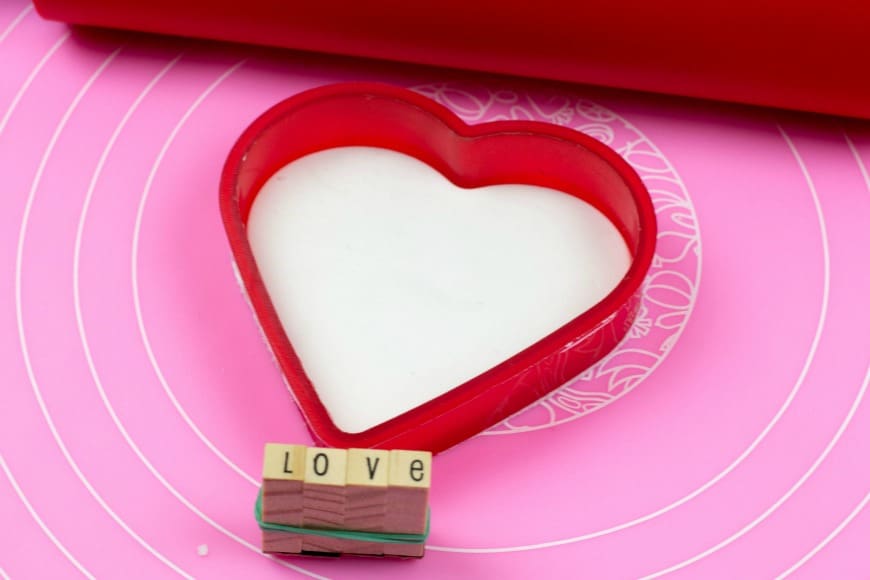
We always use a silicon mat when rolling clay, just a cheap one for rolling icing. It gives the clay a smooth finish and also makes removing your clay shape really easy. Firstly roll out your clay to around 5mm thick.
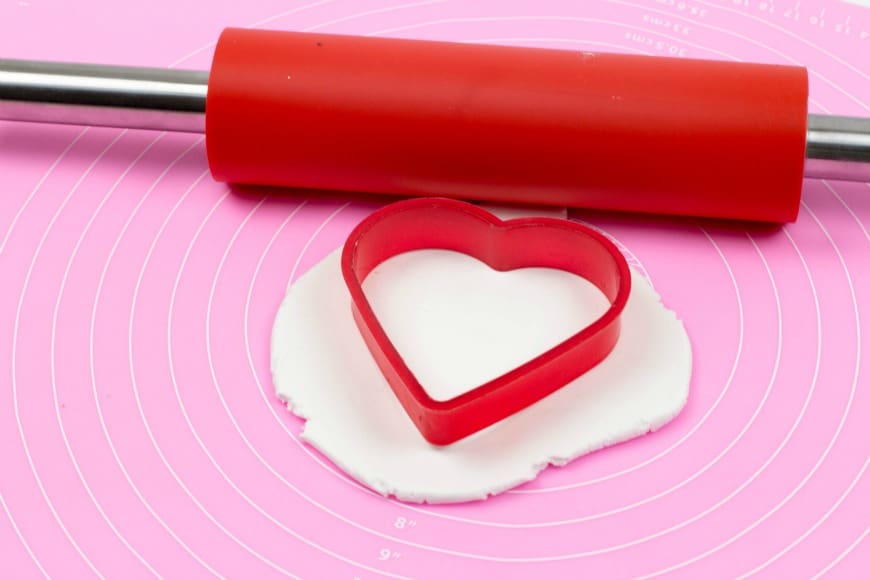
Then cut out a heart shape using your cookie cutter.
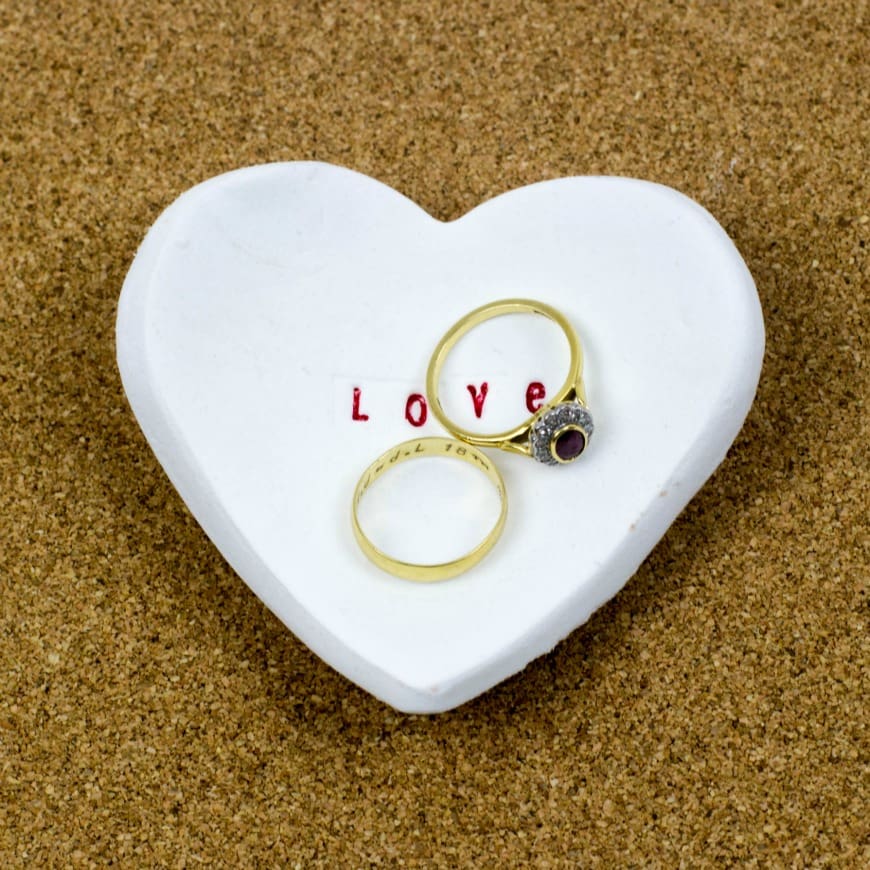
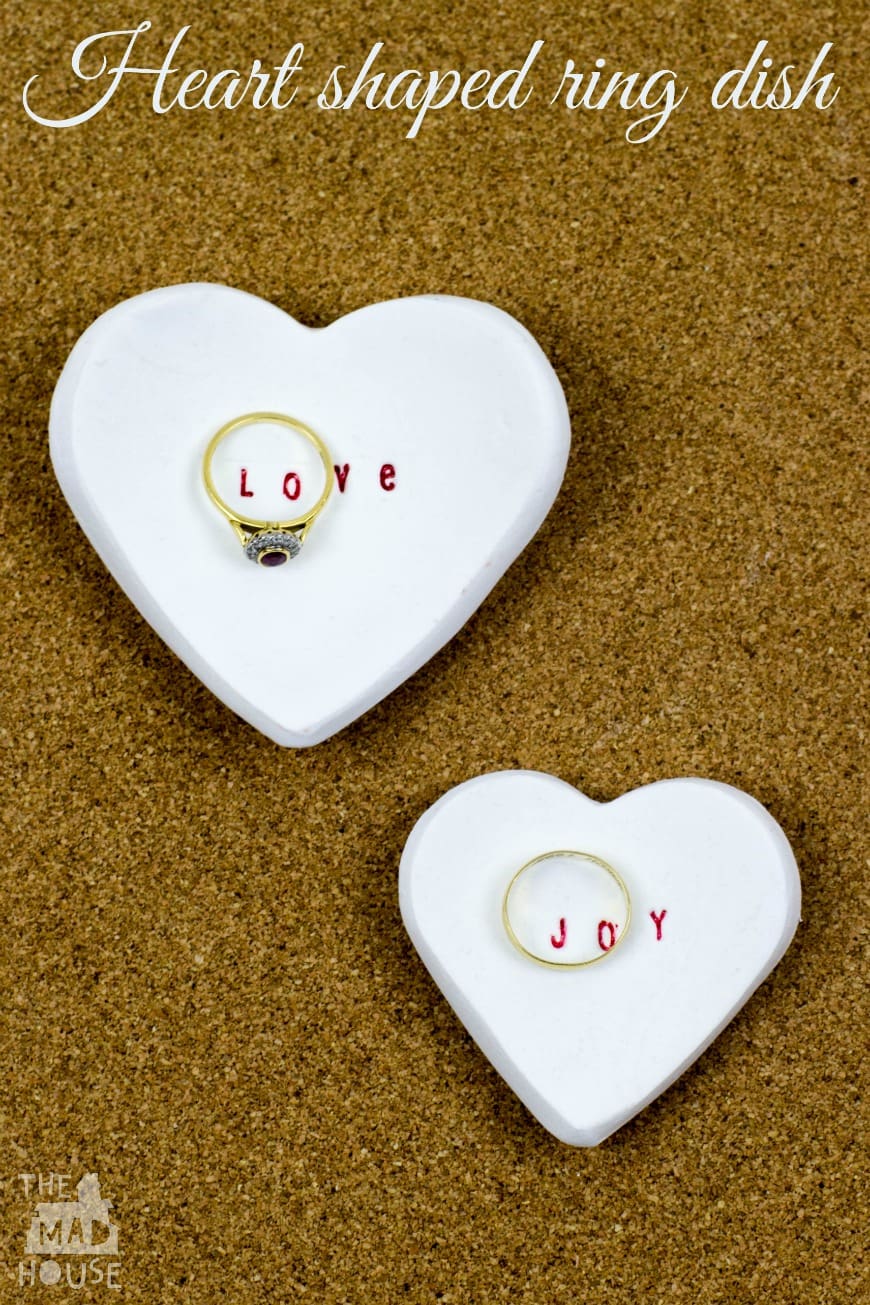
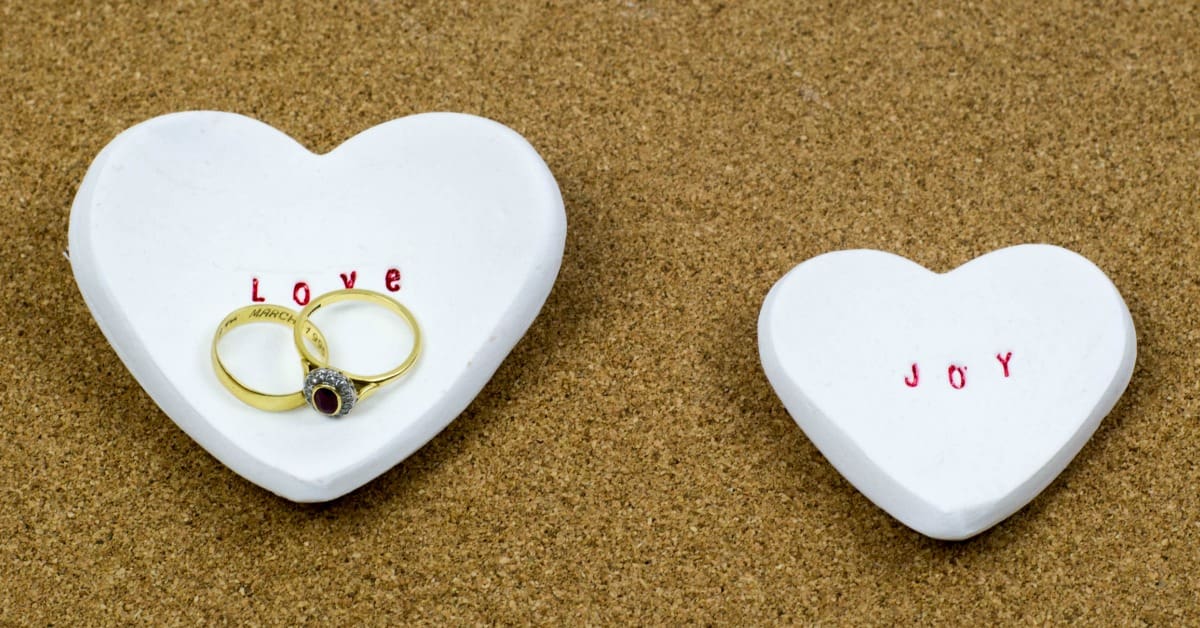
Stamp your phrase on to your heart with your tiny alphabet stamps. We secure ours together with an elastic band to make it easier for small hands. We decided to use Love and Joy as our phrases, but you could personalise your dish with a name.
Once you have cut out your dish and stamped it, then you need to place it in the bottom of a bowl so it will sag a little in the center and give you more of a dish shape. We used a small dipping bowl we had. Then I “cooked” it in the microwave using the instructions on the package., which for us was 10 minutes at setting 6 with a mug of cold water.
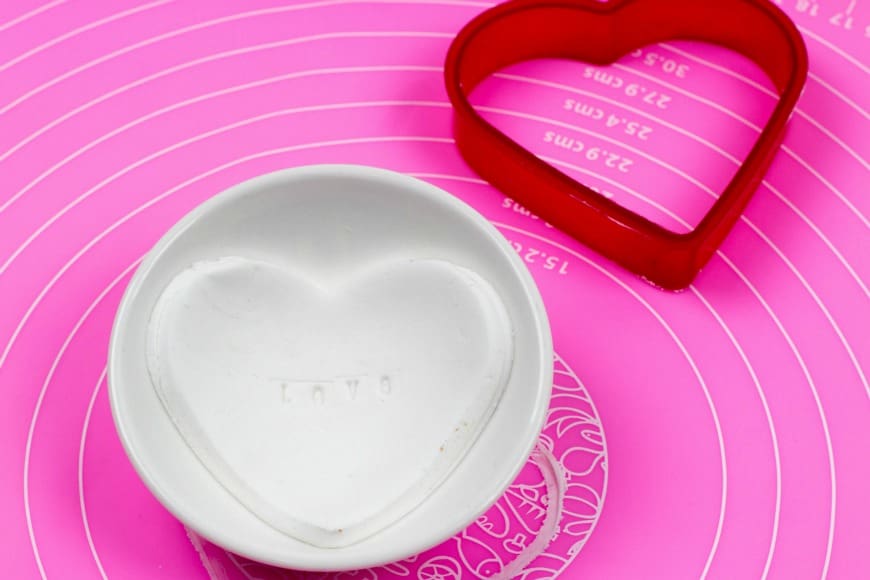
Remove the bowl from the microwave and allow the clay to cool before turning the larger bowl upside down and tapping lightly until the clay dish falls out.
You can smooth any edges of your bowl with a nail file. Just be very gentle.
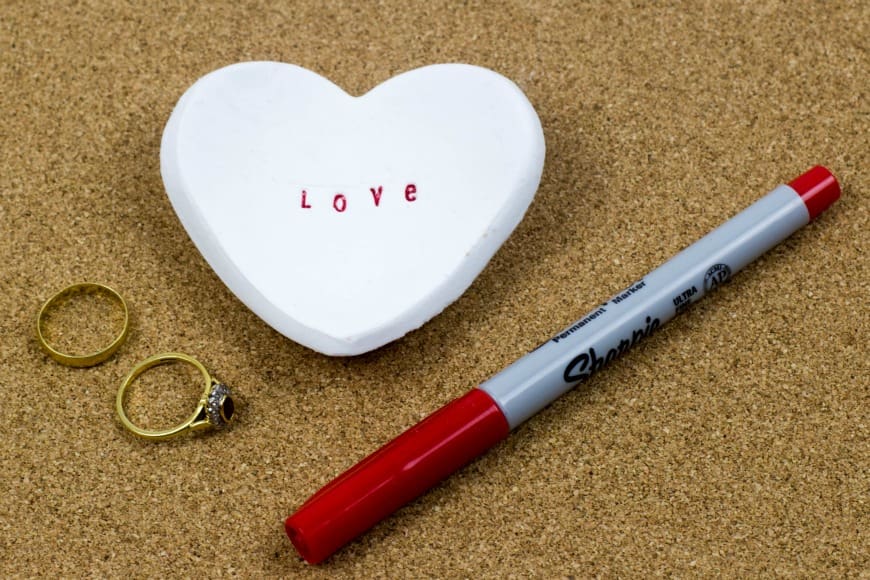
We then highlighted the phrase with a super fine sharpie.
You can then seal the dish with a glaze if you desire. The glaze won’t make the item food safe or totally waterproof, but it will give you a glossy finish. We liked the matt finish on our microwave clay heart shaped ring dish, so left them as they were.
I love them and would be delighted to receive them as a gift for valentine’s day from my children. You can find our complete Valentine craft and activities for kids resource list here
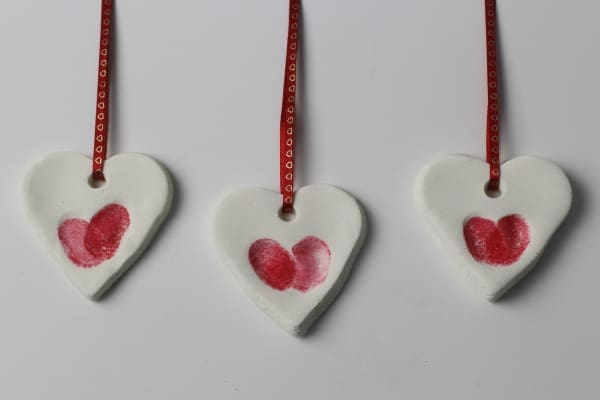
We are going to be using microwave clay for our heart fingerprint ornaments this year.
Comments are closed.