

These nail varnish marbled coasters were inspired by some eggs that we marbled a couple of years ago. It is a great kids craft for older children. I did this with Mini who is ten and he loved it. In fact, he now wants to marble anything that isn’t tied down, so I am going to get some mugs.
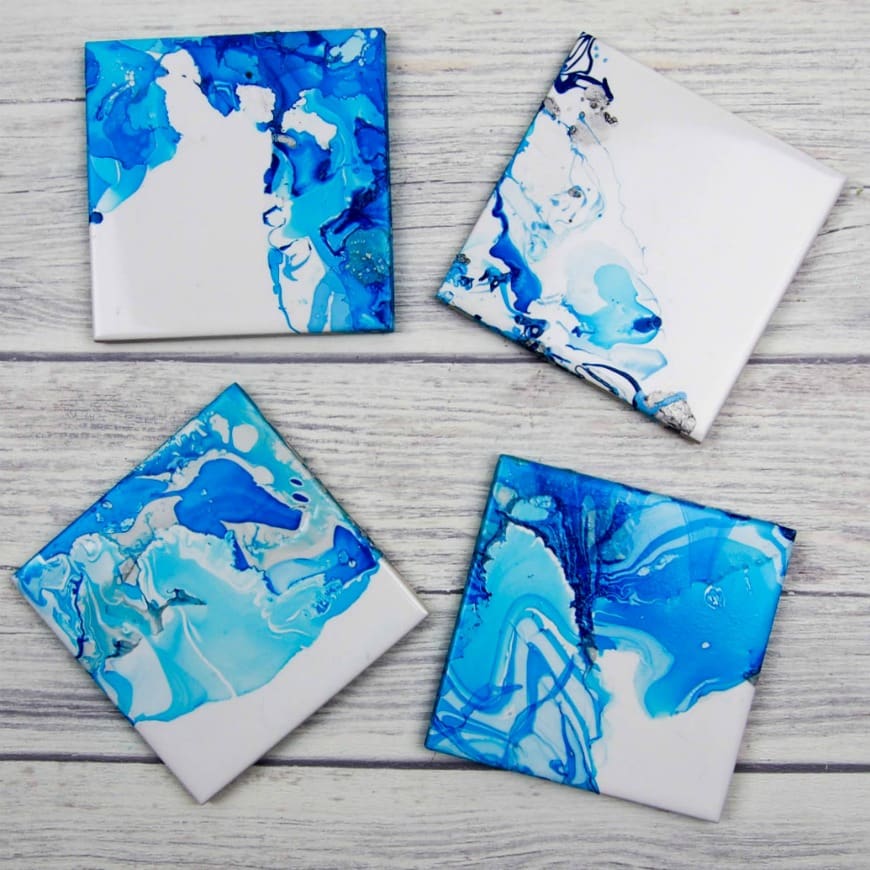
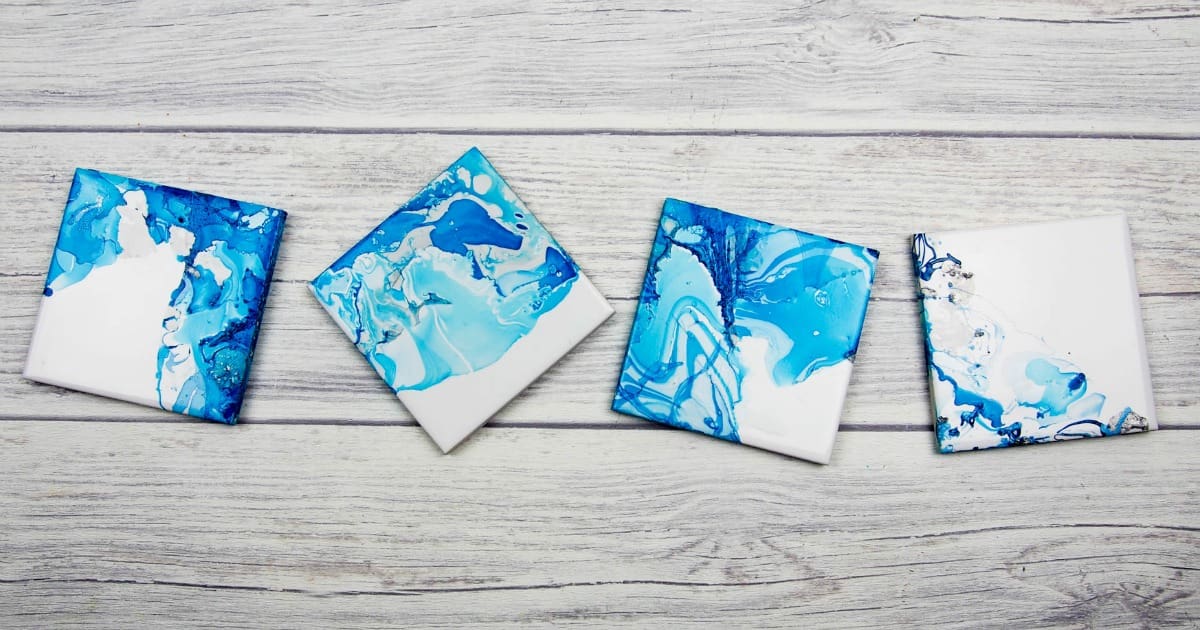
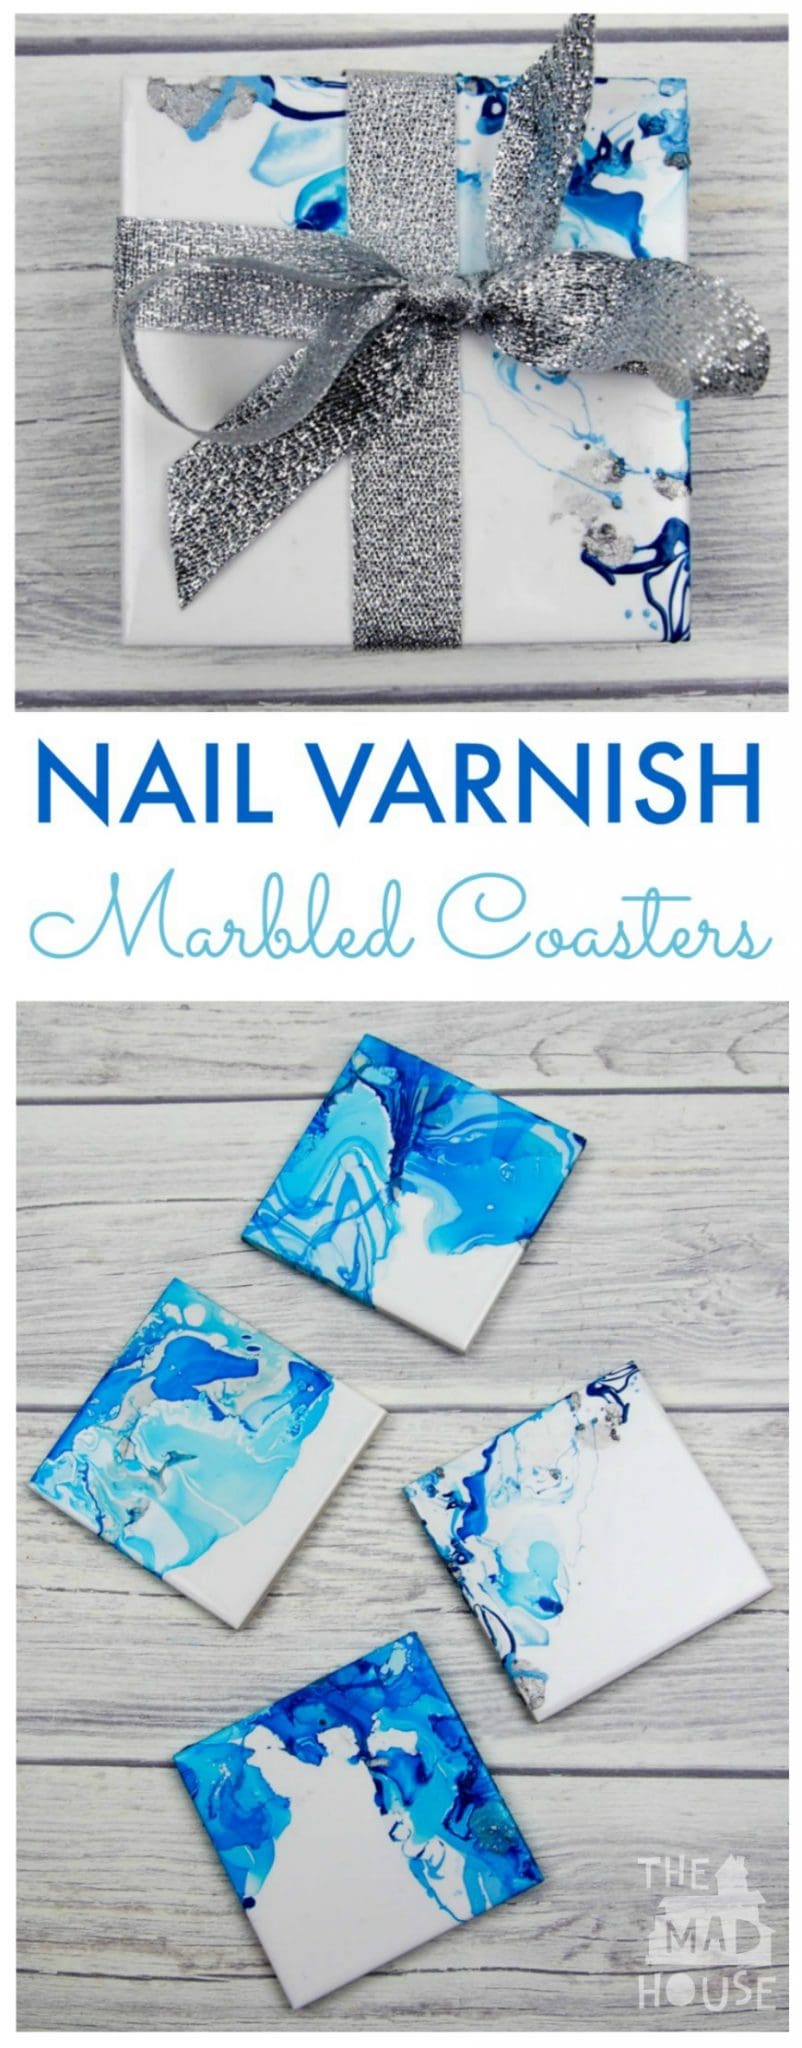
Nail Varnish Marbled Coasters
This is remarkably simple to do, you just need to make sure that you are in a well-ventilated area and that you wear gloves.
Materials:

This post contains affiliate links. If you make a purchase after clicking one of these links, I will make a small commission (hopefully enough to keep me in tea all year) – at no extra cost to you! This allows me to keep creating and sharing free tutorials and content for you. Thank you!
Nail polish (UK Link/US Link)
Disposable container
Tepid water
Tiles (UK Link/US Link)
Scrap paper for completed pieces to dry
Wooden sticks or skewers
Disposable gloves (UK Link/US Link)
Nail polish remover – for clean up (UK Link/US Link)
No products found.
How to Make Nail Varnish Marbled Coasters
Before you start you want to cover your work area with scrap paper as nail varnish can be tricky to clean off. Mini wore disposable rubber gloves for all of this craft too.
Fill your container with a couple of inches of tepid water. We used a sweet container leftover from Halloween.
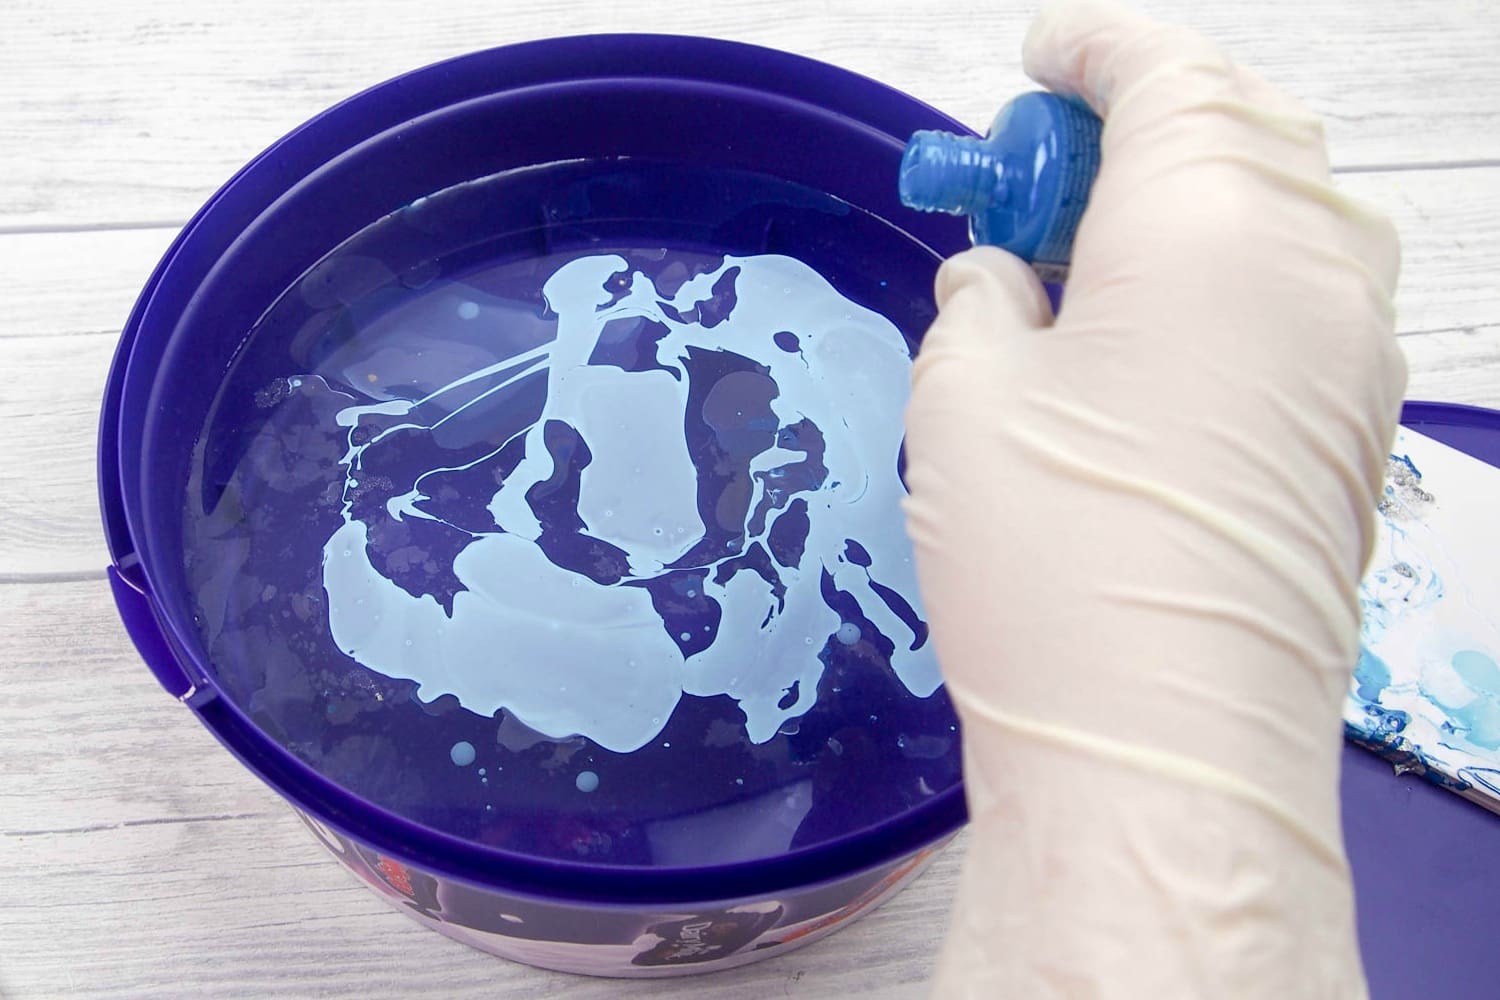
Beginning dropping in the polish. The first colour to hit the water will span out over the whole surface so beginning with a light colour is best. Continue to add colours to your desire. However, you must work fast. You want to hold your polish close to the surface so that it doesn’t hit the water too hard and just drop to the bottom.
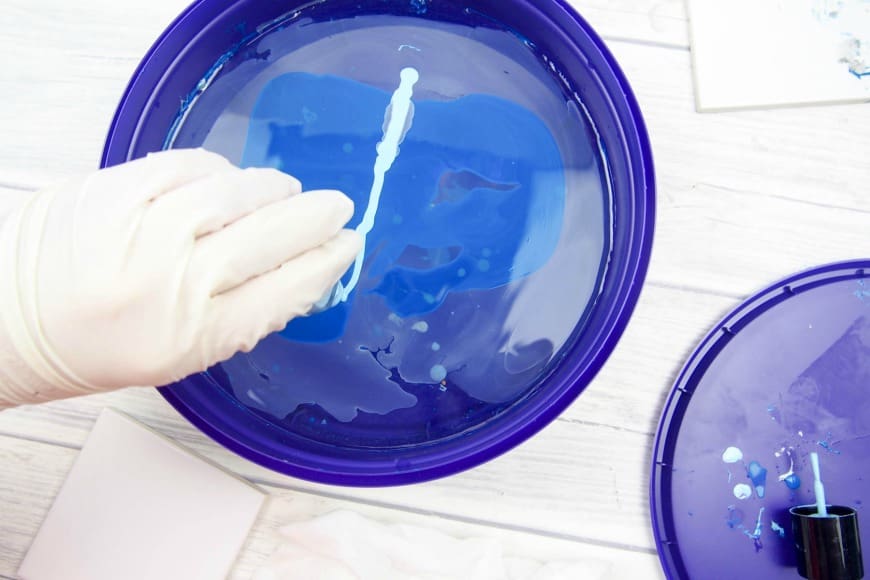
Quickly use a toothpick or wooden skewer to make swirls. Be sure to glide around just the surface of the water, if you poke too far into the water the polish will stick onto the skewer and the polish will ball up. (The polish hardens when the skewer is too far into the water.)
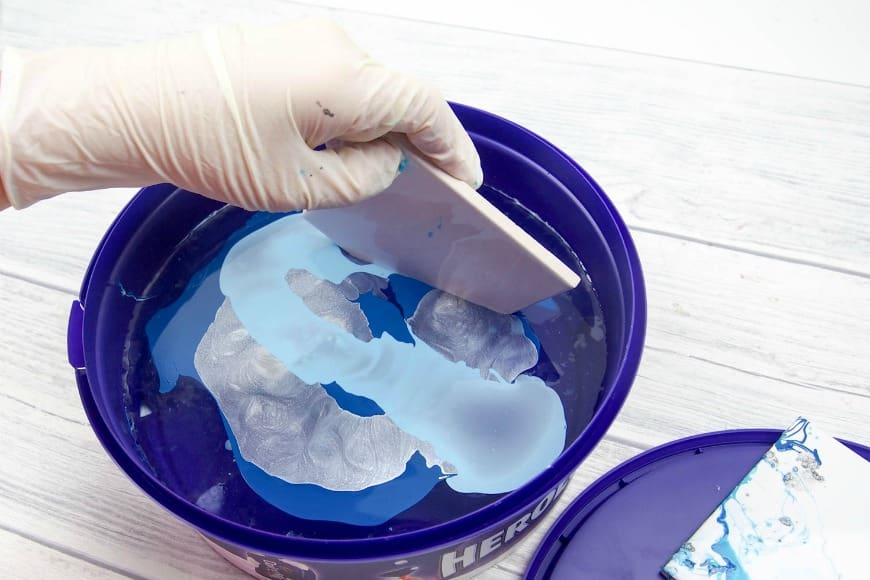
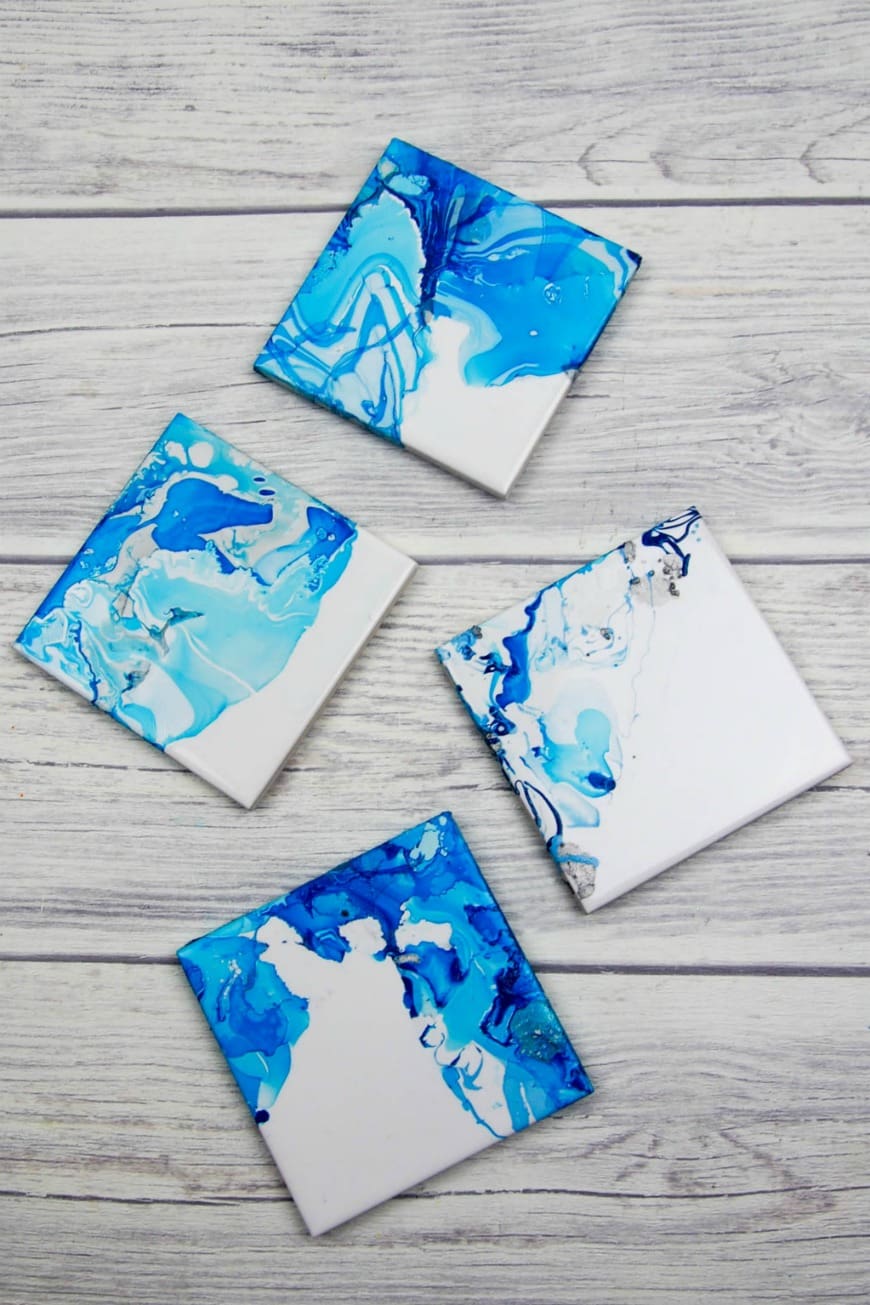
Then take your tile and dip it into the water with the tile facing down. If you want to cover the whole tile then dip it in as flat as you can so as to not cause any air bubbles. Lift out the tile and slowly turn it over and let air dry for a few hours.
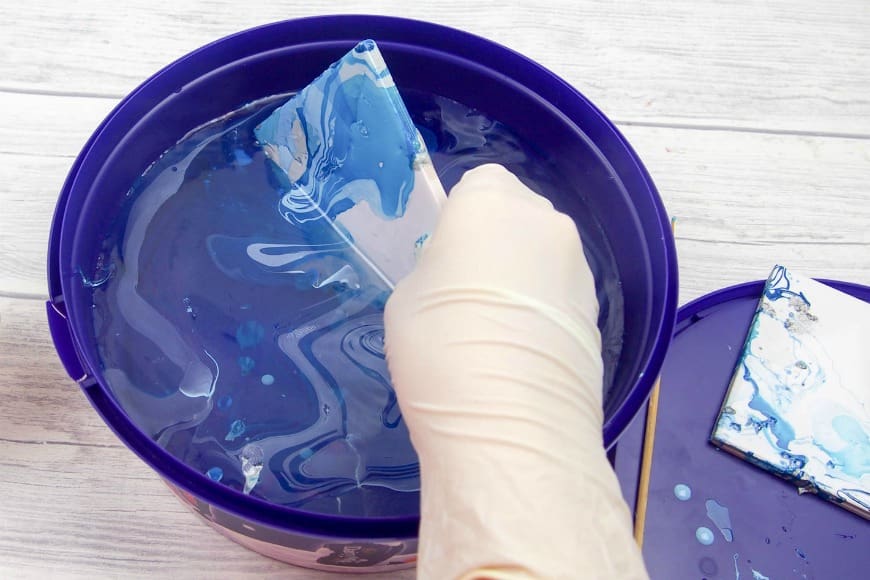
Mini wanted to just cover part of the tile, so he dipped on an angle.
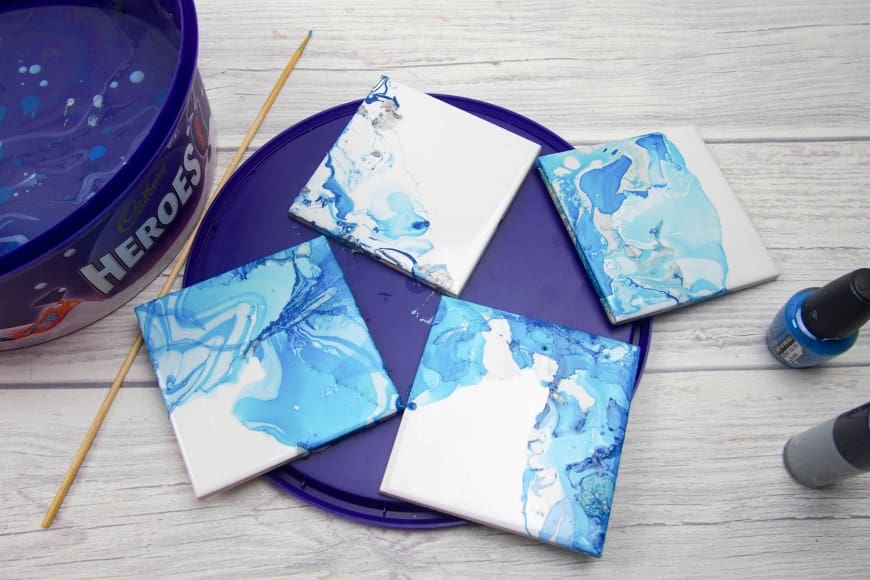
You want to do this whole process pretty fast as the nail polish tends to harden and clump quickly. Once the tile is completely dry we sprayed it with a sealant to make them heat safe.
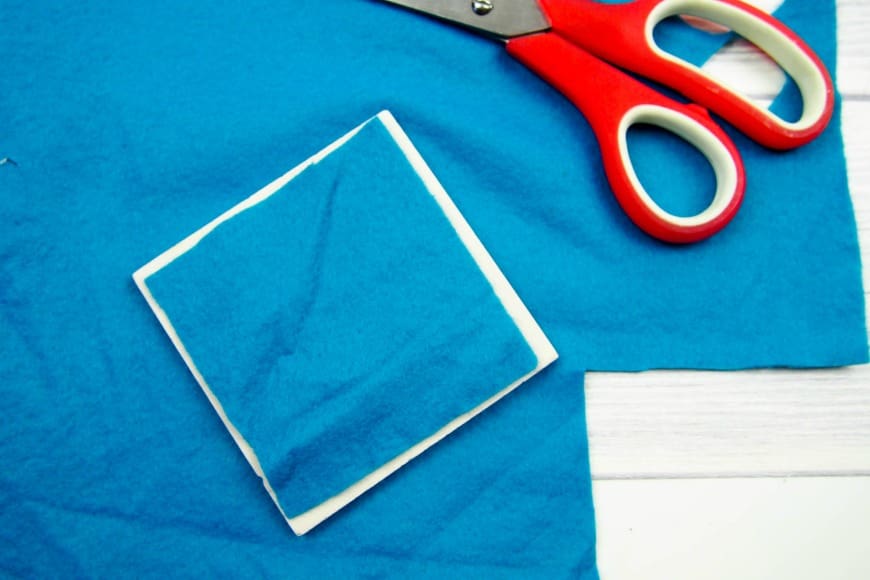
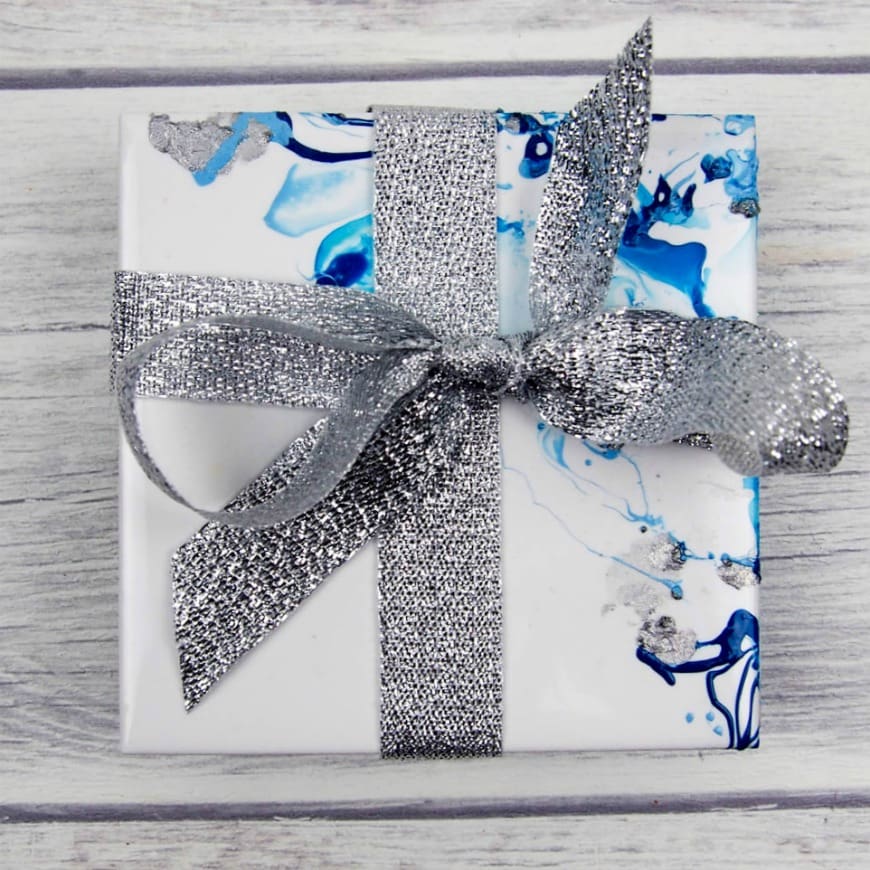
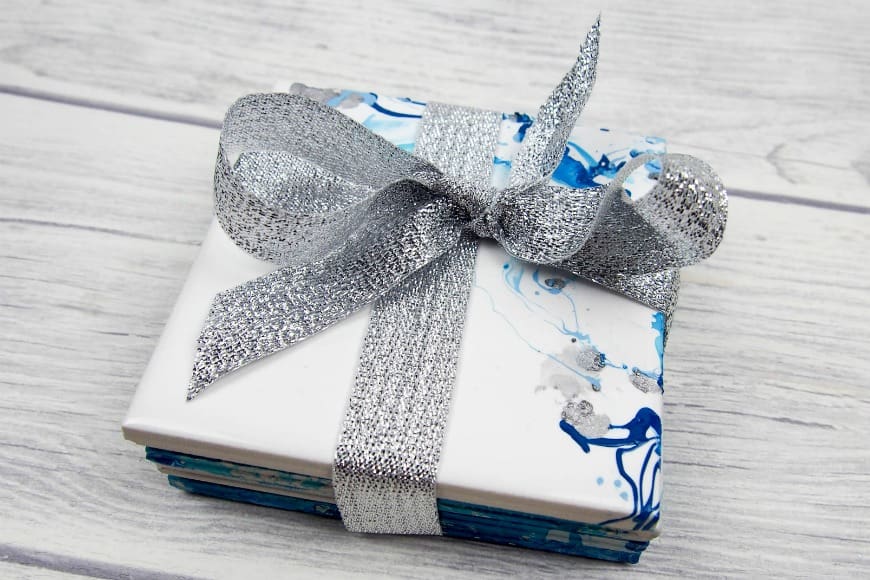
Then we cut our squares of felt and used double sided tape to stick them to the bottom of the tile and prevent them from scratching the surface.
Why not take a look at some other great kid-made gift ideas at the kid-made gifts seriesorganised by Nadia at Teach Me Mommy.

Comments are closed.