

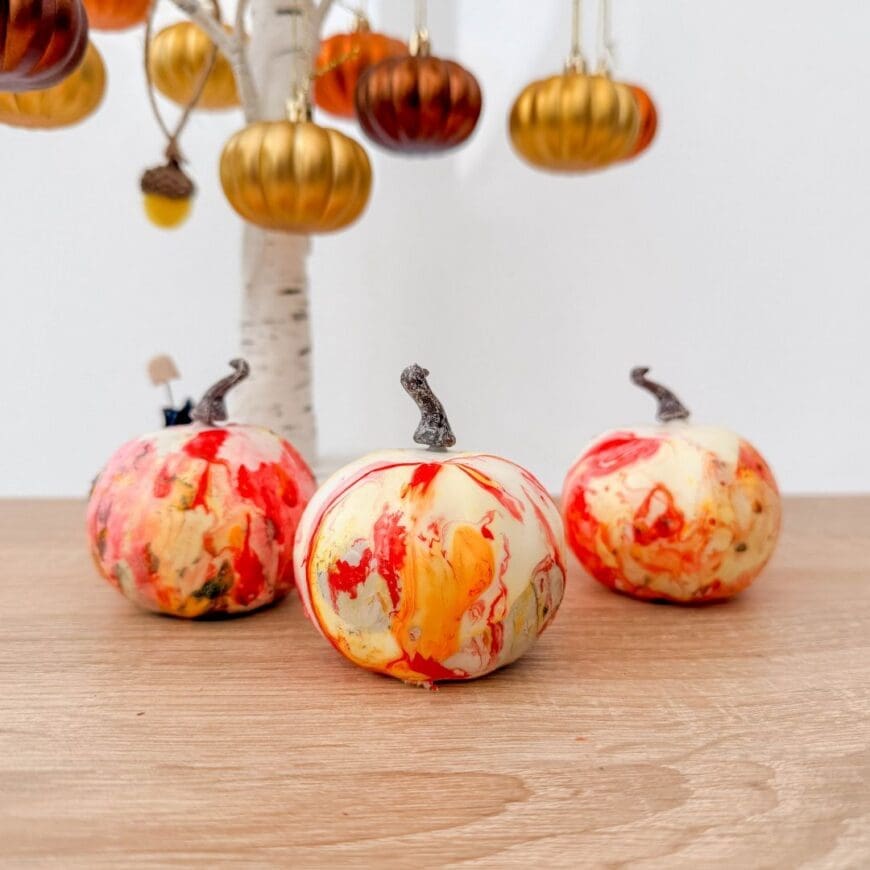
If you loved our Nail Varnish Marbled Coasters, you’re going to adore this colourful seasonal twist! Marbling a pumpkin with nail varnish is a super simple, mess-free way to decorate for autumn or Halloween — and each one turns out beautifully unique.
It’s quick, fun, and perfect for kids (with a little supervision), plus it’s a great way to use up old nail polish.
🎥 Watch the video tutorial for the full step-by-step process before you get started.
Why You’ll Love Marbling Pumpkins
- No carving, no rot, and no sticky mess!
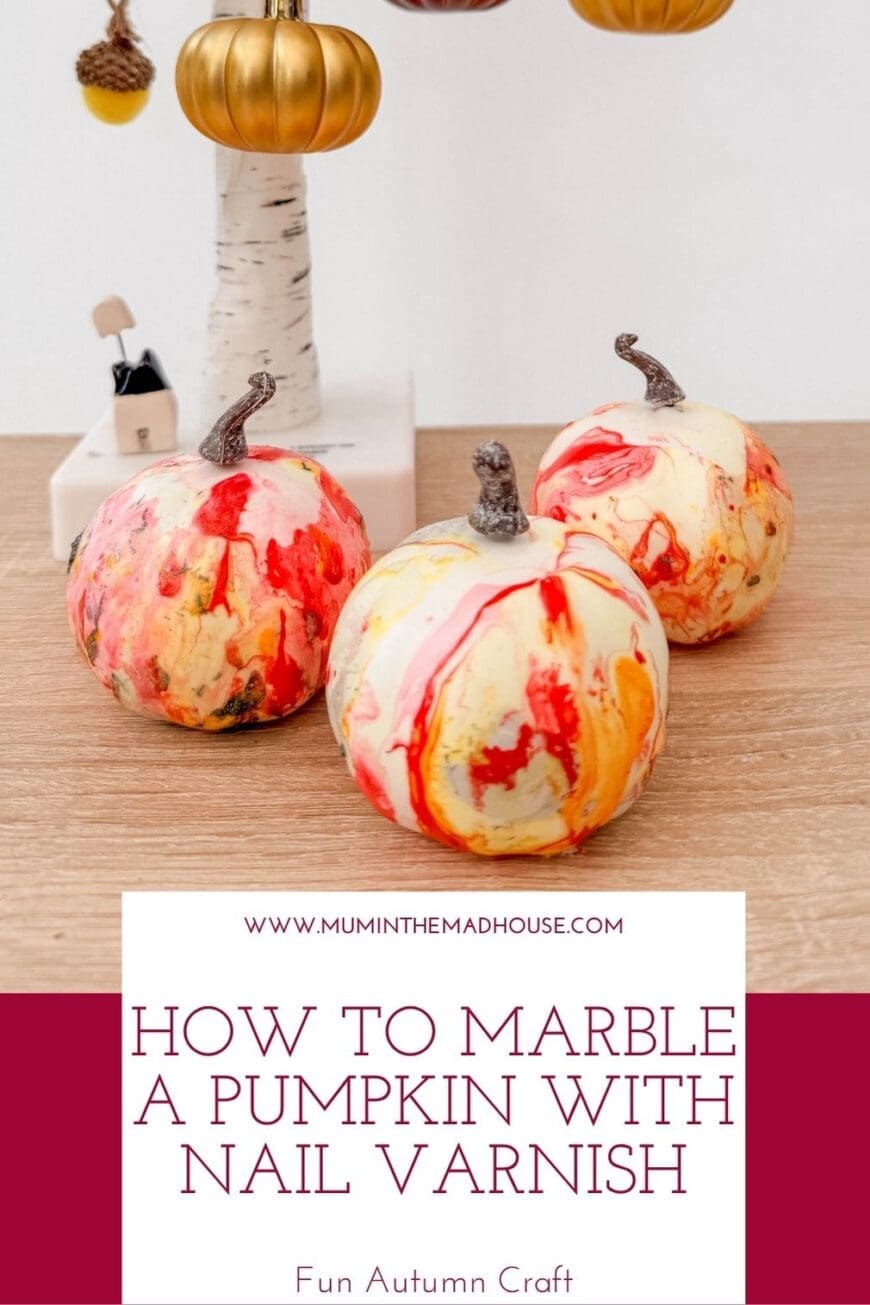
- Every pumpkin looks completely unique.
- Works with real or faux pumpkins.
- A great project for families, crafters, or quick Halloween decor.
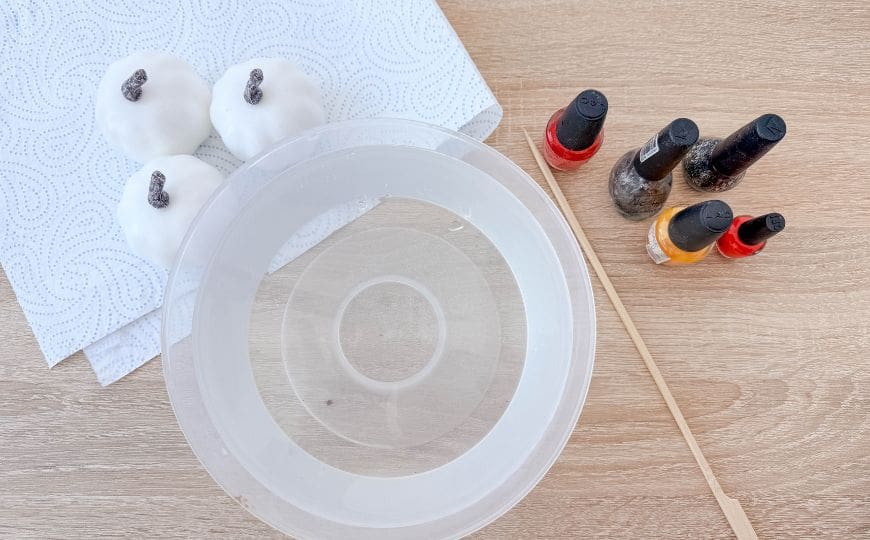
What You’ll Need
| Item | Purpose |
|---|---|
| 🟠 Pumpkin (real or faux) | Your marbling canvas |
| 💧 Room-temperature water | The base for the nail polish to float on |
| 💅 Nail varnish | Choose 2–3 colours that complement or contrast |
| 🍴 Toothpick or skewer | For swirling your marble pattern |
| 🧤 Gloves / protective sheet | Keeps fingers and surfaces clean |
| 🧻 Paper towels | For drying your finished pumpkin |
| ✨ Optional: clear varnish or spray sealant | To protect your finished design |
Top Tip: Avoid fast-drying polish — it can clump before you dip. Regular polish gives the smoothest swirl effect.
No products found.
How to Marble a Pumpkin – Step by Step
1. Prepare Your Space
Lay down newspaper, wax paper or an old cloth to catch any drips. Fill a disposable container (big enough to dip part of your pumpkin) with room-temperature water.
Tip: If you dont have a disposale container – line it with a plastic bag
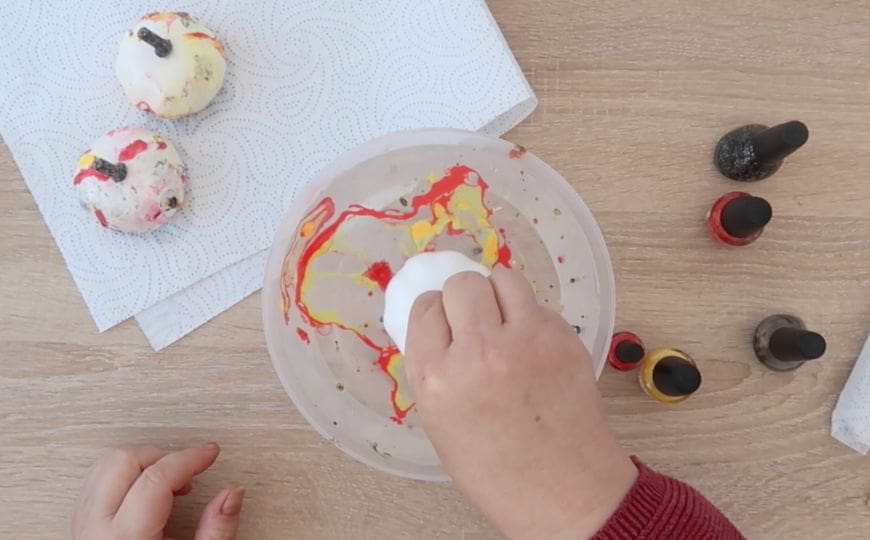
2. Add Nail Polish
Choose 2–3 nail varnish colours. Holding the bottle close to the water’s surface, drip a few drops into the water. The polish should spread across the surface of the water in thin, colourful swirls.
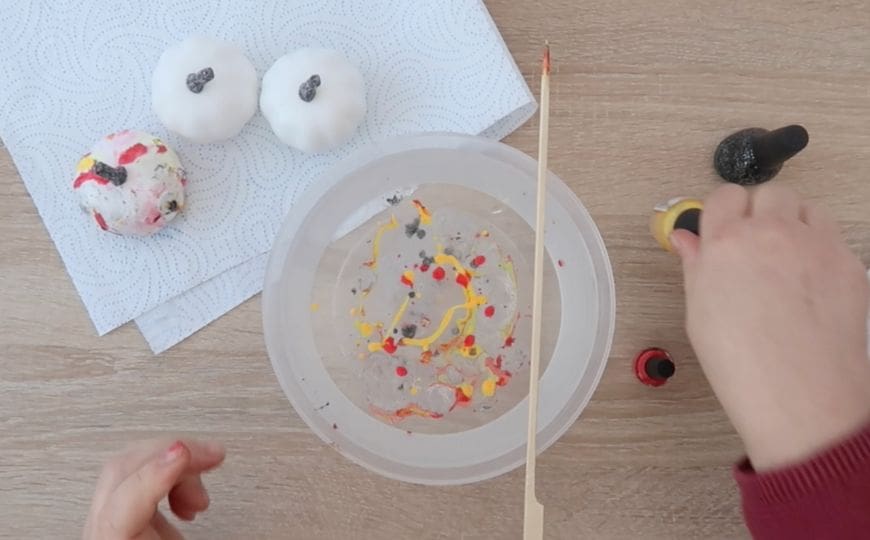
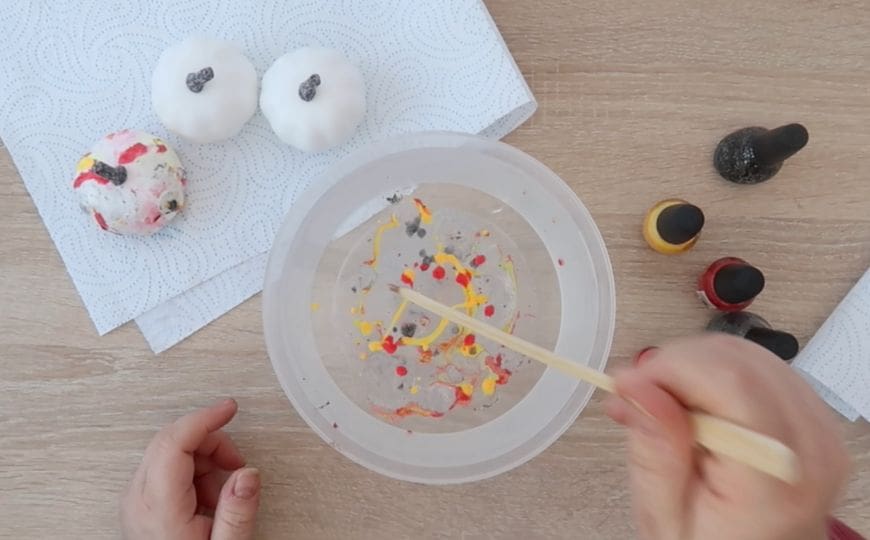
3. Create the Marble Pattern
Use a skewer or toothpick to lightly swirl the polish — don’t overmix or it’ll go muddy. You can create waves, loops, or gentle spirals.
4. Dip Your Pumpkin
Hold your pumpkin by the stem and slowly dip it into the water, twisting slightly to pick up the marble pattern. Lift it out carefully and admire your design!
5. Dry and Repeat
Set your pumpkin on paper towels or a drying rack and leave it untouched for at least 30 minutes.
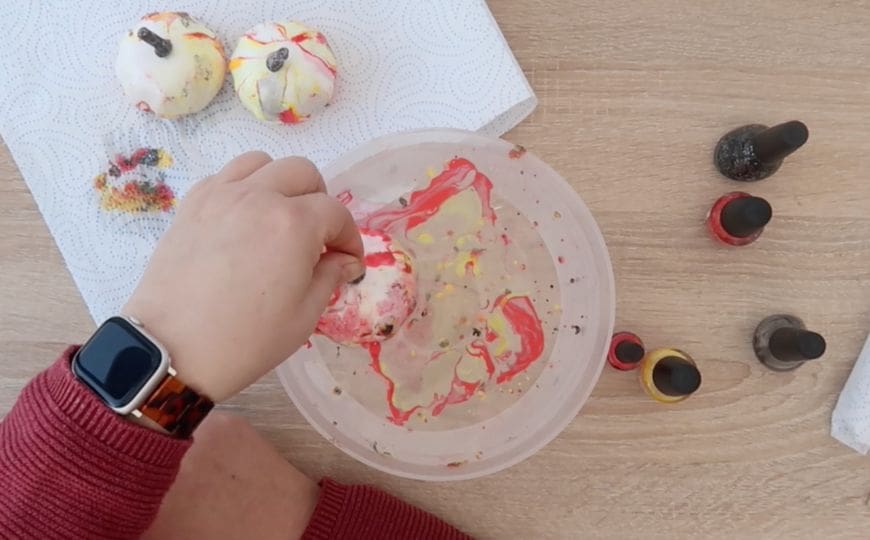
If you want to marble another section or layer colours, wait until it’s completely dry and repeat the process.
6. Optional: Seal the Design
Once fully dry, add a coat of clear varnish or spray sealant to protect your marbled pumpkin from chips and scratches — especially if you’ll be displaying it outside.
7. Dispose of your Water Responsibly
Don’t tip the water with the nail varnish residue down the sink or drain. Strain it through a paper towel or rag to collect the leftover polish.
Tips for the Best Results
🎨 Use disposable containers — nail varnish will cling to the sides.
🌡️ Keep water at room temperature — too cold or too hot will cause clumping.
💨 Work quickly! Nail polish forms a skin on the surface in seconds.
🧡 Try bold combos like orange and gold, black and silver, or pastel marble for a soft autumn look.
Kid-Friendly Version
Let little ones choose the colours and help swirl the polish, but an adult should handle the dipping. Faux pumpkins or mini craft pumpkins are ideal for this version.
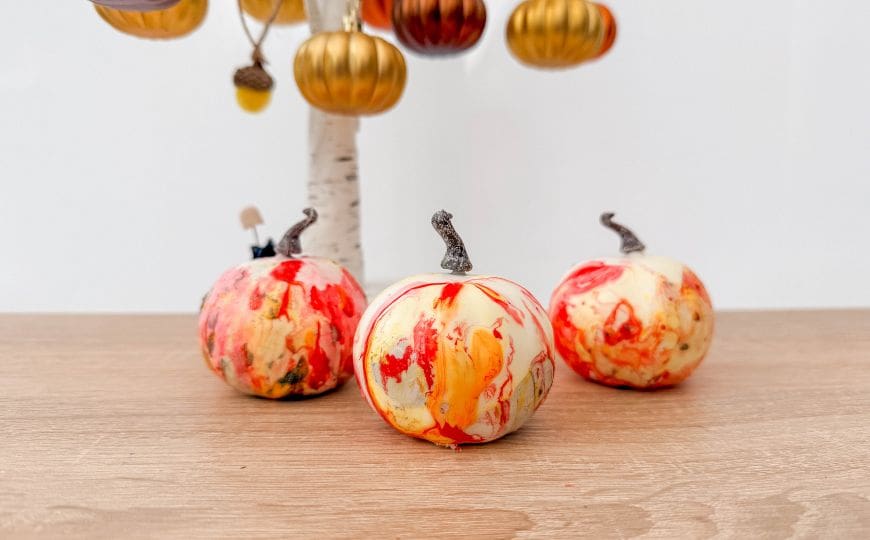
Display Ideas
- Arrange marbled pumpkins in a bowl or basket for a stylish autumn centrepiece.
- Mix with candles, leaves, or mini gourds for a cozy mantel display.
- Add glitter polish for extra Halloween sparkle!
Final Thoughts
Just like our marbled coasters, this project is simple, satisfying, and stunning. Every dip creates a one-of-a-kind finish that’s perfect for autumn crafting, Halloween decor, or even as a handmade gift idea.
So grab your nail polish, gather the family, and get creative — your marbled pumpkins are sure to steal the show this season!
💬 Tell me in the comments: What colour combo will you try first?
📌 Don’t forget to save this post to your Autumn DIY board on Pinterest!
You Might Also Like
- Nail Varnish Marbled Coasters
- Tissue Confetti DIY Decorated Photo Frame
- Nail Varnish Coasters
- DIY Painted Terracotta Plant Pots with Herb Puns