
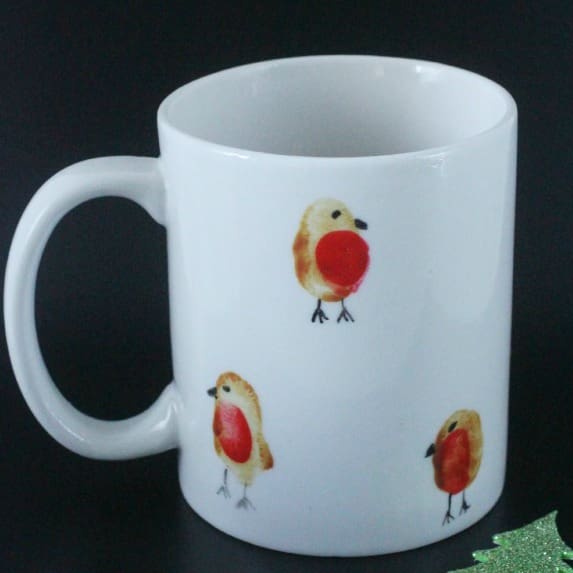
Every year we make fingerprint mugs for the teachers for Christmas. In the past we have made Reindeer mugs and flower mugs, pigs, caterpillars and bees. This year we decided to do Robin’s like last years Robin cards. These Robin thumbprint mugs are so simple to make and really effective for kids of all ages.
How to make Robin Thumbprint Mugs
This post contains affiliate links. If you make any purchases after clicking one of these links, I will make a small commission (hopefully enough to keep me in tea all year) – at no extra cost to you! This allows me to keep creating and sharing free tutorials and content for you. Thank you!
Materials
- Inexpensive porcelain cups (50p each from Asda)
- porcelain paint pen
- porcelain paint


Make sure you have baby wipes or a bowl of soapy water on hand to clean up dirty thumbs and fingers!
Using a paintbrush apply a small coat of brown paint to your child’s thumb, or if they are bigger they can do this themselves.
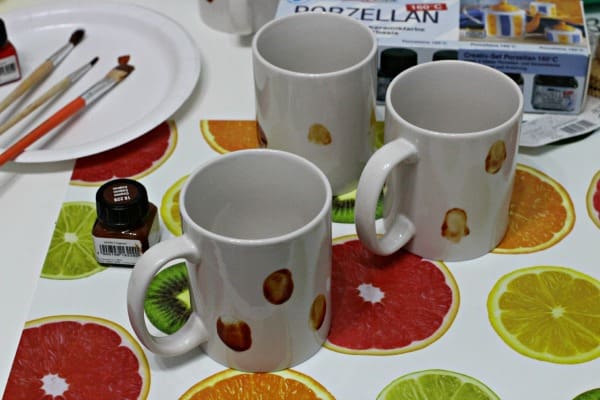
Then apply the thumb to the cup and hold. The aim is to try and remove it without wiggling it too much, but it really doesn’t matter and they are still cute smudged.
Continue to do this around all the cups and then leave 30 minutes to allow to dry.
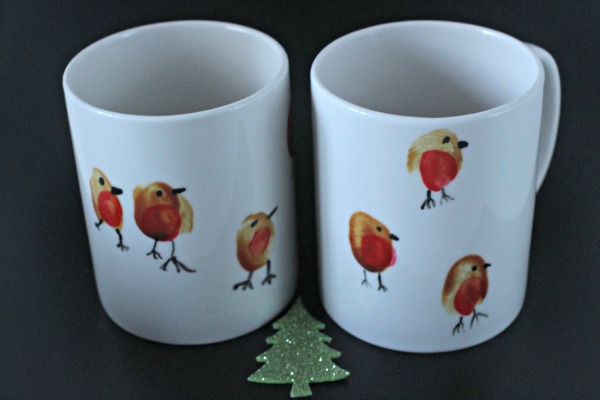
Using red paint apply a “red breast”. We use a little finger tip to do this. Then allow to dry for 30 mins before adding the legs, beak and eye with the black fine tipped porcelain paint pen.
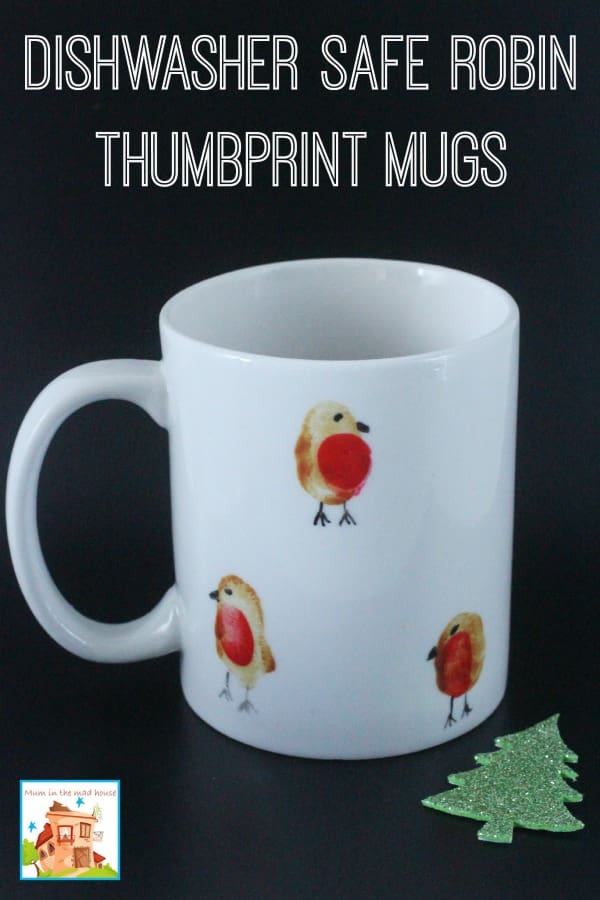
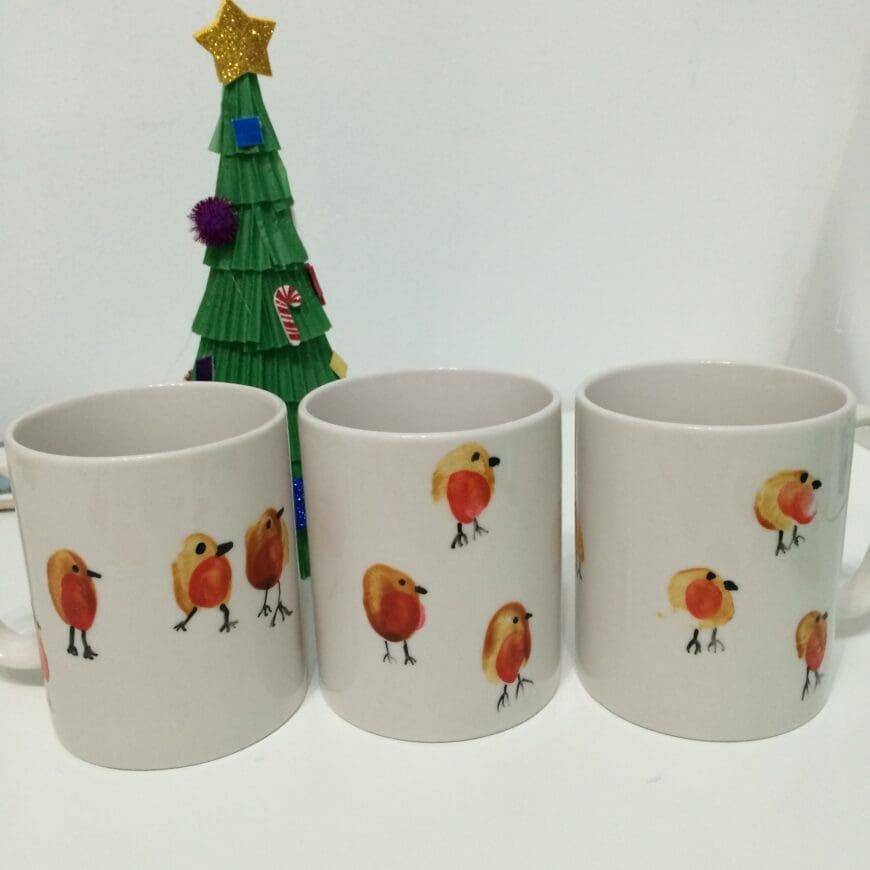
We then follow the instructions on the paint for baking the mugs so that they are dishwasher proof. We have mugs that are more than 5 years old that are still going strong.
Comments are closed.