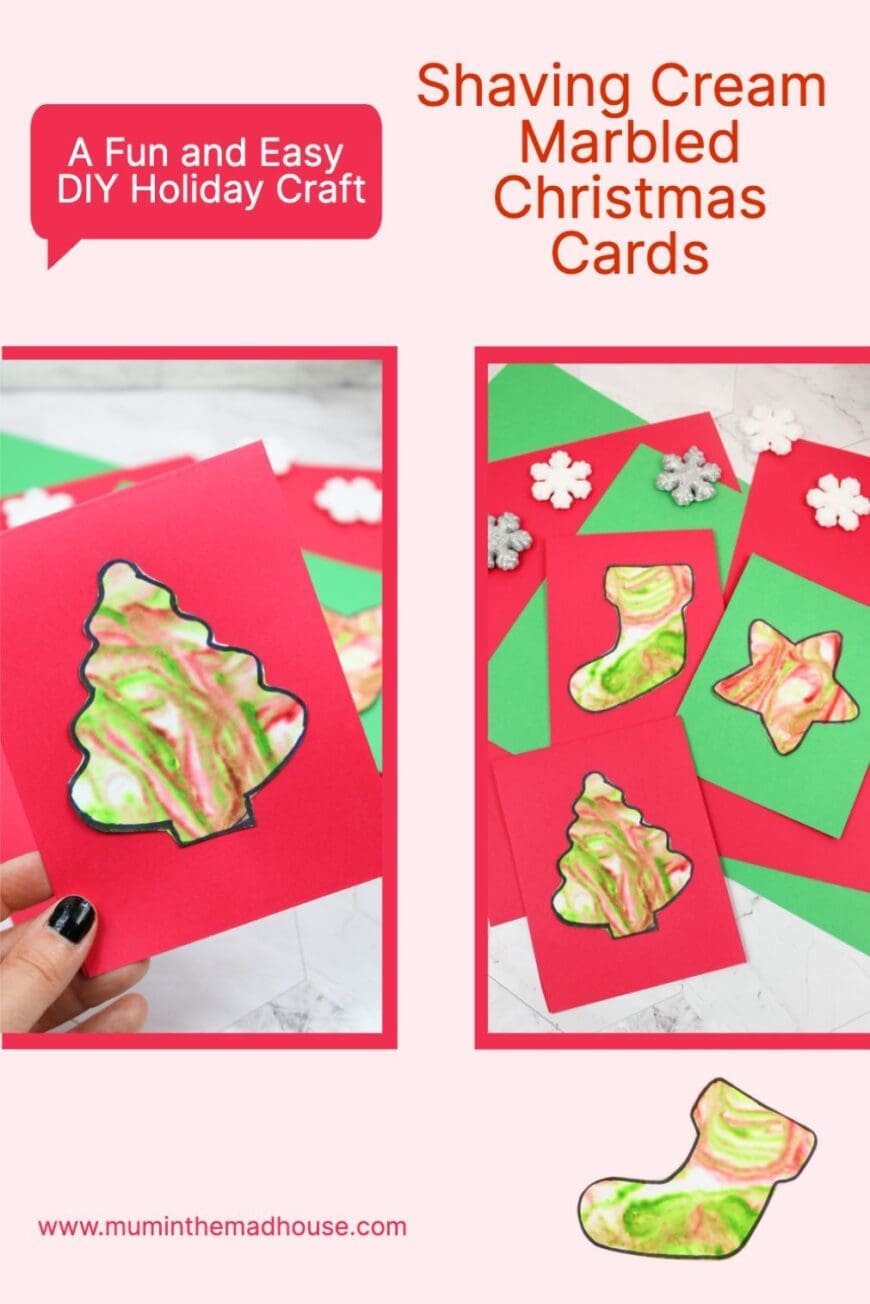
The holiday season is the perfect time to get creative with handmade gifts and cards. One fun and unique way to create personalized Christmas cards is using a shaving cream marbling technique! This easy and messy craft is a hit with kids and adults alike. The swirling colors give each card a stunning, one-of-a-kind look that’s sure to impress family and friends.
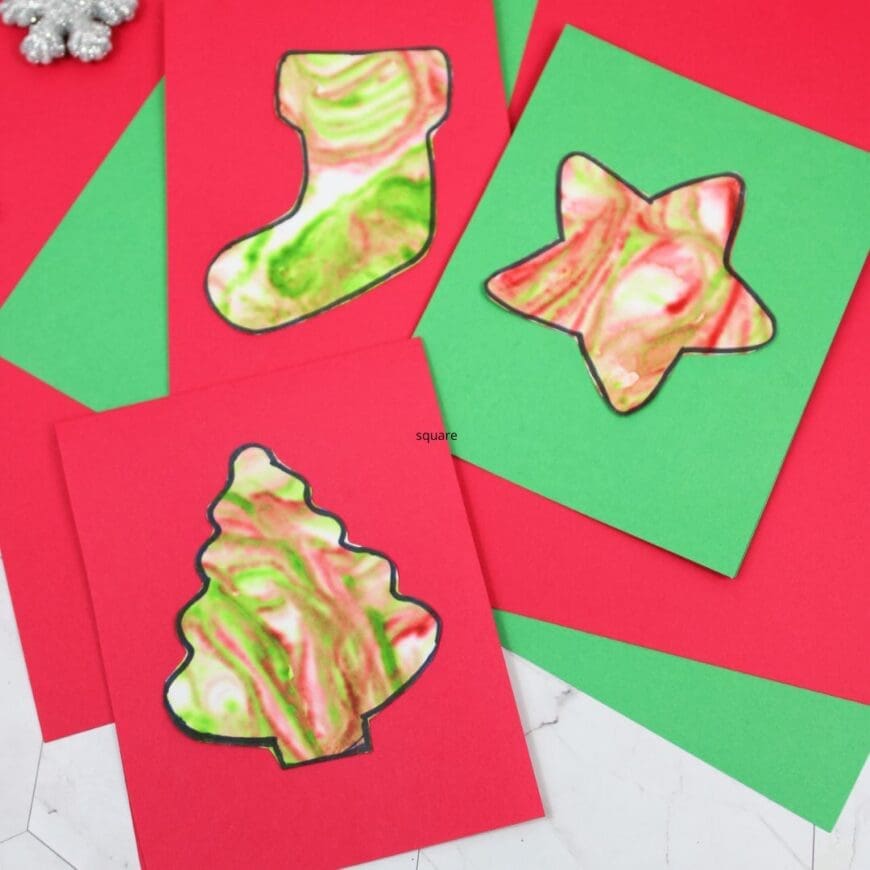
Here’s how to make your own marbled Christmas cards using shaving cream and food coloring.
Supplies You’ll Need:
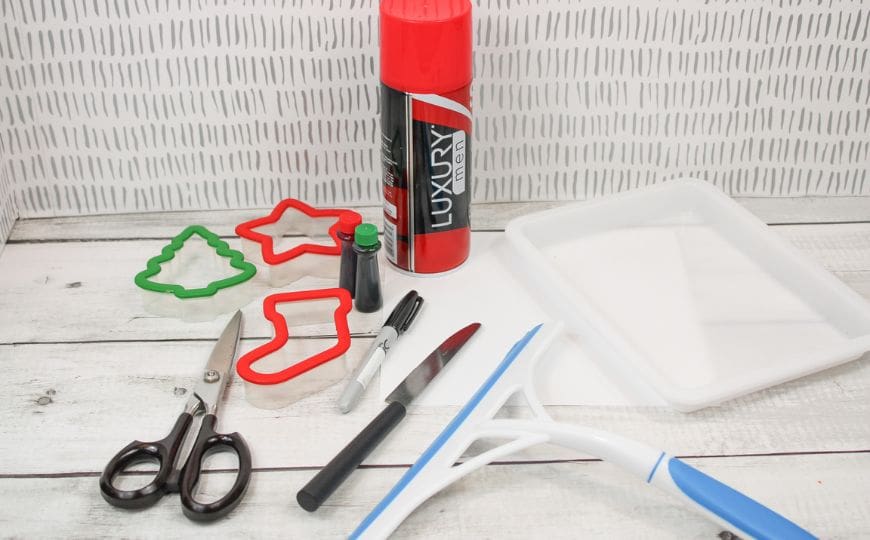
- Cardstock paper
- Christmas cookie cutters (shapes like stars, trees, or snowflakes)
- Food coloring (red and green for a festive touch)
- Shaving cream (foam, not gel)
- Butter knife
- Colorful paper (green or red works well for the card backing)
- Scissors
- Glue stick
- Marker for writing your message
- Small baking sheet or shallow dish
- A piece of cardboard or a squeegee
- Cooling rack
This post contains affiliate links. If you make any purchases after clicking one of these links, I will make a small commission (hopefully enough to keep me in tea all year) – at no extra cost to you! This allows me to keep creating and sharing free tutorials and content for you. Thank you!
No products found.
Instructions:
- Prepare Your Materials:
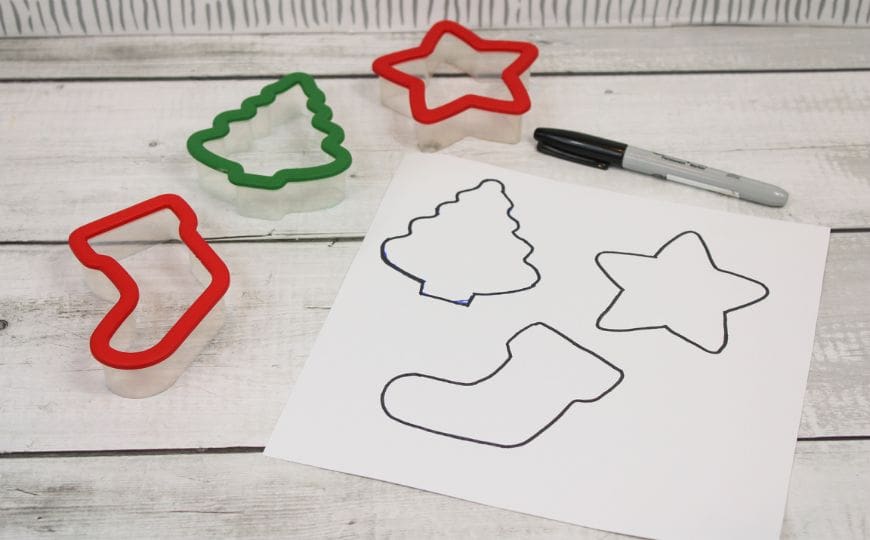
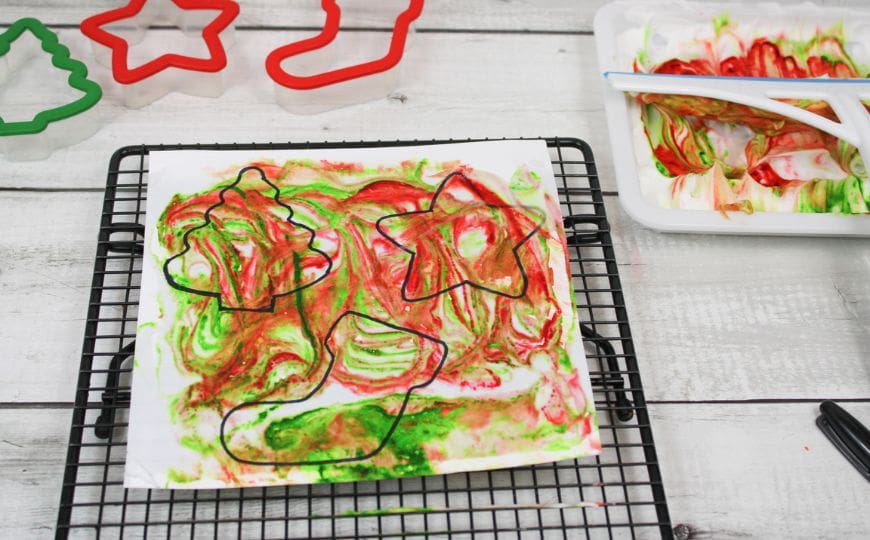
Gather all the supplies you need. Start by tracing your Christmas cookie cutters onto a piece of cardstock. You can make trees, stars, snowflakes, or any festive shape you like!
- Create the Marbling Mixture:
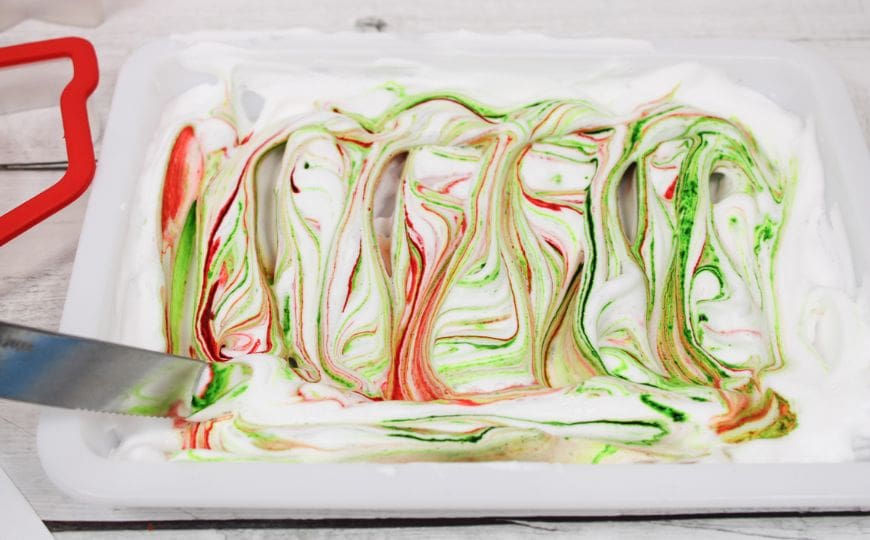
Fill a shallow dish with a layer of foam shaving cream. Next, drop red and green food coloring onto the shaving cream. Using a butter knife, gently swirl the colors around to create a marbled effect—don’t overmix, or the colors will blend too much.
- Marble the Paper:
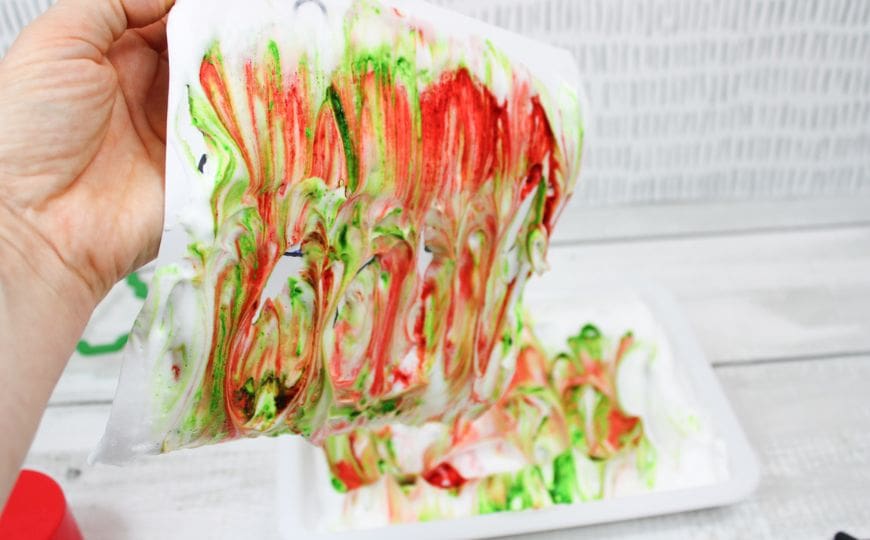
Press the cardstock (traced side down) into the shaving cream and food coloring mixture. Press lightly to ensure the entire surface picks up the swirling colors. Then, carefully lift the paper and place it onto a cooling rack. Important: Don’t scrape the shaving cream off just yet! Let the paper sit for 30 minutes.
- Remove the Excess Shaving Cream:
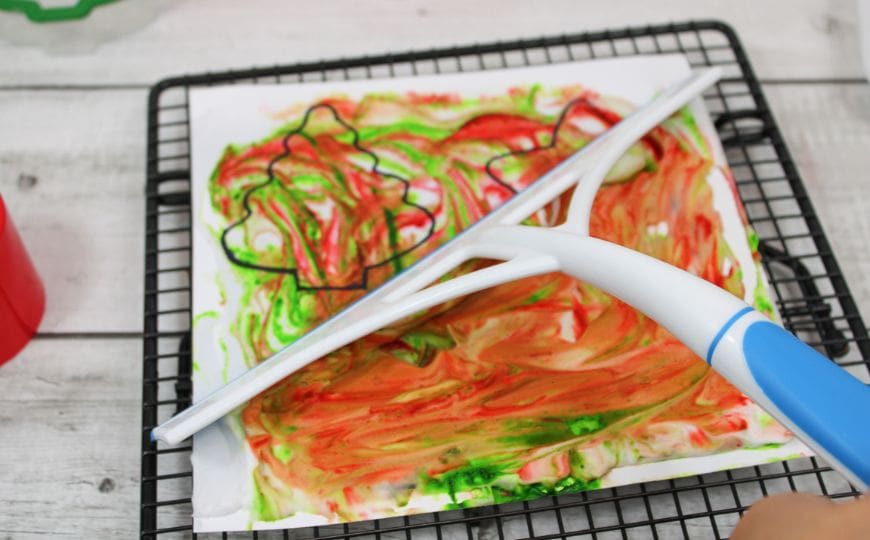
After the paper has dried a bit, use a piece of cardboard or a squeegee to gently scrape off the excess shaving cream, revealing your beautiful marbled design underneath.
- Let the Paper Dry:
Place the paper back on the cooling rack and allow it to dry completely, preferably overnight, to avoid smudging.
- Assemble the Cards:
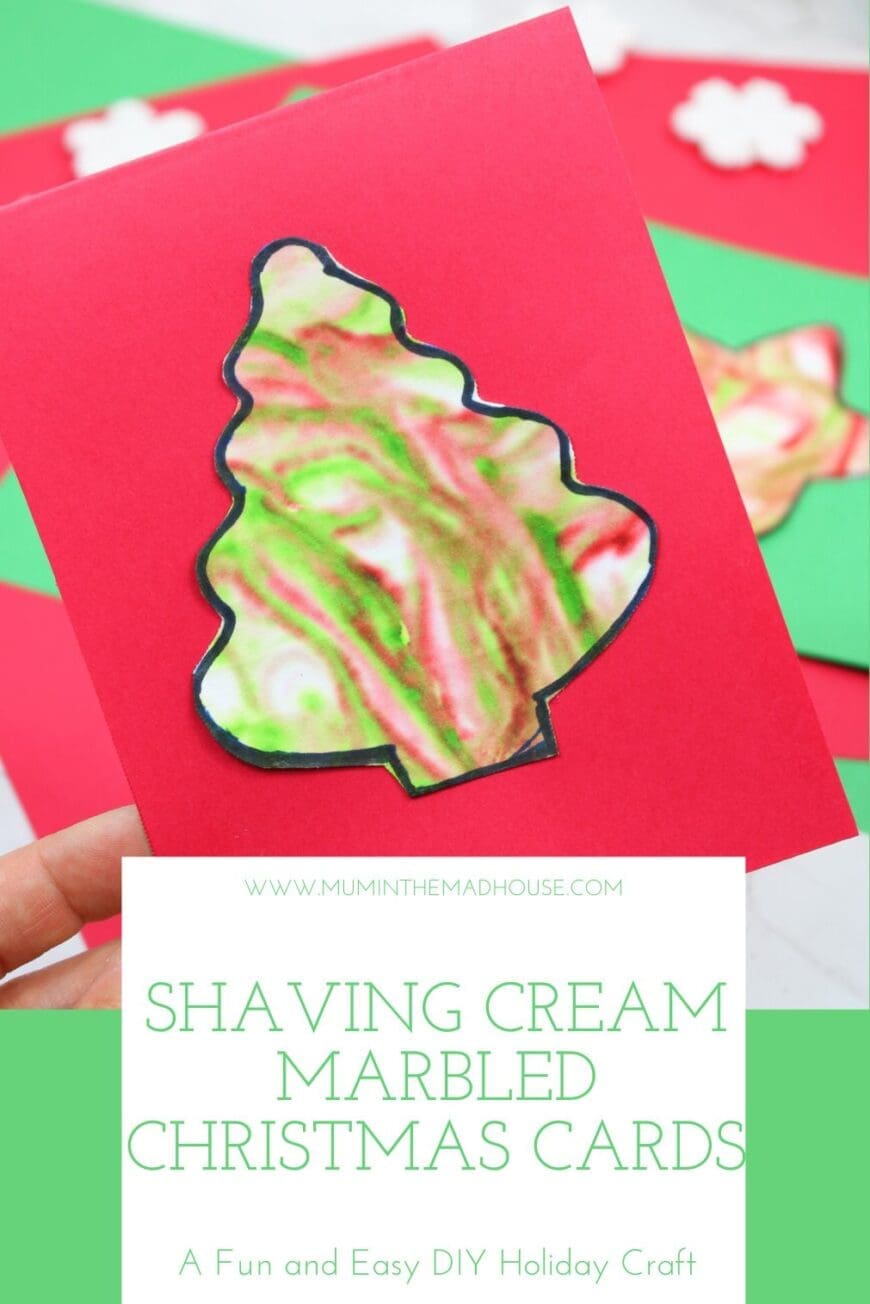
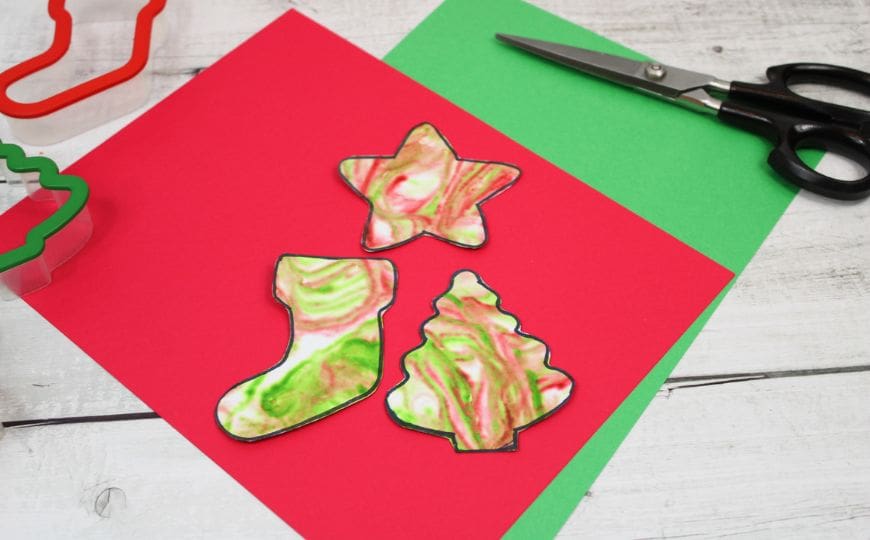
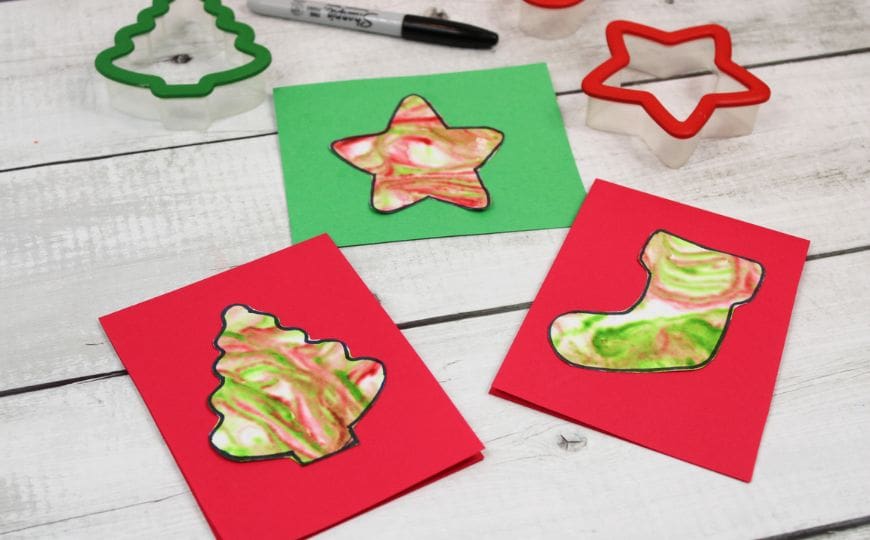
Once dry, cut out your cookie cutter shapes. Fold your colored cardstock in half to create a card base, then glue your marbled shapes onto the front. You can use red or green cardstock for a festive backdrop.
- Add a Personal Touch:
Write a holiday greeting inside the card using a marker. You can also add extra decorations like glitter or stickers if desired.
Why This Craft is Perfect for the Holidays:
- Creative and Fun: The marbling technique is exciting for kids to experiment with, and no two cards are alike!
- Personalized Touch: Handmade cards are a thoughtful way to show your loved ones you care.
- Simple Supplies: You probably already have many of the items needed for this craft at home.
This Shaving Cream Marbled Christmas Card activity is an easy, festive, and fun way to spread holiday cheer. It’s perfect for a family crafting session or as a classroom activity. Plus, it’s messy enough to be exciting but simple enough that anyone can enjoy it!
Try It Today!
Give this marbling technique a try and create something beautiful to share with friends and family this holiday season. Looking for other Kid made Christmas cards, we have a whole series