


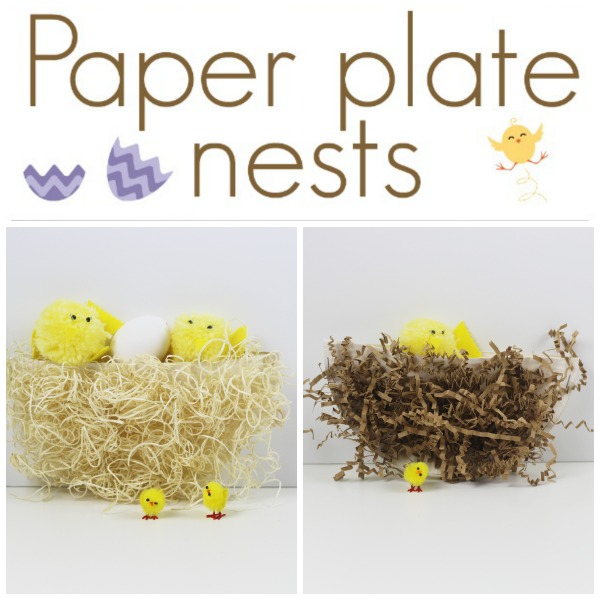
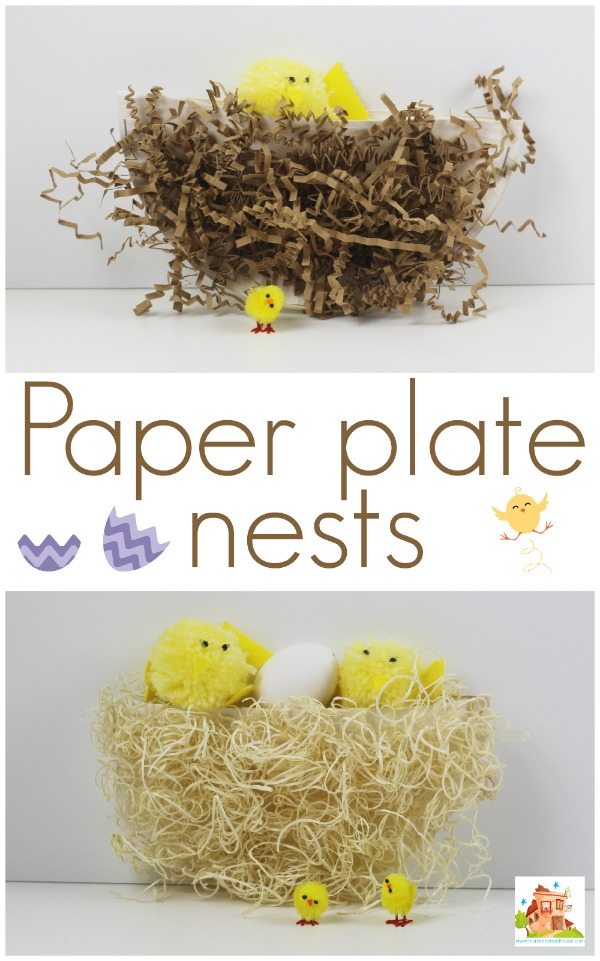
I have been looking after my friends three year old and we have been having so much fun with some easy, but satisfying craft projects. One of which is this super simple paper plate nests for our pompom chicks. Once we made these he had so much fun playing with both the nests and chicks.
How to make paper plate nests
This post contains affiliate links. If you make any purchases after clicking one of these links, I will make a small commission (hopefully enough to keep me in tea all year) – at no extra cost to you! This allows me to keep creating and sharing free tutorials and content for you. Thank you!
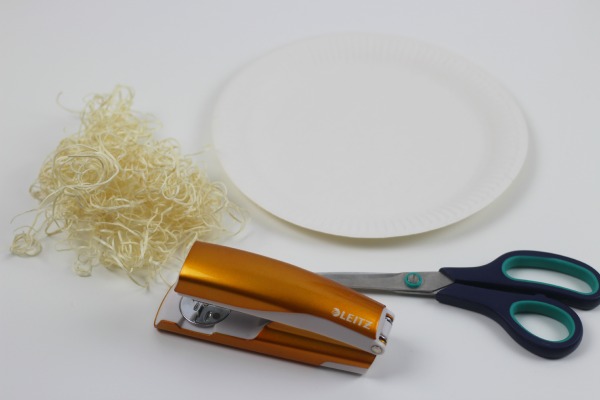
Materials
- Paper plates
- Stapler
- Nest material – we recycled some packaging materials we had
- Low melt glue gun or double sided tape
- Scissors
No products found.
This is a really fun and simple craft that helps with scissor skills and fine motor skills and is perfect for toddlers and preschoolers (Q is nearly four). We used our low melt glue gun, but please do supervise any child with this. I used it and Q did the sticking and knew to keep his fingers clear of it.
If you are concerned then you could use double sided tape or even tacky glue, but you would need to leave the plate and glue to set for quite a while, whereas glue guns dry really fast.
Instructions:
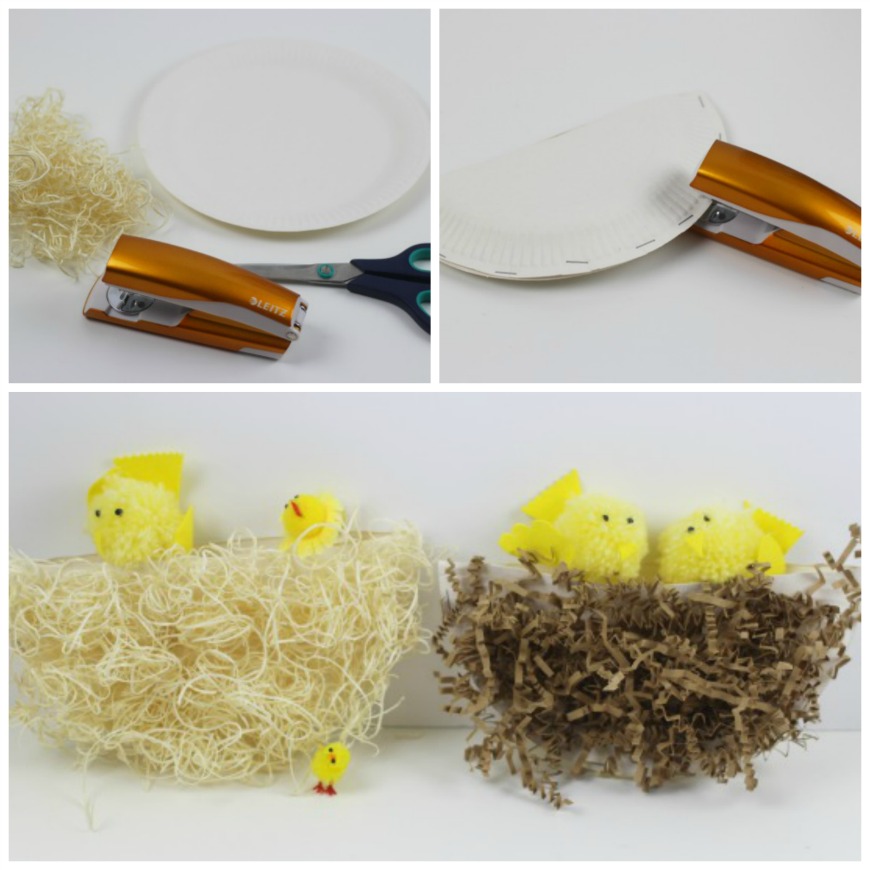
Cut the paper plate in half. As the plates are cardboard you need to use good scissors. As I was supervising Q used metal kids scissor
.
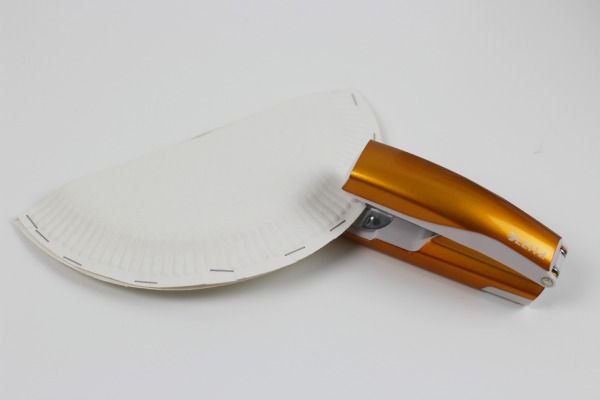
Staple the curved edges together. Q really loved stapling the plates together, in fact he just loved stapling full stop! He continued stapling anything and everything for around 10 minutes after we had finished making our paper plate nests!
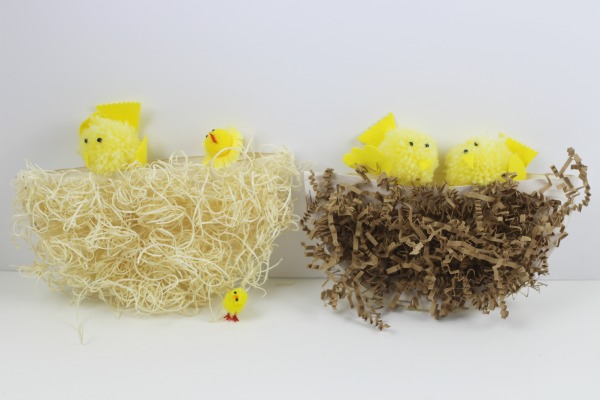
Cover the nest in your material. We recycled some packing material I had saved. One nest has a straw type packing material and the other nest has concertina packing paper, but these would look ace with real twigs on or even tissue paper or you could use paper from your paper shredder.
I am really pleased the way that these turned out and Q has taken them home to play with!
Comments are closed.