


These yarn wrapped pumpkin lanterns are wonderfully hands-on and messy process art. Not all children enjoy getting this hands-on, it is not something that Maxi my eldest enjoys, but Mini loves the whole sensory experience of making these.
Mini is a real sensory seeker and he loves any art or craft activity that involves him getting mucky, messy or getting his hands gloopy! One thing that I always make sure if that I have a sink full of water and protect any precious surfaces. Now he is older he is much more contained, but when he was younger, I would have insisted on an art smock and have covered the table with an old oil cloth. Now he is older we work on a tray, but I still make sure that he isn’t wearing anything precious and that the sink or bath is full!
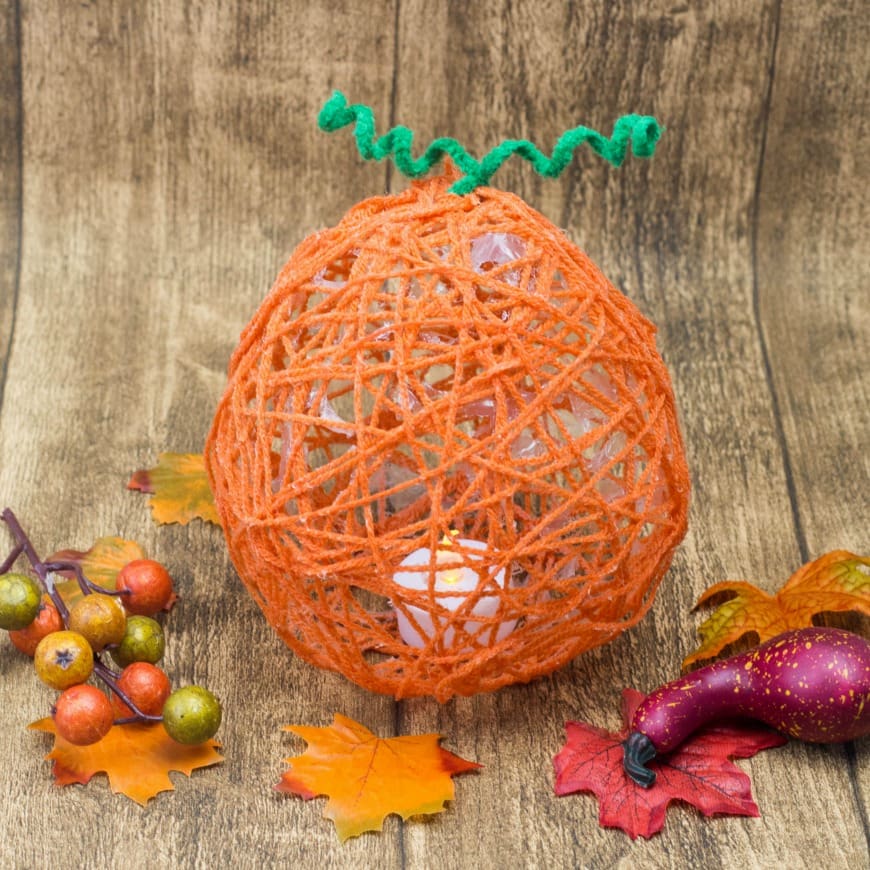
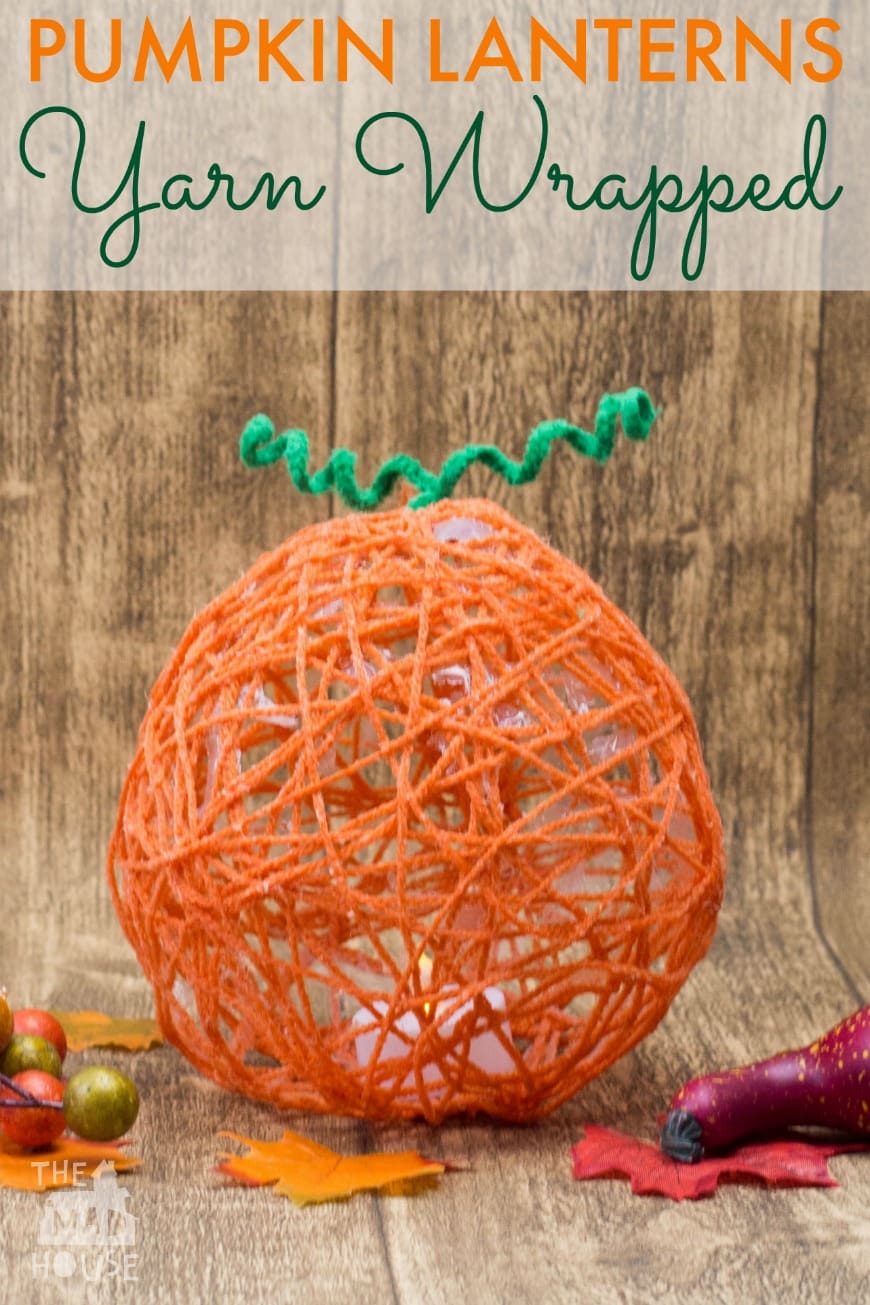
I am a big fan or yarn and this is a great way of using up leftovers that you have. We first saw this used to make Easter Eggs (I can not remember where) and I thought it was a fab idea. Autumn is pretty dark here in the UK and we decided to add tealight to the pumpkin to make a light for our dining table. I can really see a whole pumpkin patch filled with these yarn wrapped pumpkin lanterns.
Yarn Wrapped Pumpkin Lanterns
This post contains affiliate links. If you make any purchases after clicking one of these links, I will make a small commission (hopefully enough to keep me in tea all year) – at no extra cost to you! This allows me to keep creating and sharing free tutorials and content for you. Thank you!
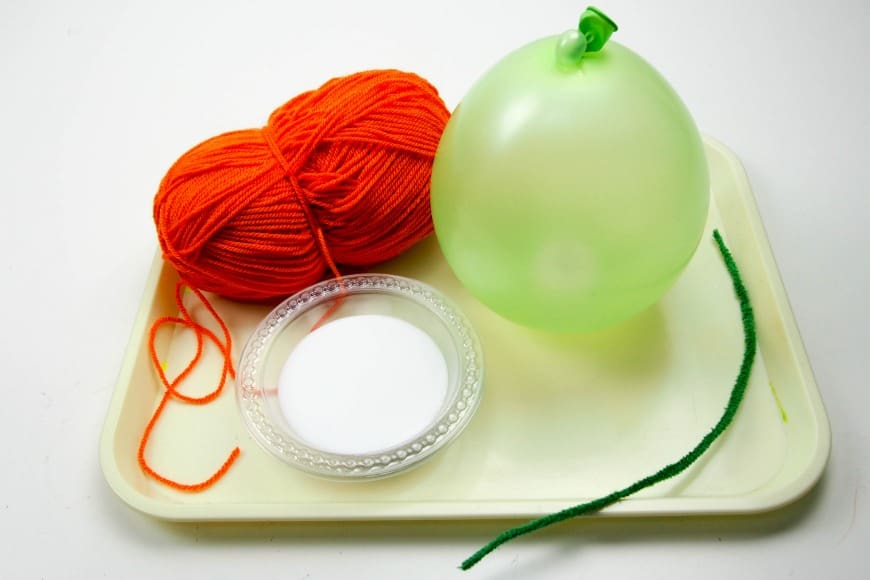
Materials
- Yarn
- Balloon
- Battery operated tealight
- PVA or school glue
- Scissors
No products found.
How to make Yarn Wrapped Pumpkin Lanterns
Place your tea light into your balloon. This was a real challenge for Mini, but he did manage it in the end. If you have younger children then it might help to do this part for them. Blow up and tie your balloon when it gets to the size you want your finished lantern to be.
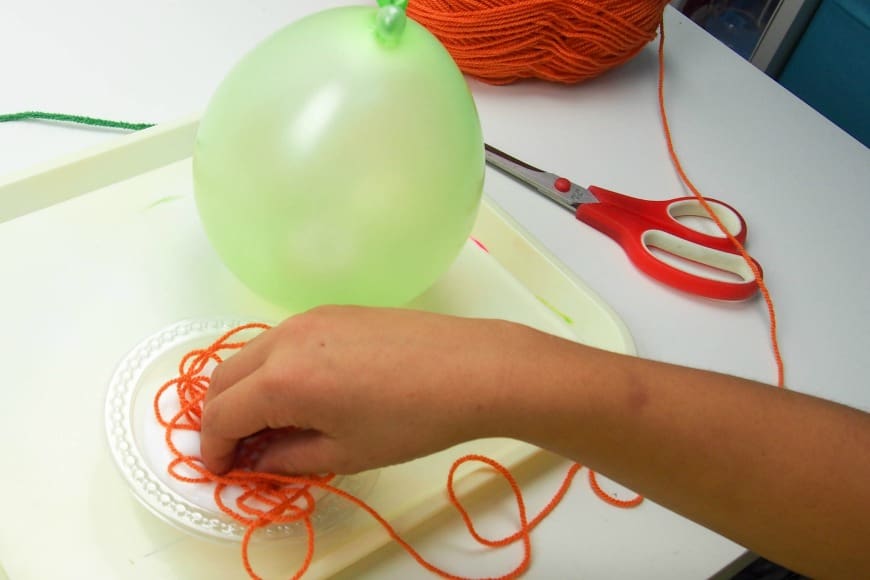
Fill a bowl with your glue. We found that using a smaller bowl was easier as we were not tempted to add to much yarn in one go (it gets tangled).

Cut lengths of yarn and dip them in your glue. Some people water down their glue, but we found that it dried stronger if we didn’t, although it did take quite a while to dry. Run the yarn through your fingers to remove excess glue before wrapping it around the balloon.
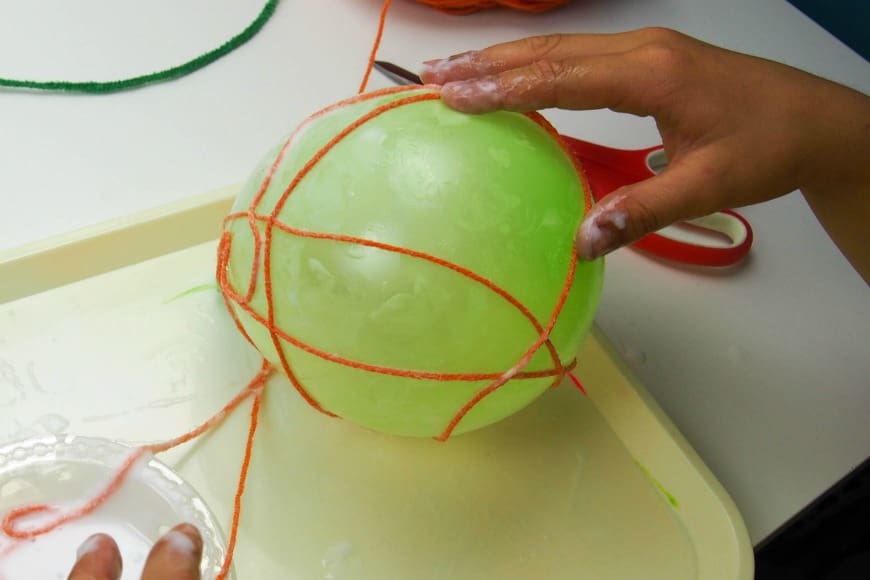
Continue with more lengths of glue until you have covered your balloon as much as you want. Yes it is very messy!
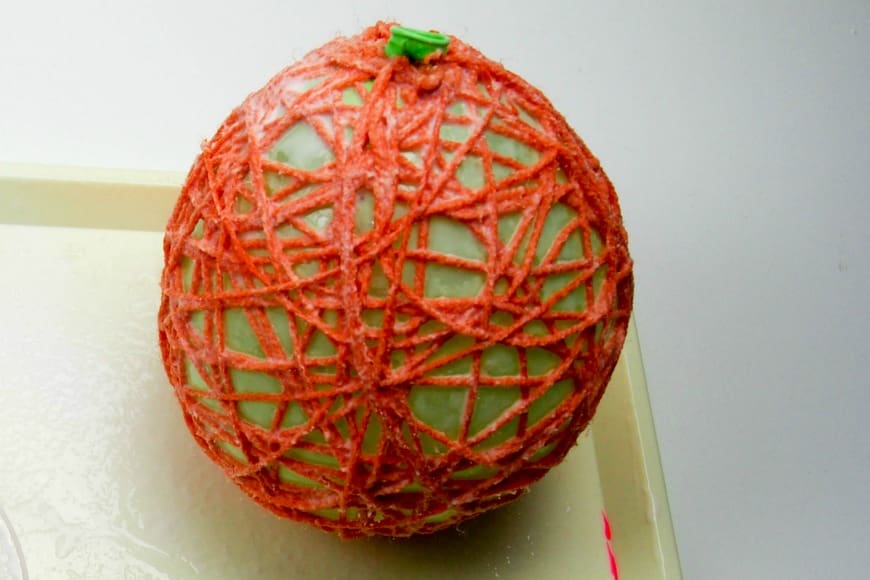
Allow the glue to dry, ours took 48 hours at room temperature, before popping the balloon and removing it. Our balloon went down on its own!
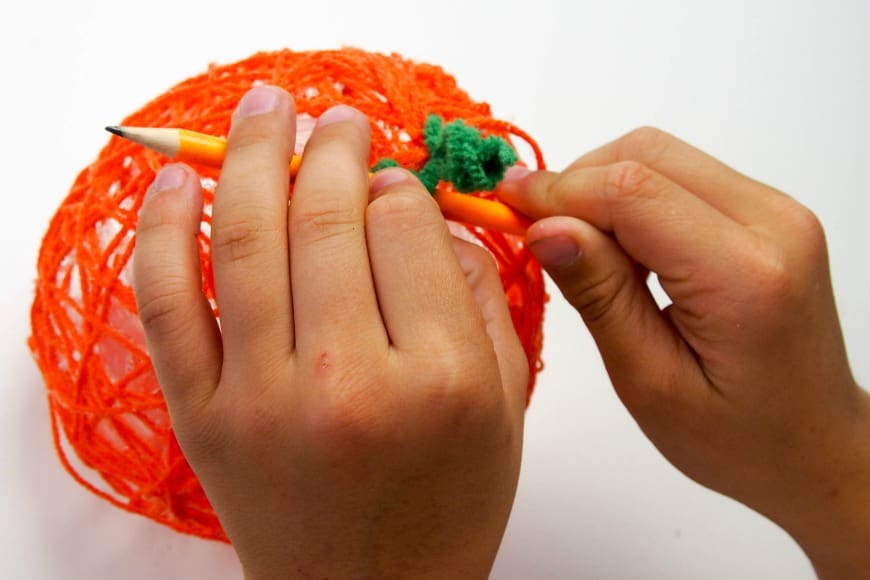
Then it is time to add the stalk and leaves, which we made with pipe cleaners wrapped around a pencil to make them into spirals which we threaded through the yarn.
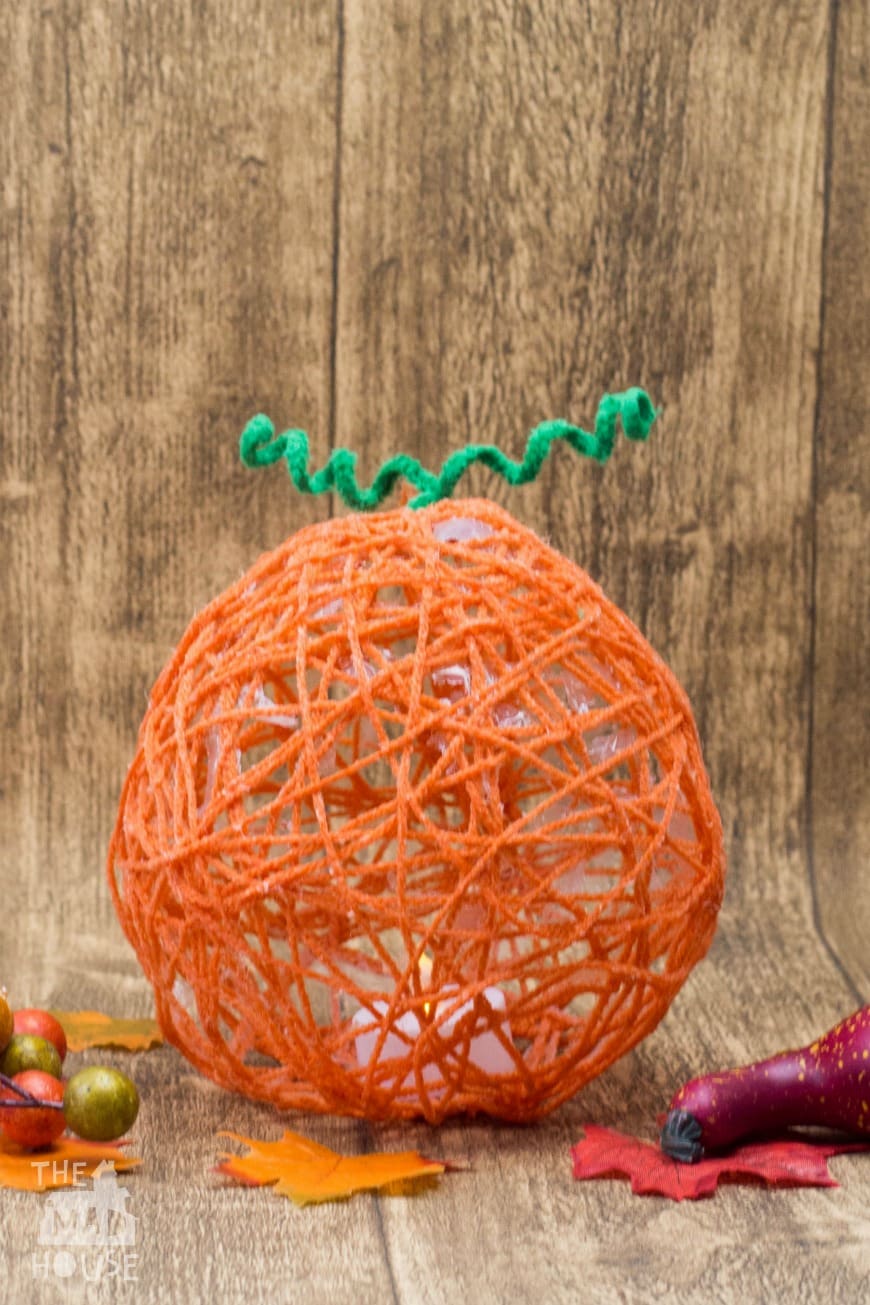
I loved how this turned out and it is beautiful all lit up as a table centerpiece, especially as you can see it no matter where you sit. Although you do not have to add the tea light, I think it is beautiful with it.
More Yarn and String Process Art Activities:
Sewn Circuits from Teach Beside Me
Yarn Rubbing Art from Views From a Step Stool
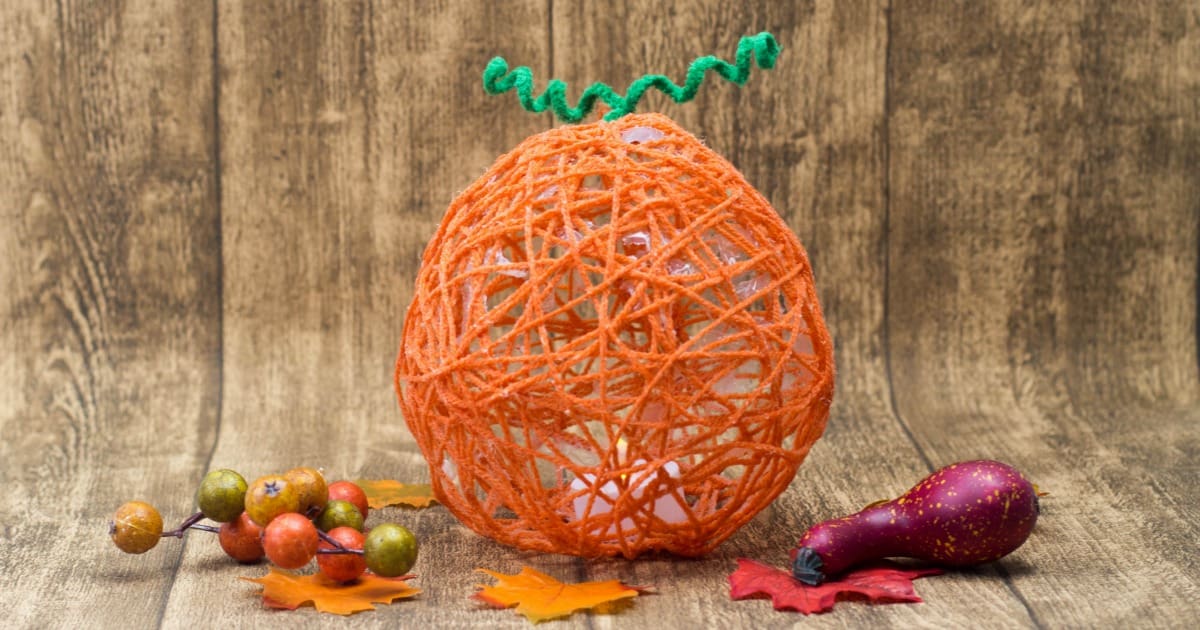
Yarn Wrapped Pumpkin Lanterns from Mum in the Mad House
Watercolour Yarn Art from Arty Crafty Kids
Yarn Fine Motor Jewelry from Sugar Aunts
Rainstorm Yarn Painting Preschool Process Art from Preschool Powol Packets
Air Plant Hangers by Wee Warhols
Homemade Looms: Process Art with Yarn from For This Season
More Yarn Activities
Yarn wrapped sticks
Pumpkin paper plate weaving
How to make God’s Eyes/Ojo de Dios
Not so scary pom pom spider
Paper plate Sunflower weaving
Cup Weaving Tutorial
Pumpkin paper plate lacing craft
How to make a Pompom sheep
Pompom tailed bunny garland
Pom Pom Bunnies and Chicks
Fine Motor String Art Tree Christmas Cards
Comments are closed.